Second Module: Parametrically Designed USB Sneakers
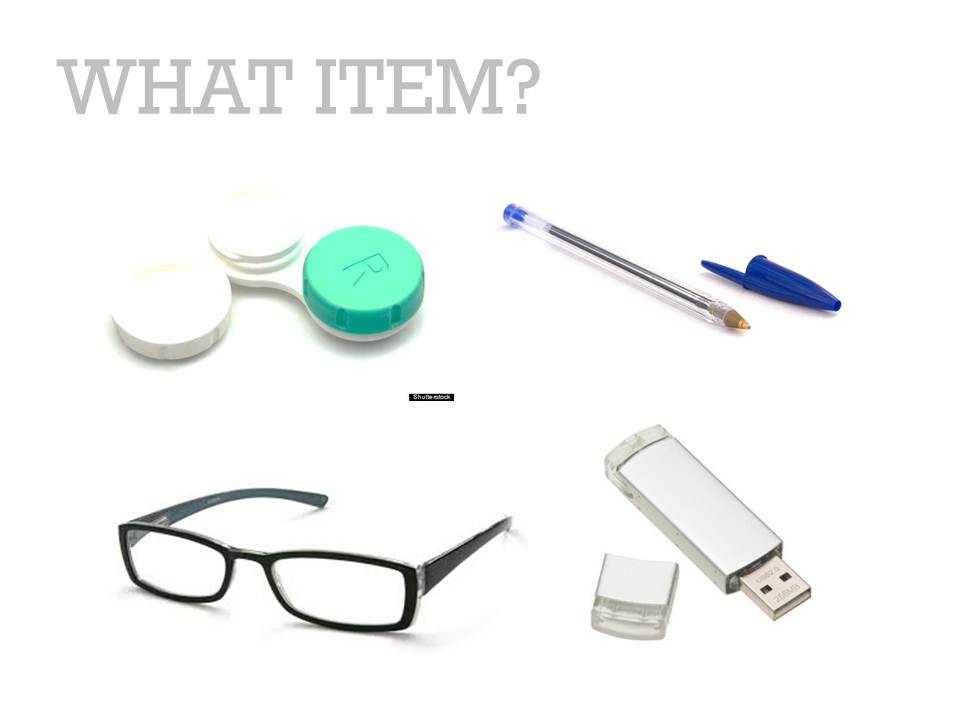
Final Project Ideas
-iphone case
-mouse case
-eyeglass frame
-contact case
-salt & pepper shaker
-jewelry
Criteria for Final Project design
-fast to print and cut
-product has a lot of good well delegated parts
-easy geometry
-2D parametric design surface/3d
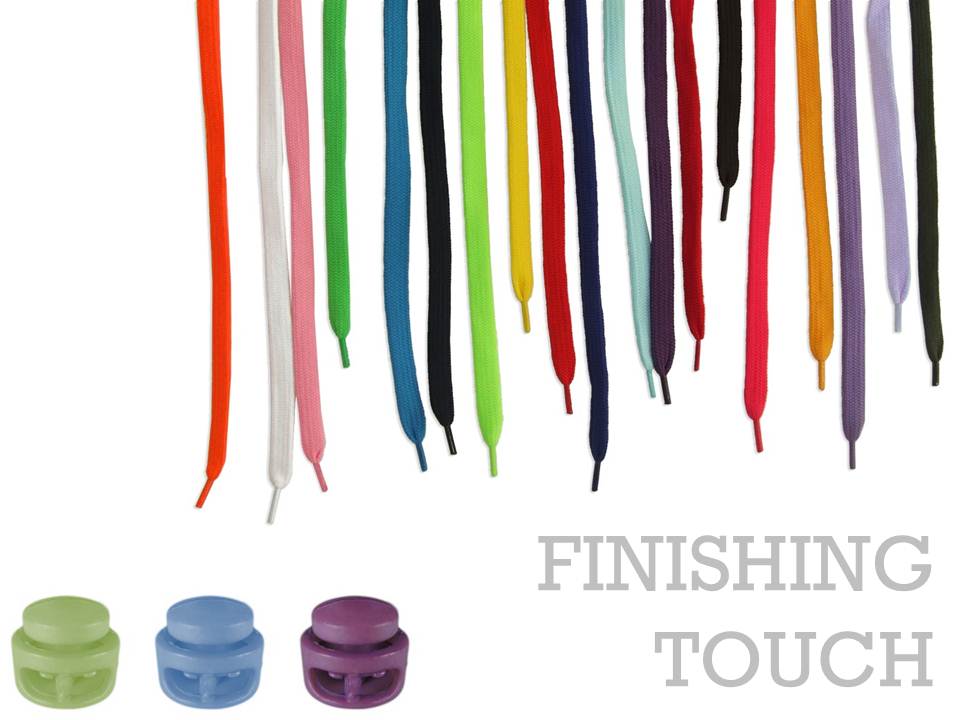
Amazon Link to buy USBs
http://www.amazon.com/Kingston-Digital-DataTraveler-DTSE9H-16GBZET/dp/B00DYQYITG/ref=sr_1_1?ie=UTF8&qid=1399868795&sr=8-1&keywords=Usb
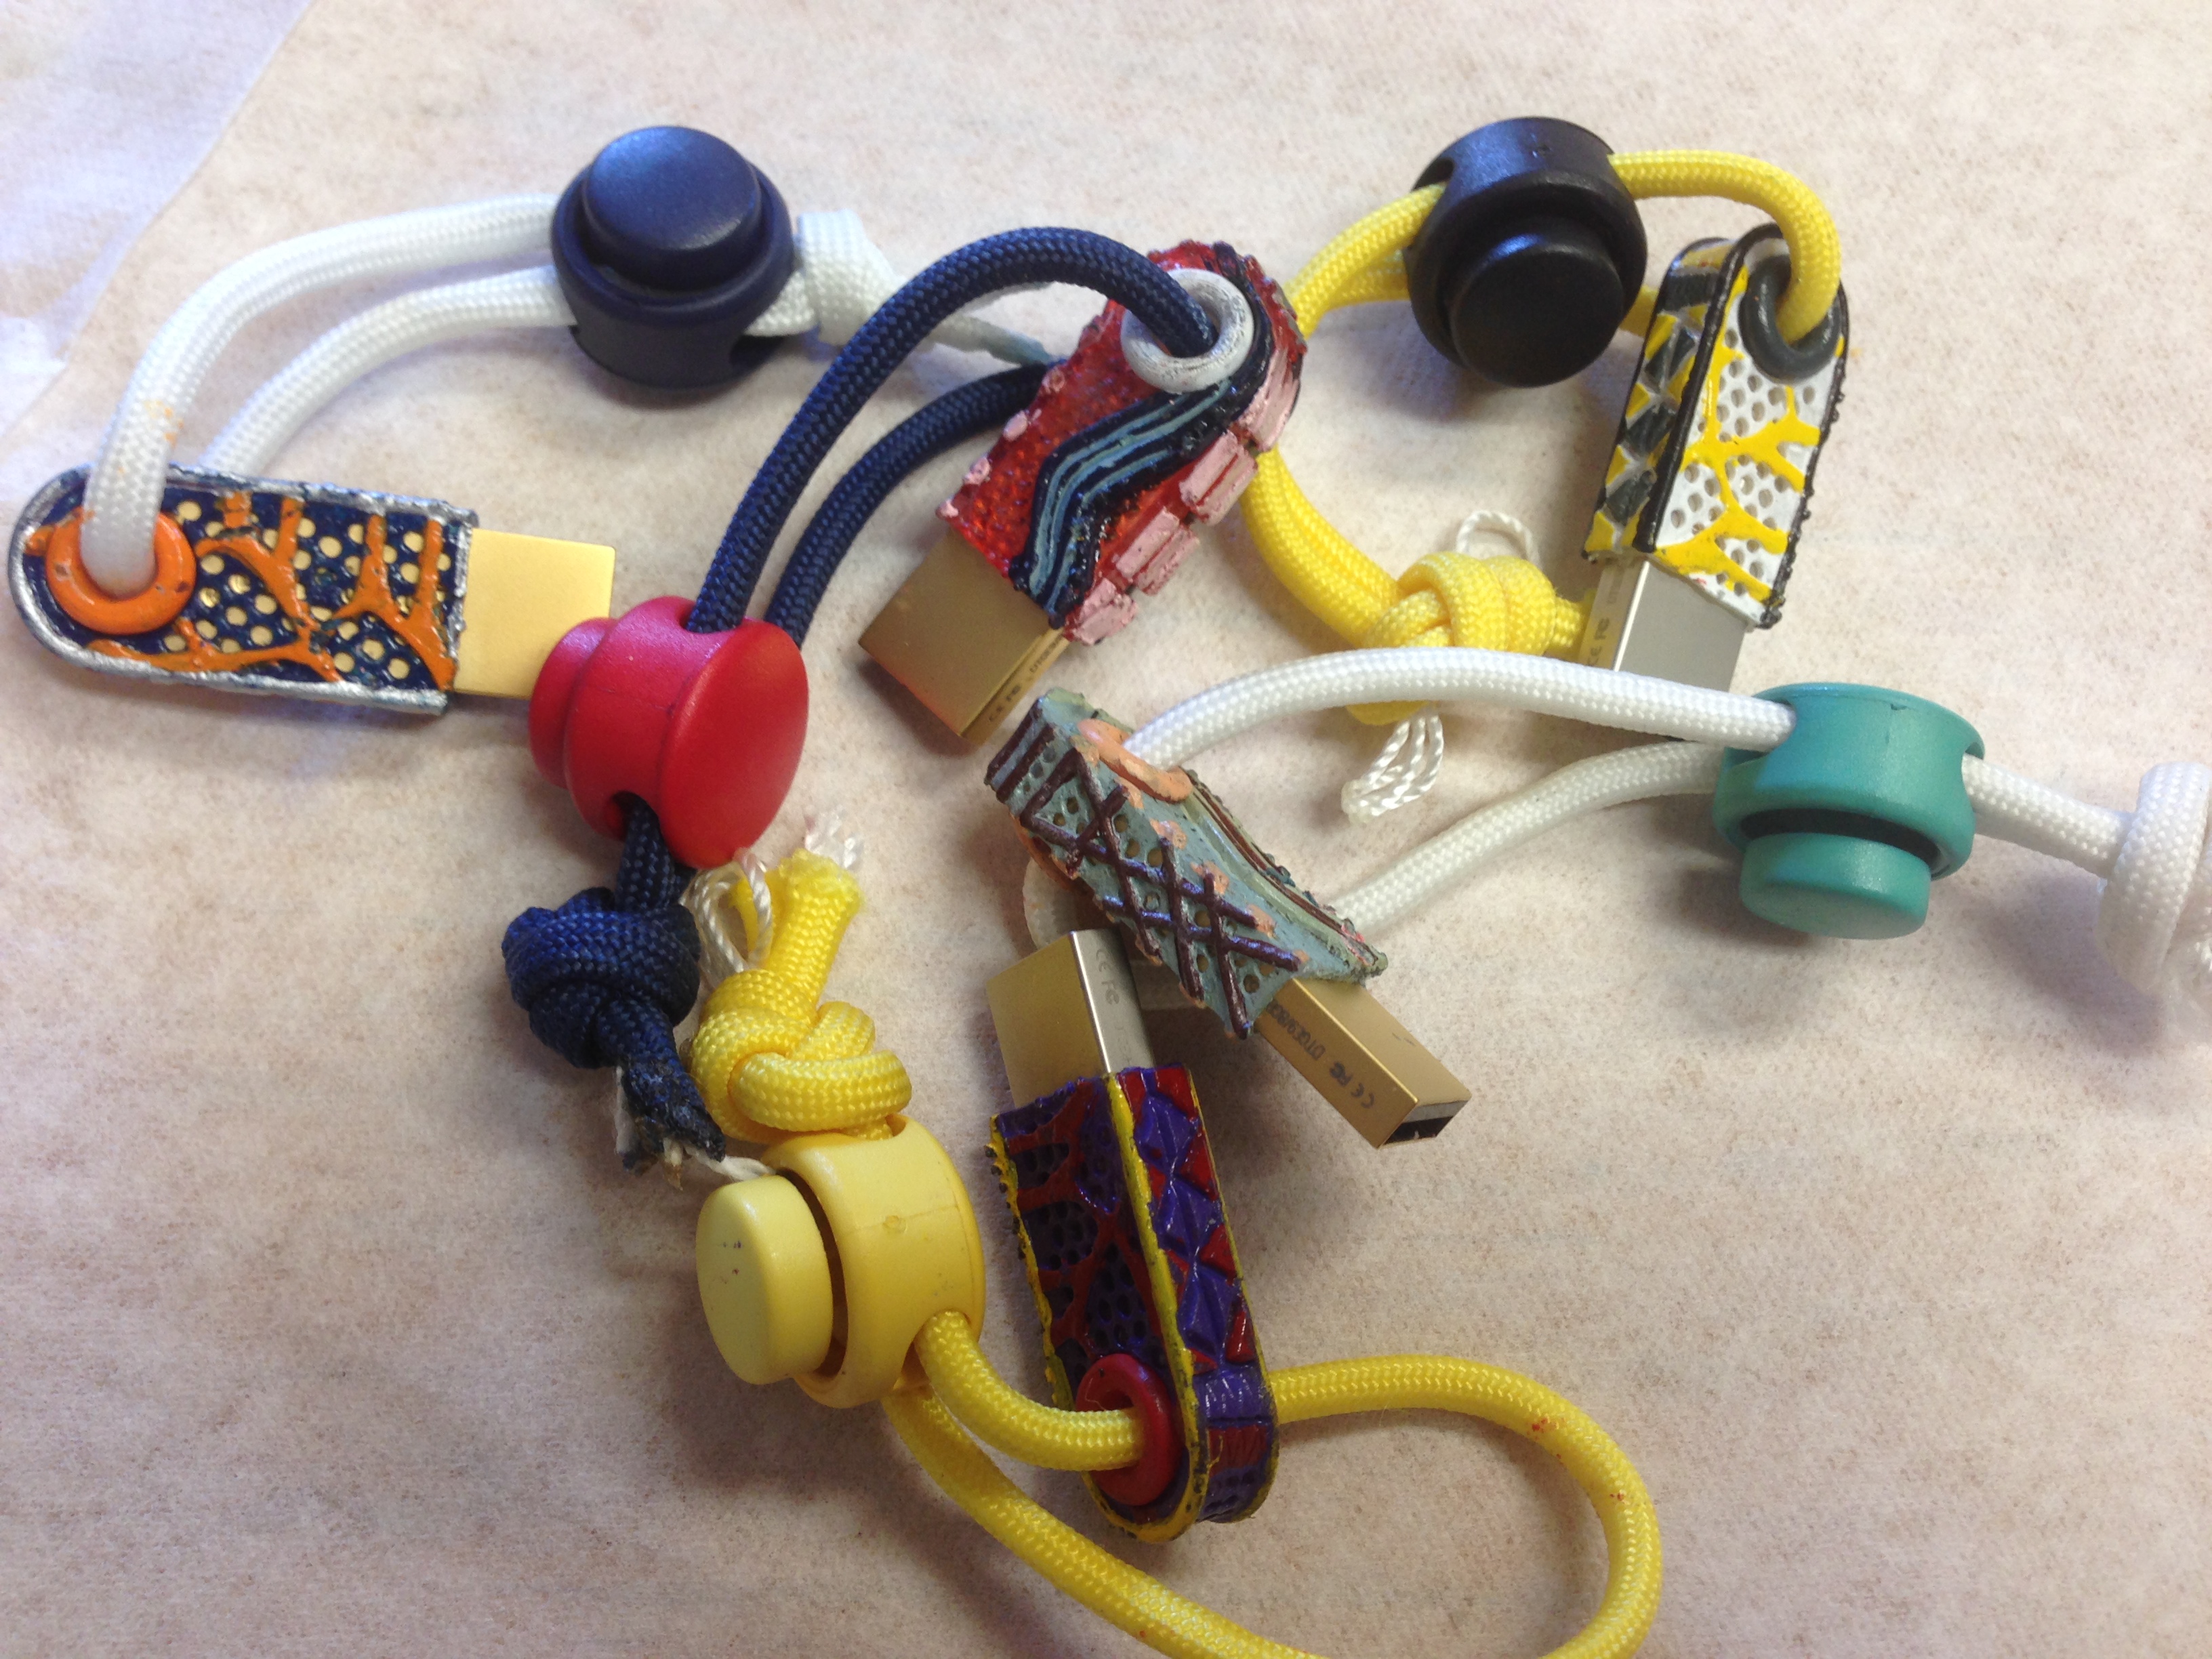
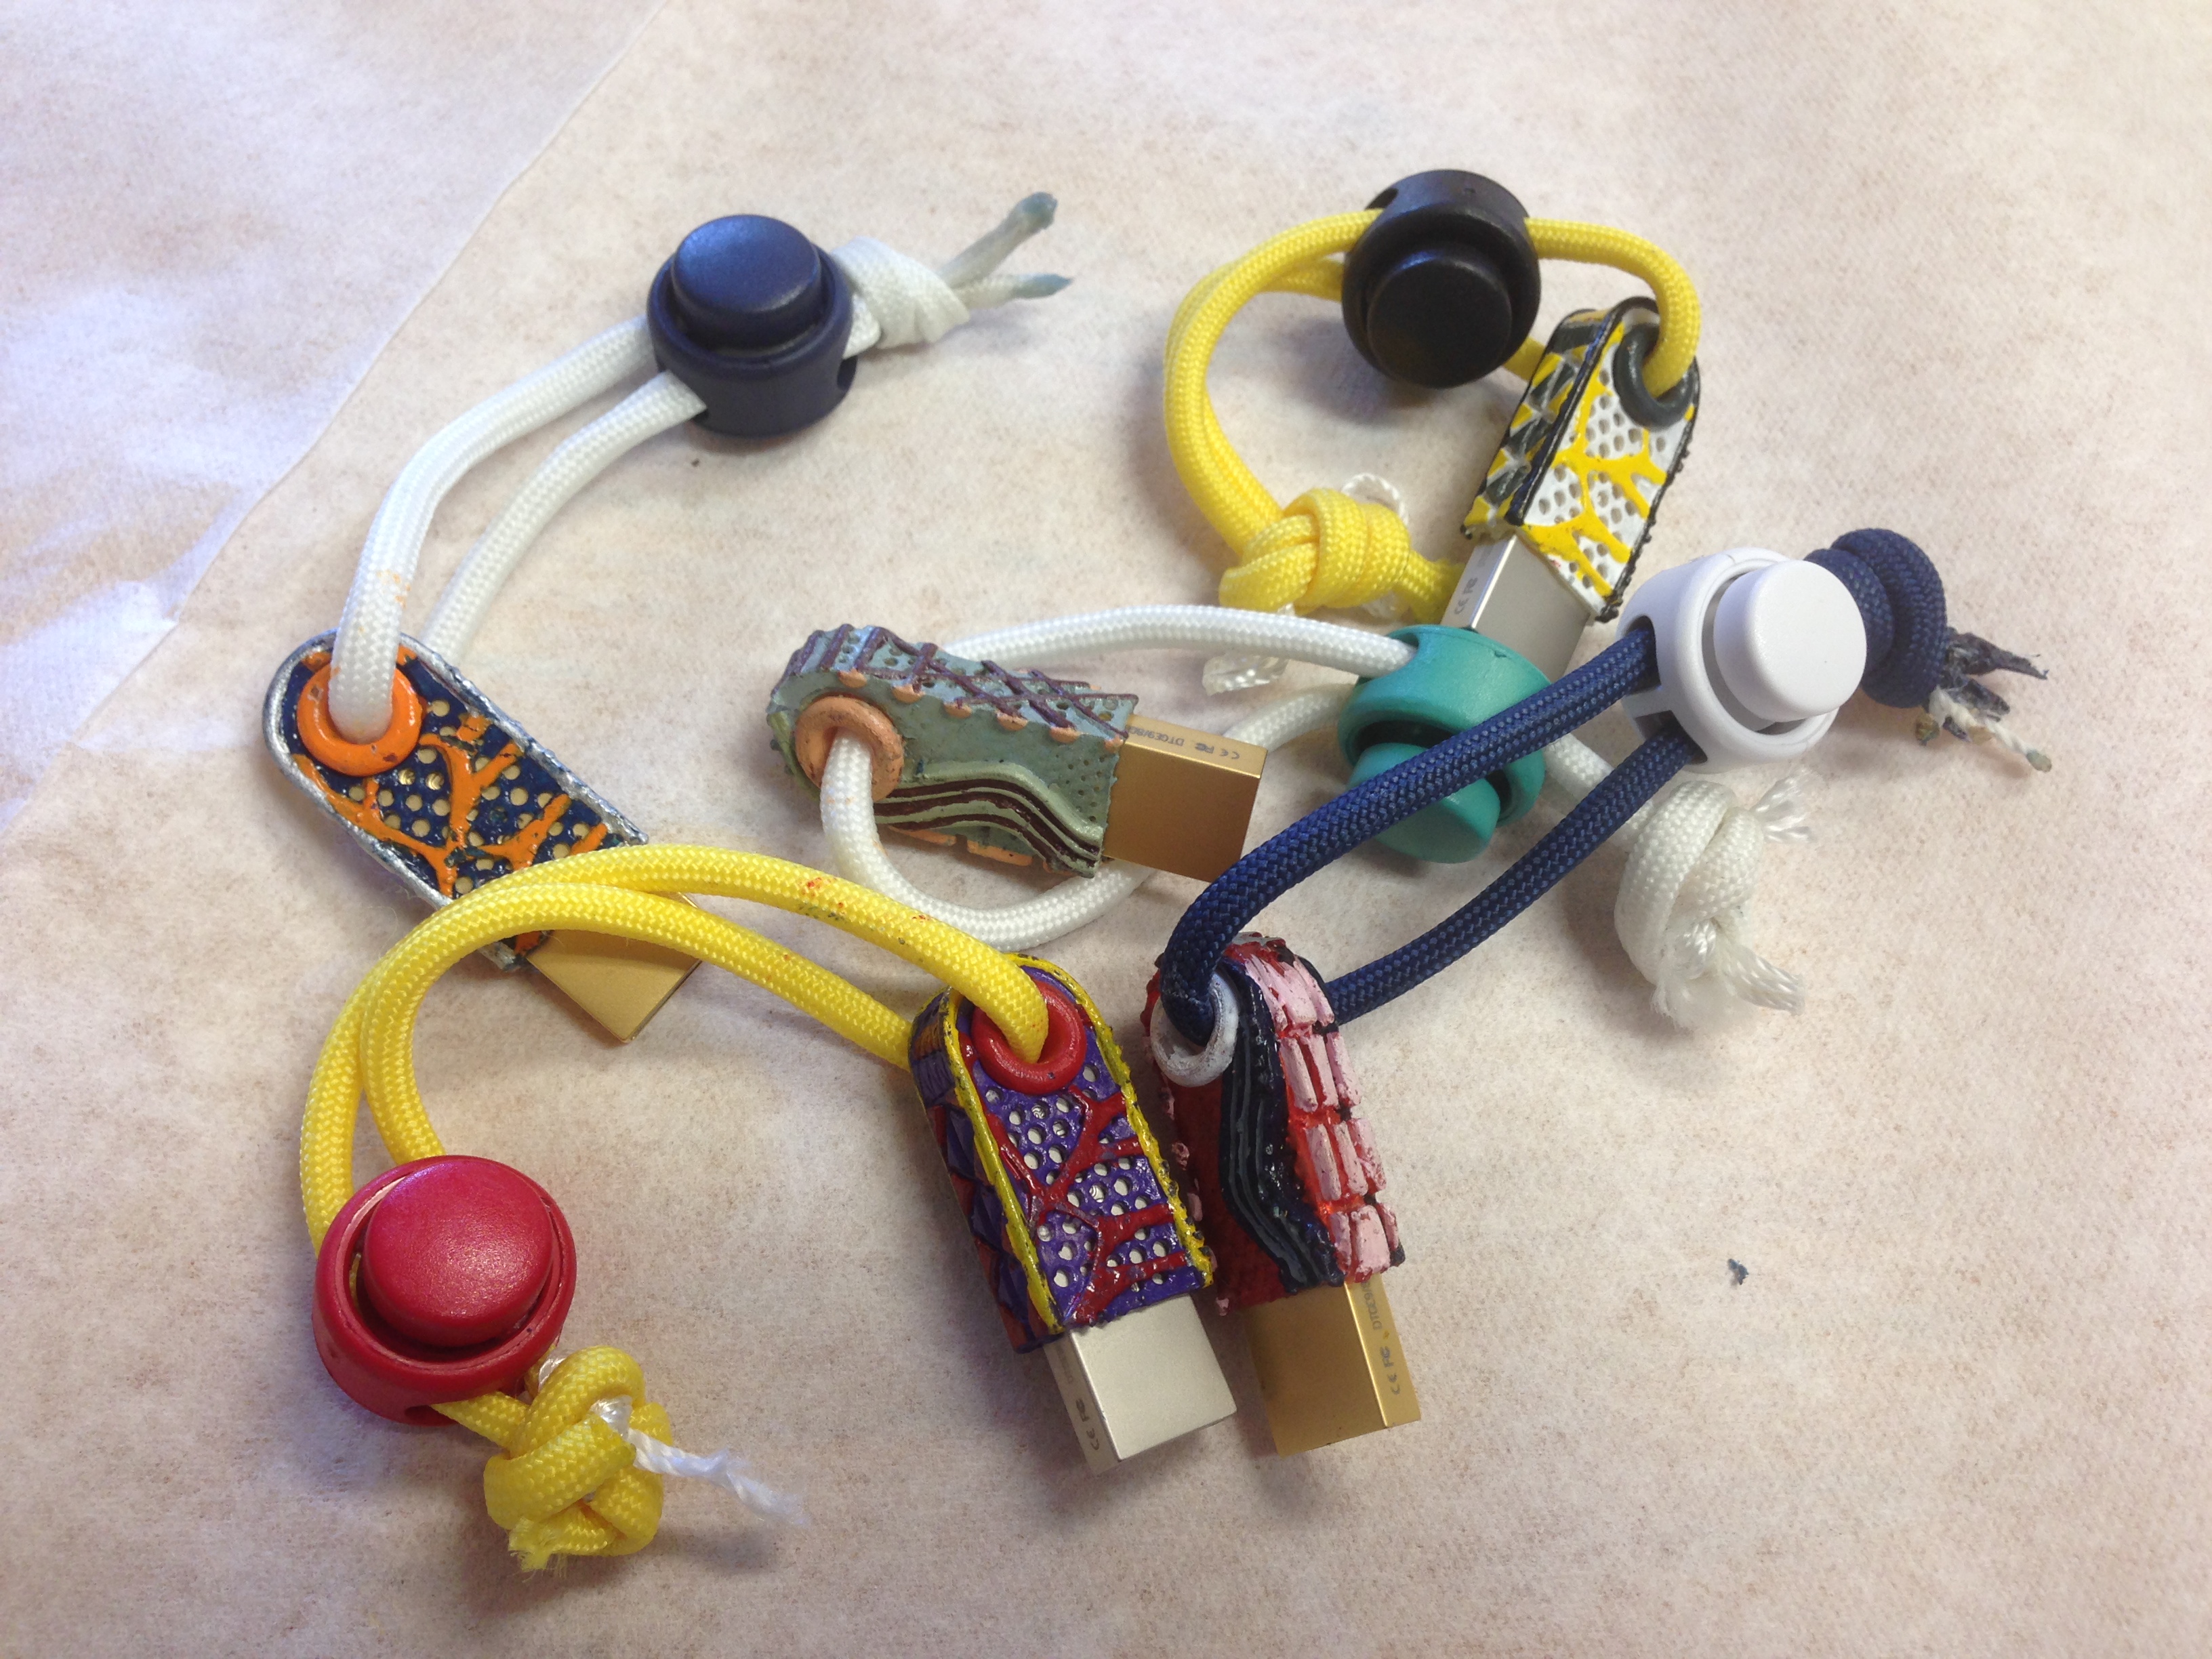
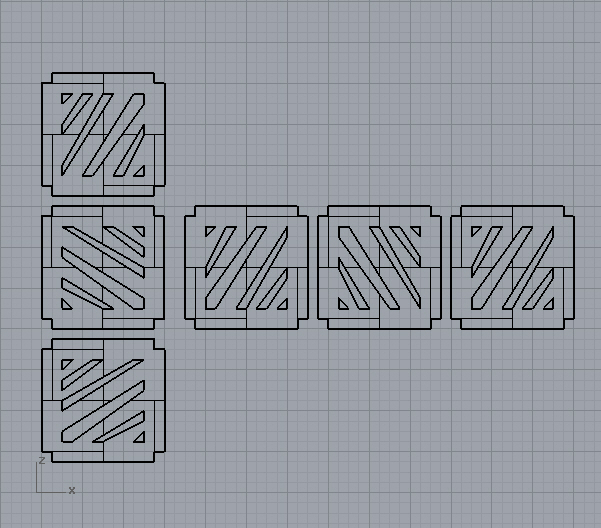
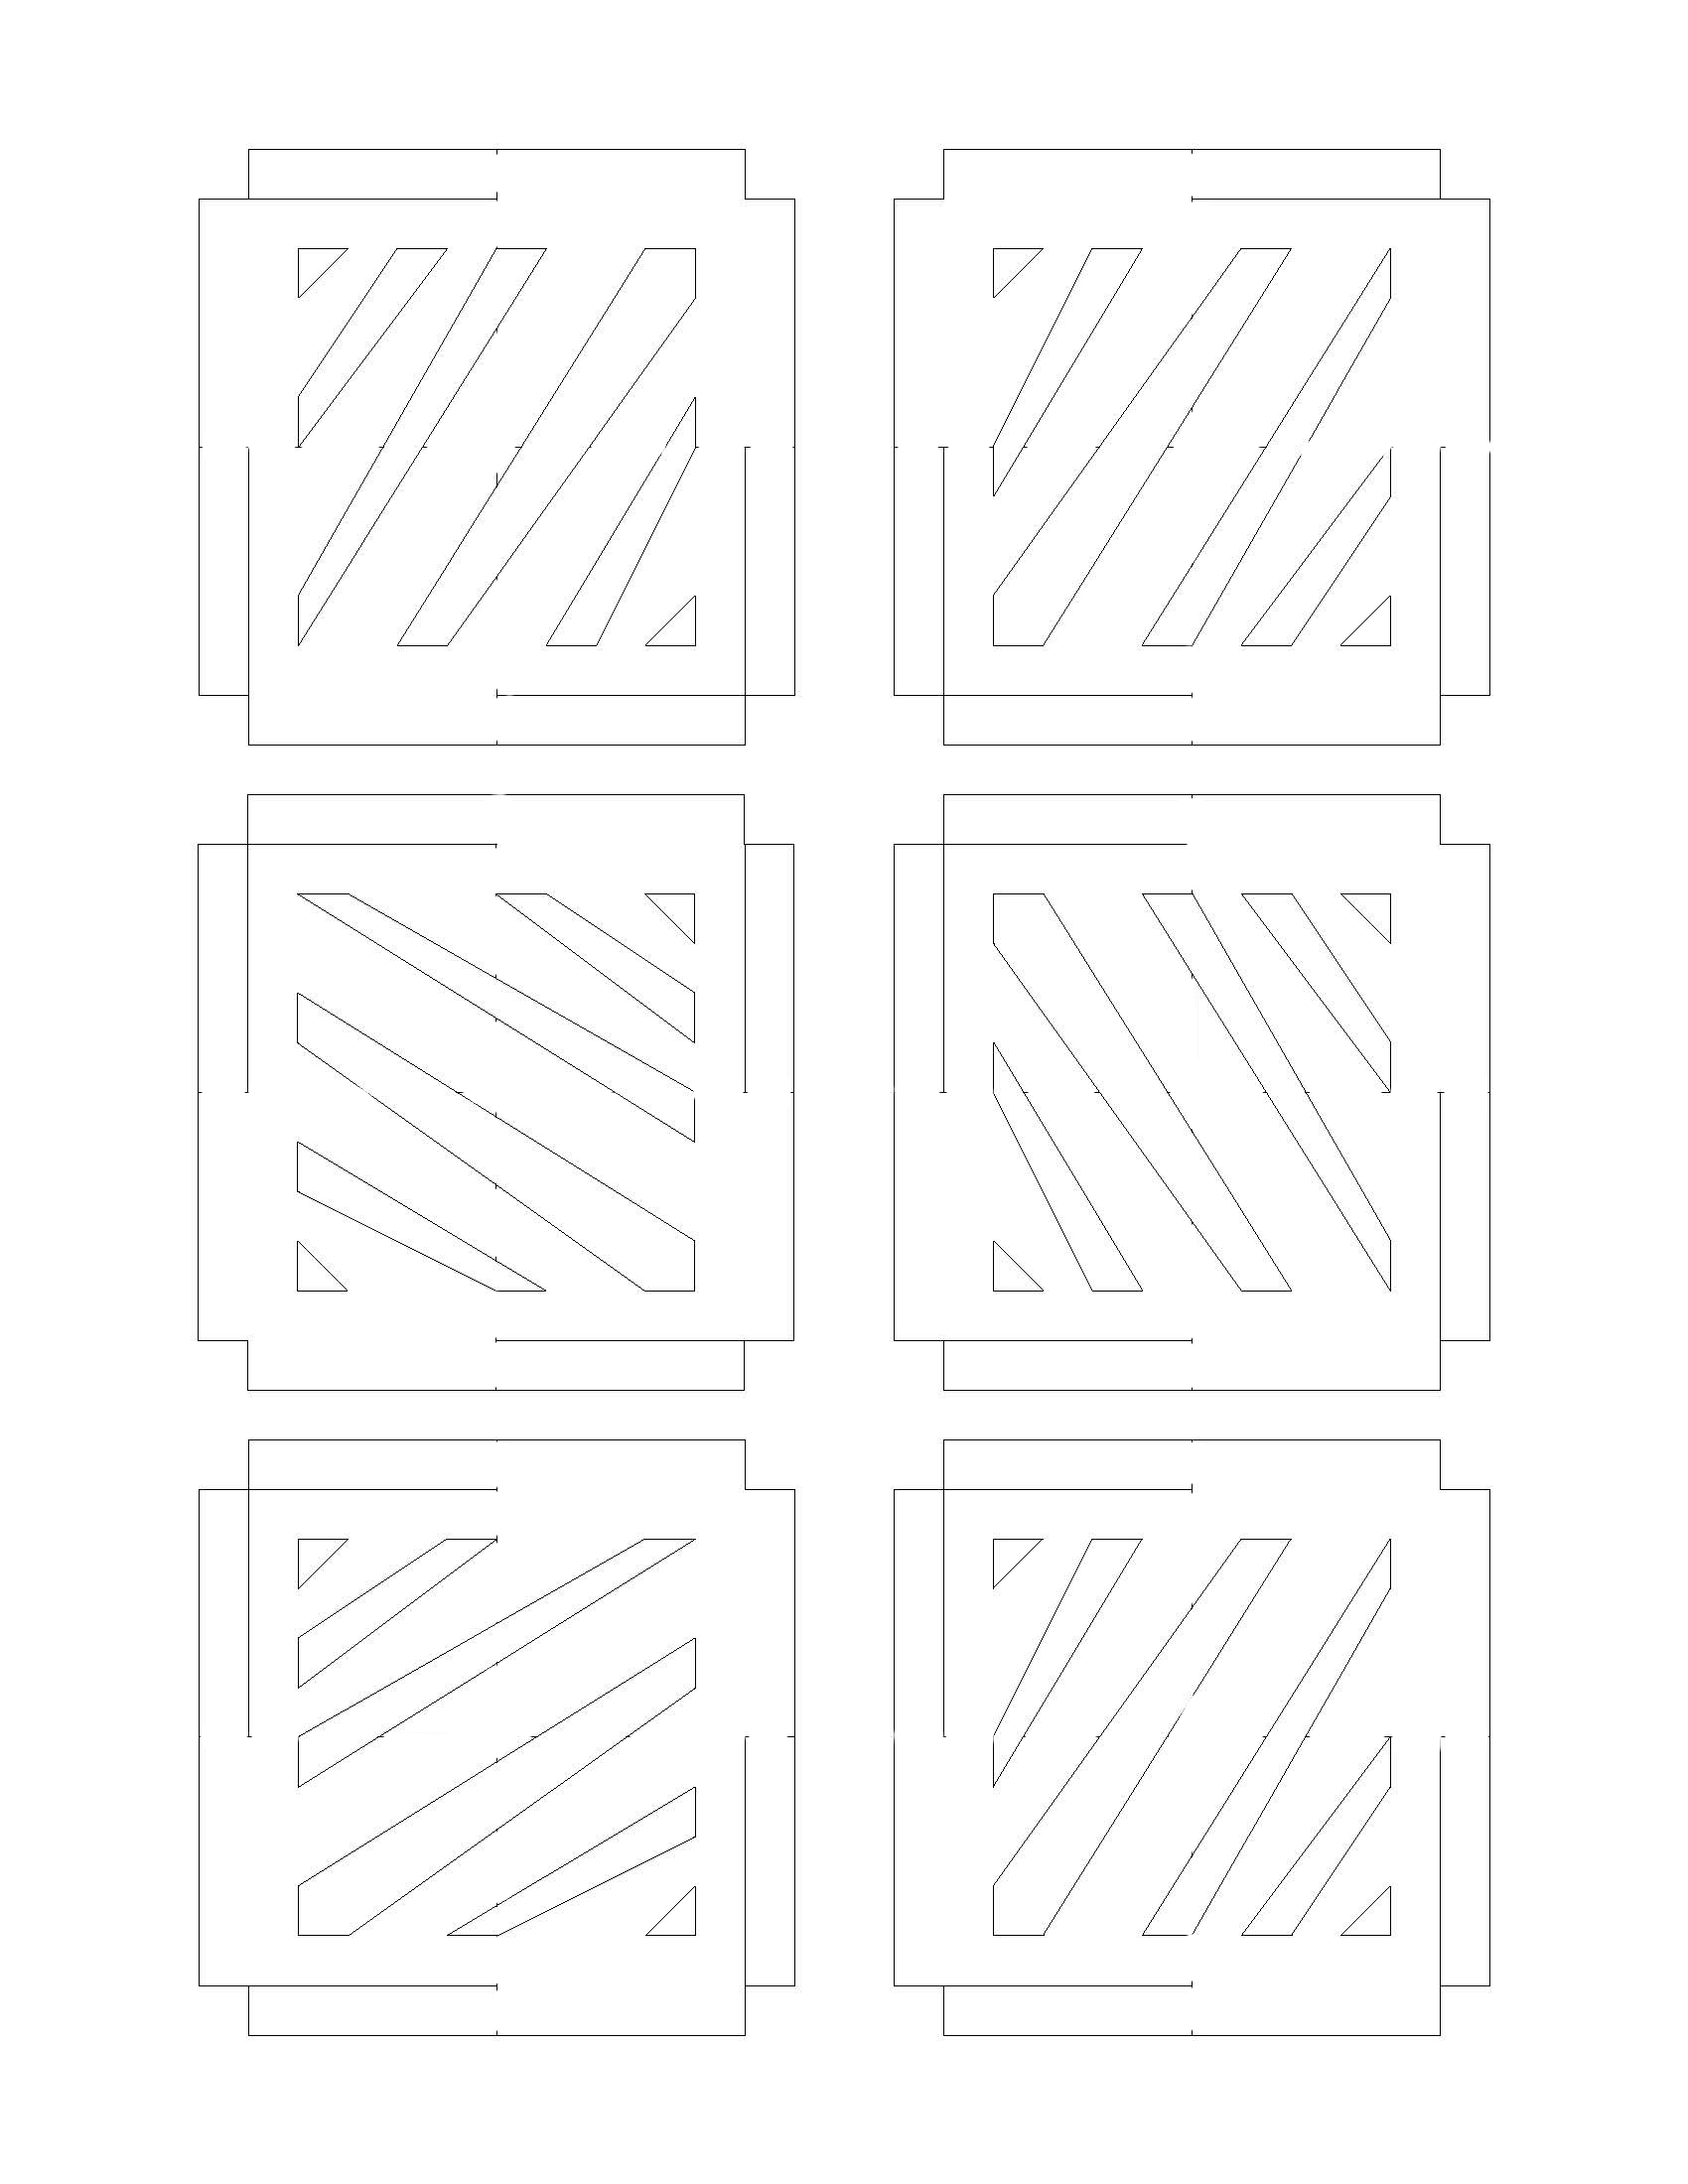
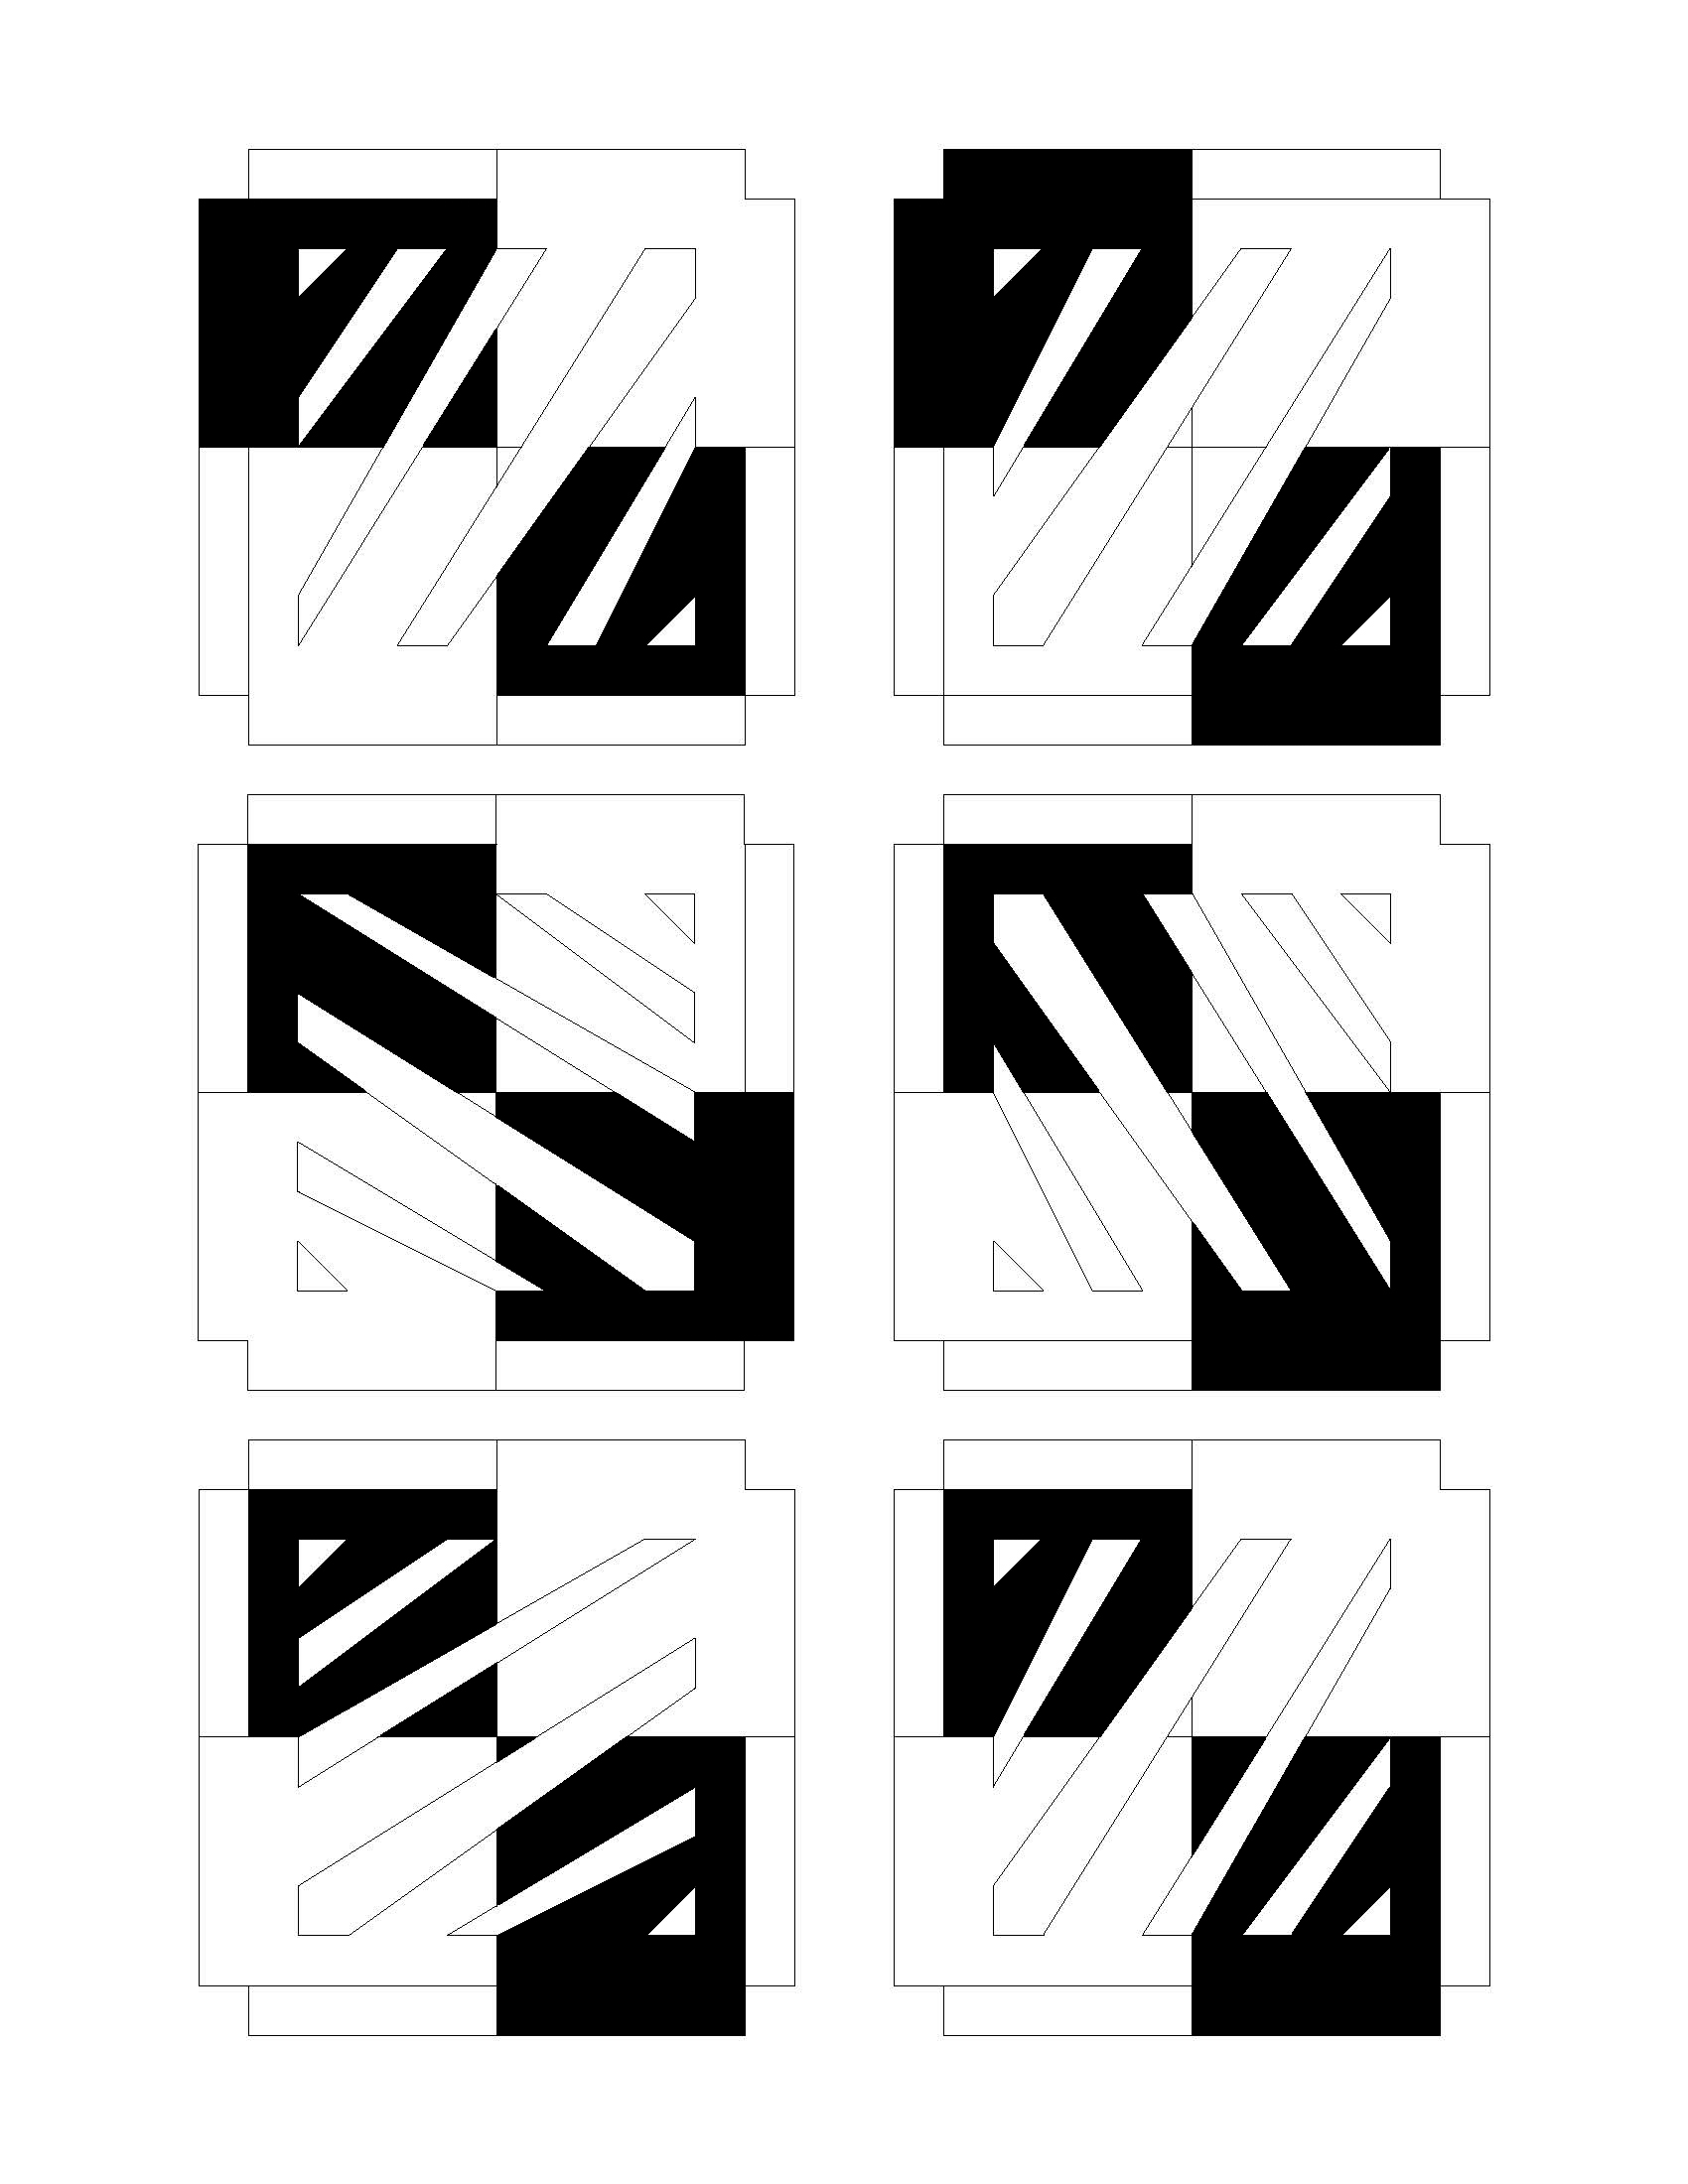
The Collection
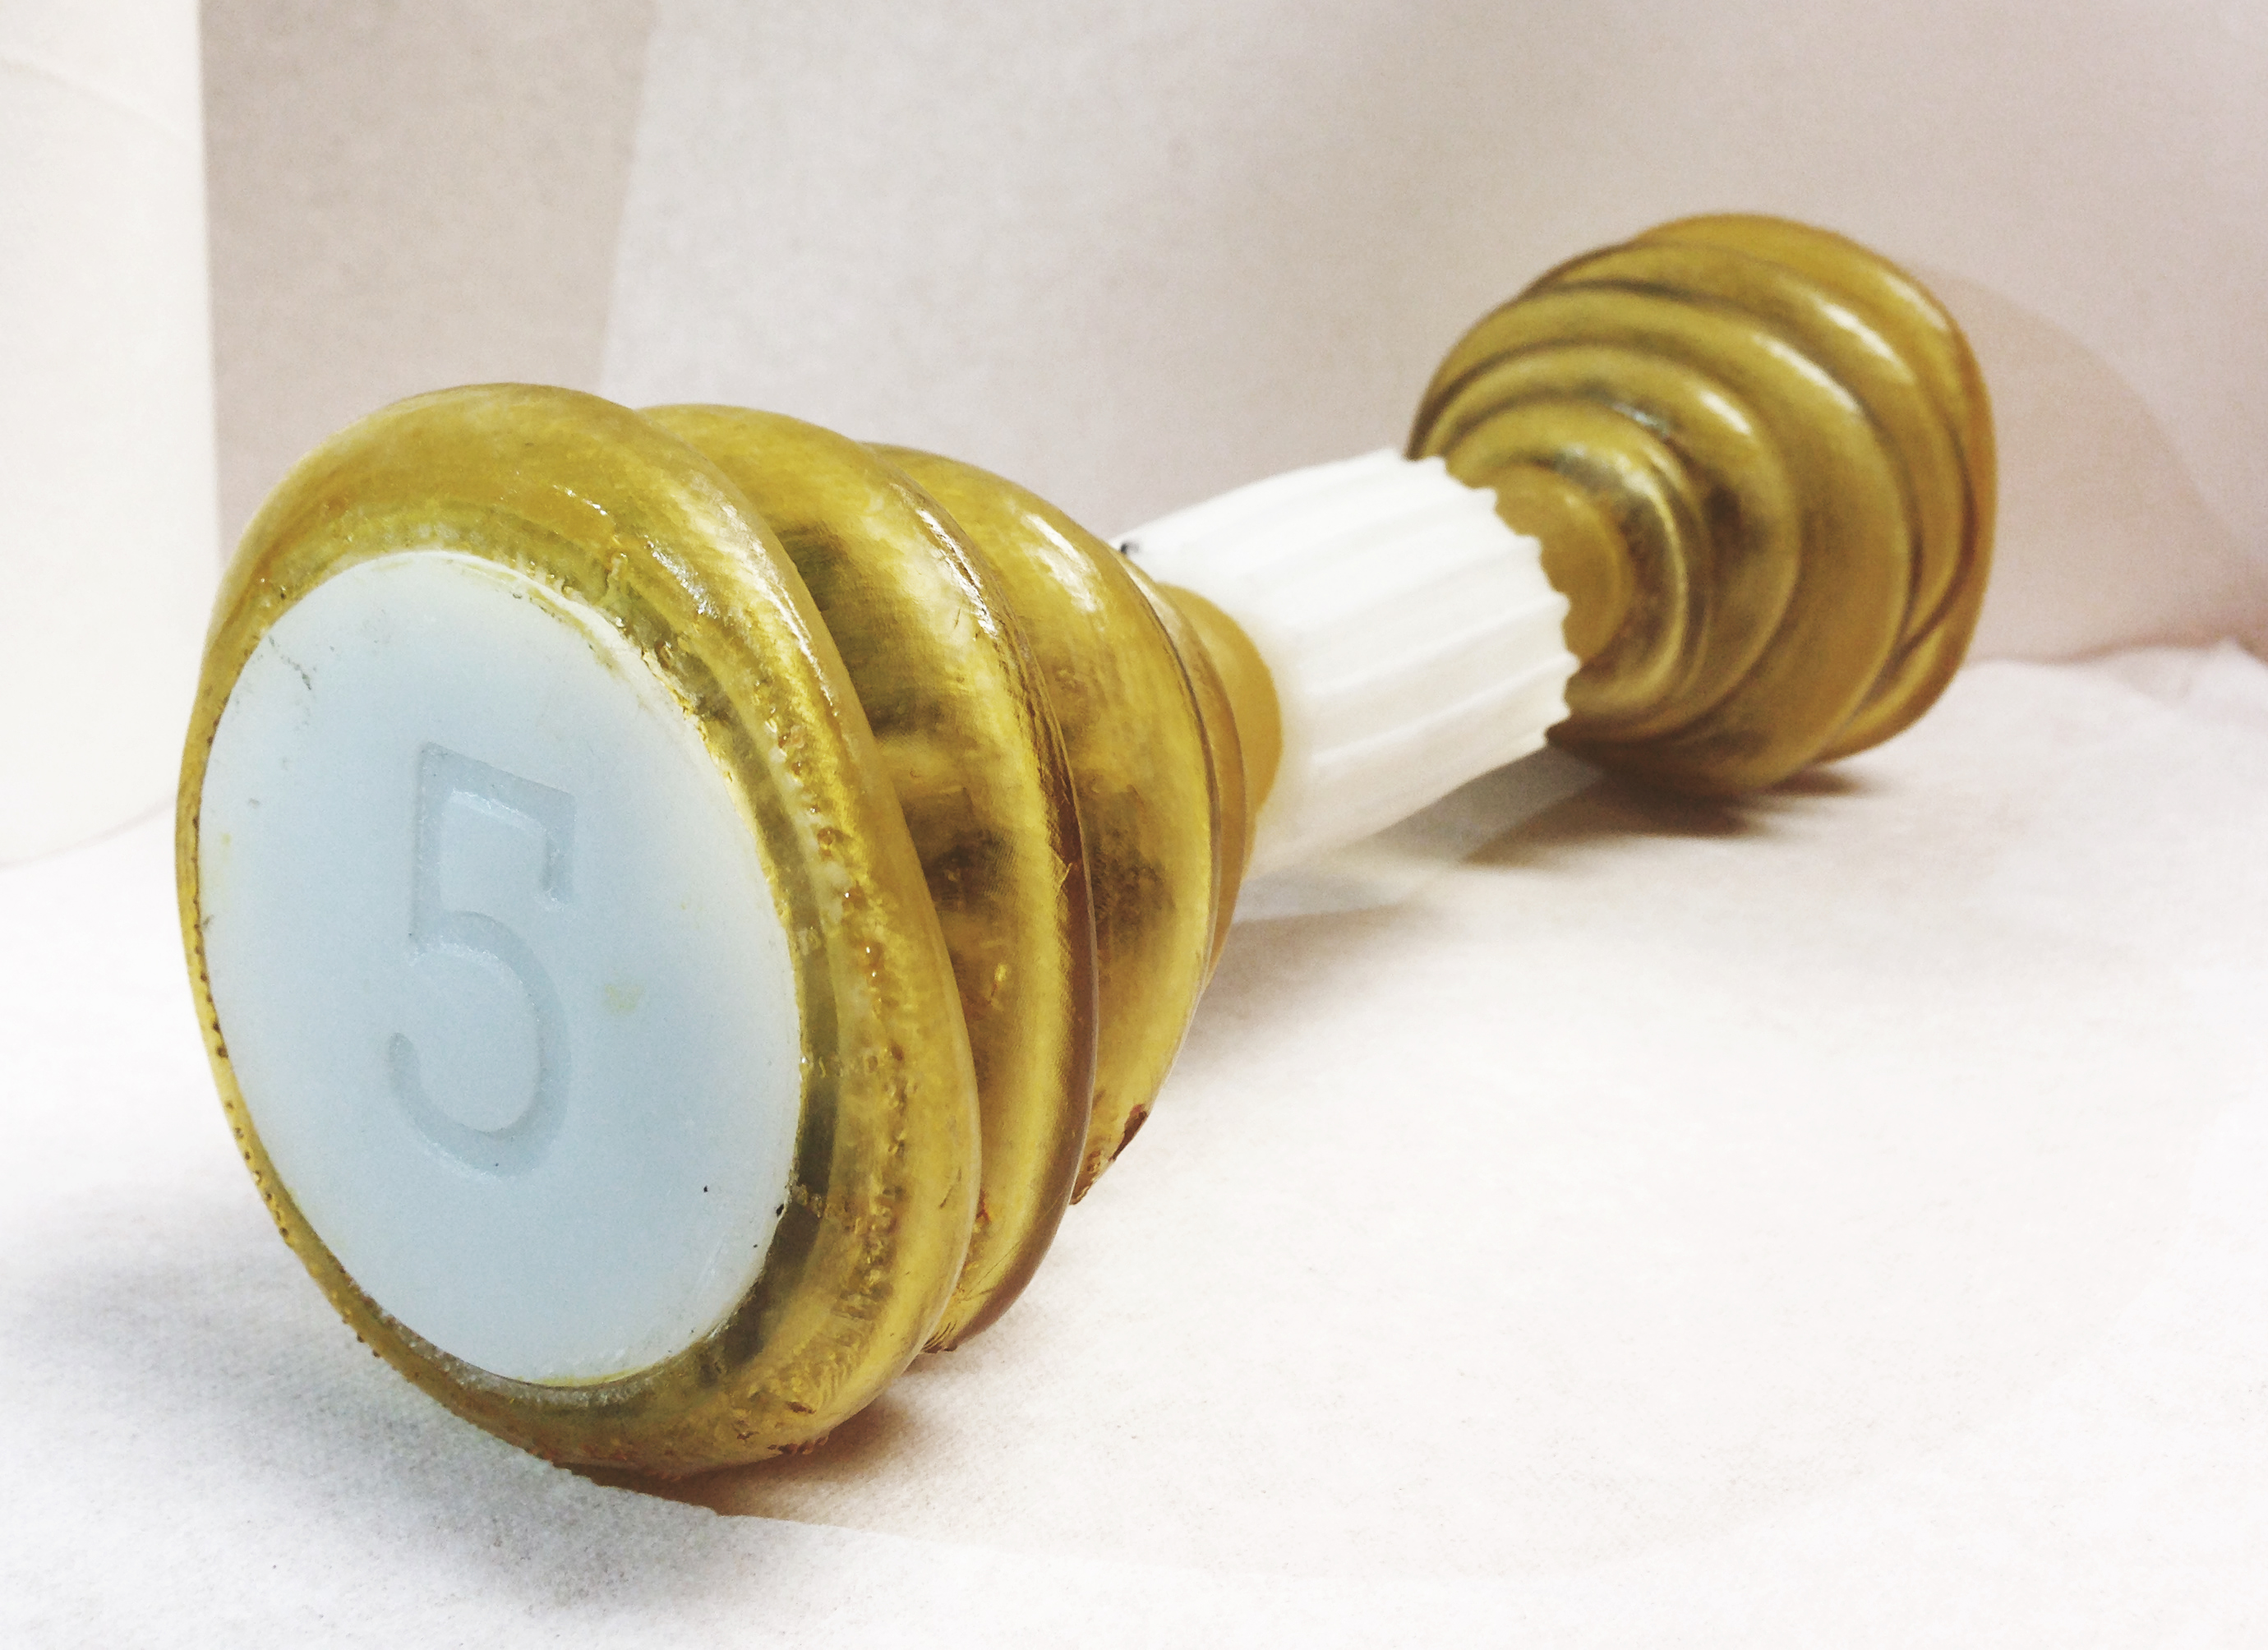
I created and printed a final of 3 primary diffent designs. I varied color to arrive at a total of 6 USBs. The plan was to get 8 USBs completed but due to some complications with printing, the extra two USB cases are not ready at this time.
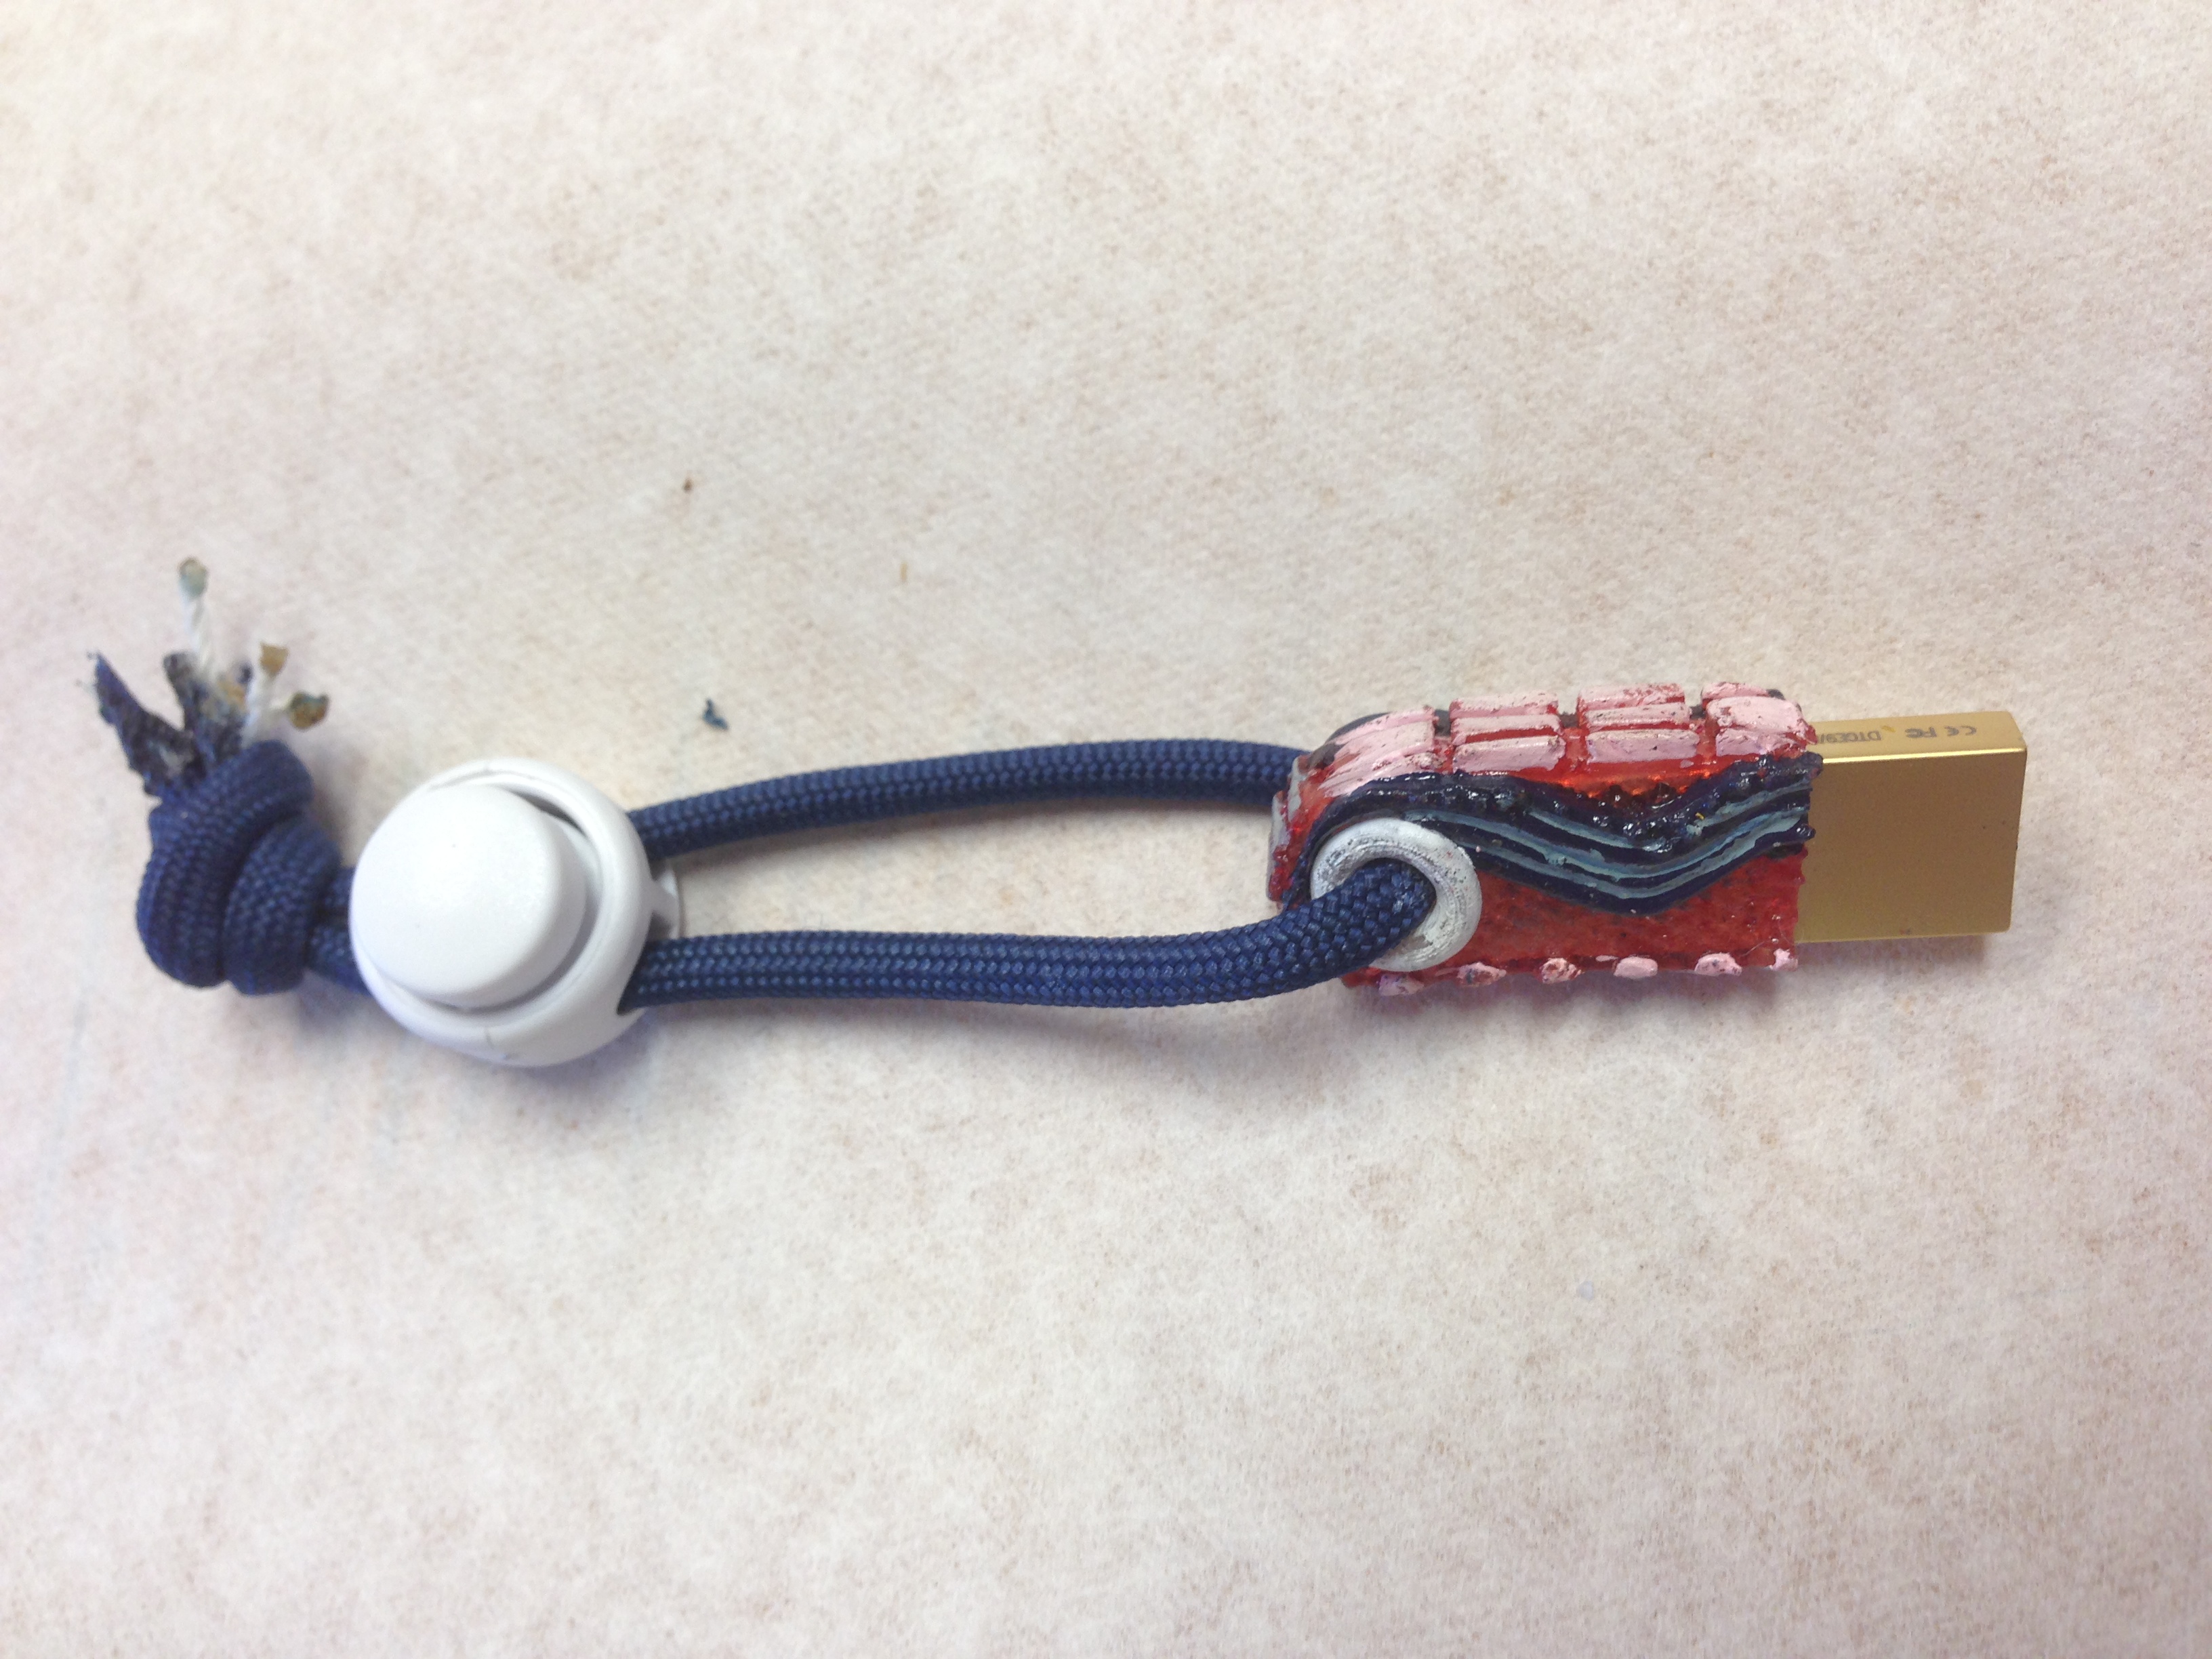
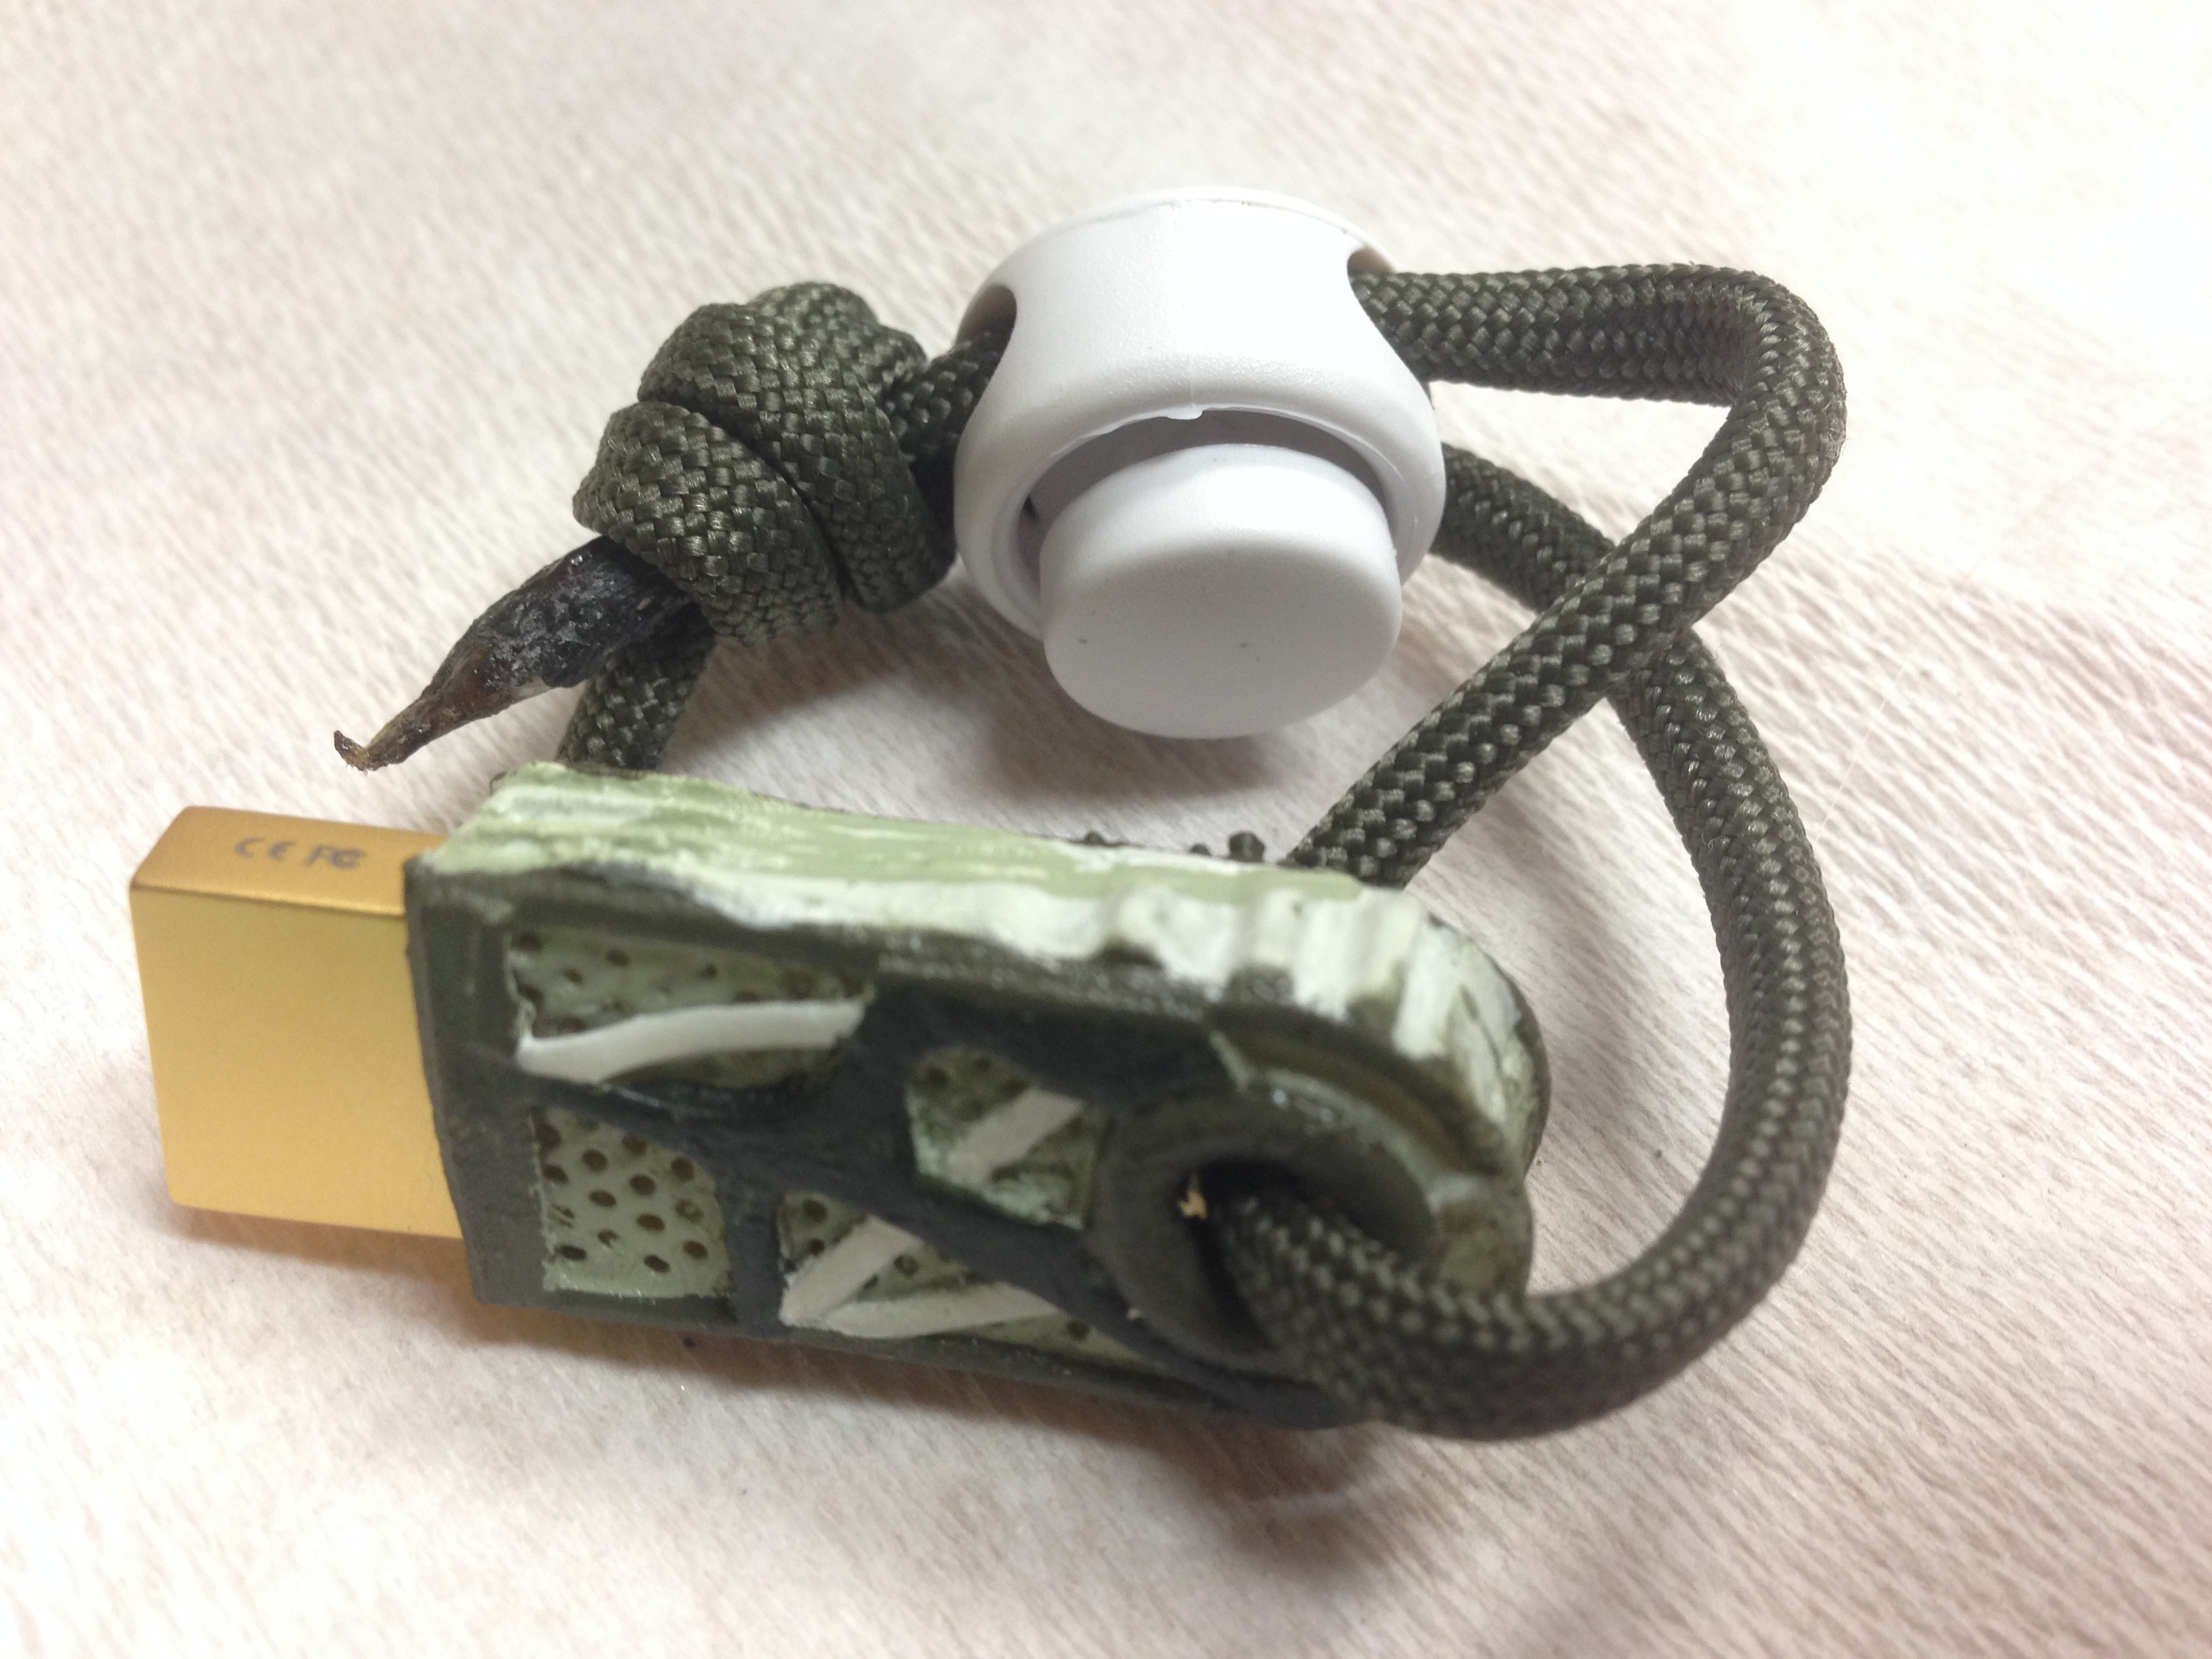
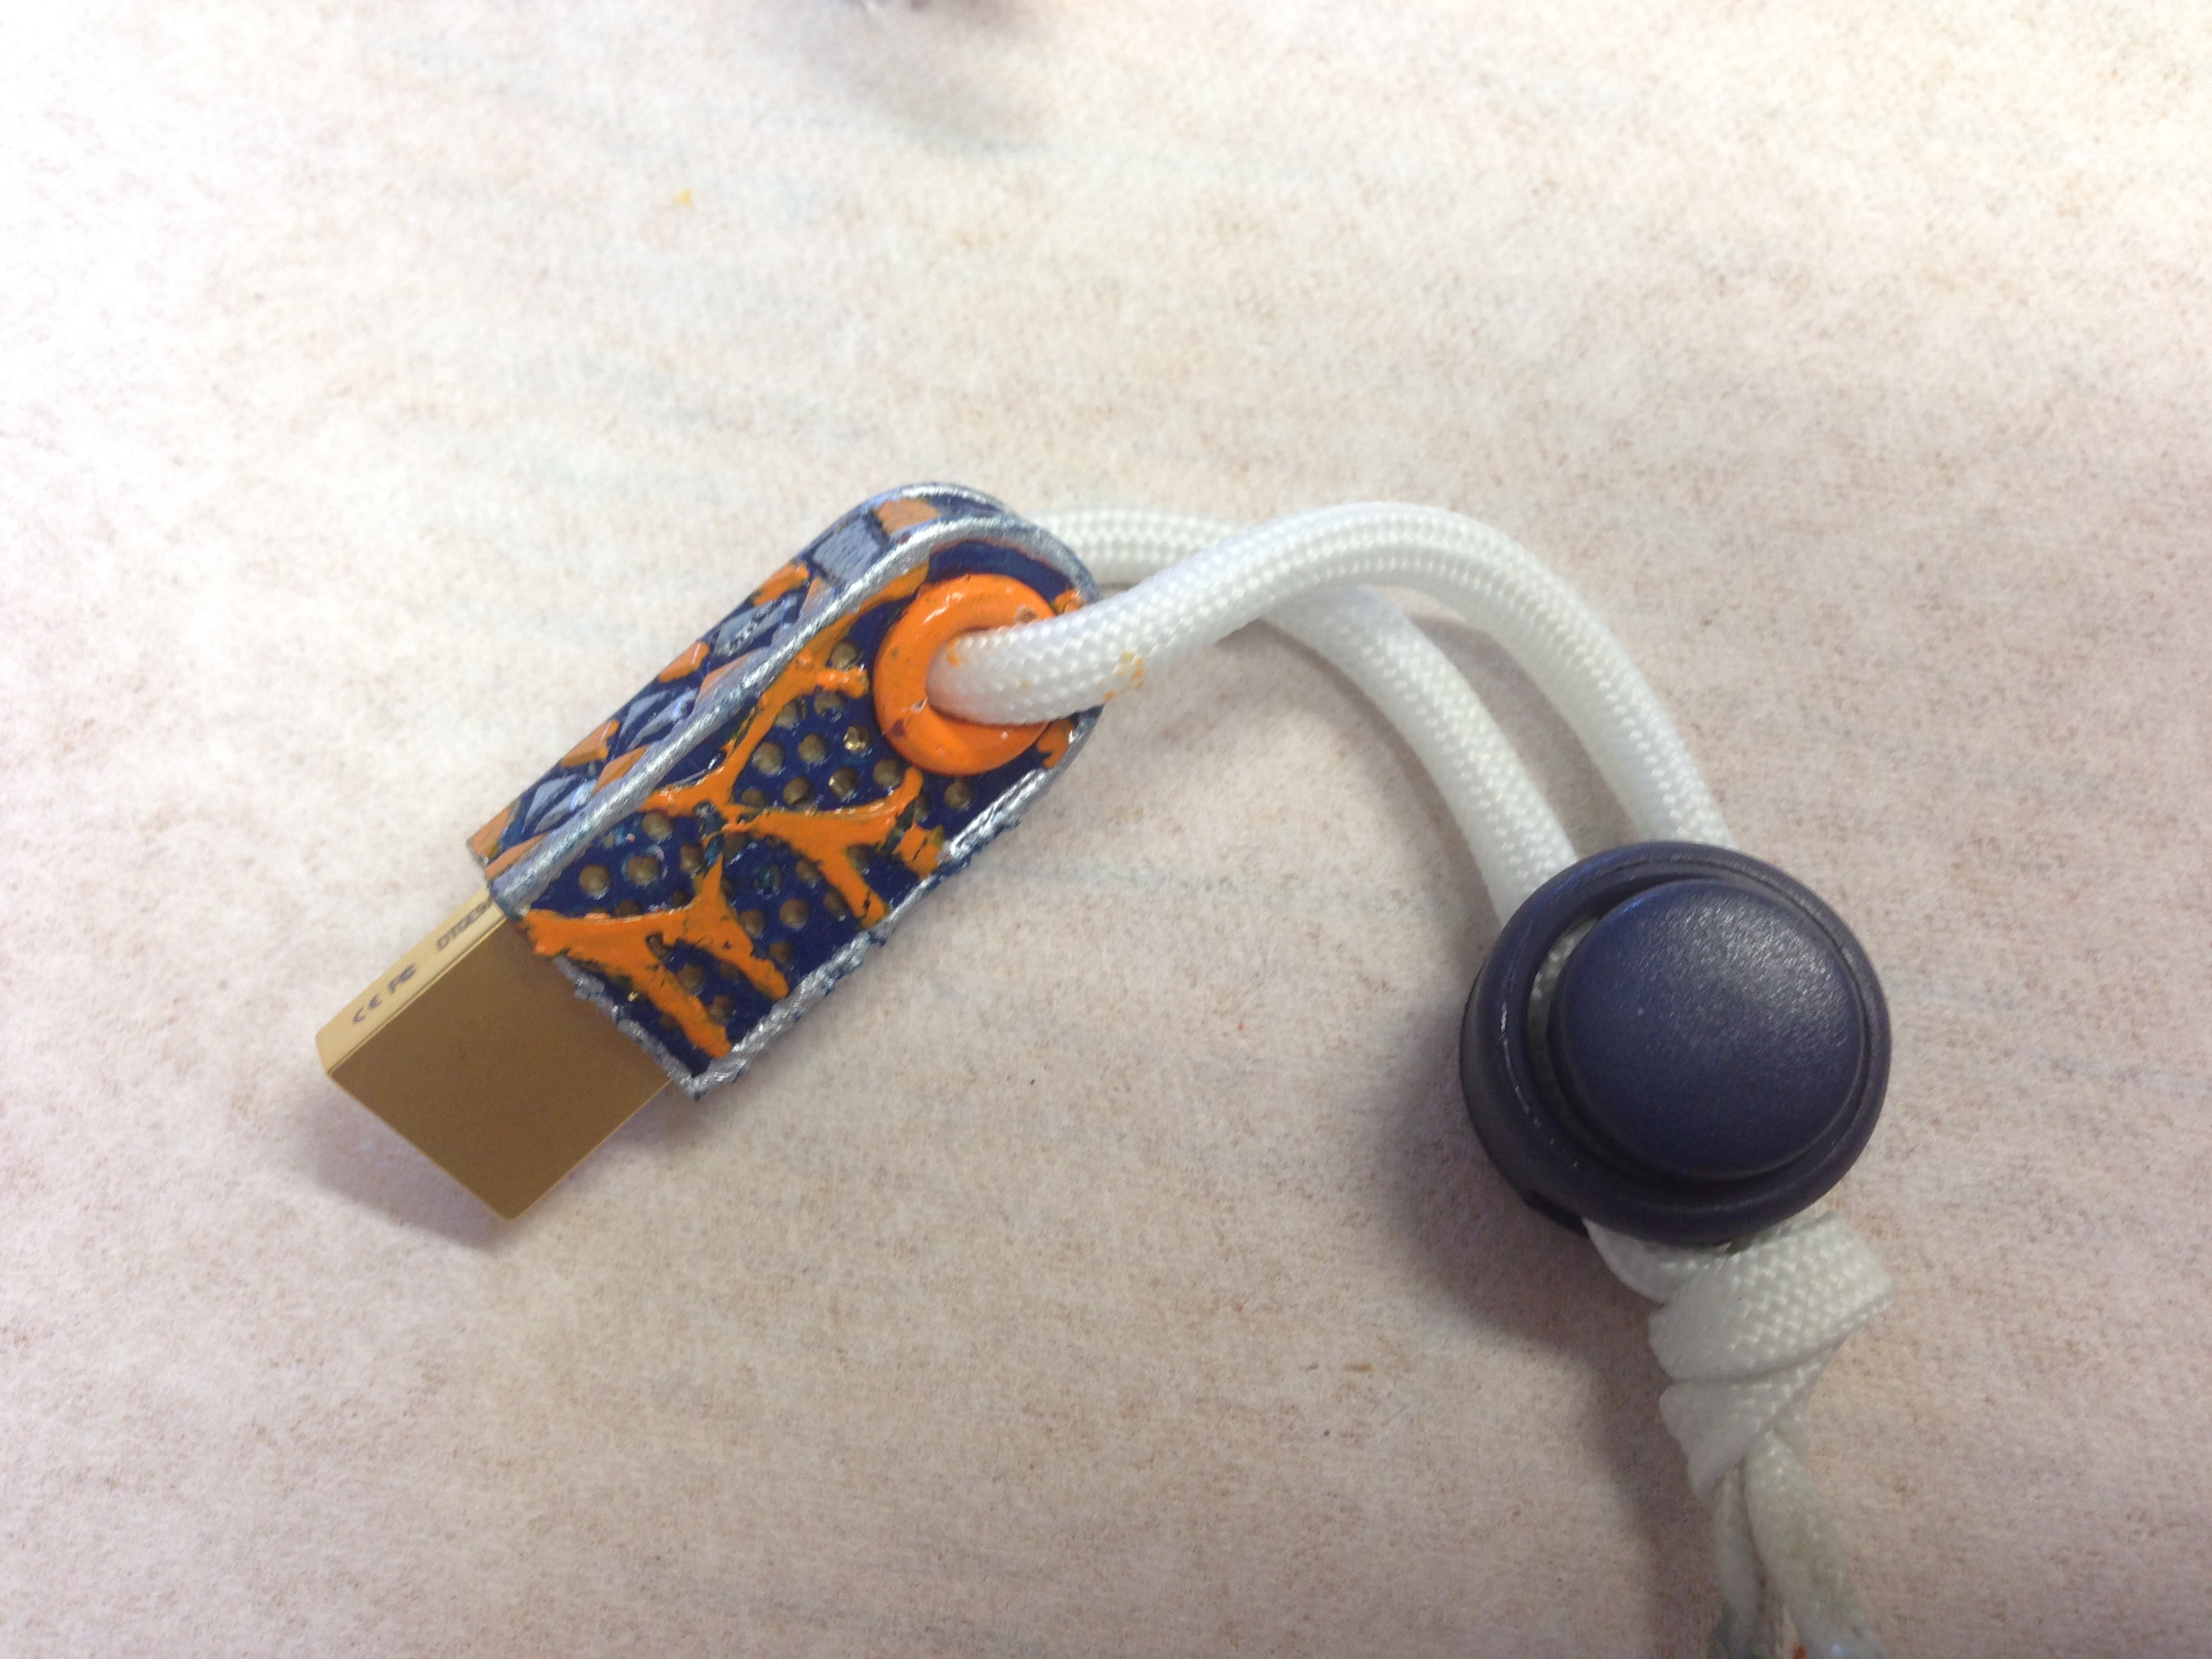
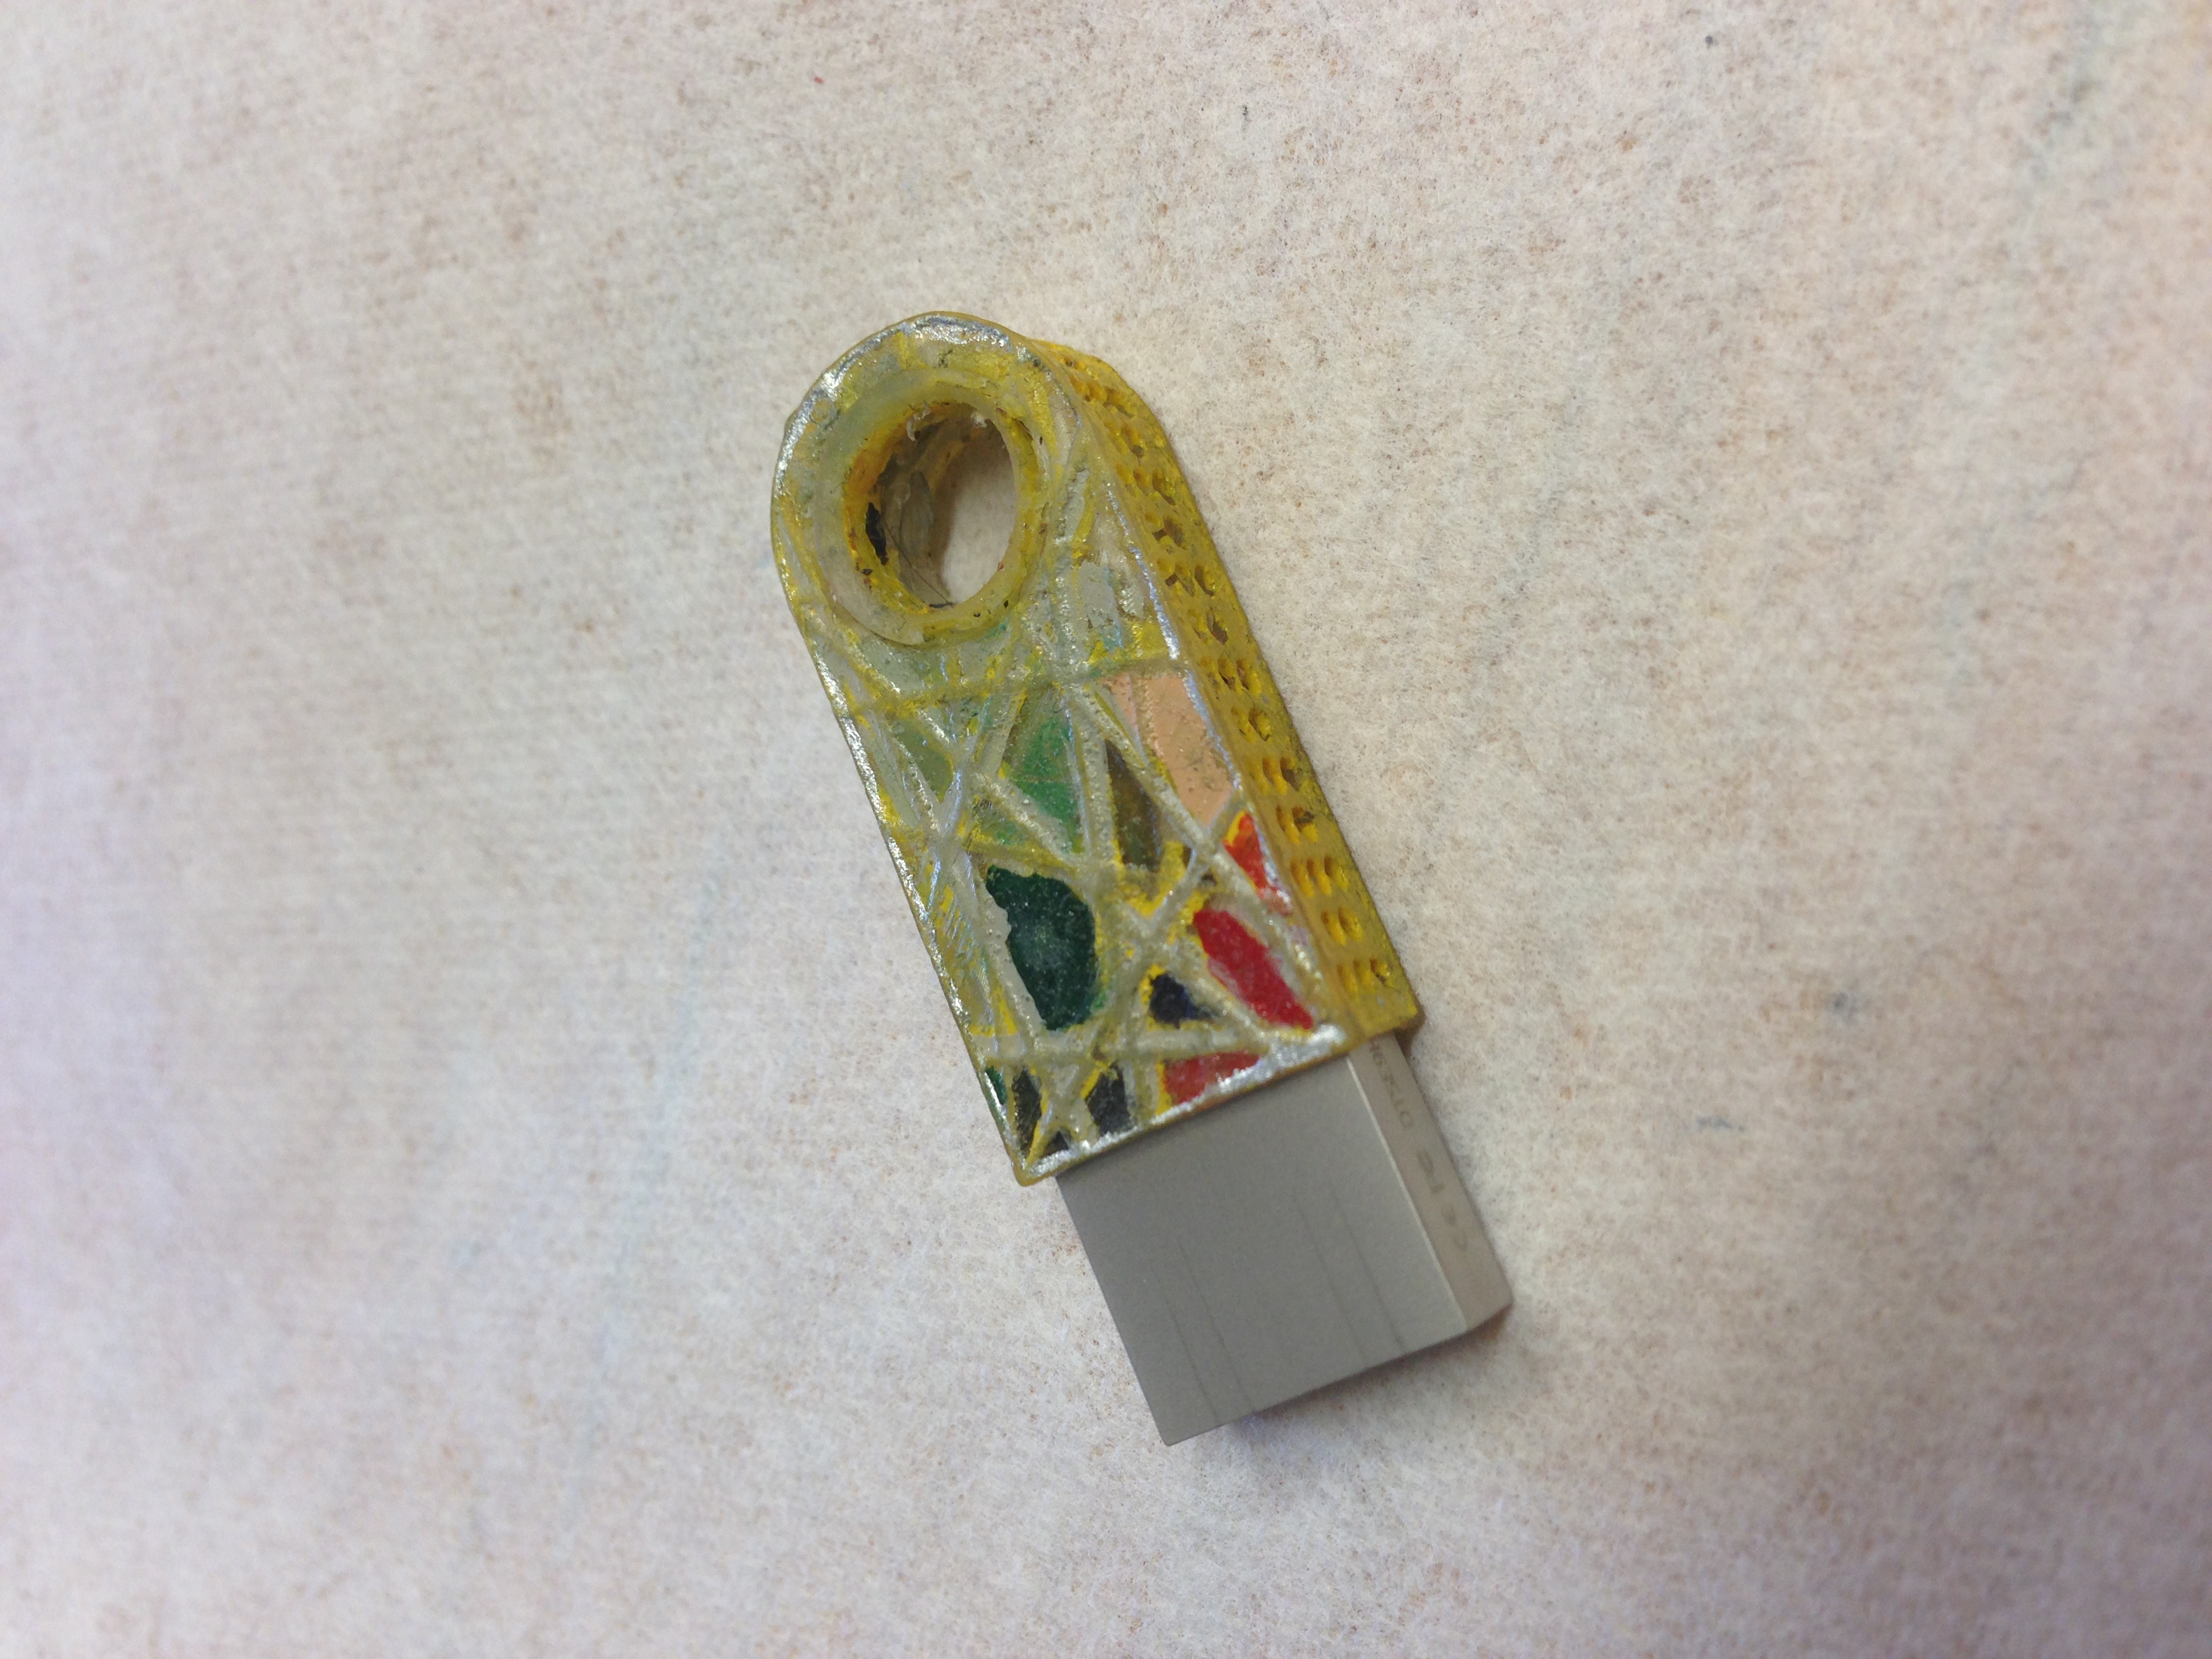
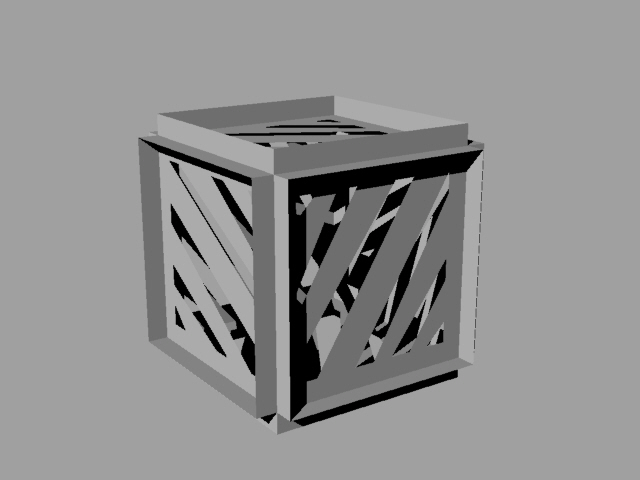
Design 3
For design 3, I definitely made the USB features more defined which lead to a more successful aesthetic looking part.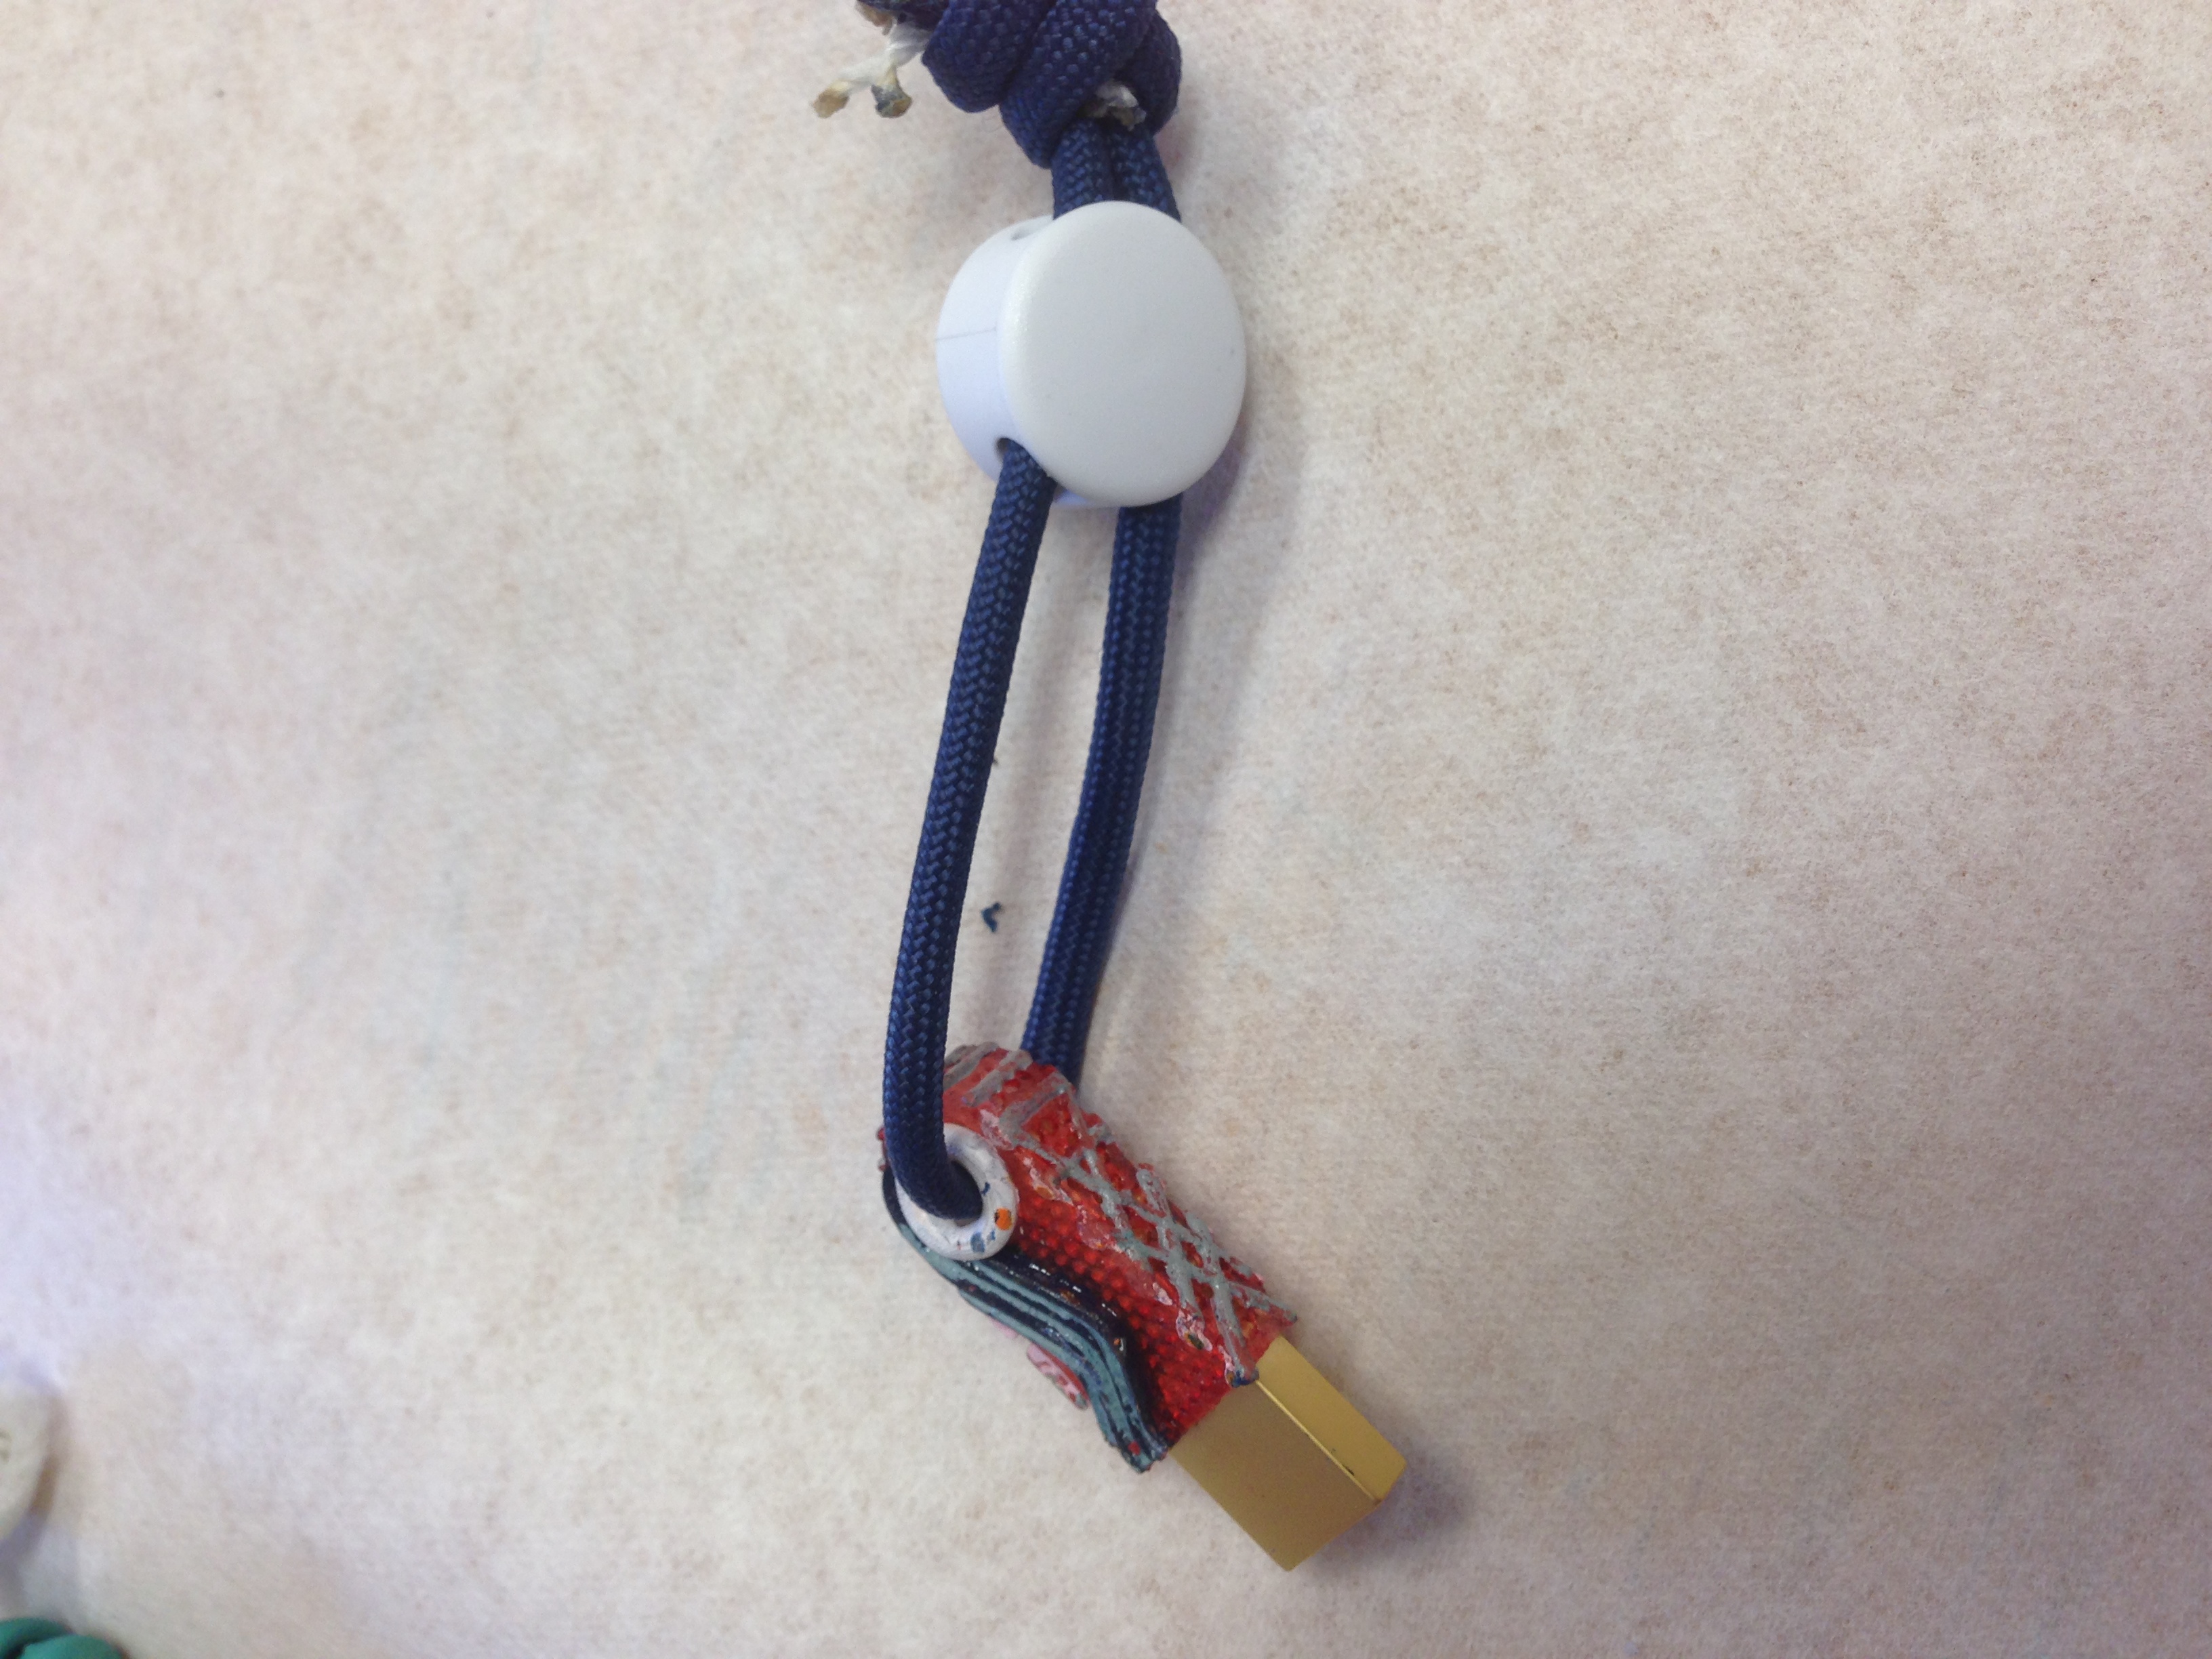
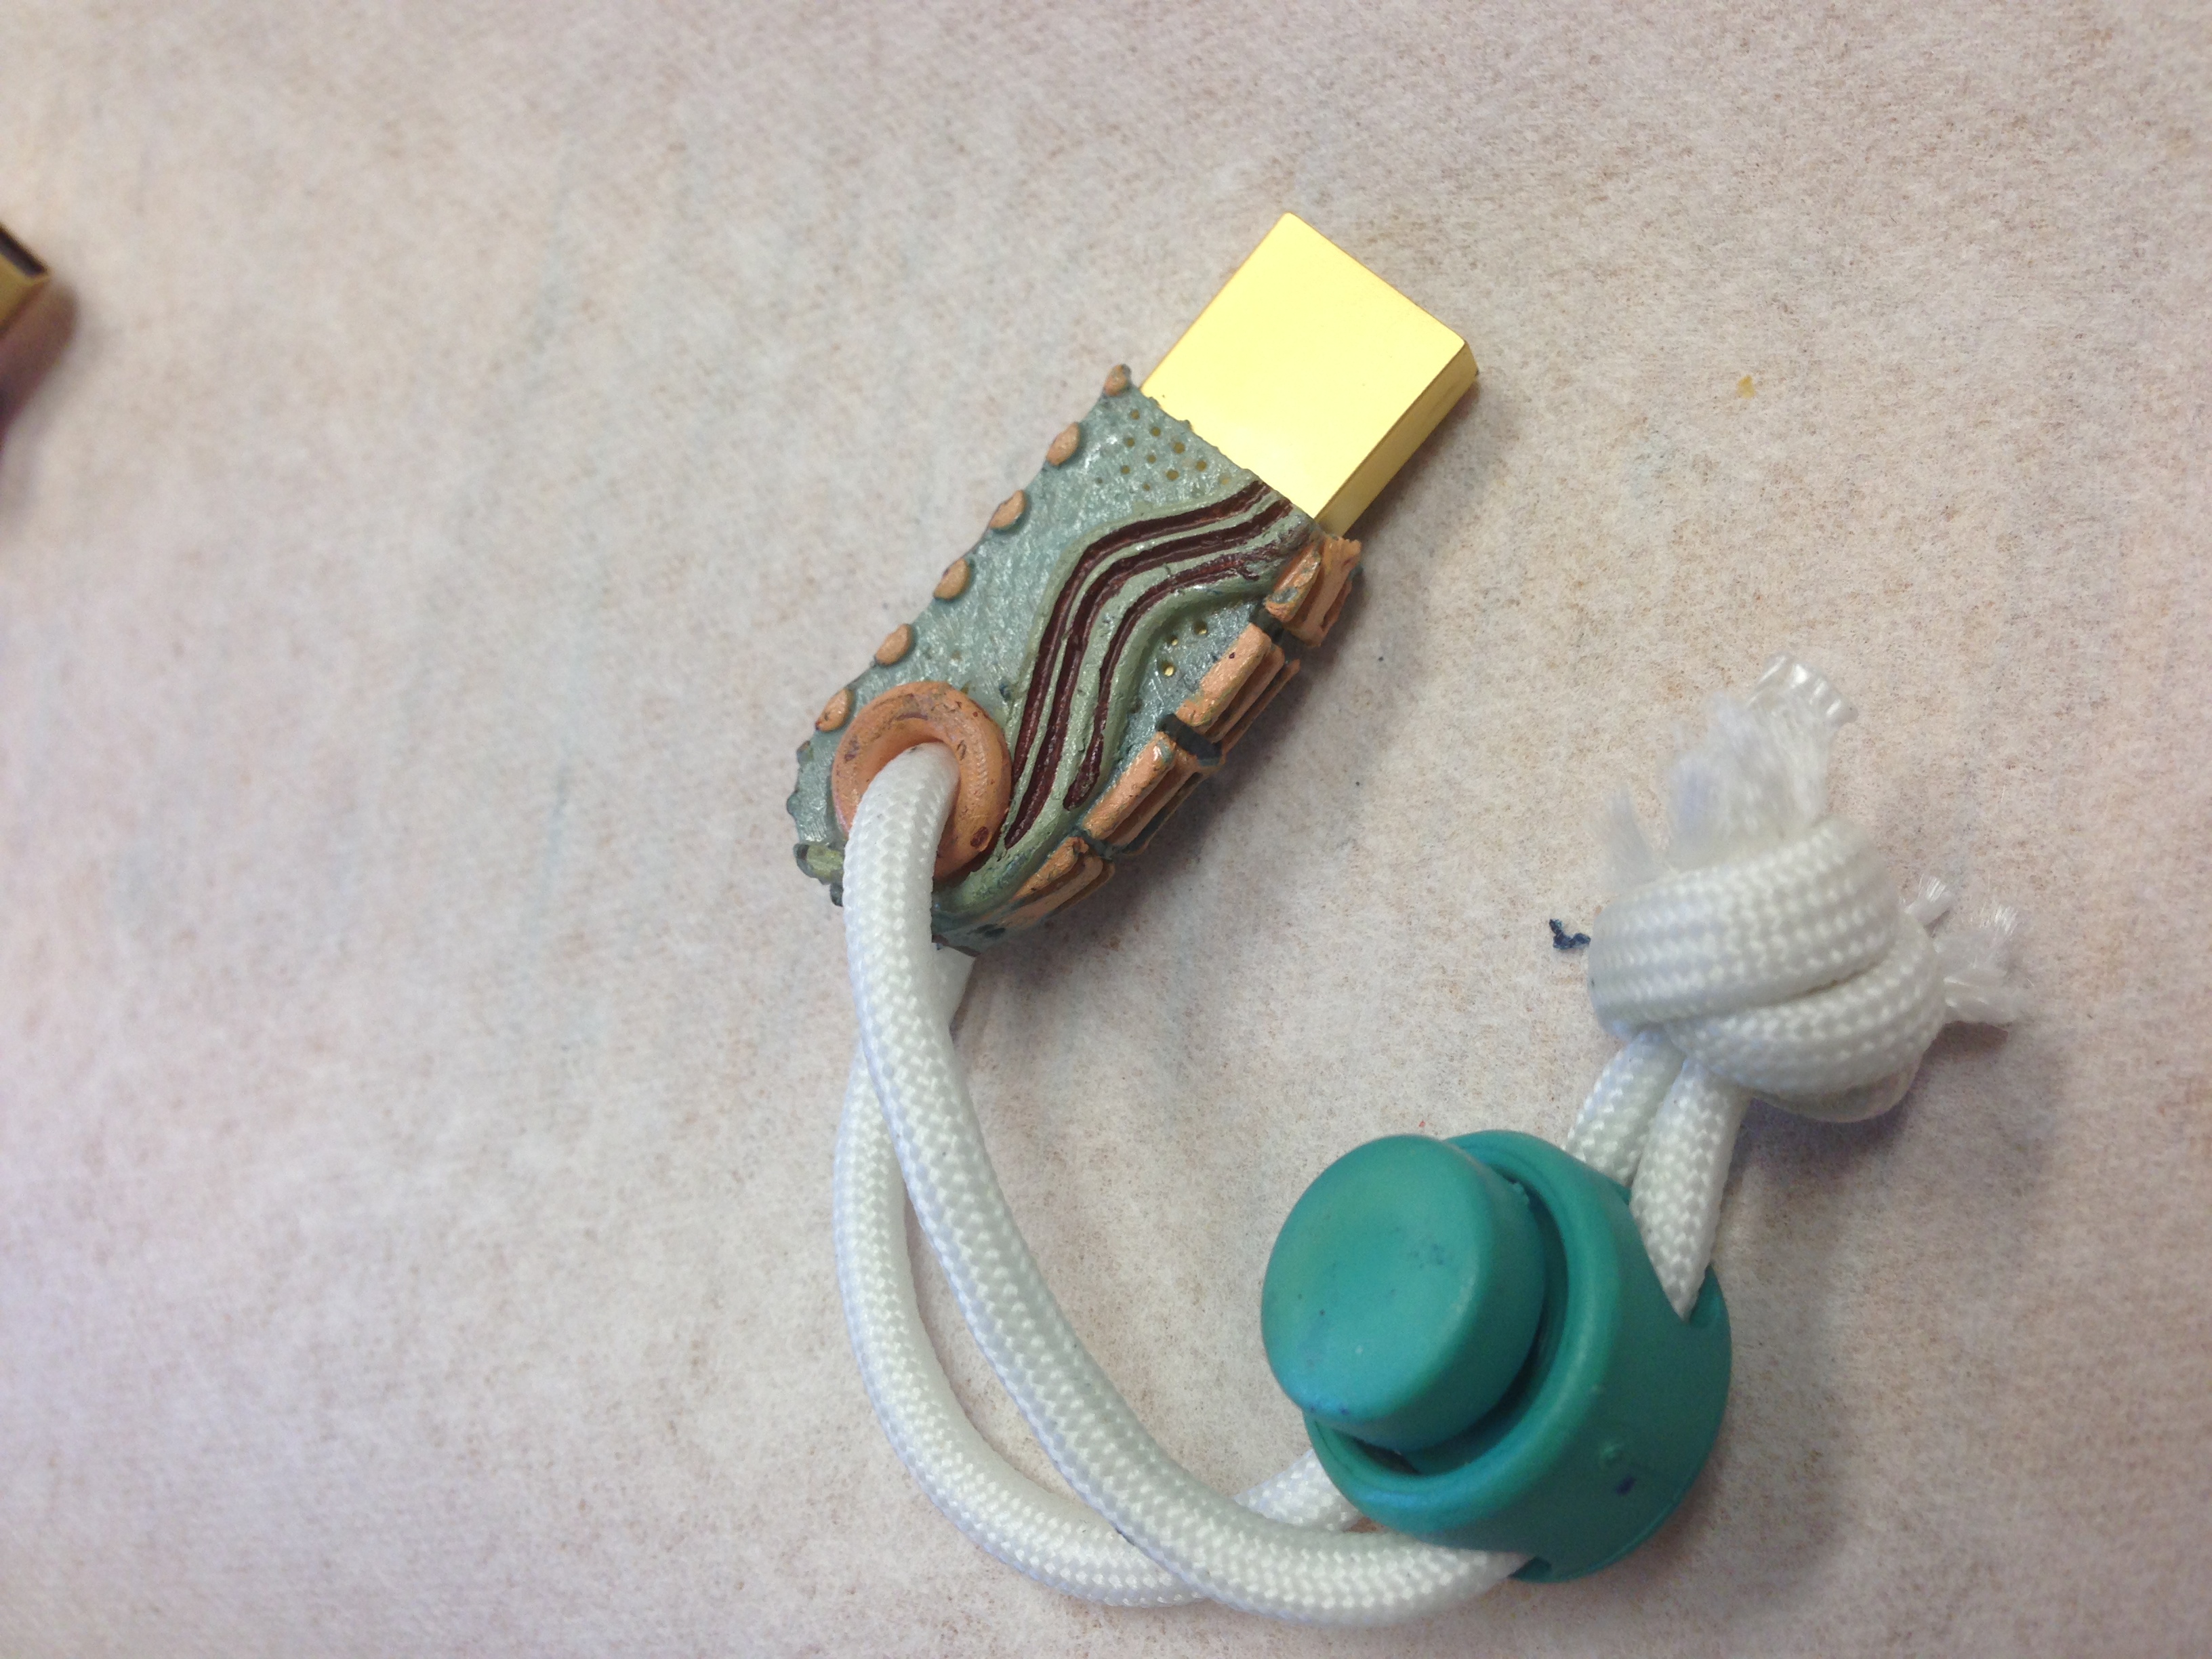
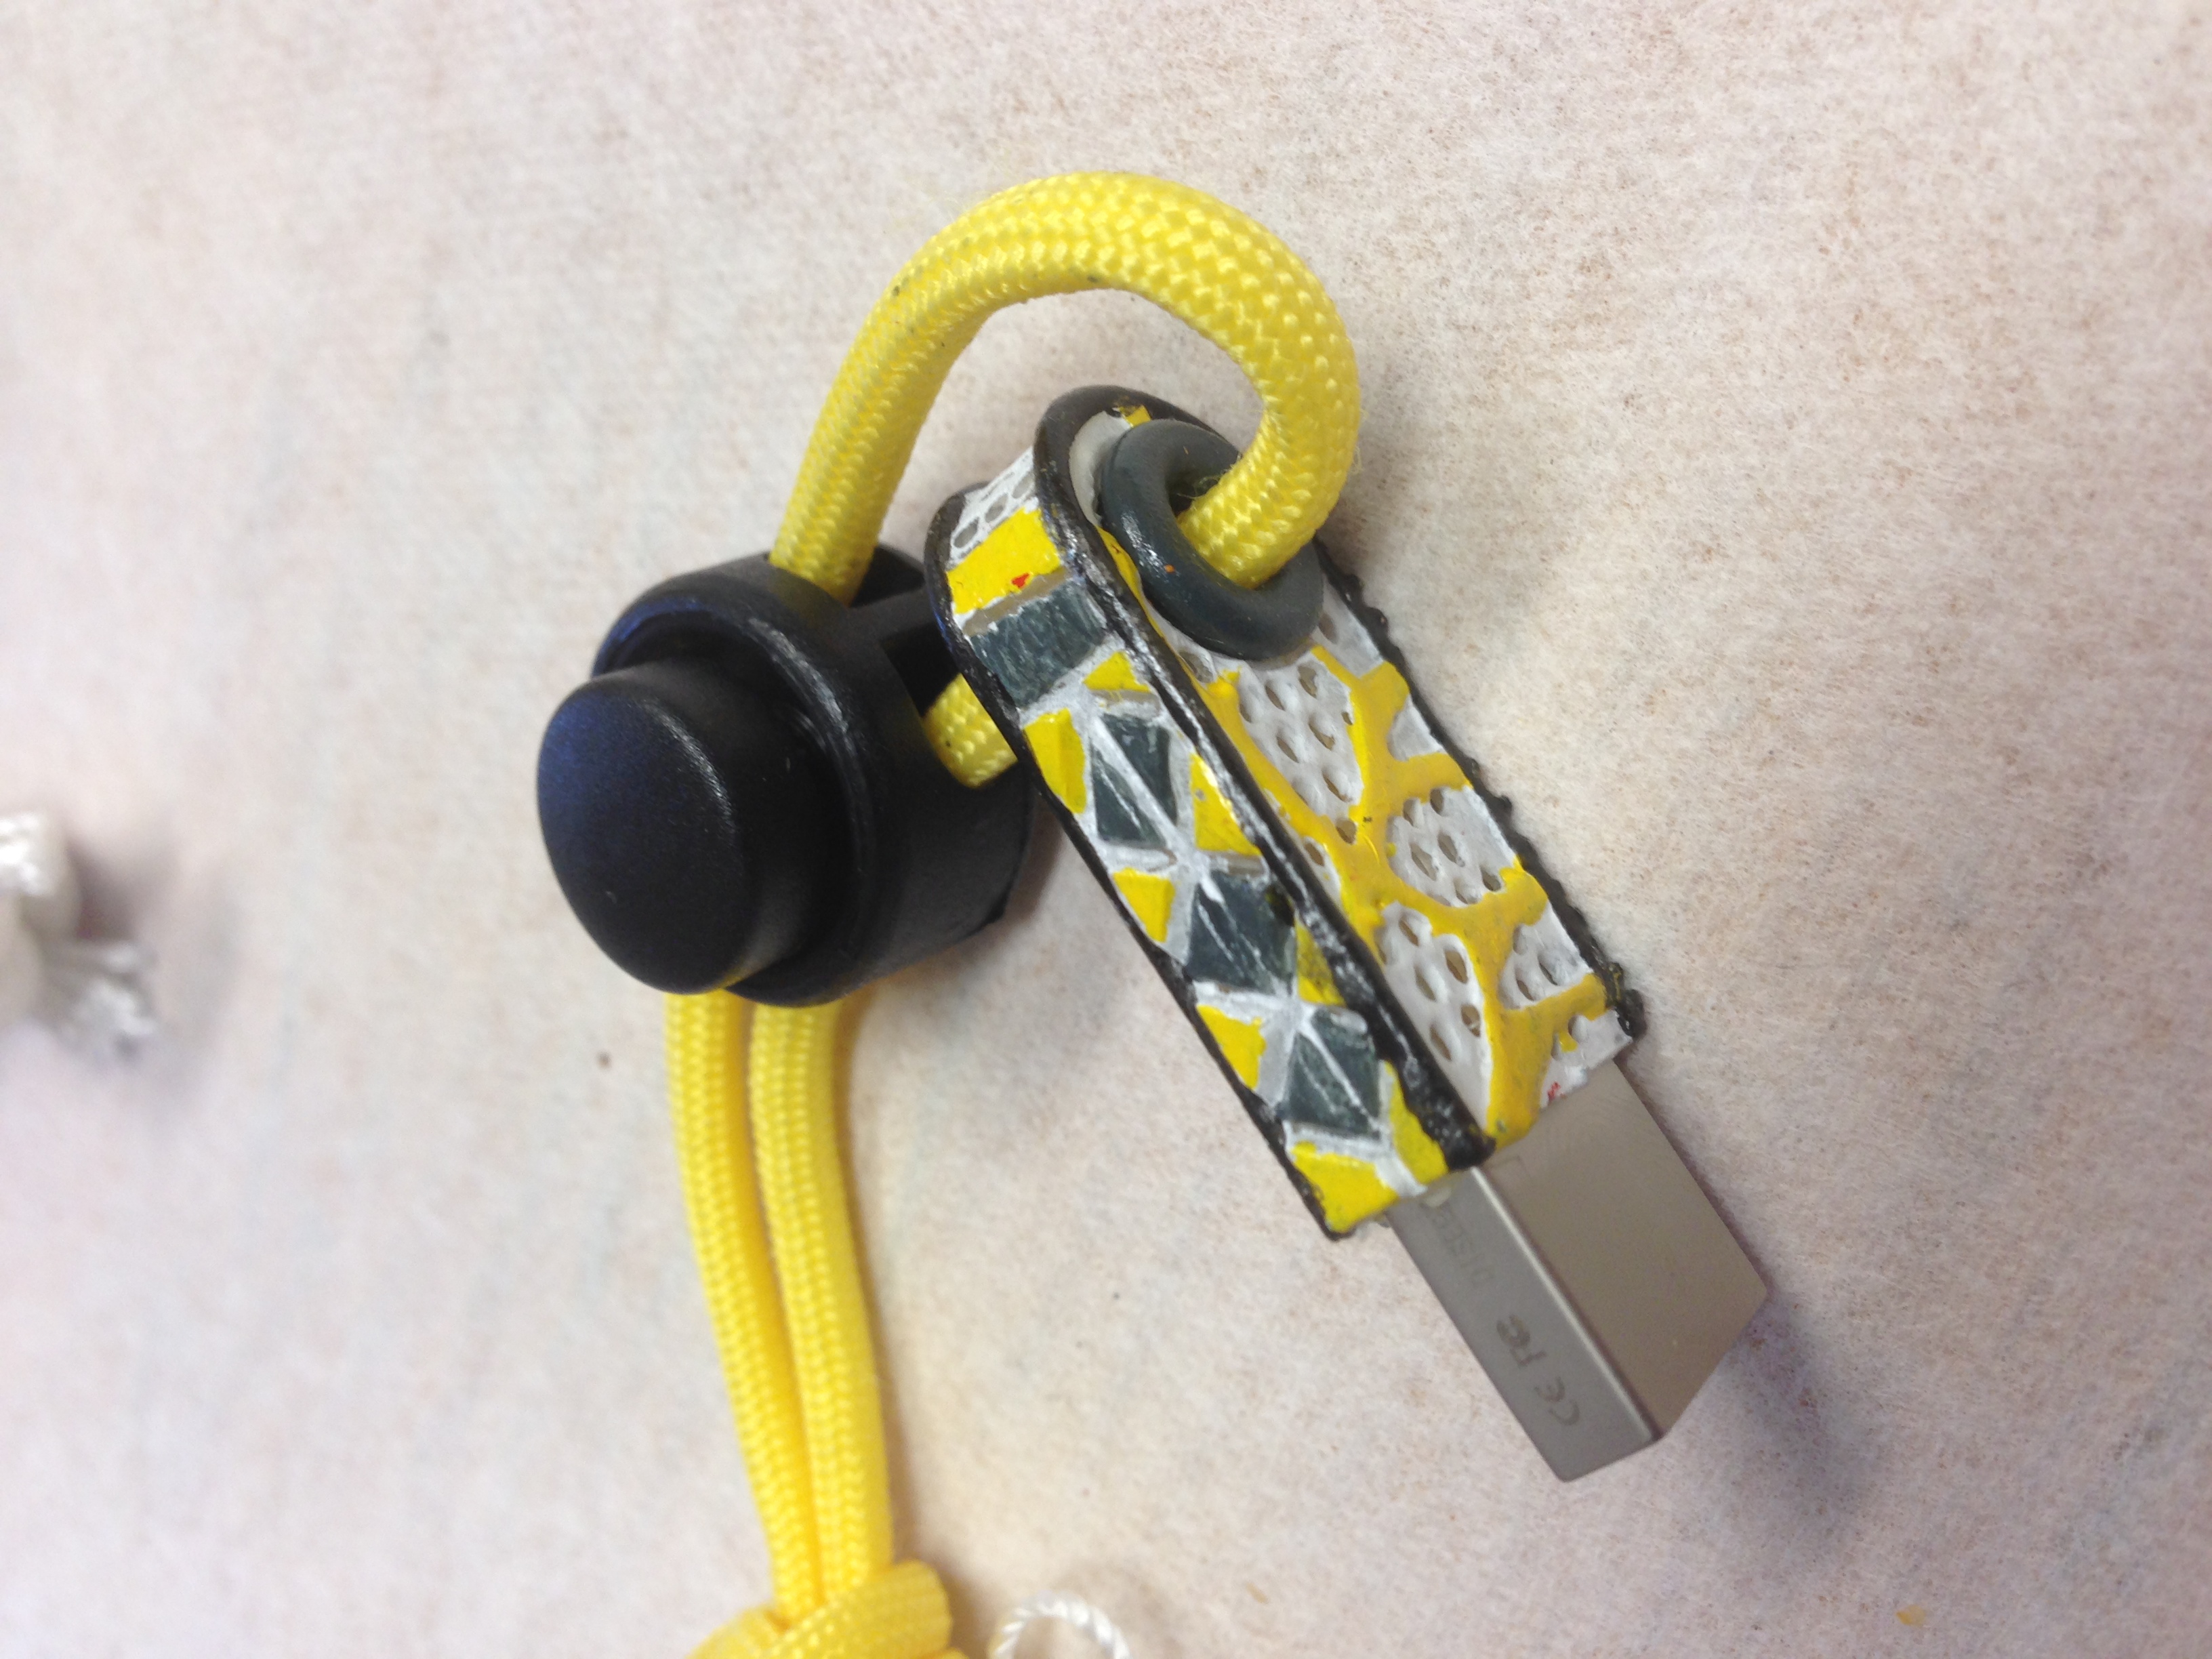
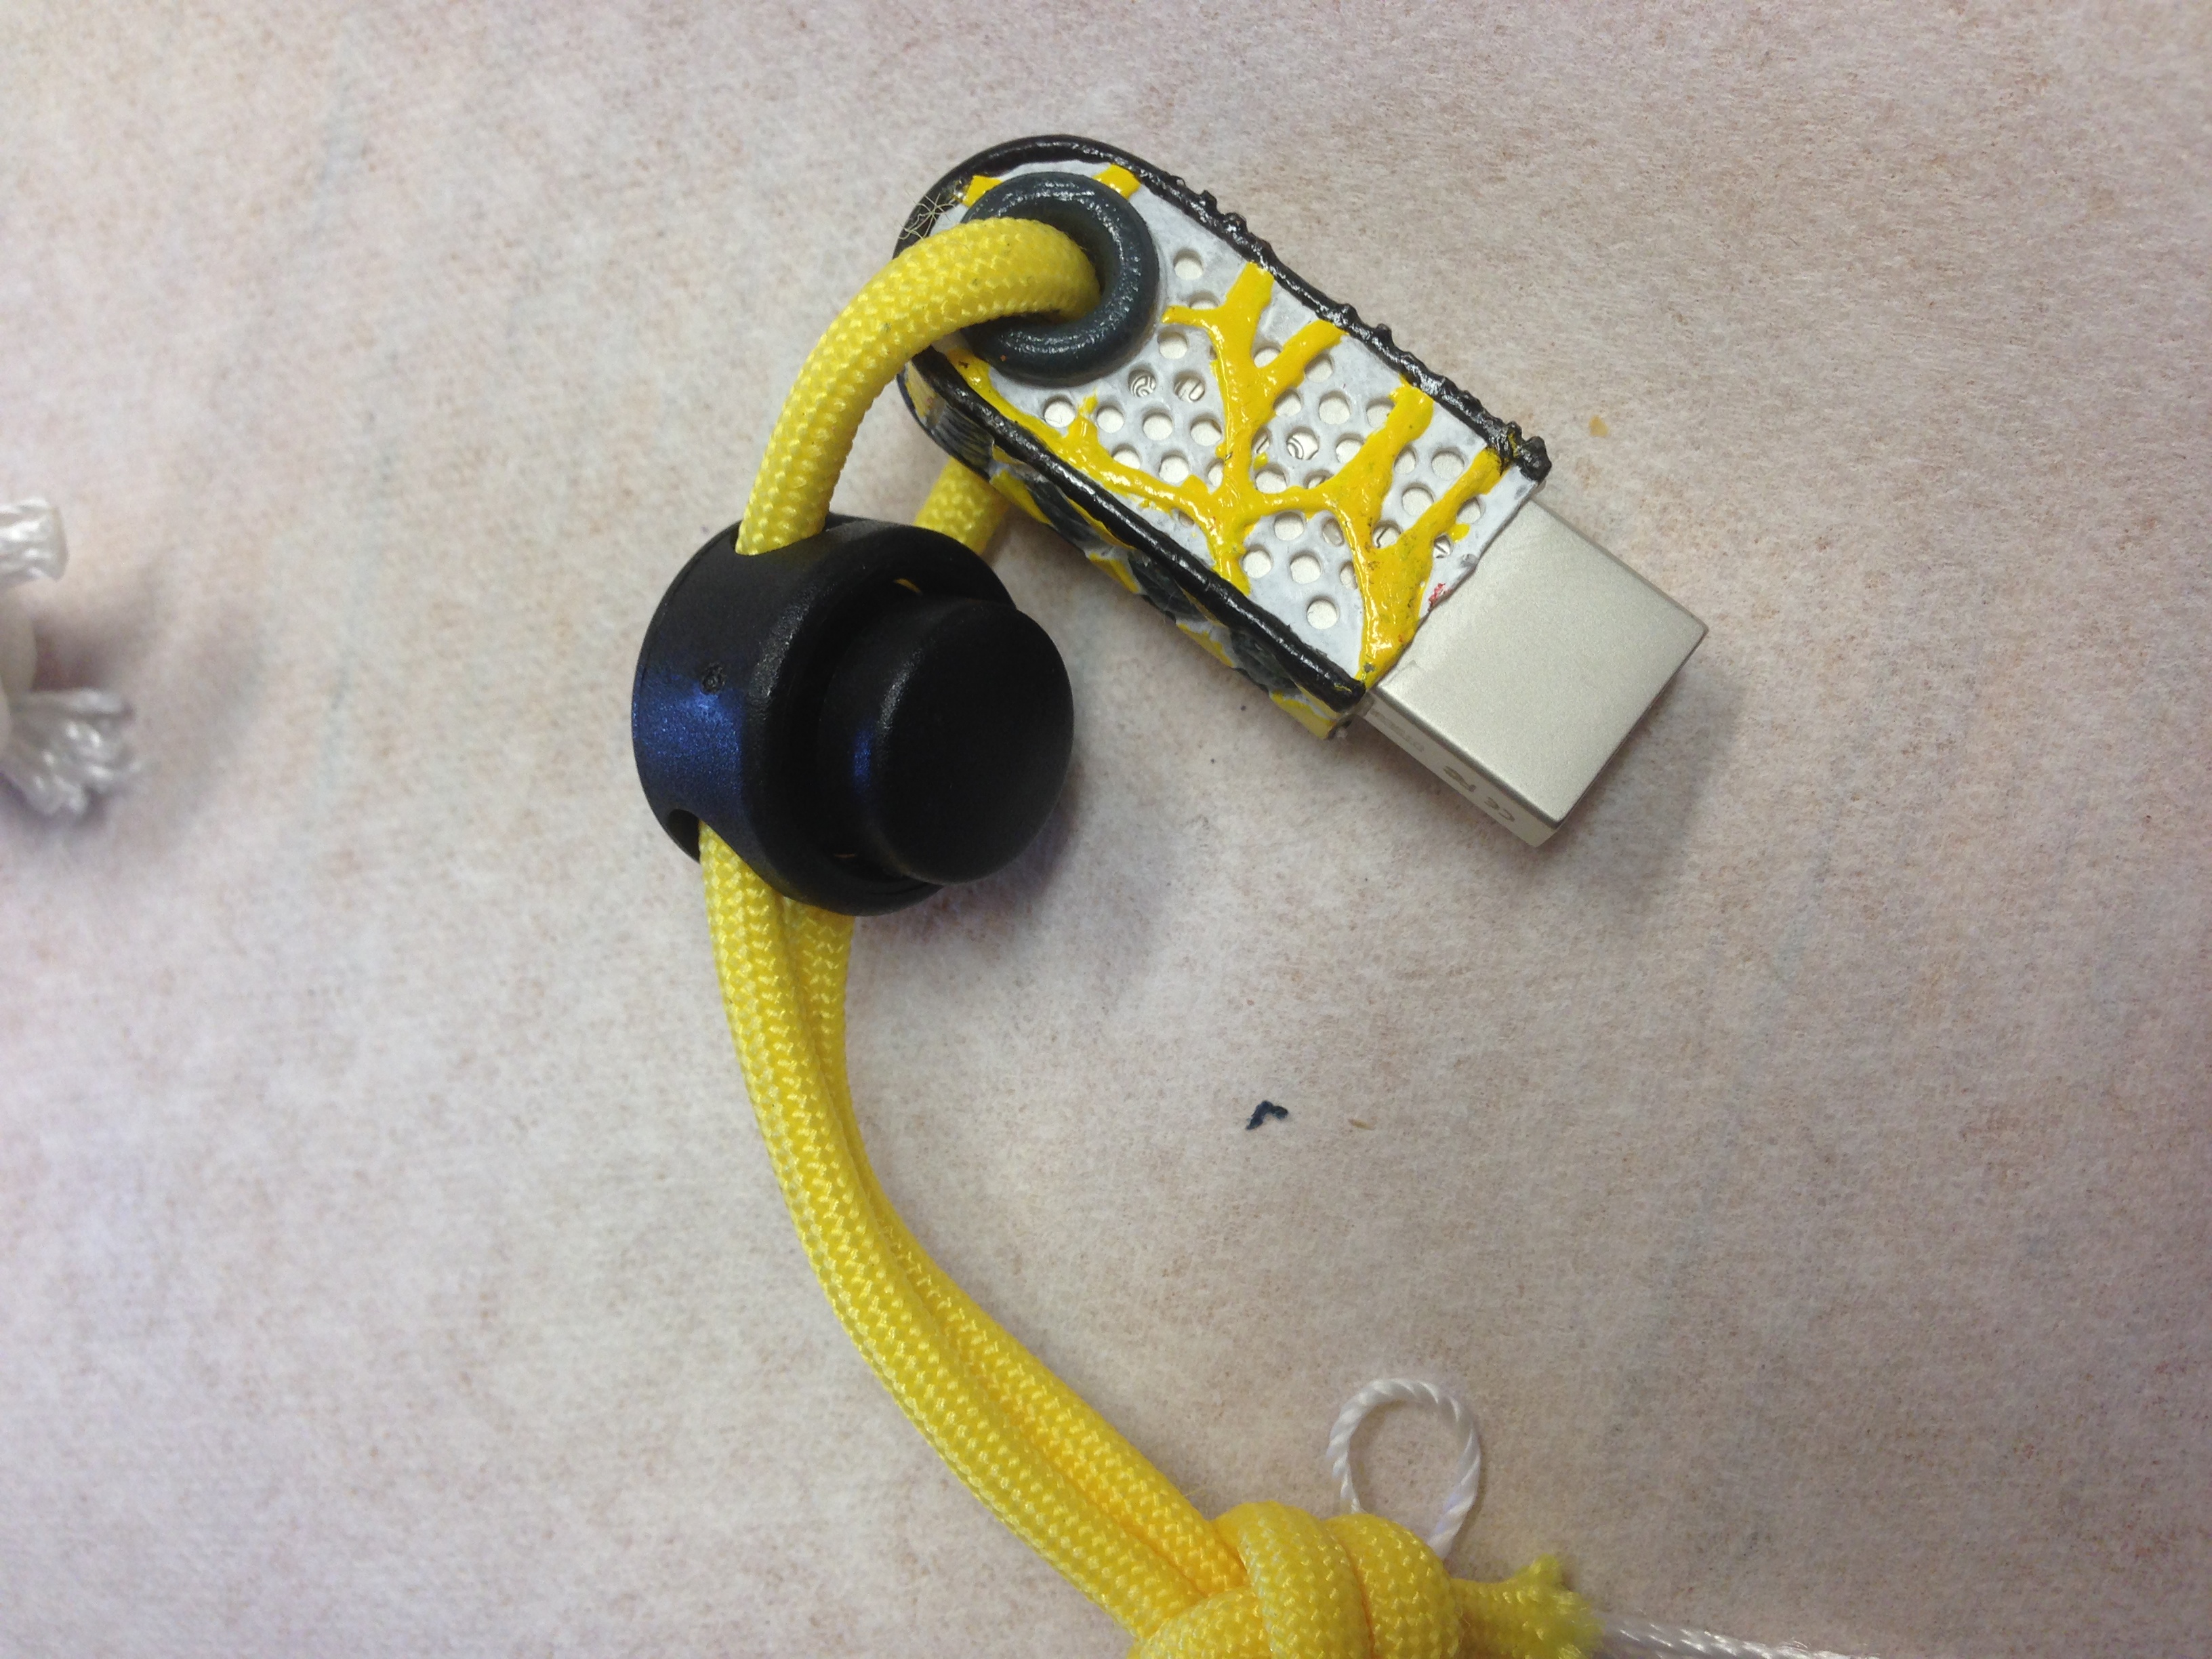
Design 2
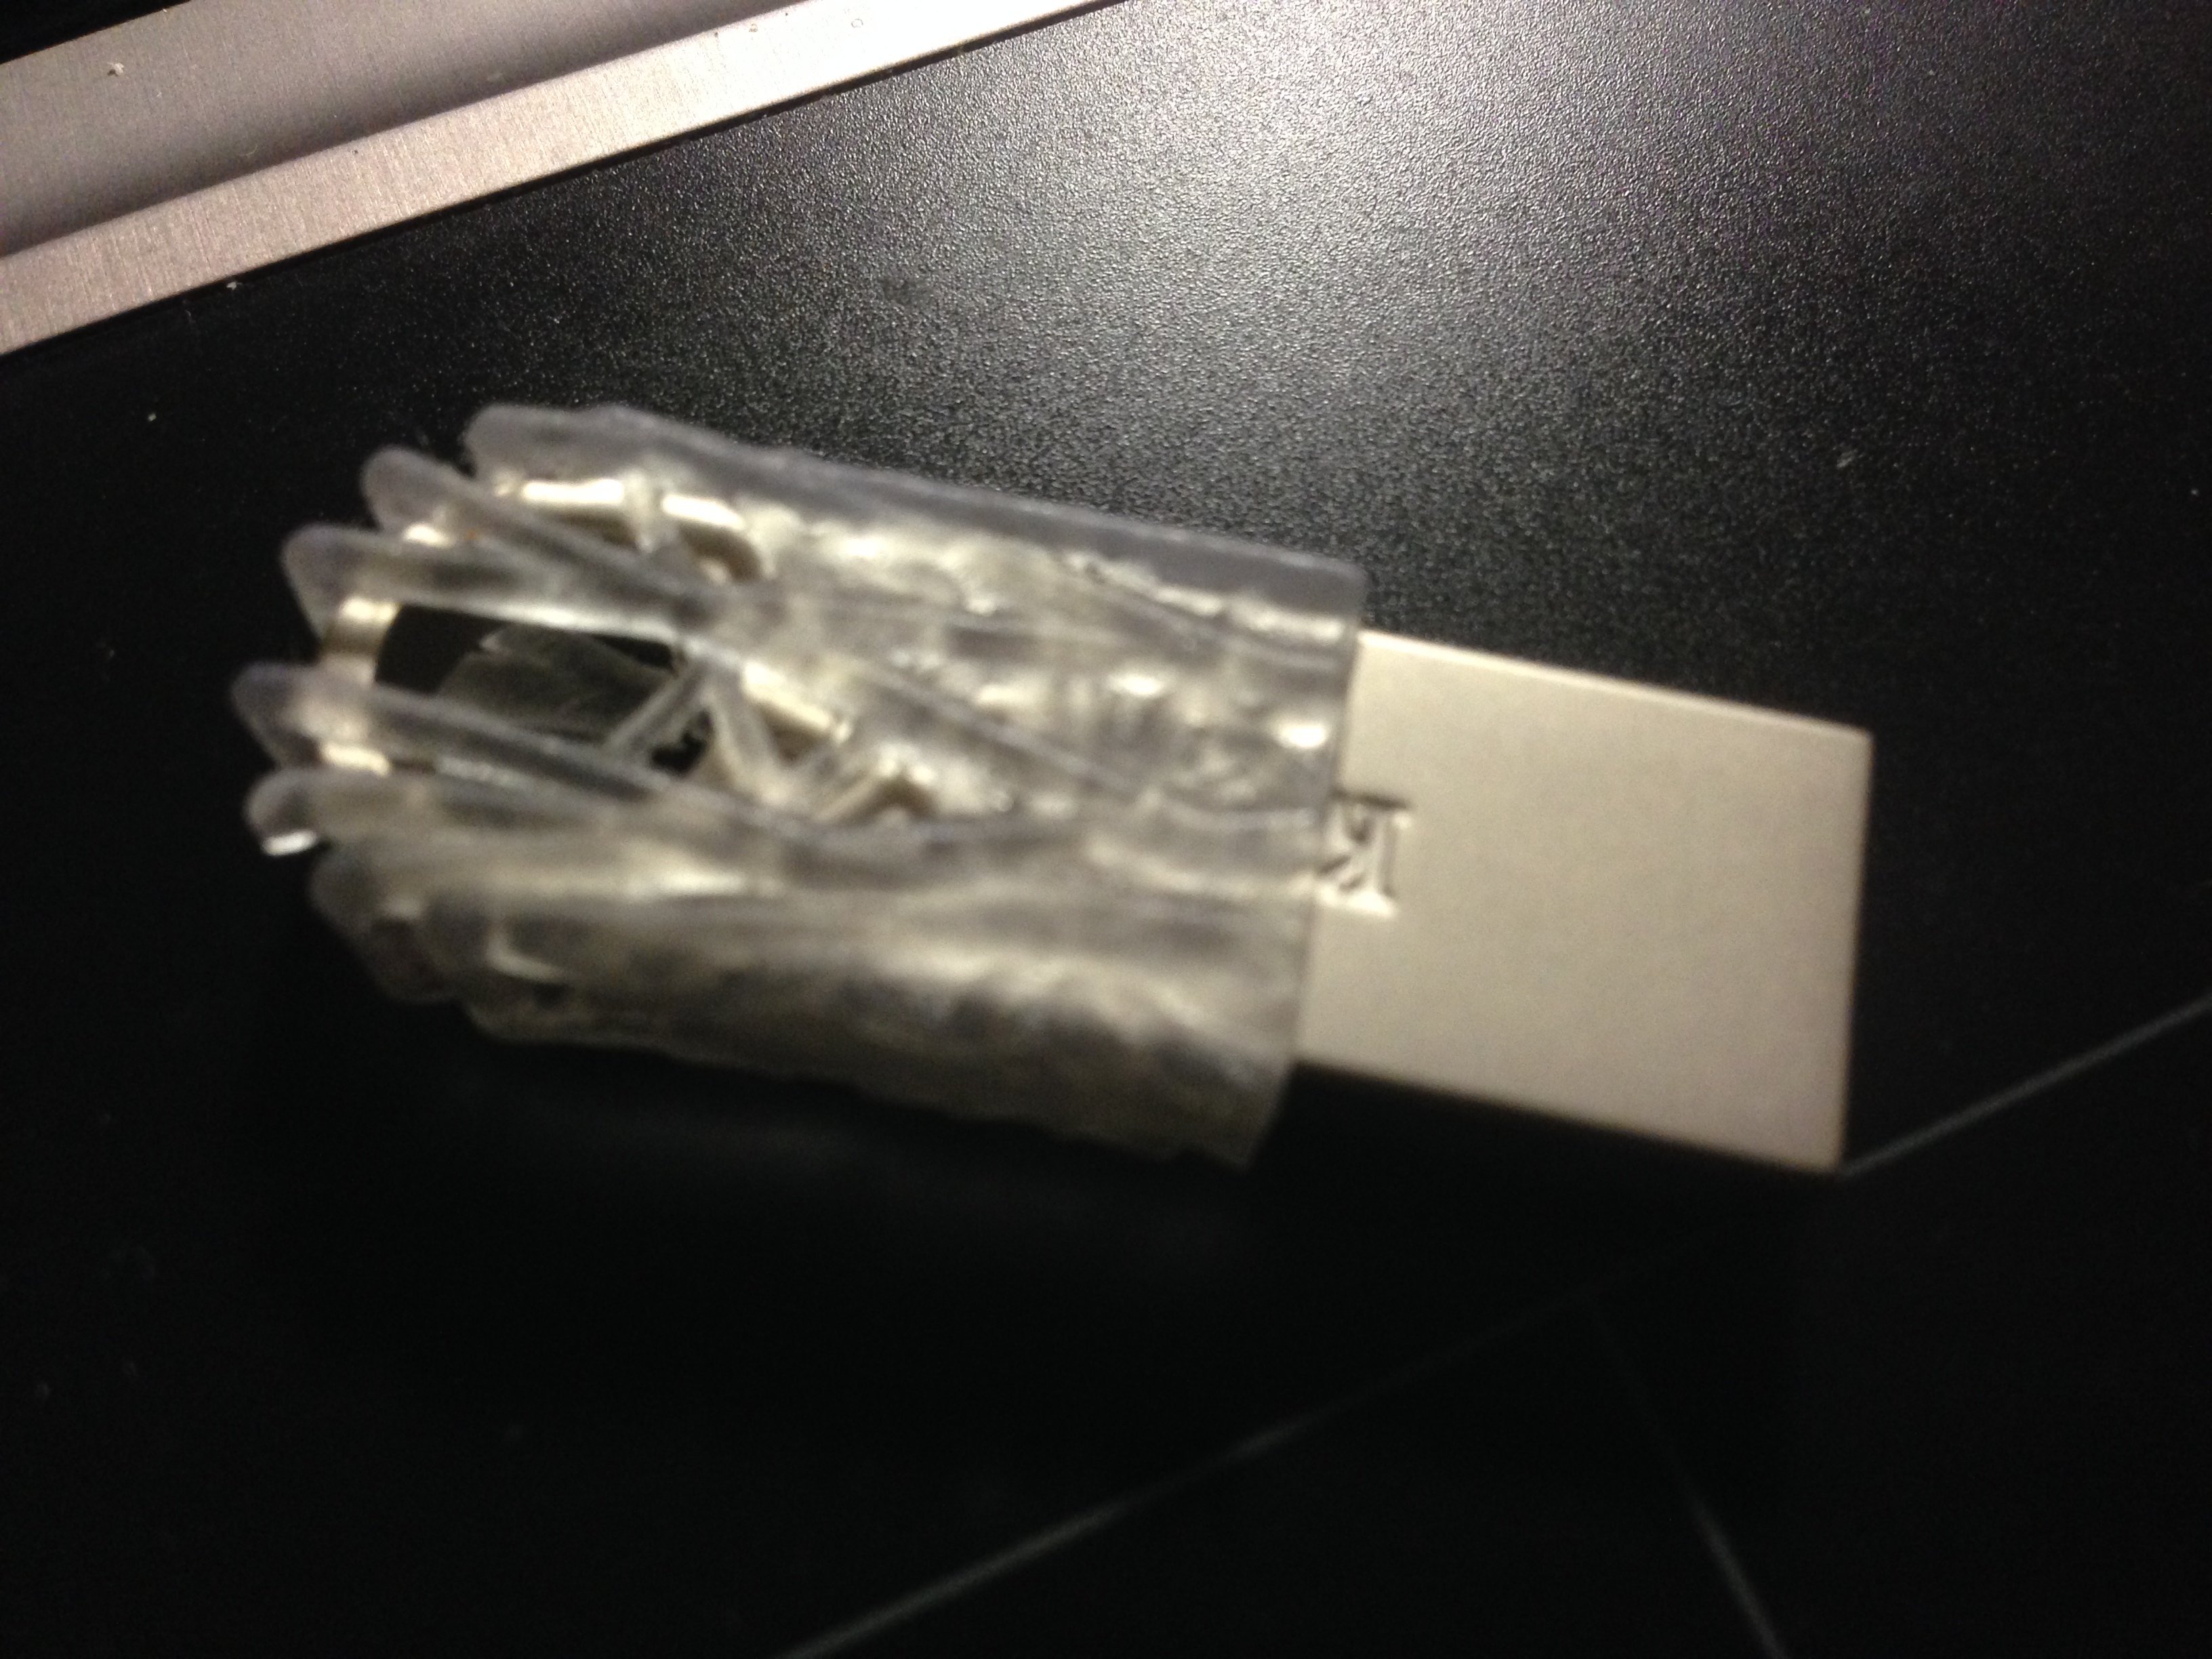
For the second printed design, I played with the idea of having two levels of webbing with two different colors. I also made the "sole" features more asymetric, but still I needed to make it more defined. This print was semi-unsuccessful because I printed it with one side having the inner hole ring already. As a result, installing the USB into the case is quite difficult. The USB pictured below was literally forcifully shoved into the case.
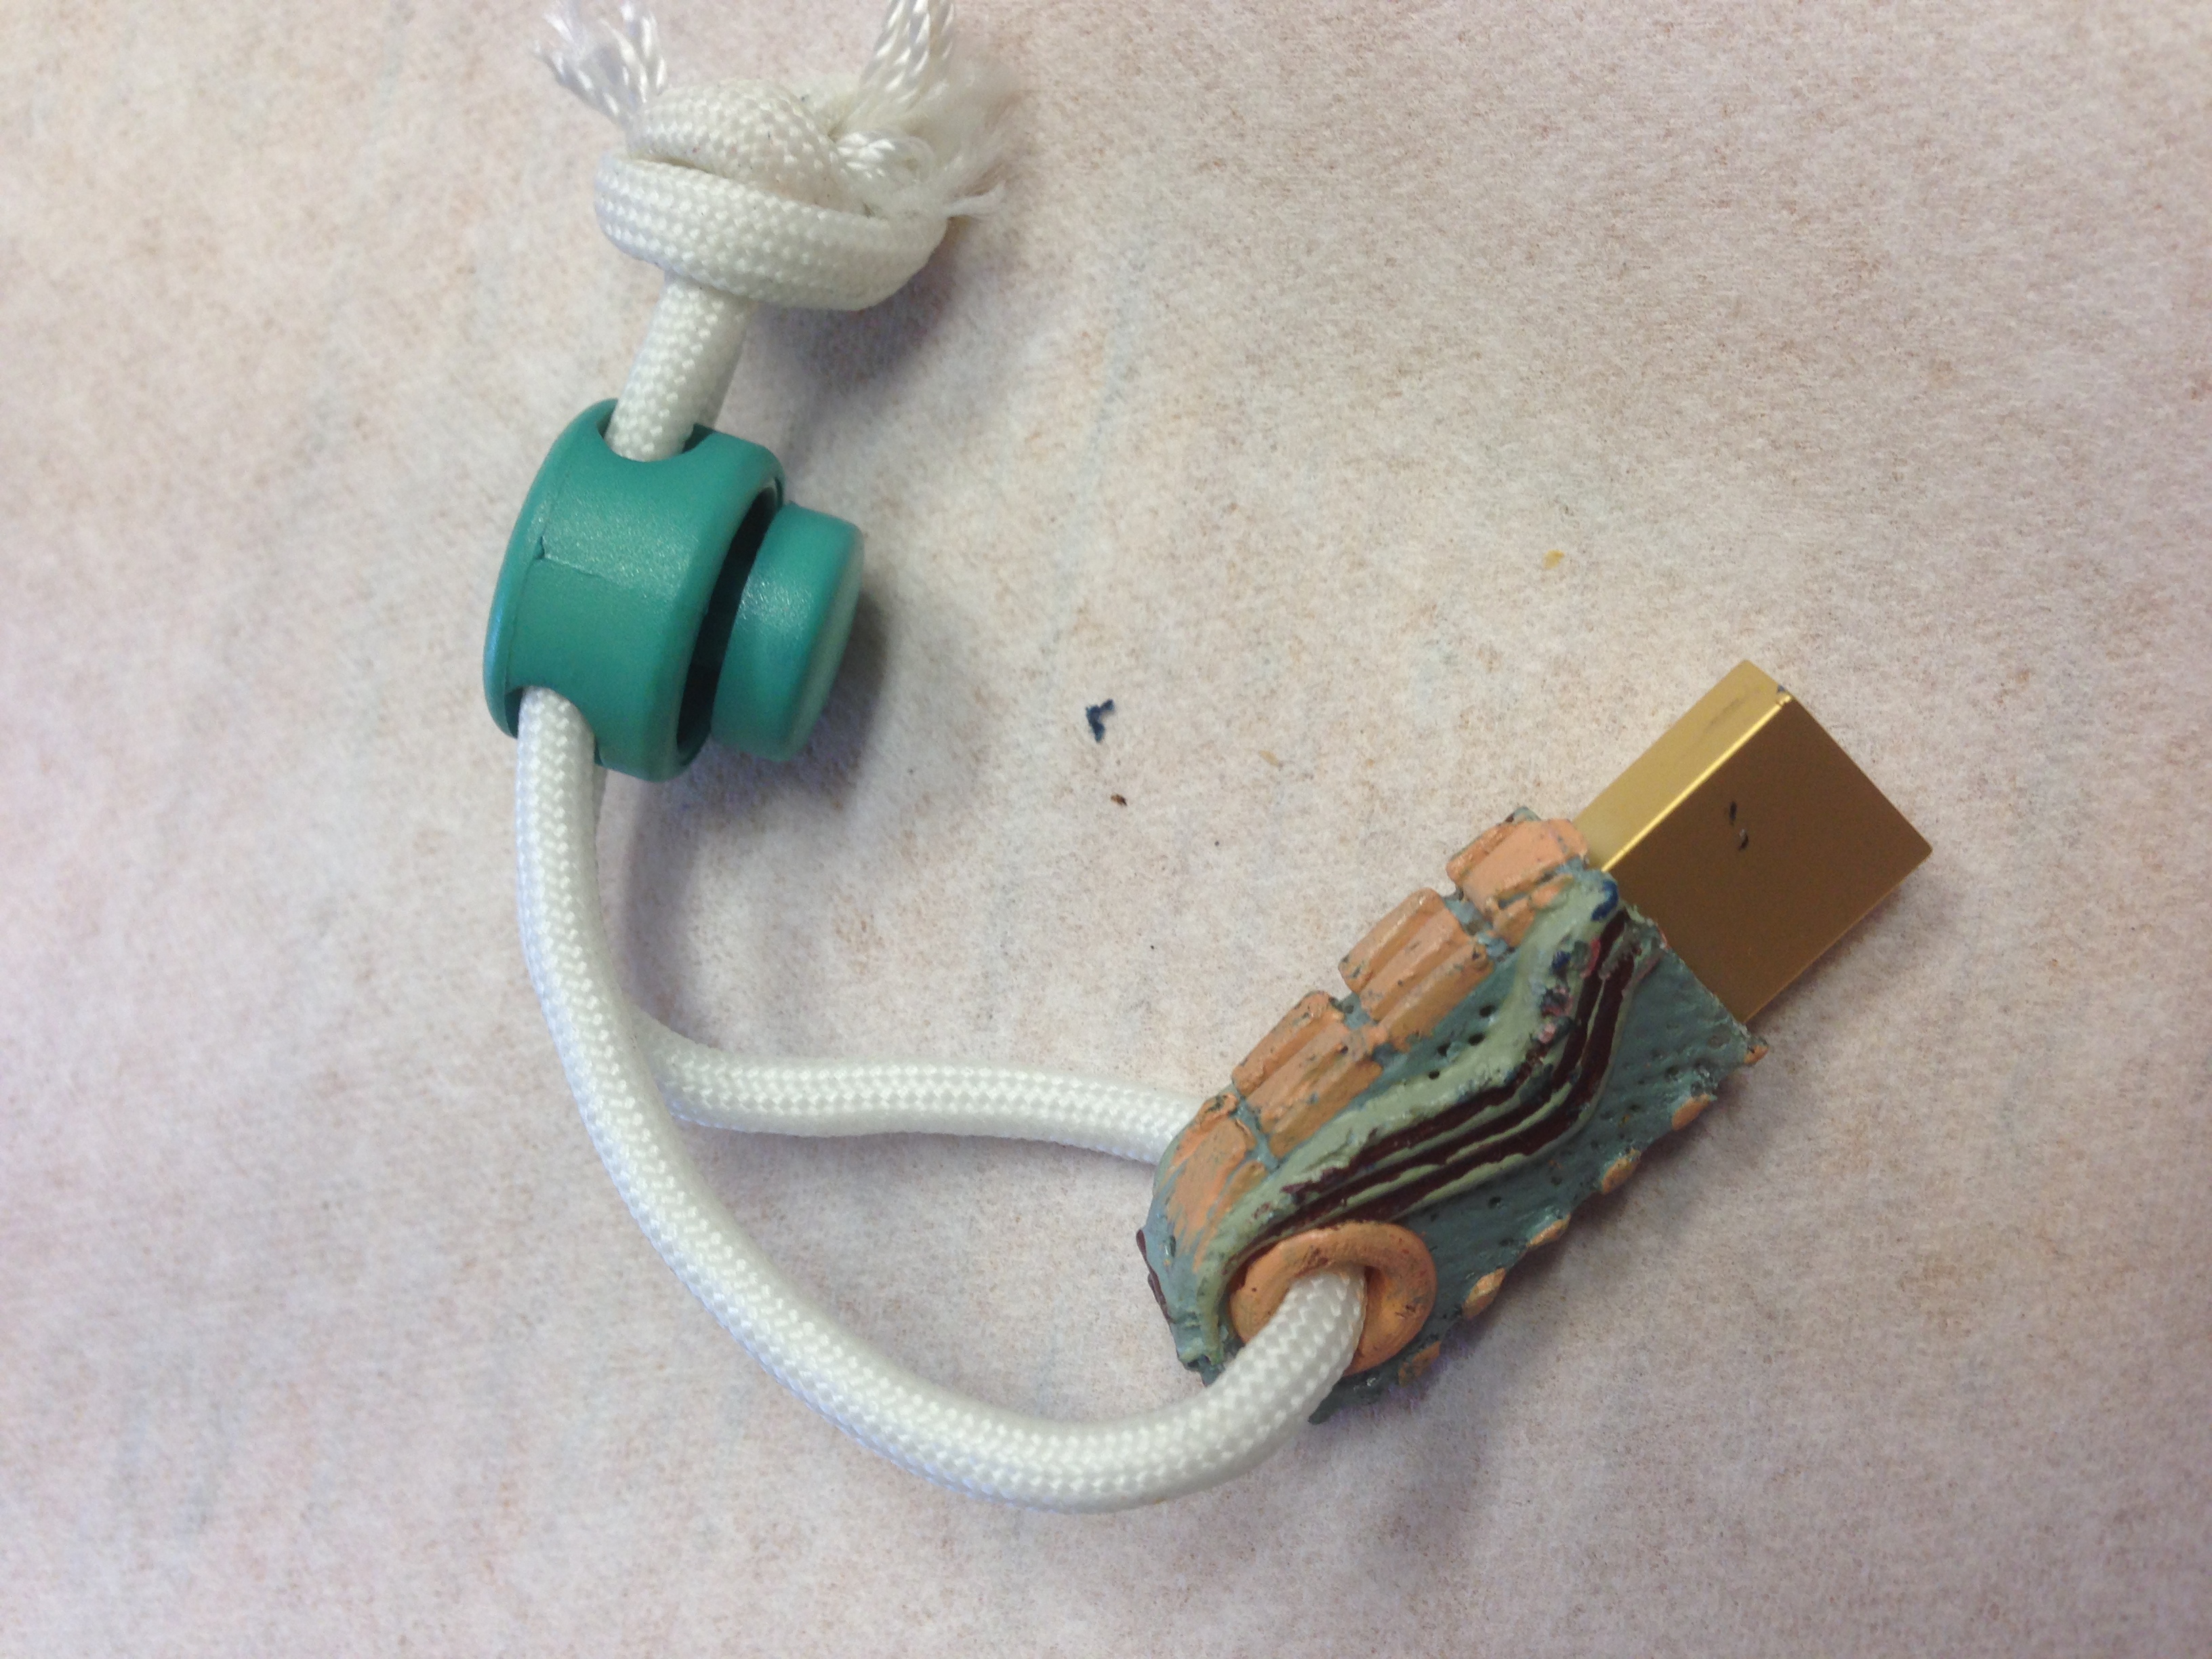
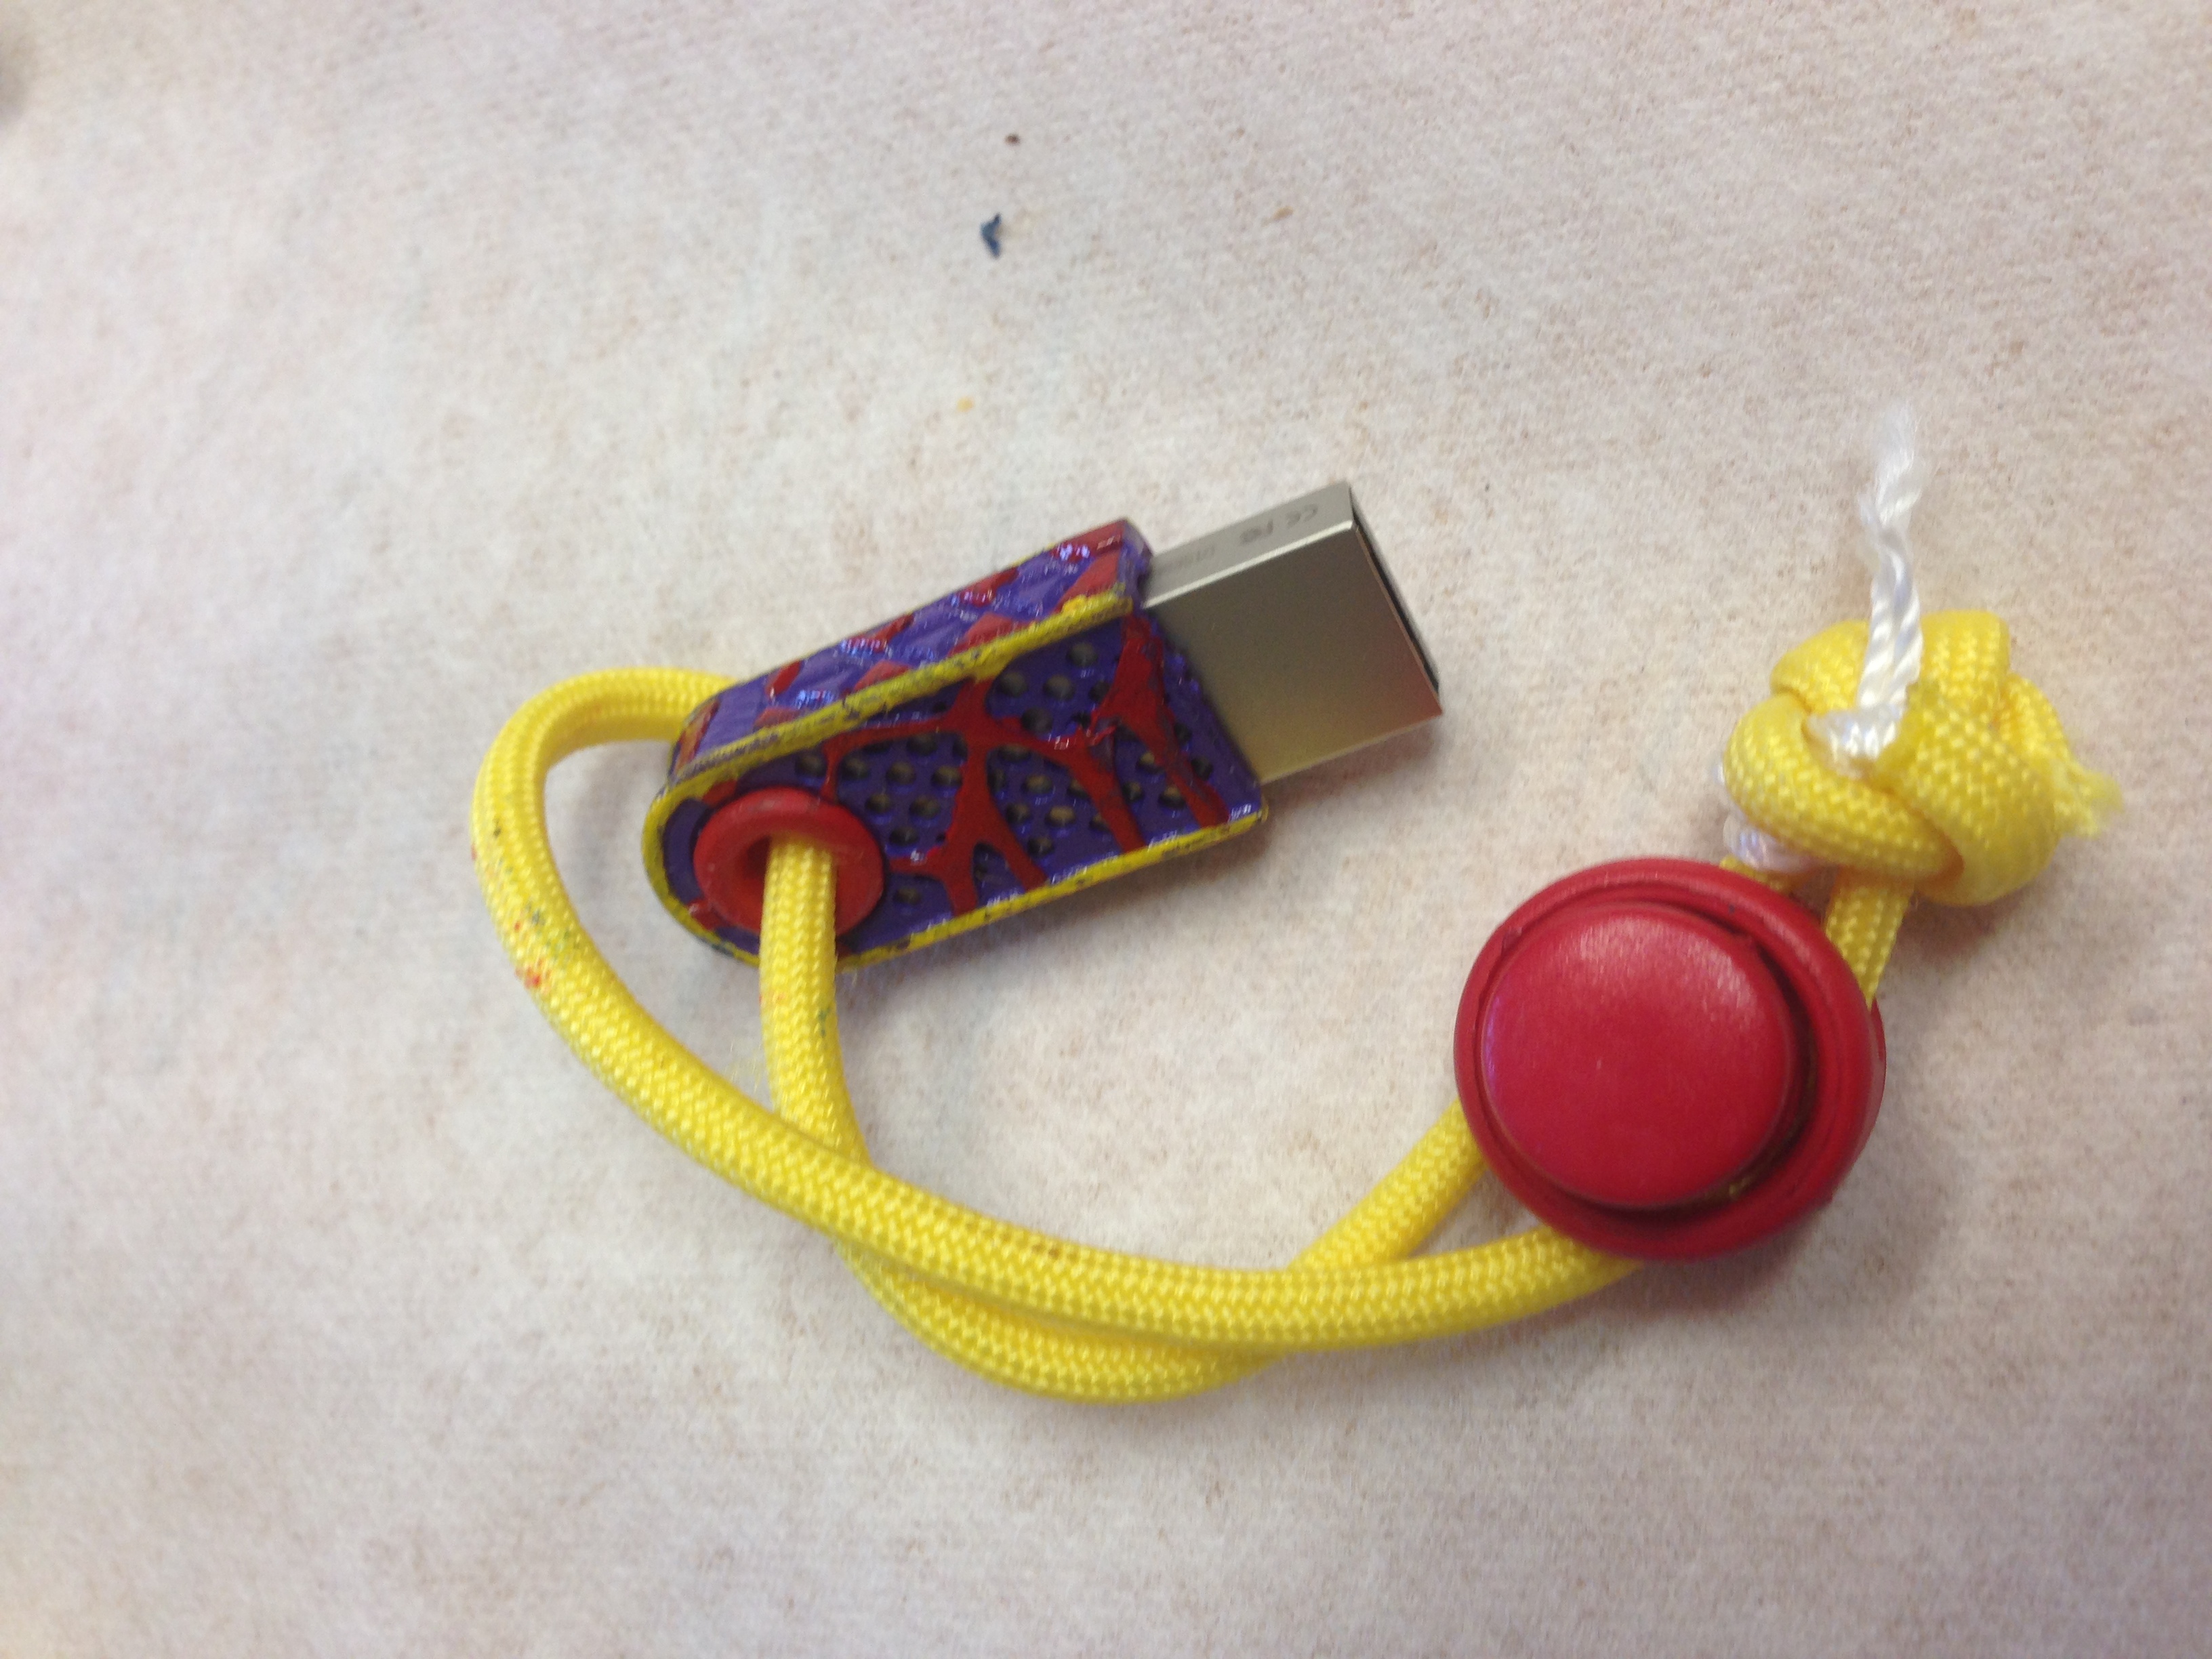
Design 1
The first printed design played with the simple idea of having "webbing" on top of the mesh. I also took one side of the USB to create a triangle pattern to mimic the bottom of a sneaker. The print was mostly successful but I learned that I needed to make features even larger so they would be more defined.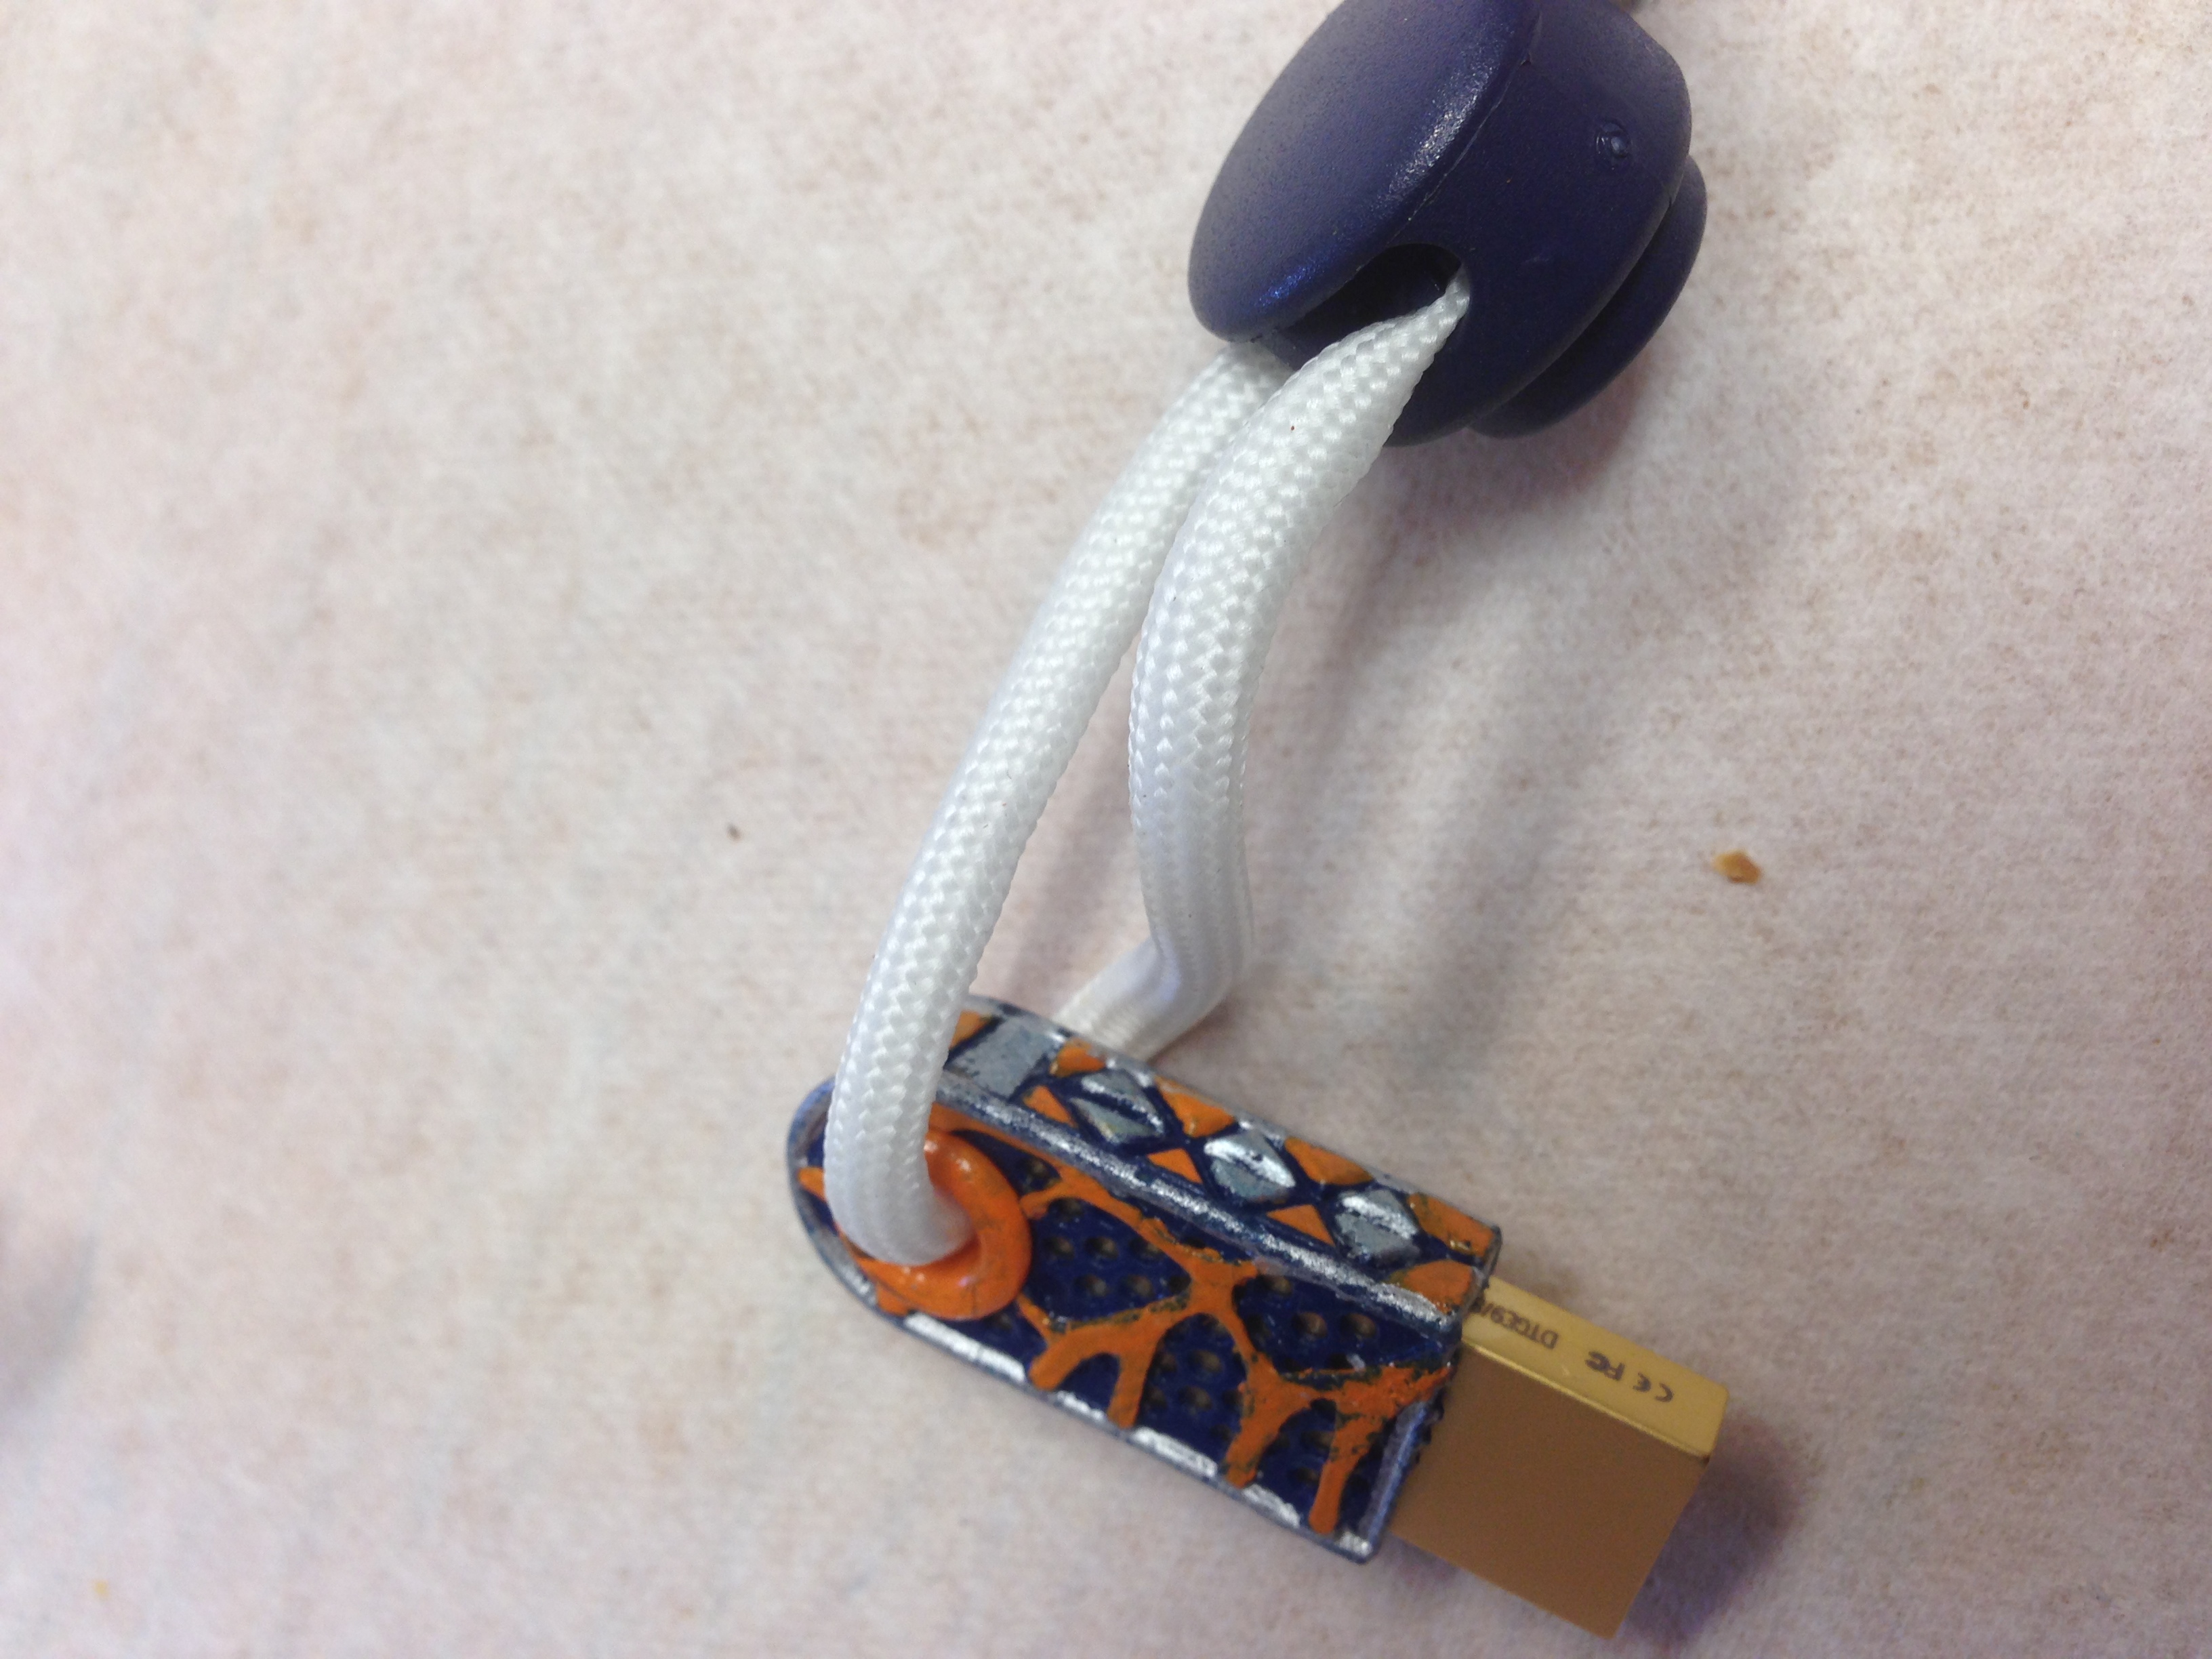
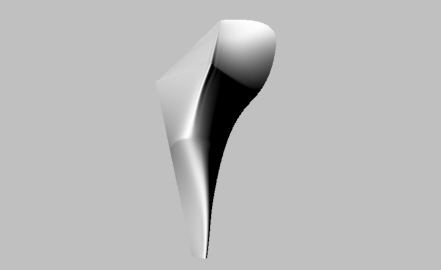
Prototype 2
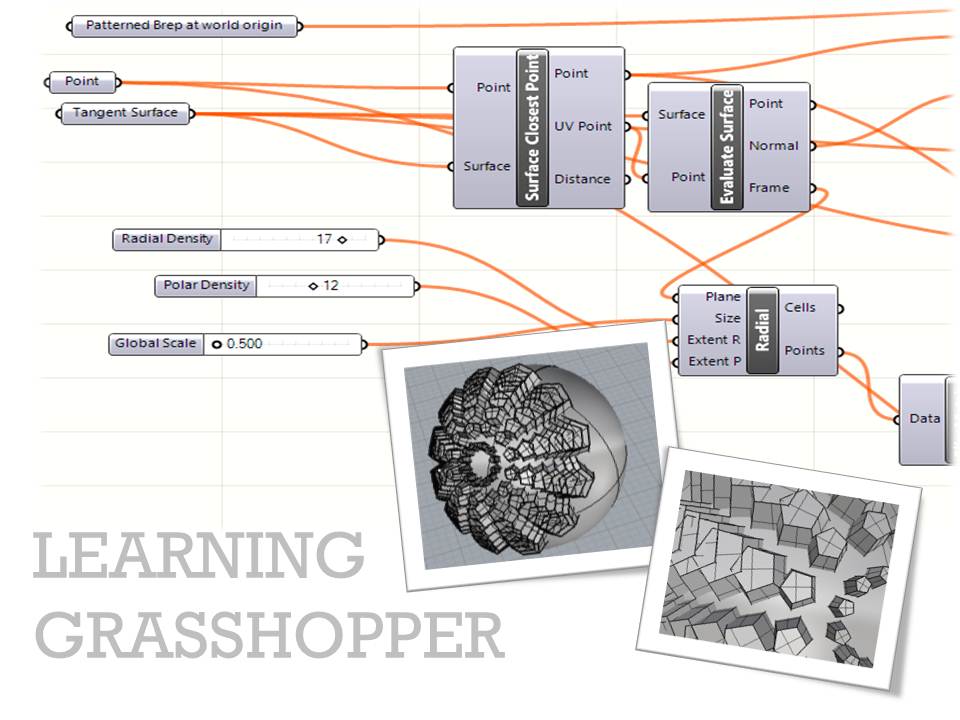
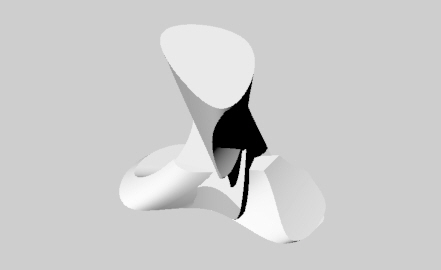
The primary objective of Prototype two was to create a design that integrated with the geometry of the USB as well as play with color. For this prototype, I created a rhino grasshopper algorithm to parametrically change the # of pipes, size of pipes, and crossing randomness of the pipes. I learned that I needed to choose less colors for more simplicity, paint with more precisioin, make the pipes larger so that they would be more defined and make the walls/hole ring thicker for more strength.
Prototype 1
The first prototype was meant to learn how to use grasshopper while incorporating a design into a usb casing. The main improvements I learned I needed were:
- increase the length of the usb casing length so that only .4" of the USB is showing and not .5"
- utilize and design around the existing geometry and design of the USB more
- use color
- make rods larger to be more easily seen
Final Presentation


ASSIGNMENT 6 (final presentation of first module):
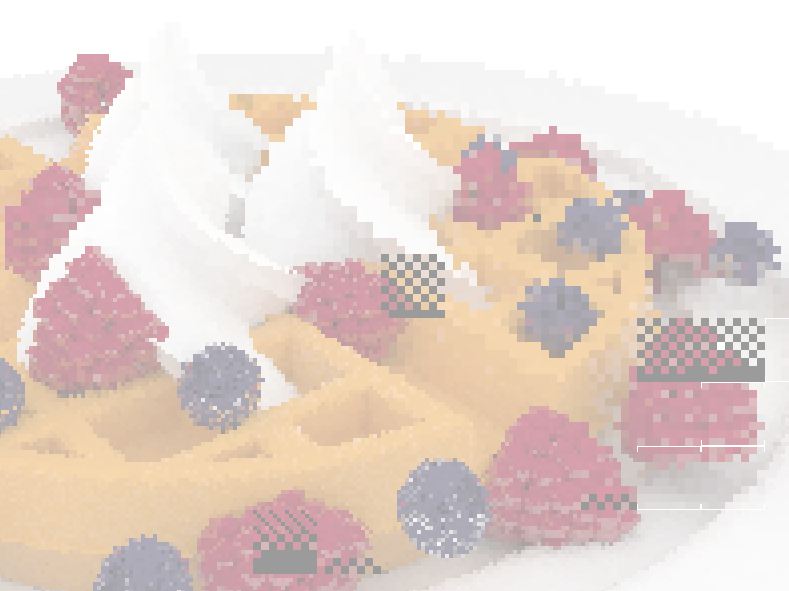
Finished Breakfast Rendering - Waffle with Berries and Cream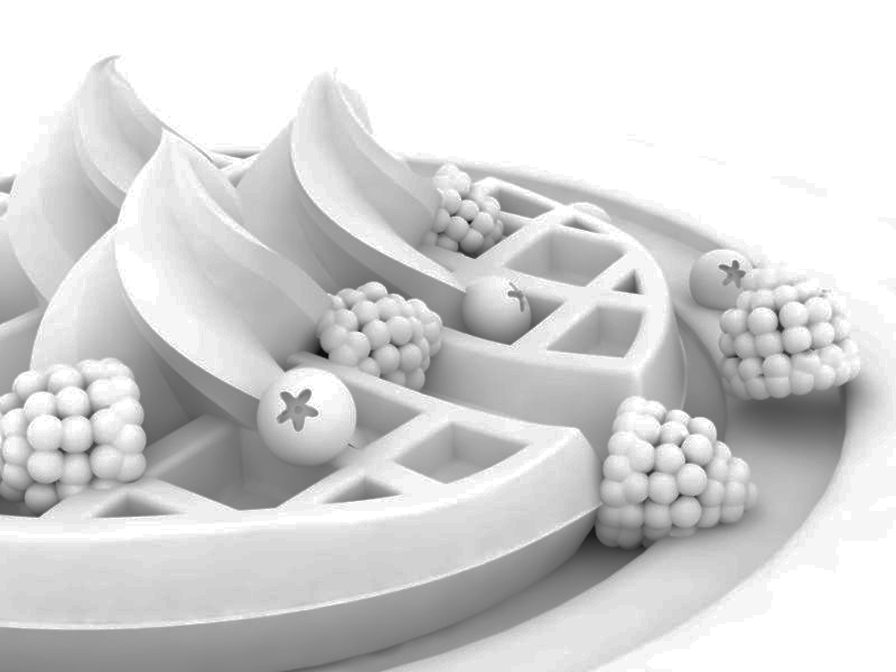
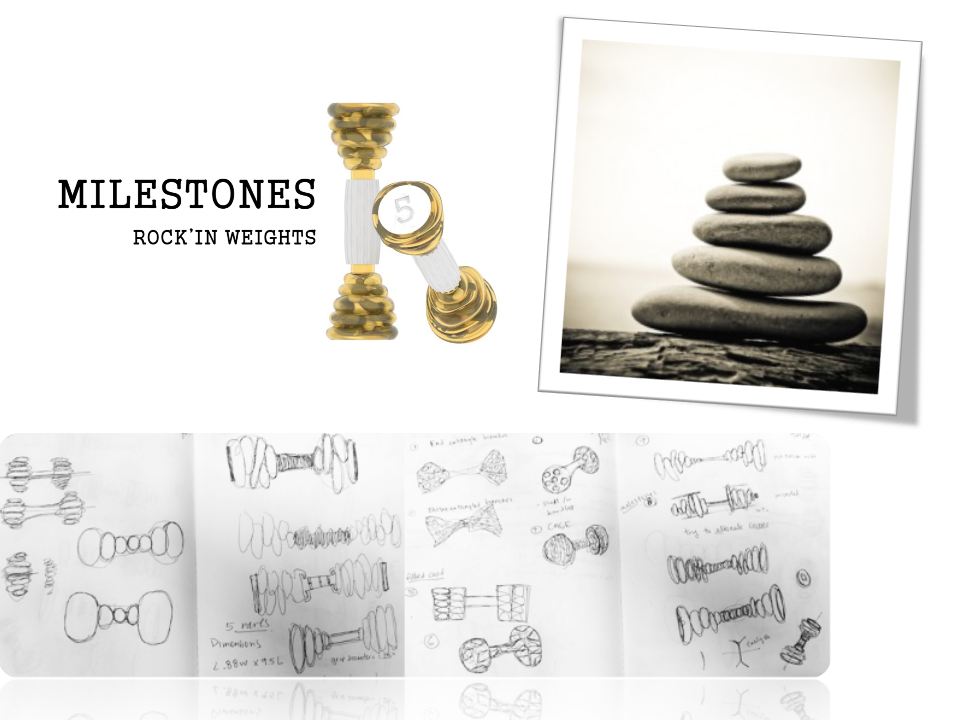
Hybrid Project - Milestones ~ Rockin' Weights
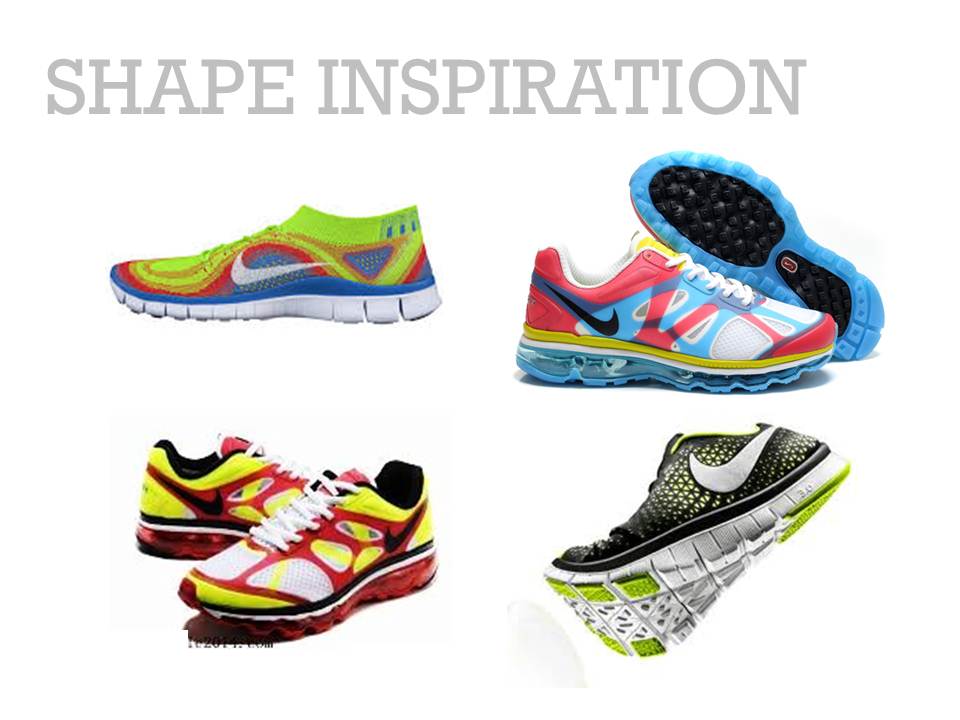
inspiration
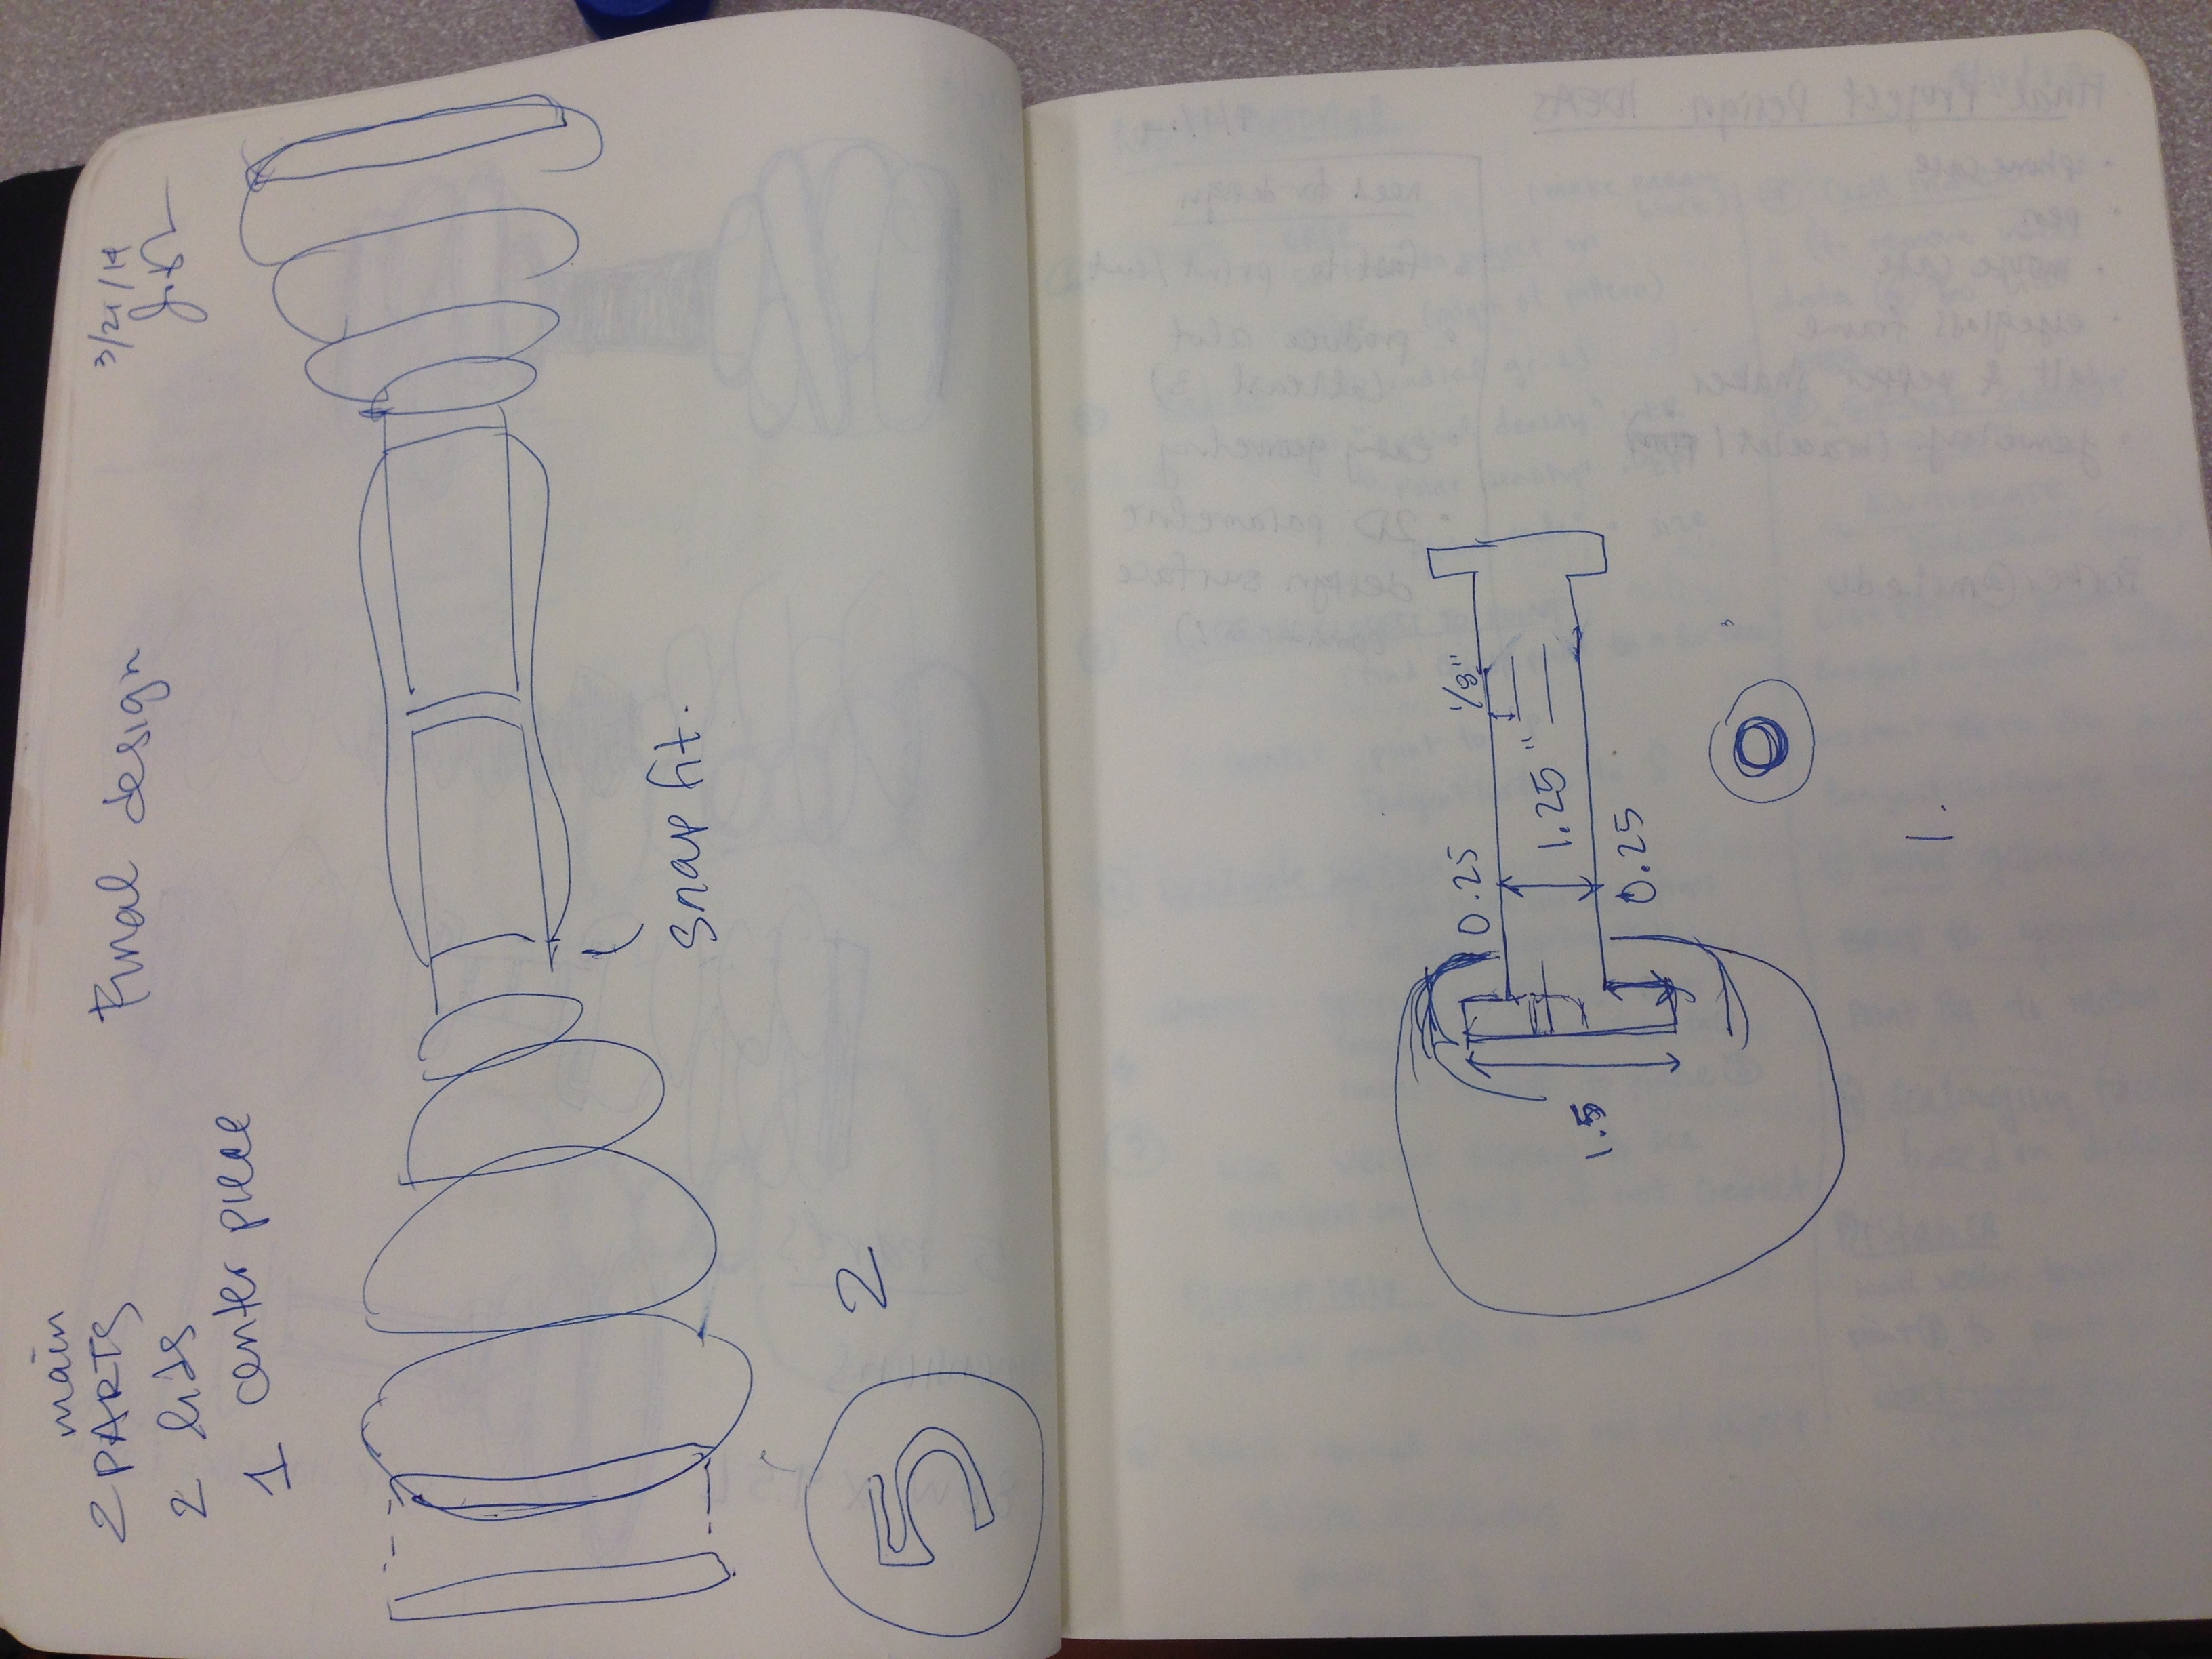
I was trying to think of what I wanted to do for my nature hybrid project as I was running one day. I noticed all the pebbles and rocks on the ground and thought maybe I could do something related to fitness with the rocks. It then occured to me to make dumbells out of rocks. I drew many sketches to determine the concept of how to incorporate rocks into a 3D print. Some ideas were eliminated due to it complexity. Below are my initial sketches!
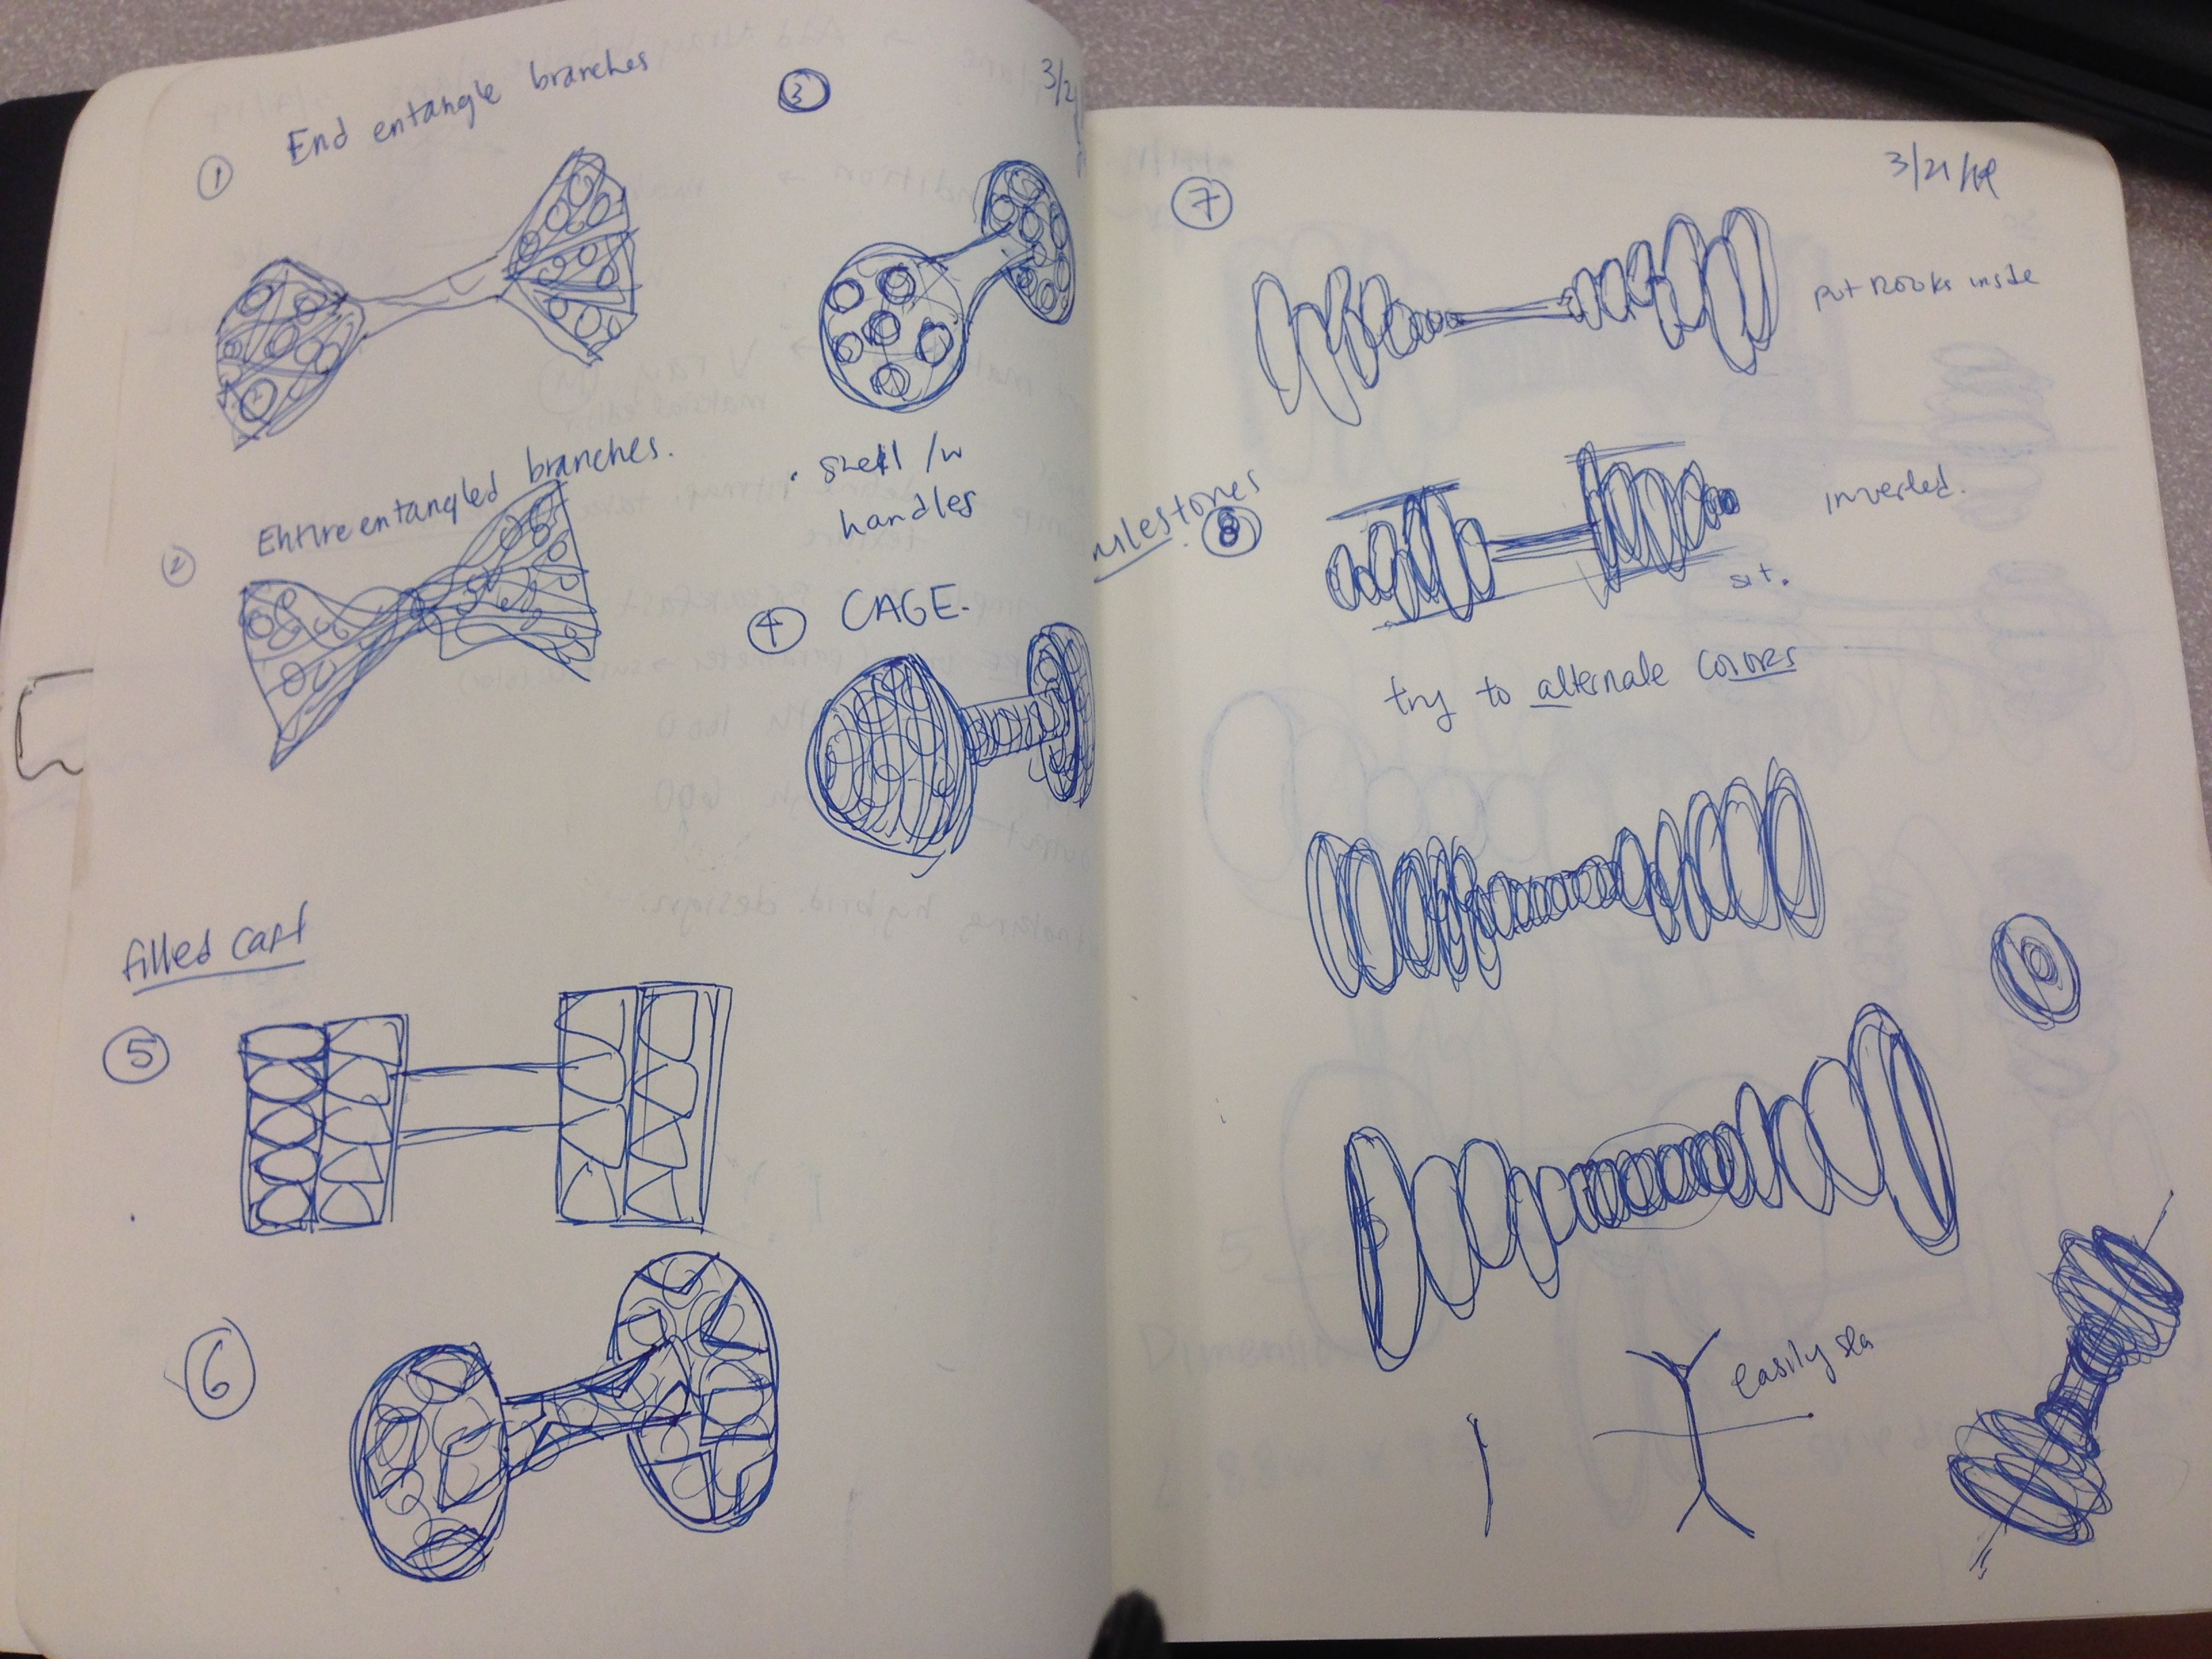
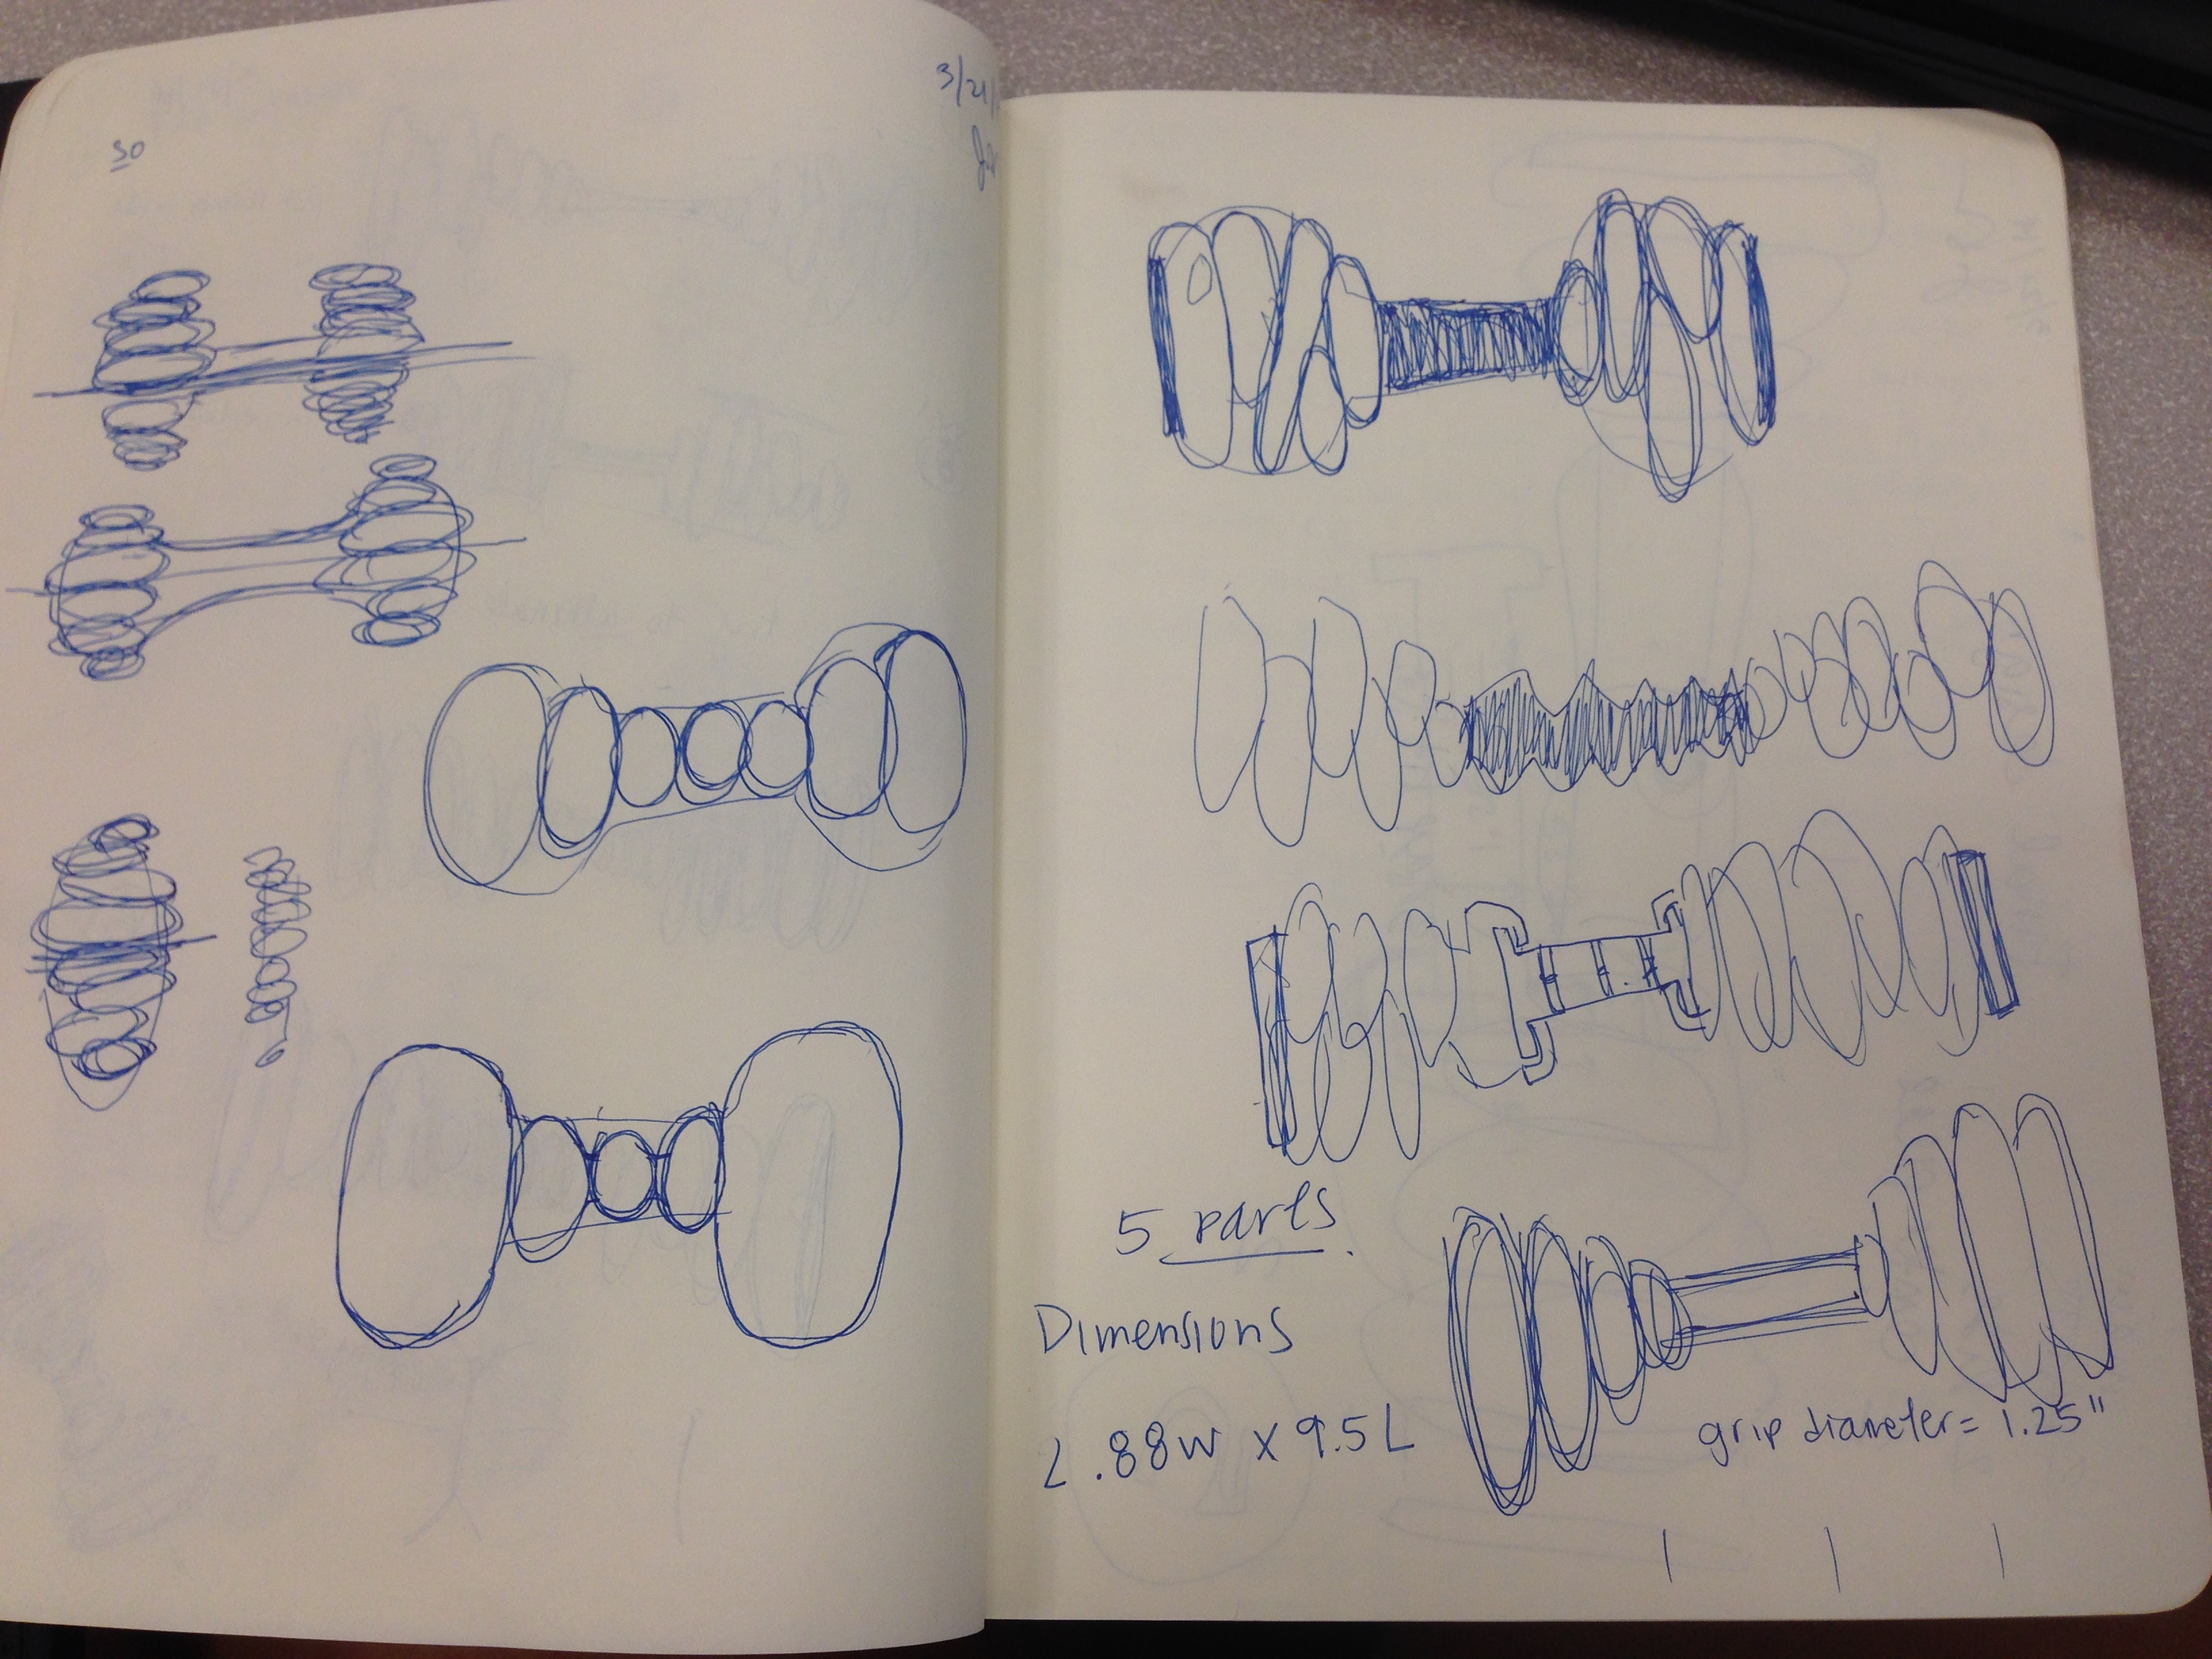
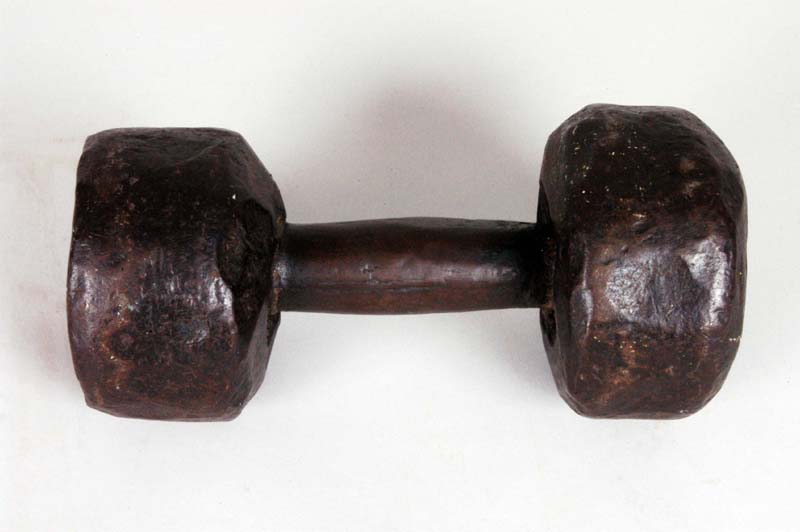
I also googled images and imported them into Rhino to help with the geometry of the dumbbell "casing".

Final Rendering
Final Prototype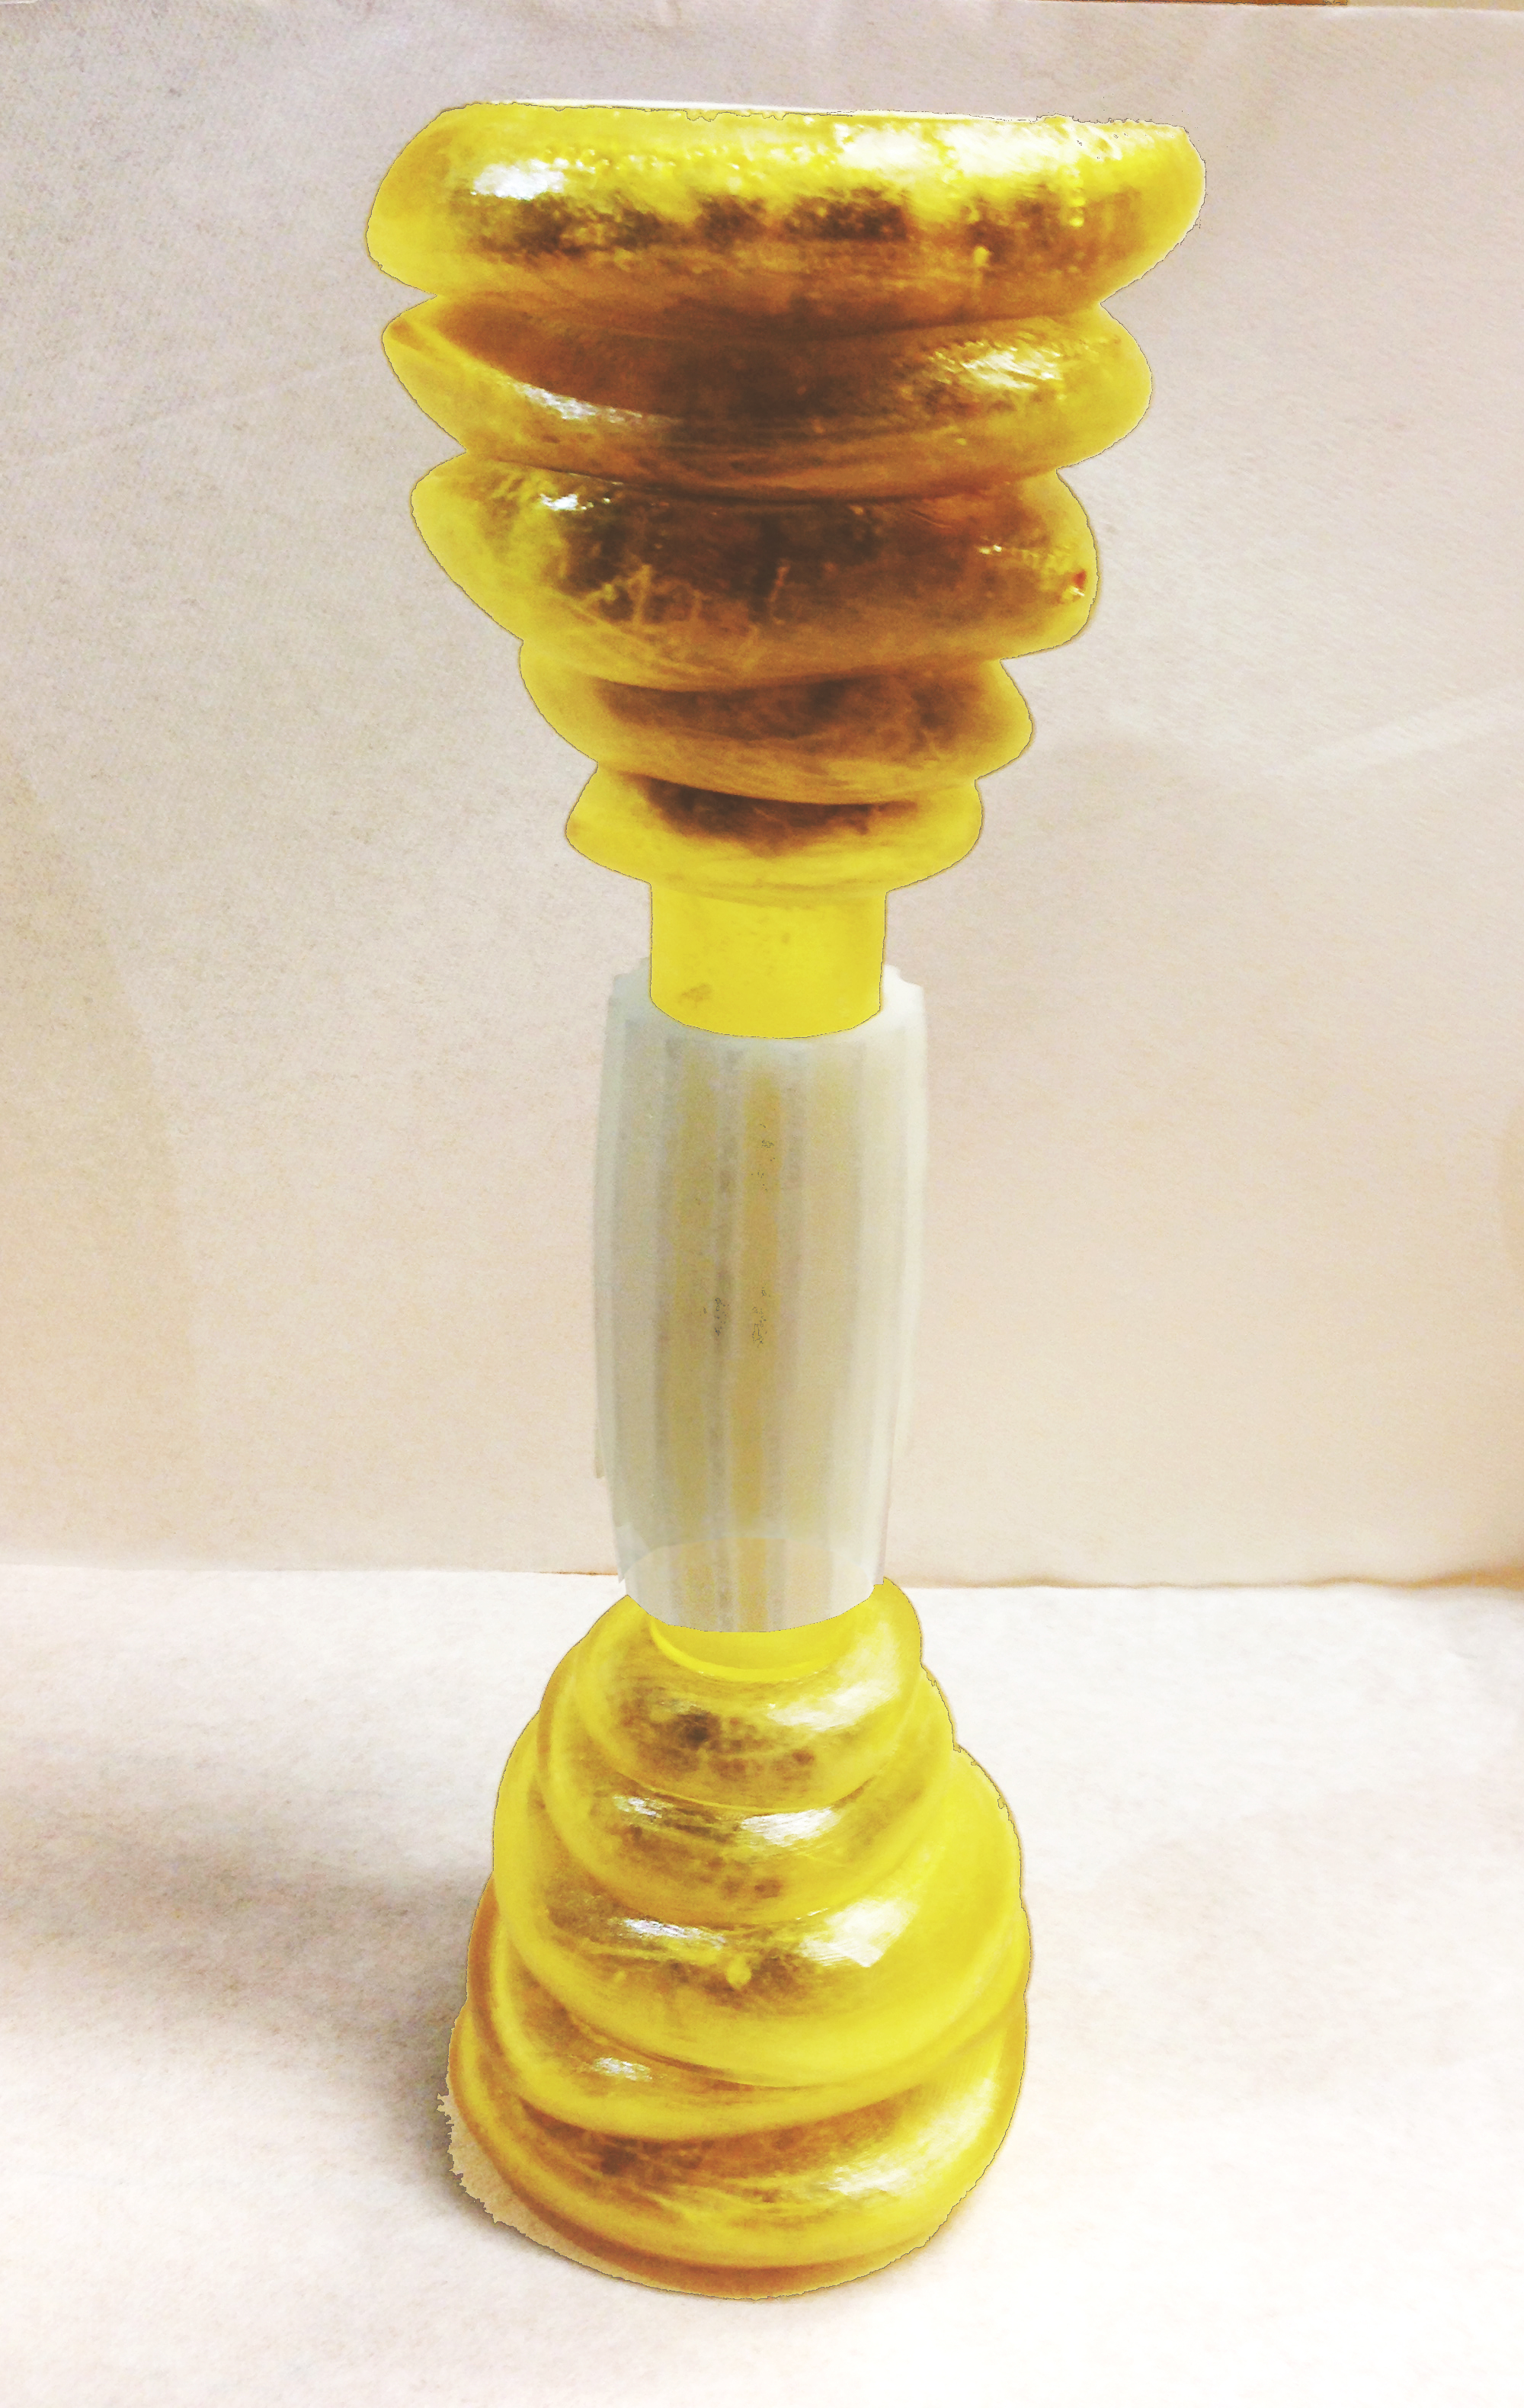
Final Presentation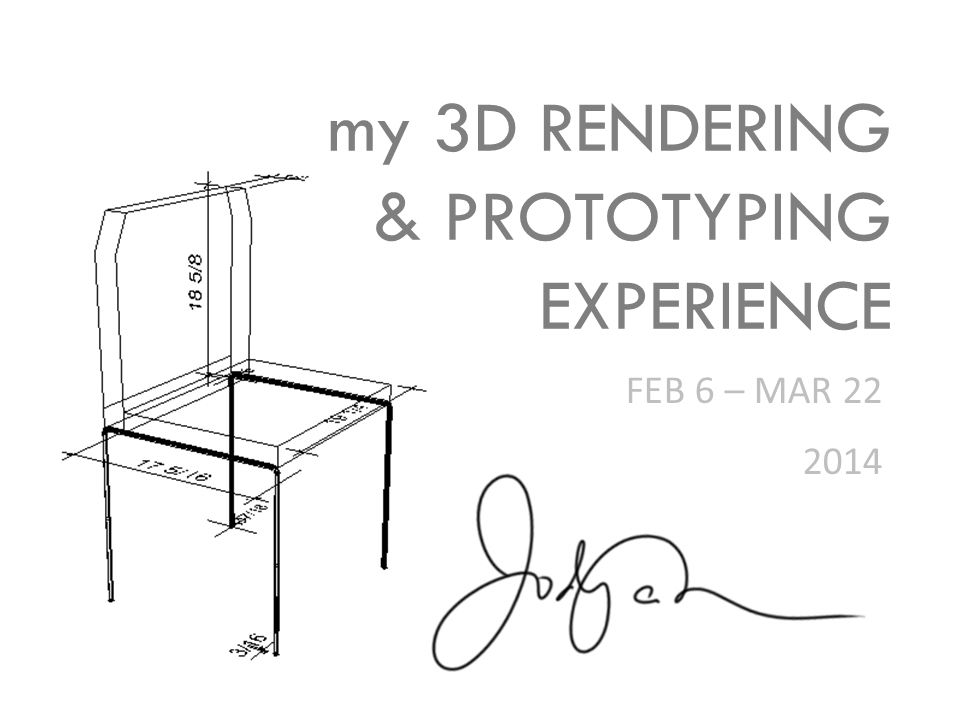
ASSIGNMENT 5 [3/14/13]
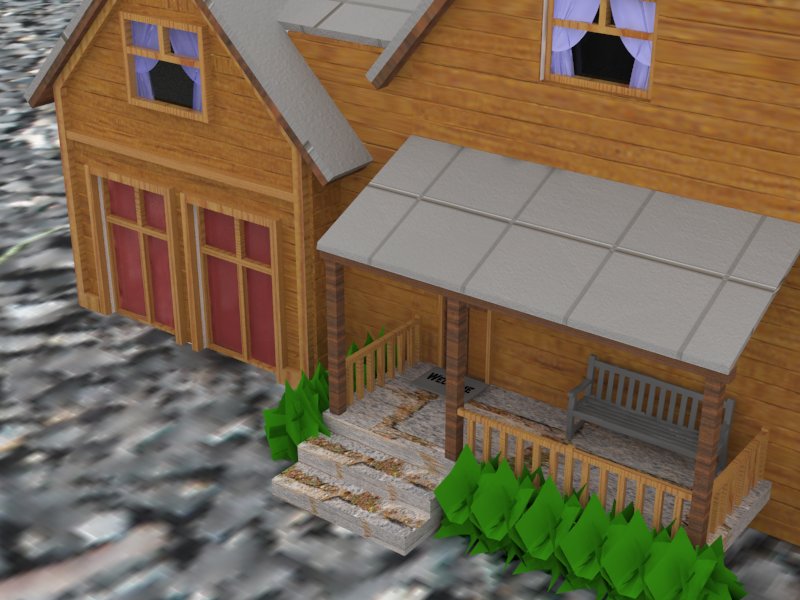
re-render the house (same perspective as last week) but this time apply color and materials. Justify your decisions according to last week's discussion about colors.
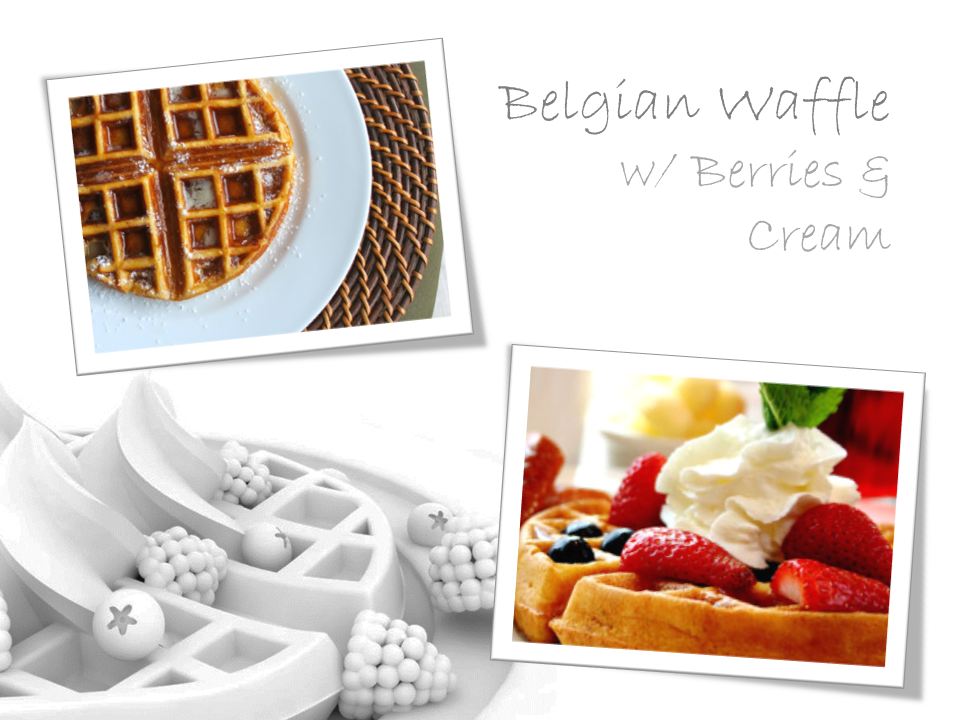
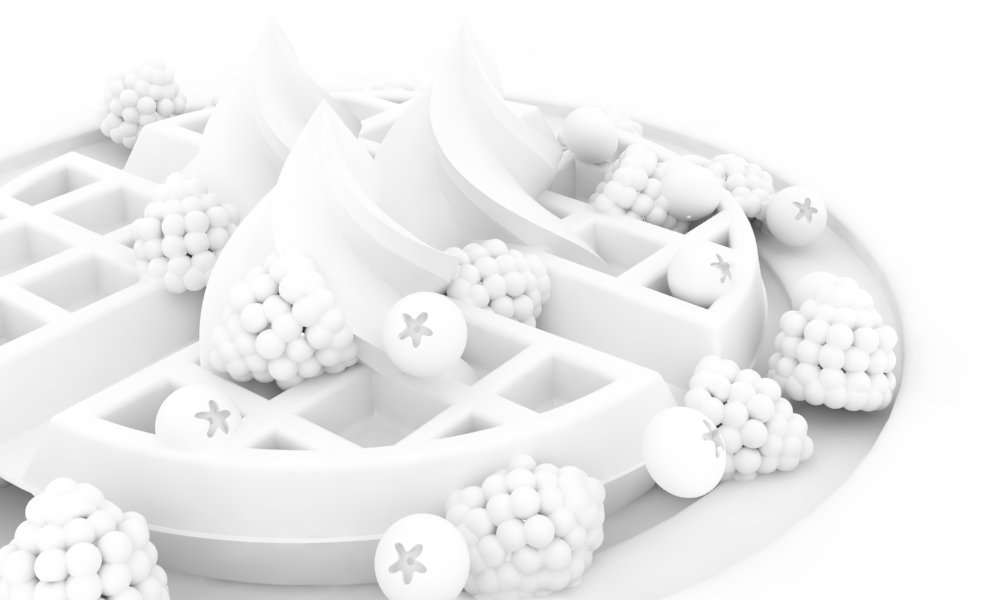
design your breakfast scene, apply materials and render with VRay using 600x1000 frame size. Don't change the default lighting and/or camera setting (this will wait for next week!). Justify your rendering using our readings (2D composition, color, etc).
Belgian Waffle with Berries & Cream
Vray Black & White
Vray Crashes Everytime

Rhino Render
(computer can not render in color without crashing)
ASSIGNMENT 4 [3/7/14]
Switch your design files of the house (.3dm) with your pair, and briefly share your styling intentions. For next week, style the work of your friend based on her/his instructions. Share initial sketches / ideas between you during the week. Render the final results with VRay, using default setting (including a ground plate). Upload only 2 views to the website.

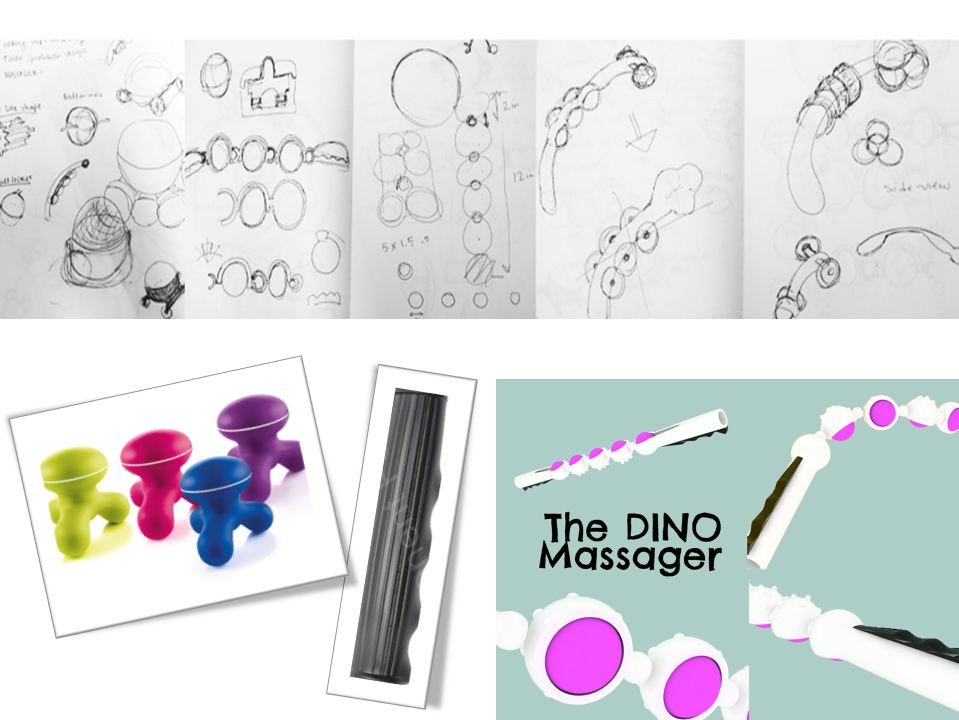
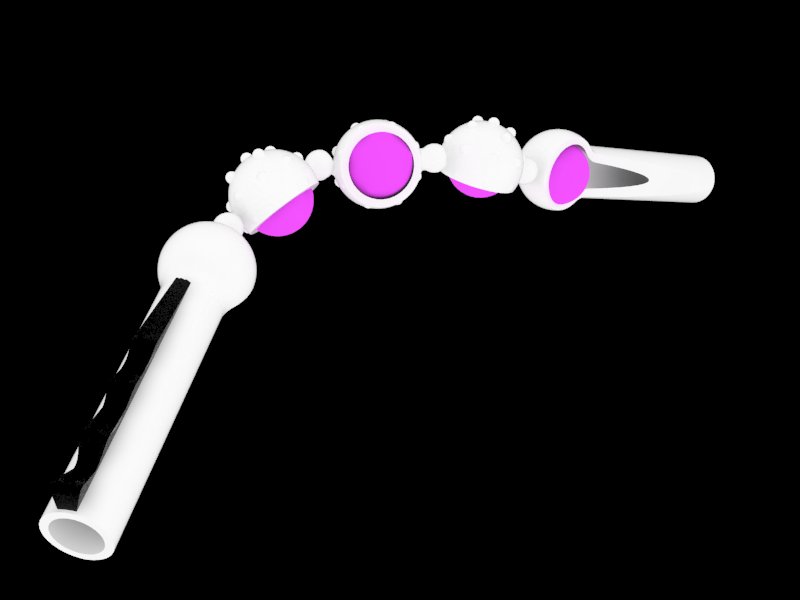
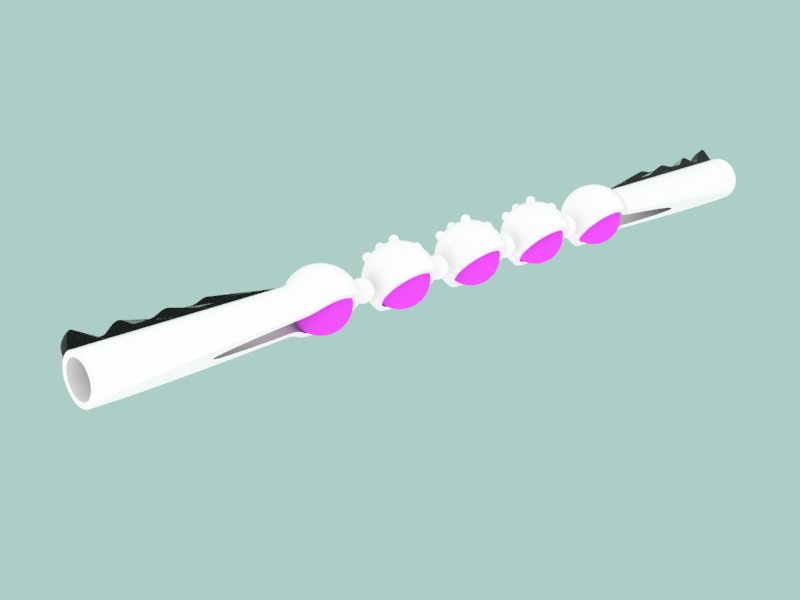
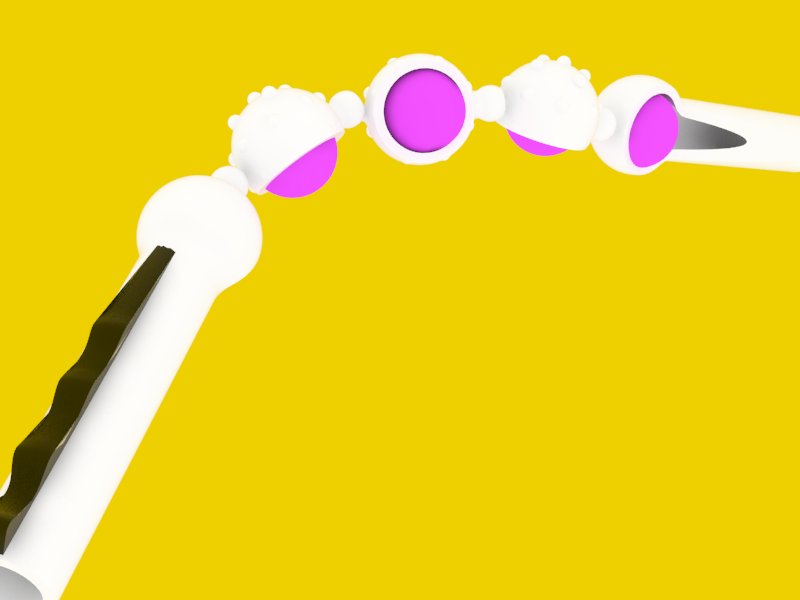
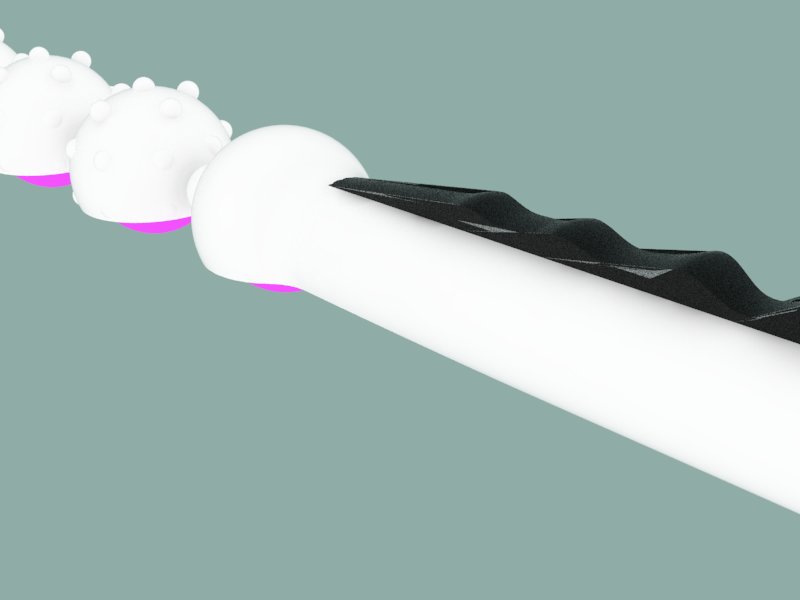
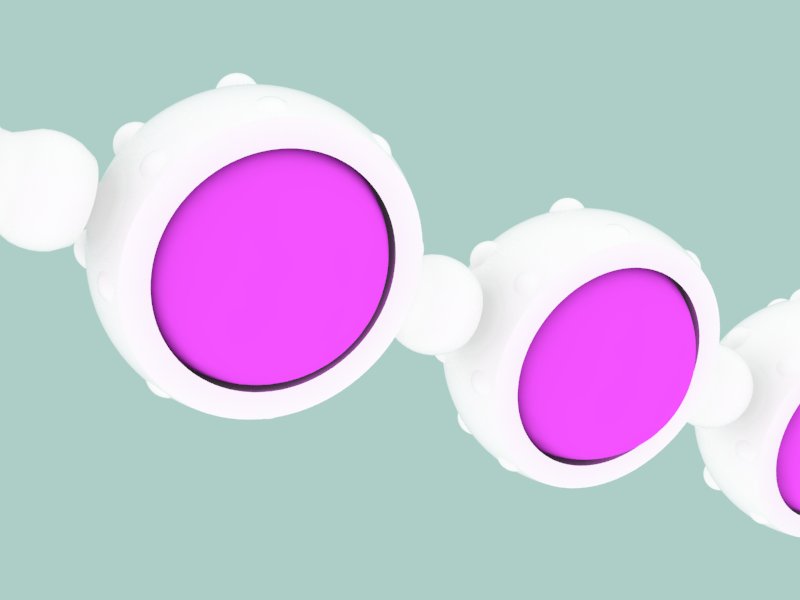
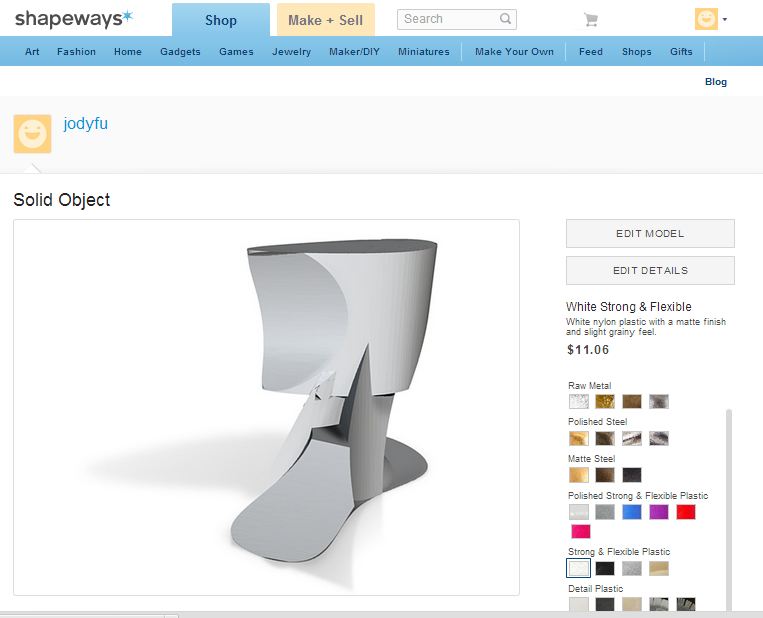
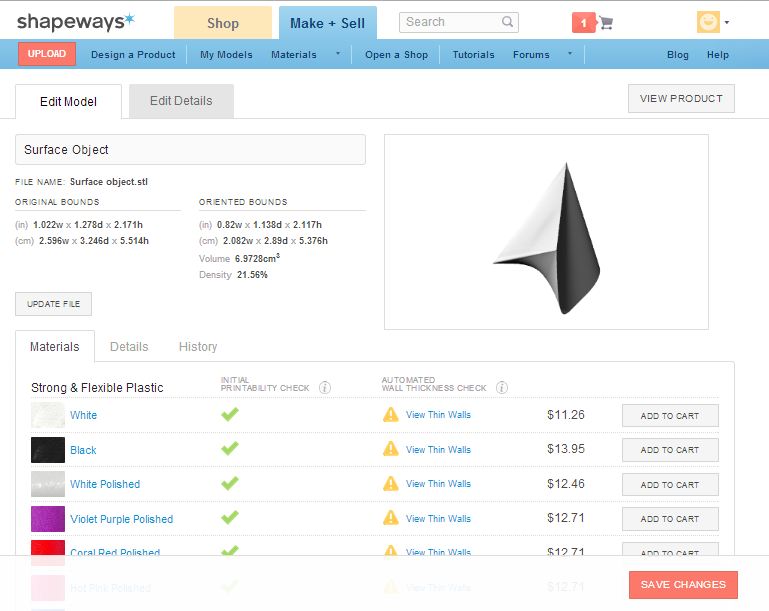
You have $50 budget for Shapeways Nylon12 order. Based on this link, design a moving-parts object with 3 directions of motion, using one of the techniques that we discussed in class. If you choose to design a flexible manifold or a string, please include more than one “atom” design, and include at least 20 atoms. Use your account only for evaluating cost and file quality only (don't order yourself). Share your STL file with me by Friday.
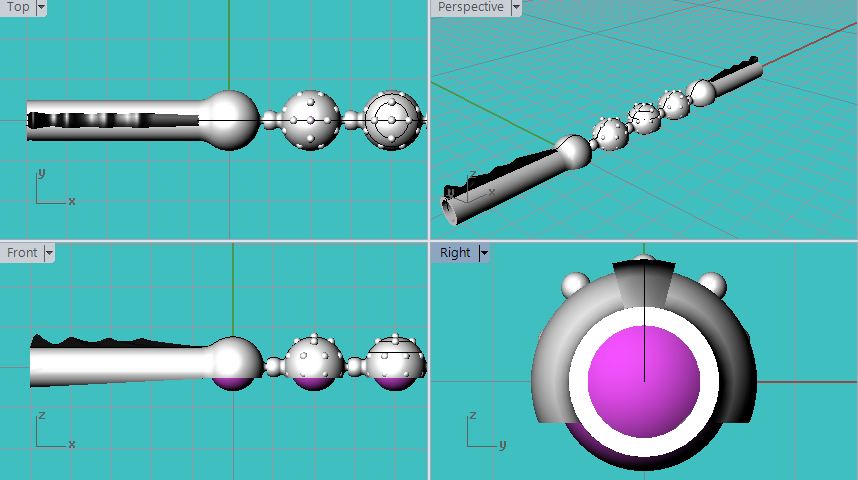
The DINO
~ a rollerball massager ~
ASSIGNMENT 3 [2/28/14]
Continue this initial wire-frame shape (R5 3dm, R4 3dm, obj, model in mm) to a watertight solid using only solids and boolean operations. If needed, add more curves for guidance.
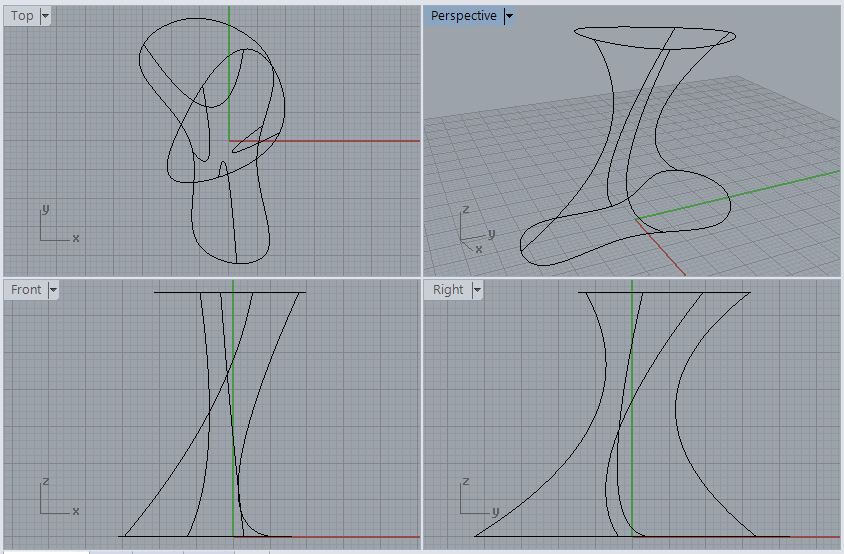
Initial Wire Design
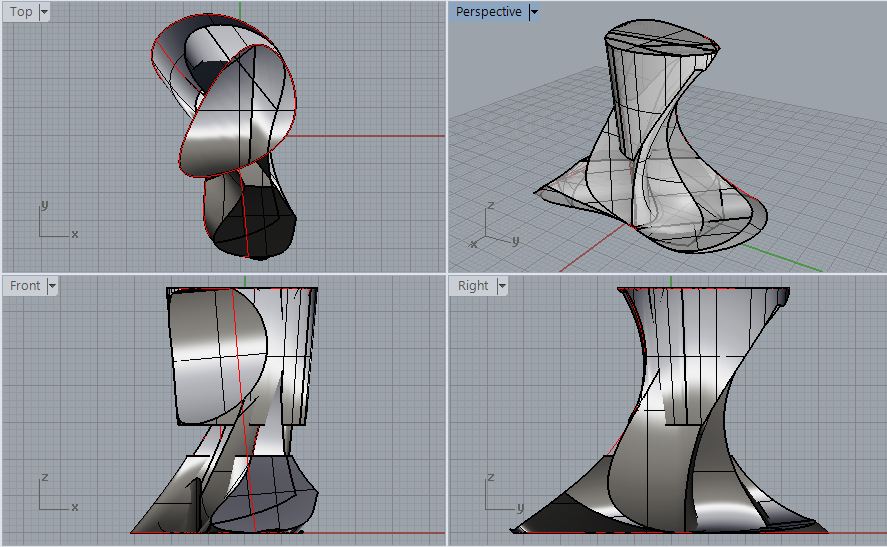
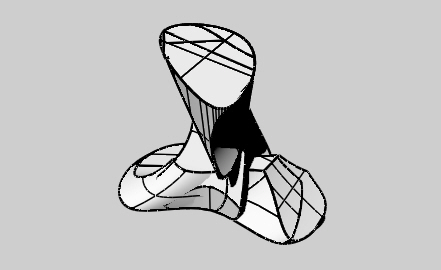
Continue this initial wire-frame shape (R5 3dm, R4 3dm, obj, model in mm) to a watertight solid using only surface operations.
Initial Wire-Frame Shape
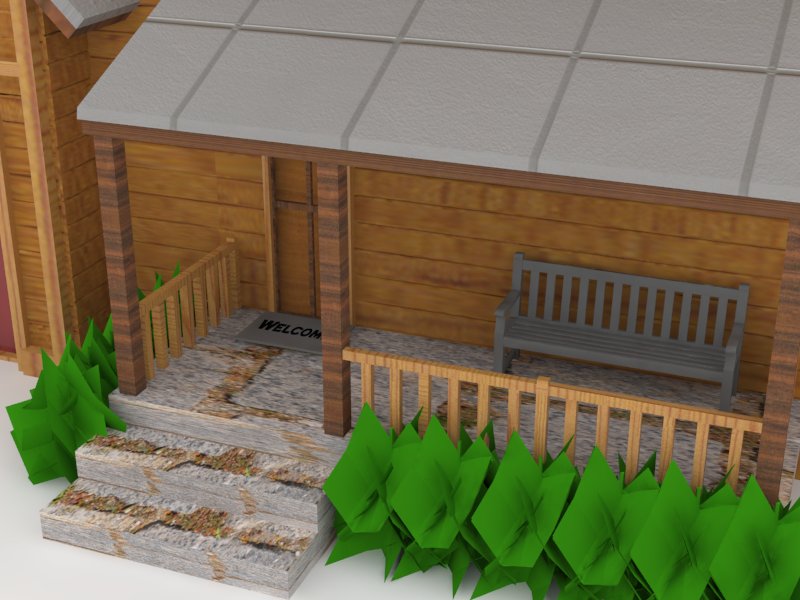
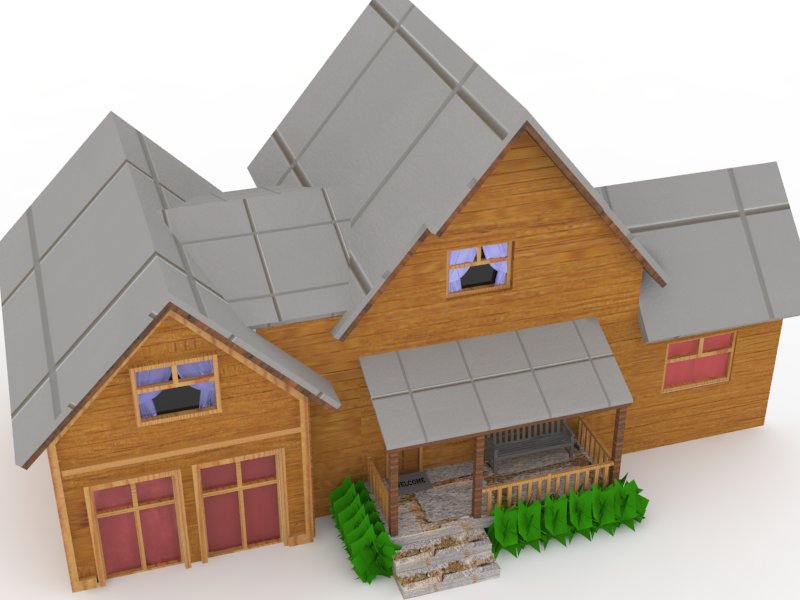
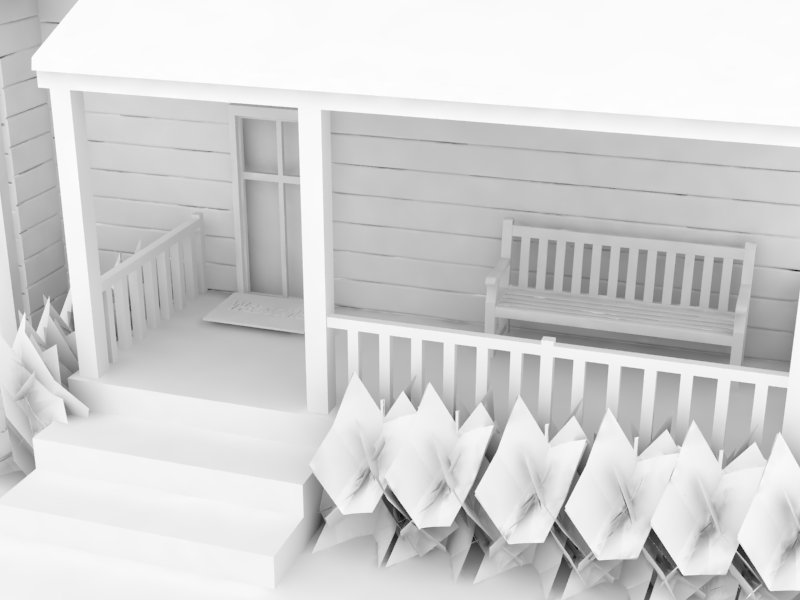
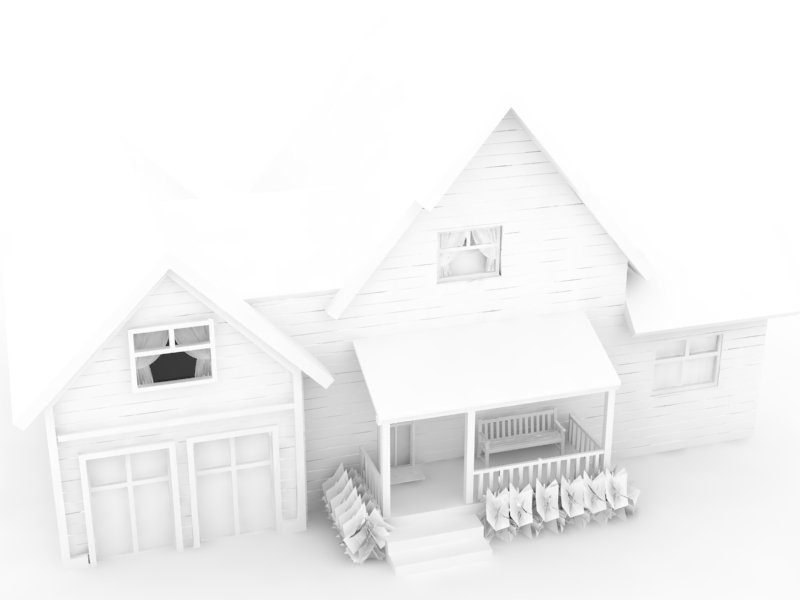
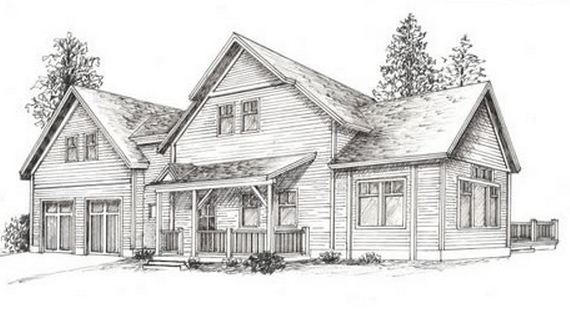
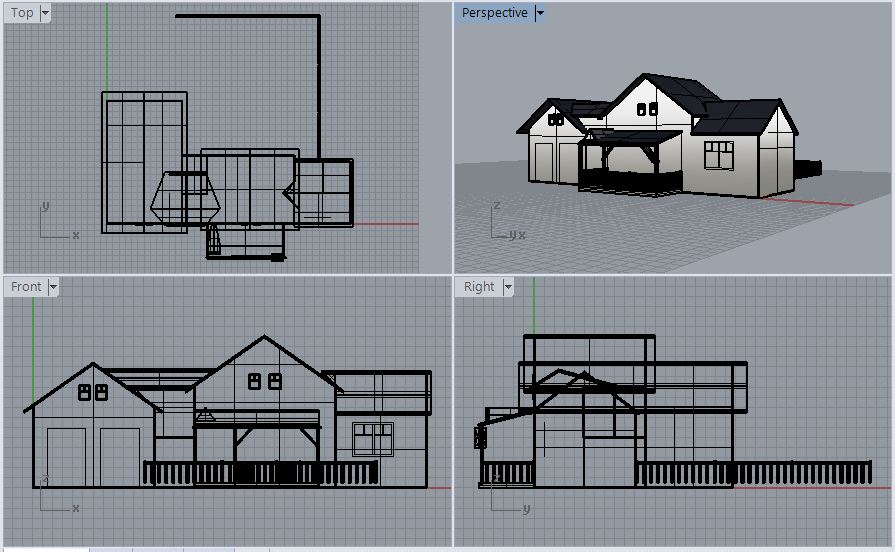
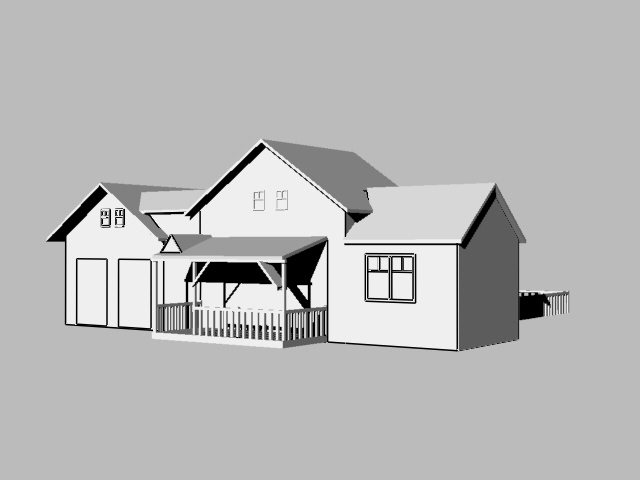
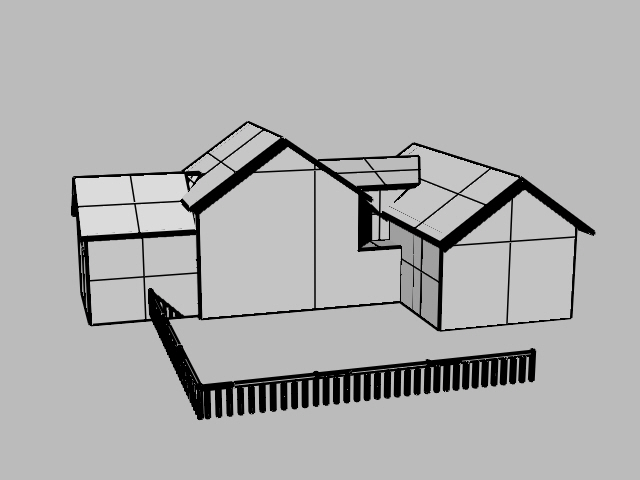
Based on this drawing by Liz Peyton, create a 3D model of the house. Please complete the missing pieces, to design a full 3D Rhino model. Ignore the trees. Render it with default Rhino rendering from 3 viewpoints.
For both of these designs, export STL files (default setting) and upload them to Shapeways, Solid-Concepts and i.Materialize, to receive quotes for Nylon12 SLS model (“white strong and flexible” or "Polyamide”). Write the costs as part of the assignment submission.
Shapeways
i.Materialize
-issues with uploading. could not recognize size/stl file
Solid Concepts
-have not receieved quote email
ASSIGNMENT 2 [2/21/14]
Modeling a Water Bottle and Transferring Method to Modeling a Chess Piece
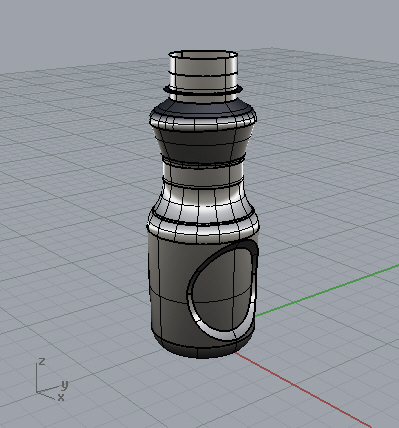
Shaded Water Bottle following tutorial from http://vimeo.com/74783227
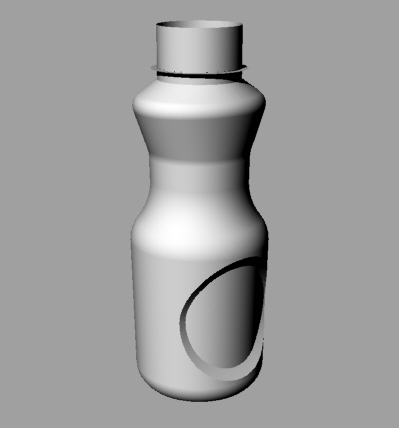
Rendered
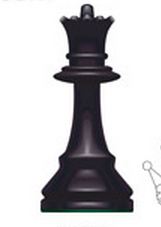
Original Chess Piece Image
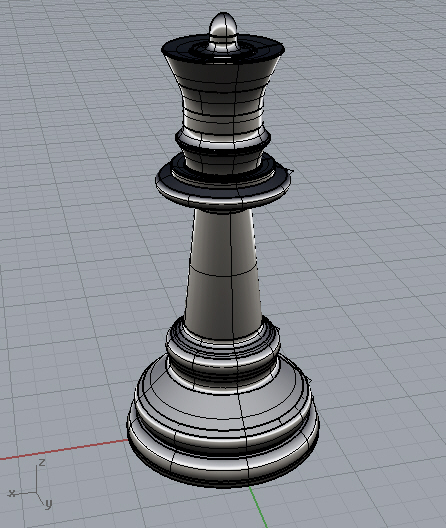
Shaded
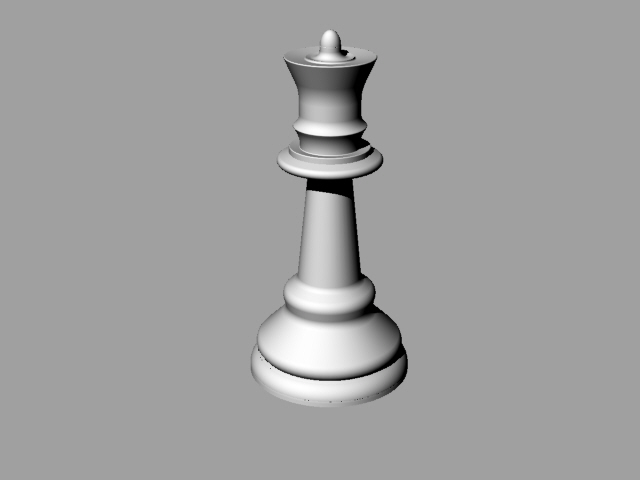
Rendered
Building Surfaces with 3D Splines
Using your 3D splines object from the previous assignment, build surfaces to create a watertight solid object. Put extra attention to connectivity and edges (we don’t like open edges!). Work with layers and explore the different display modes.
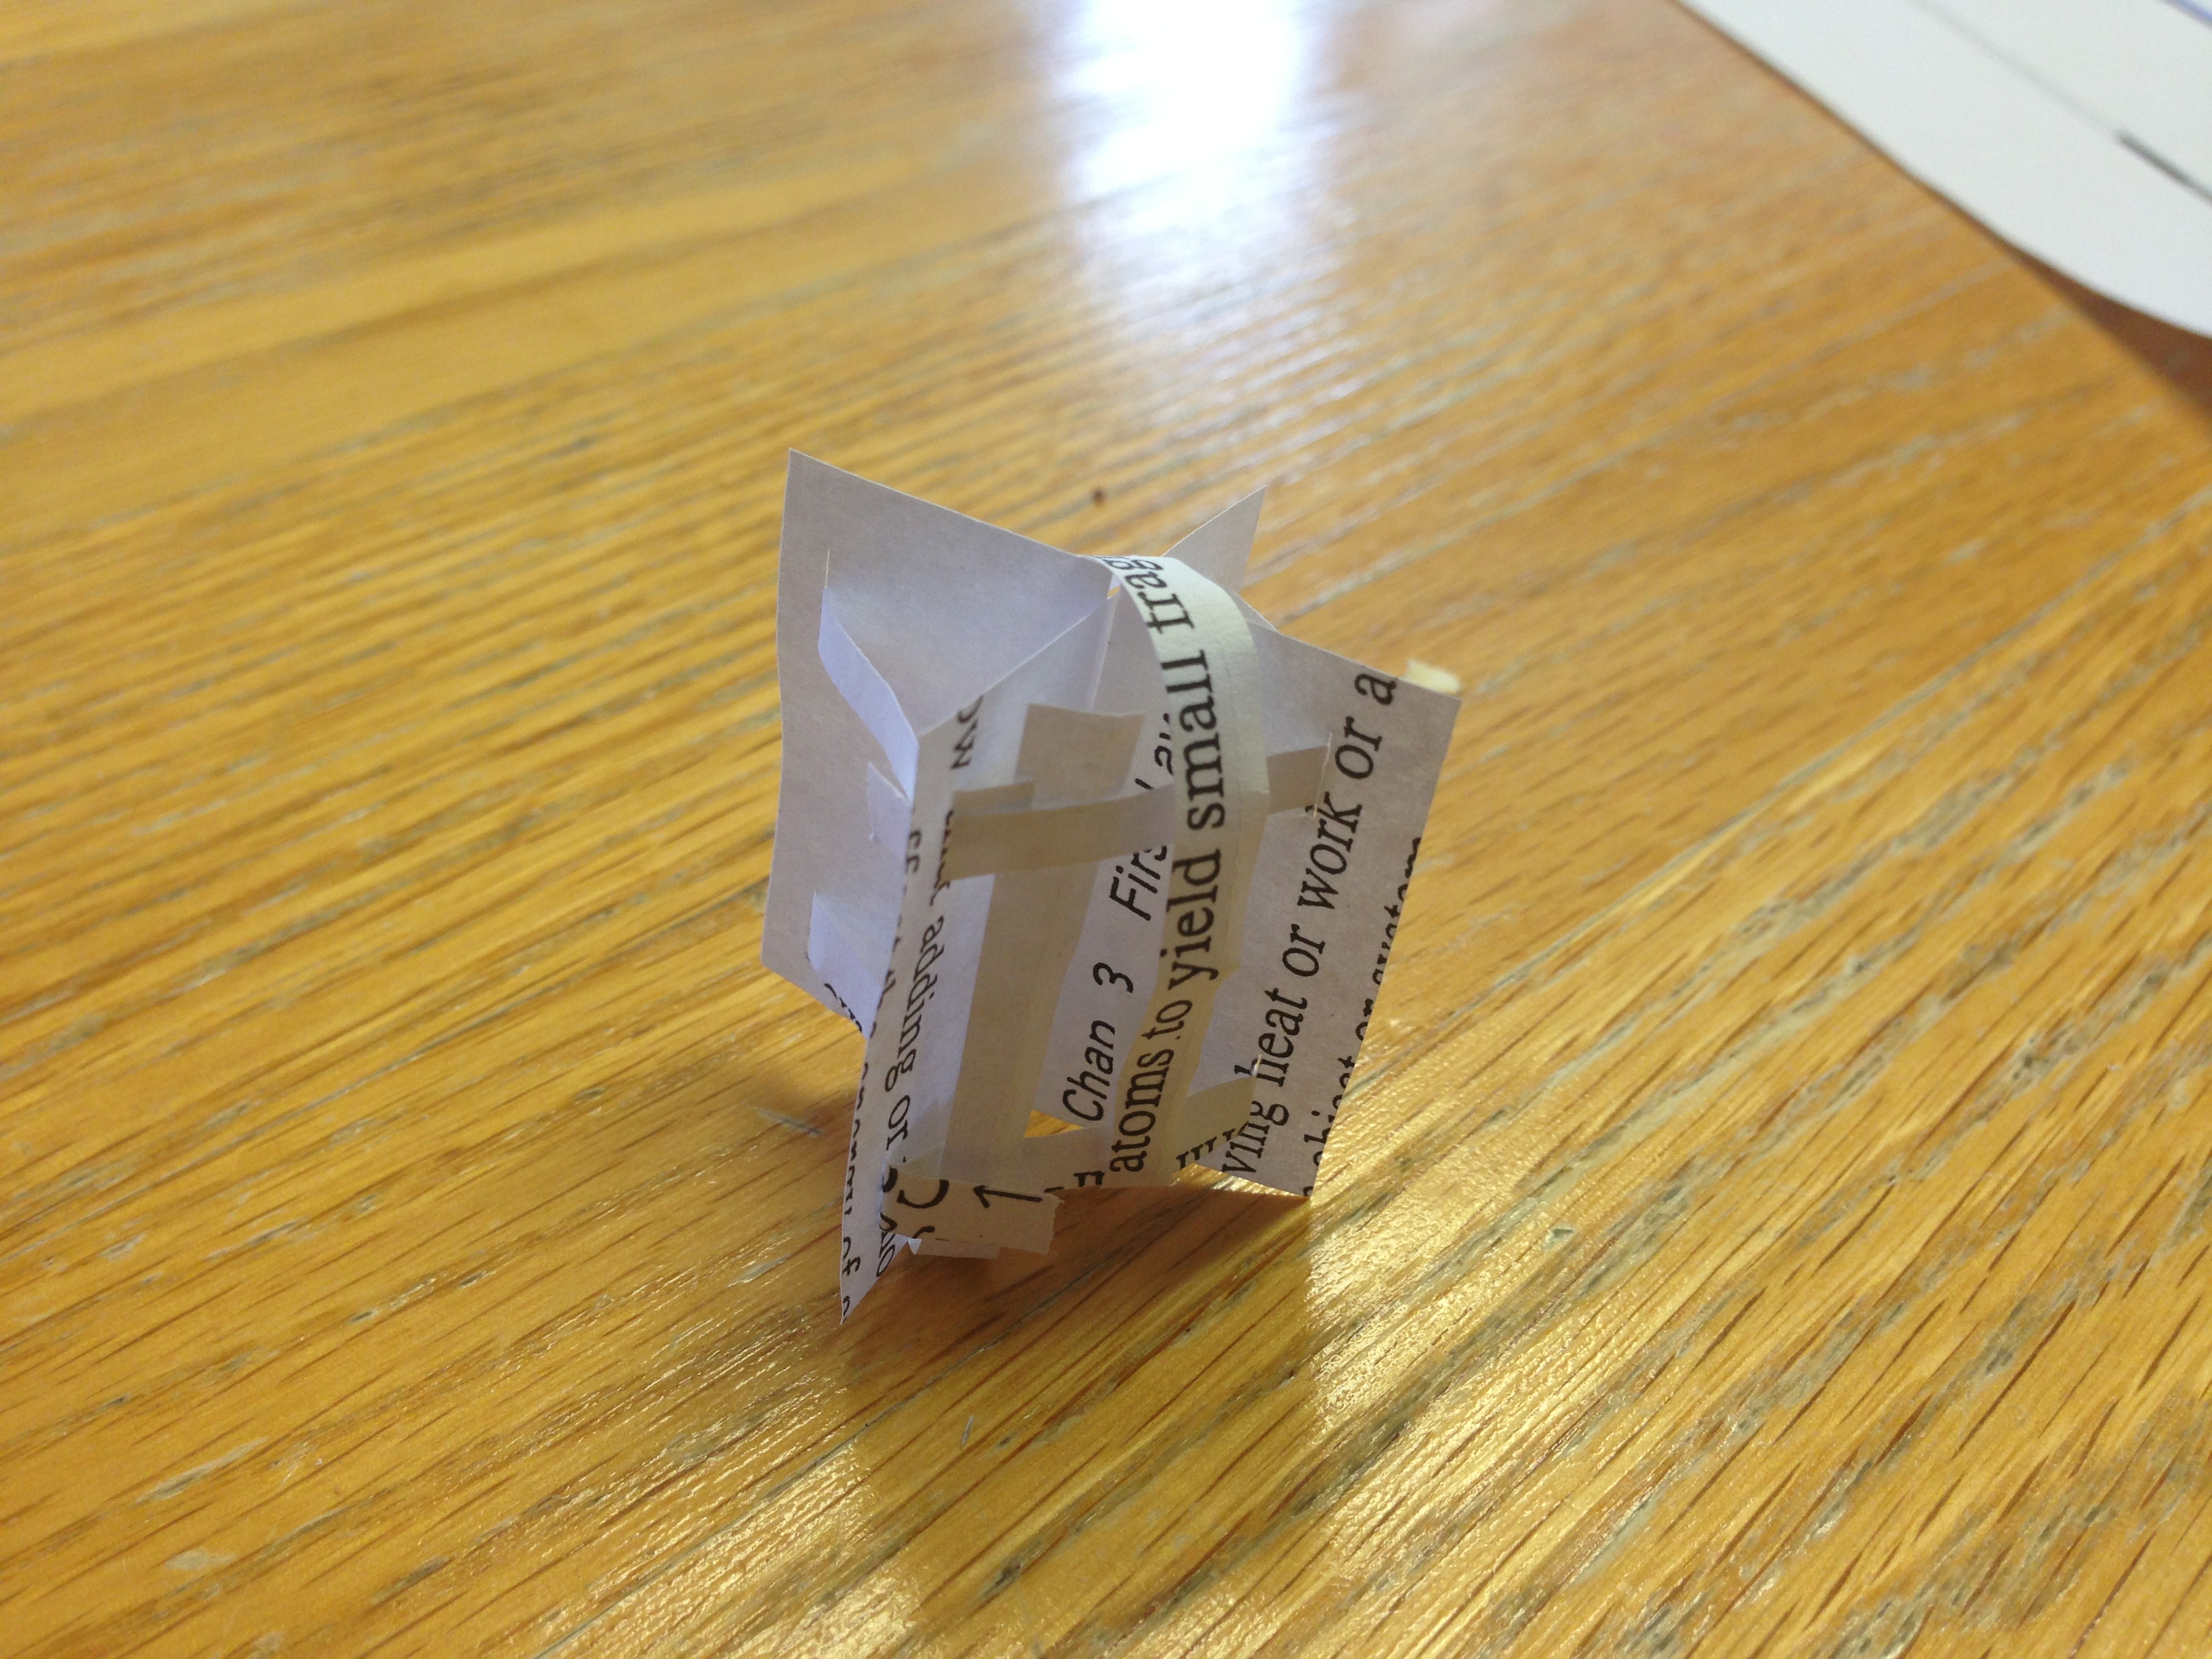
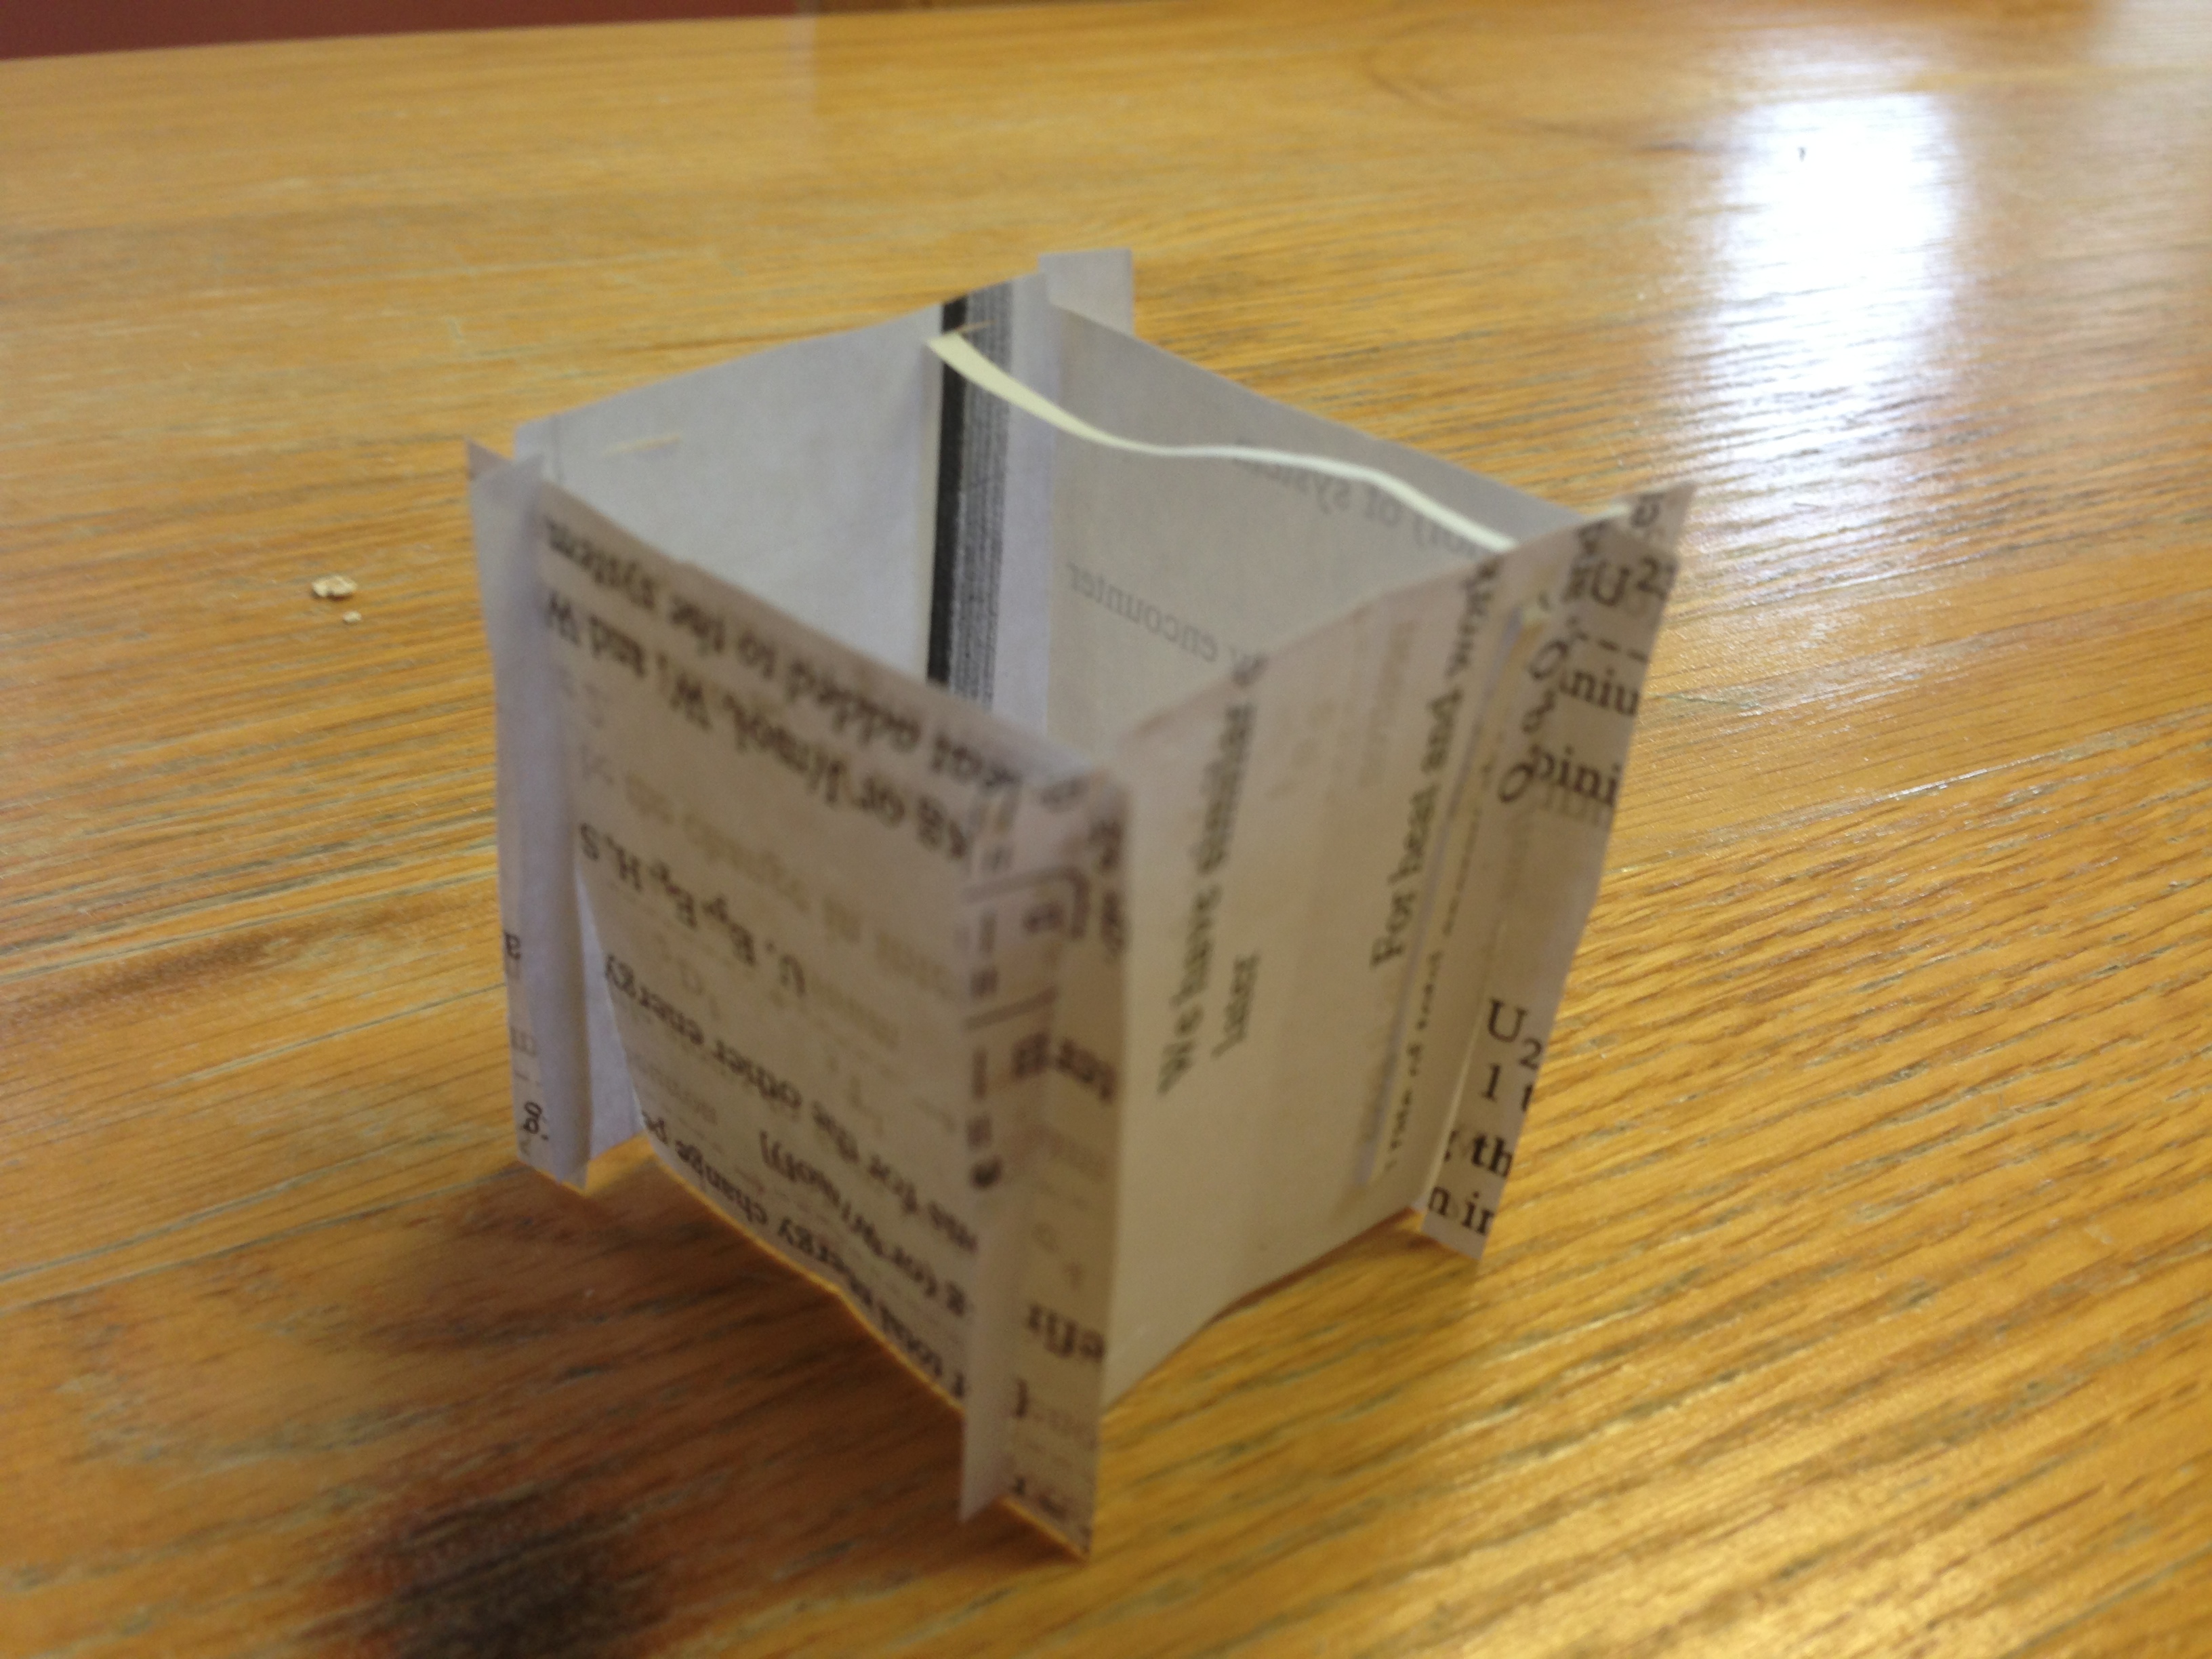
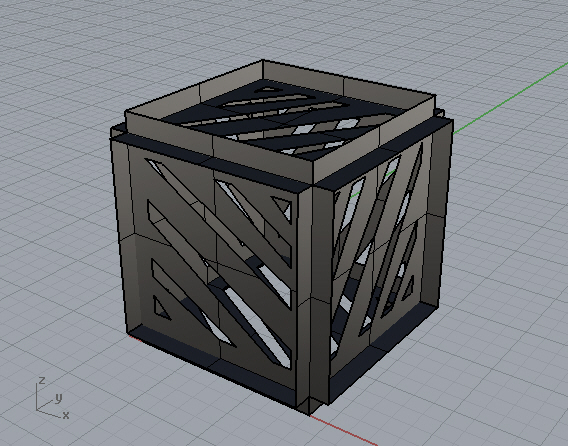
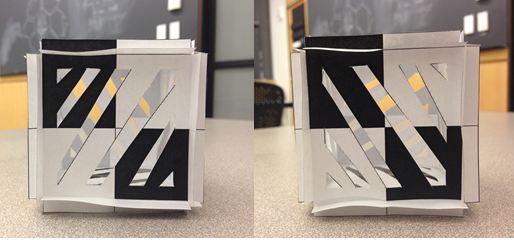
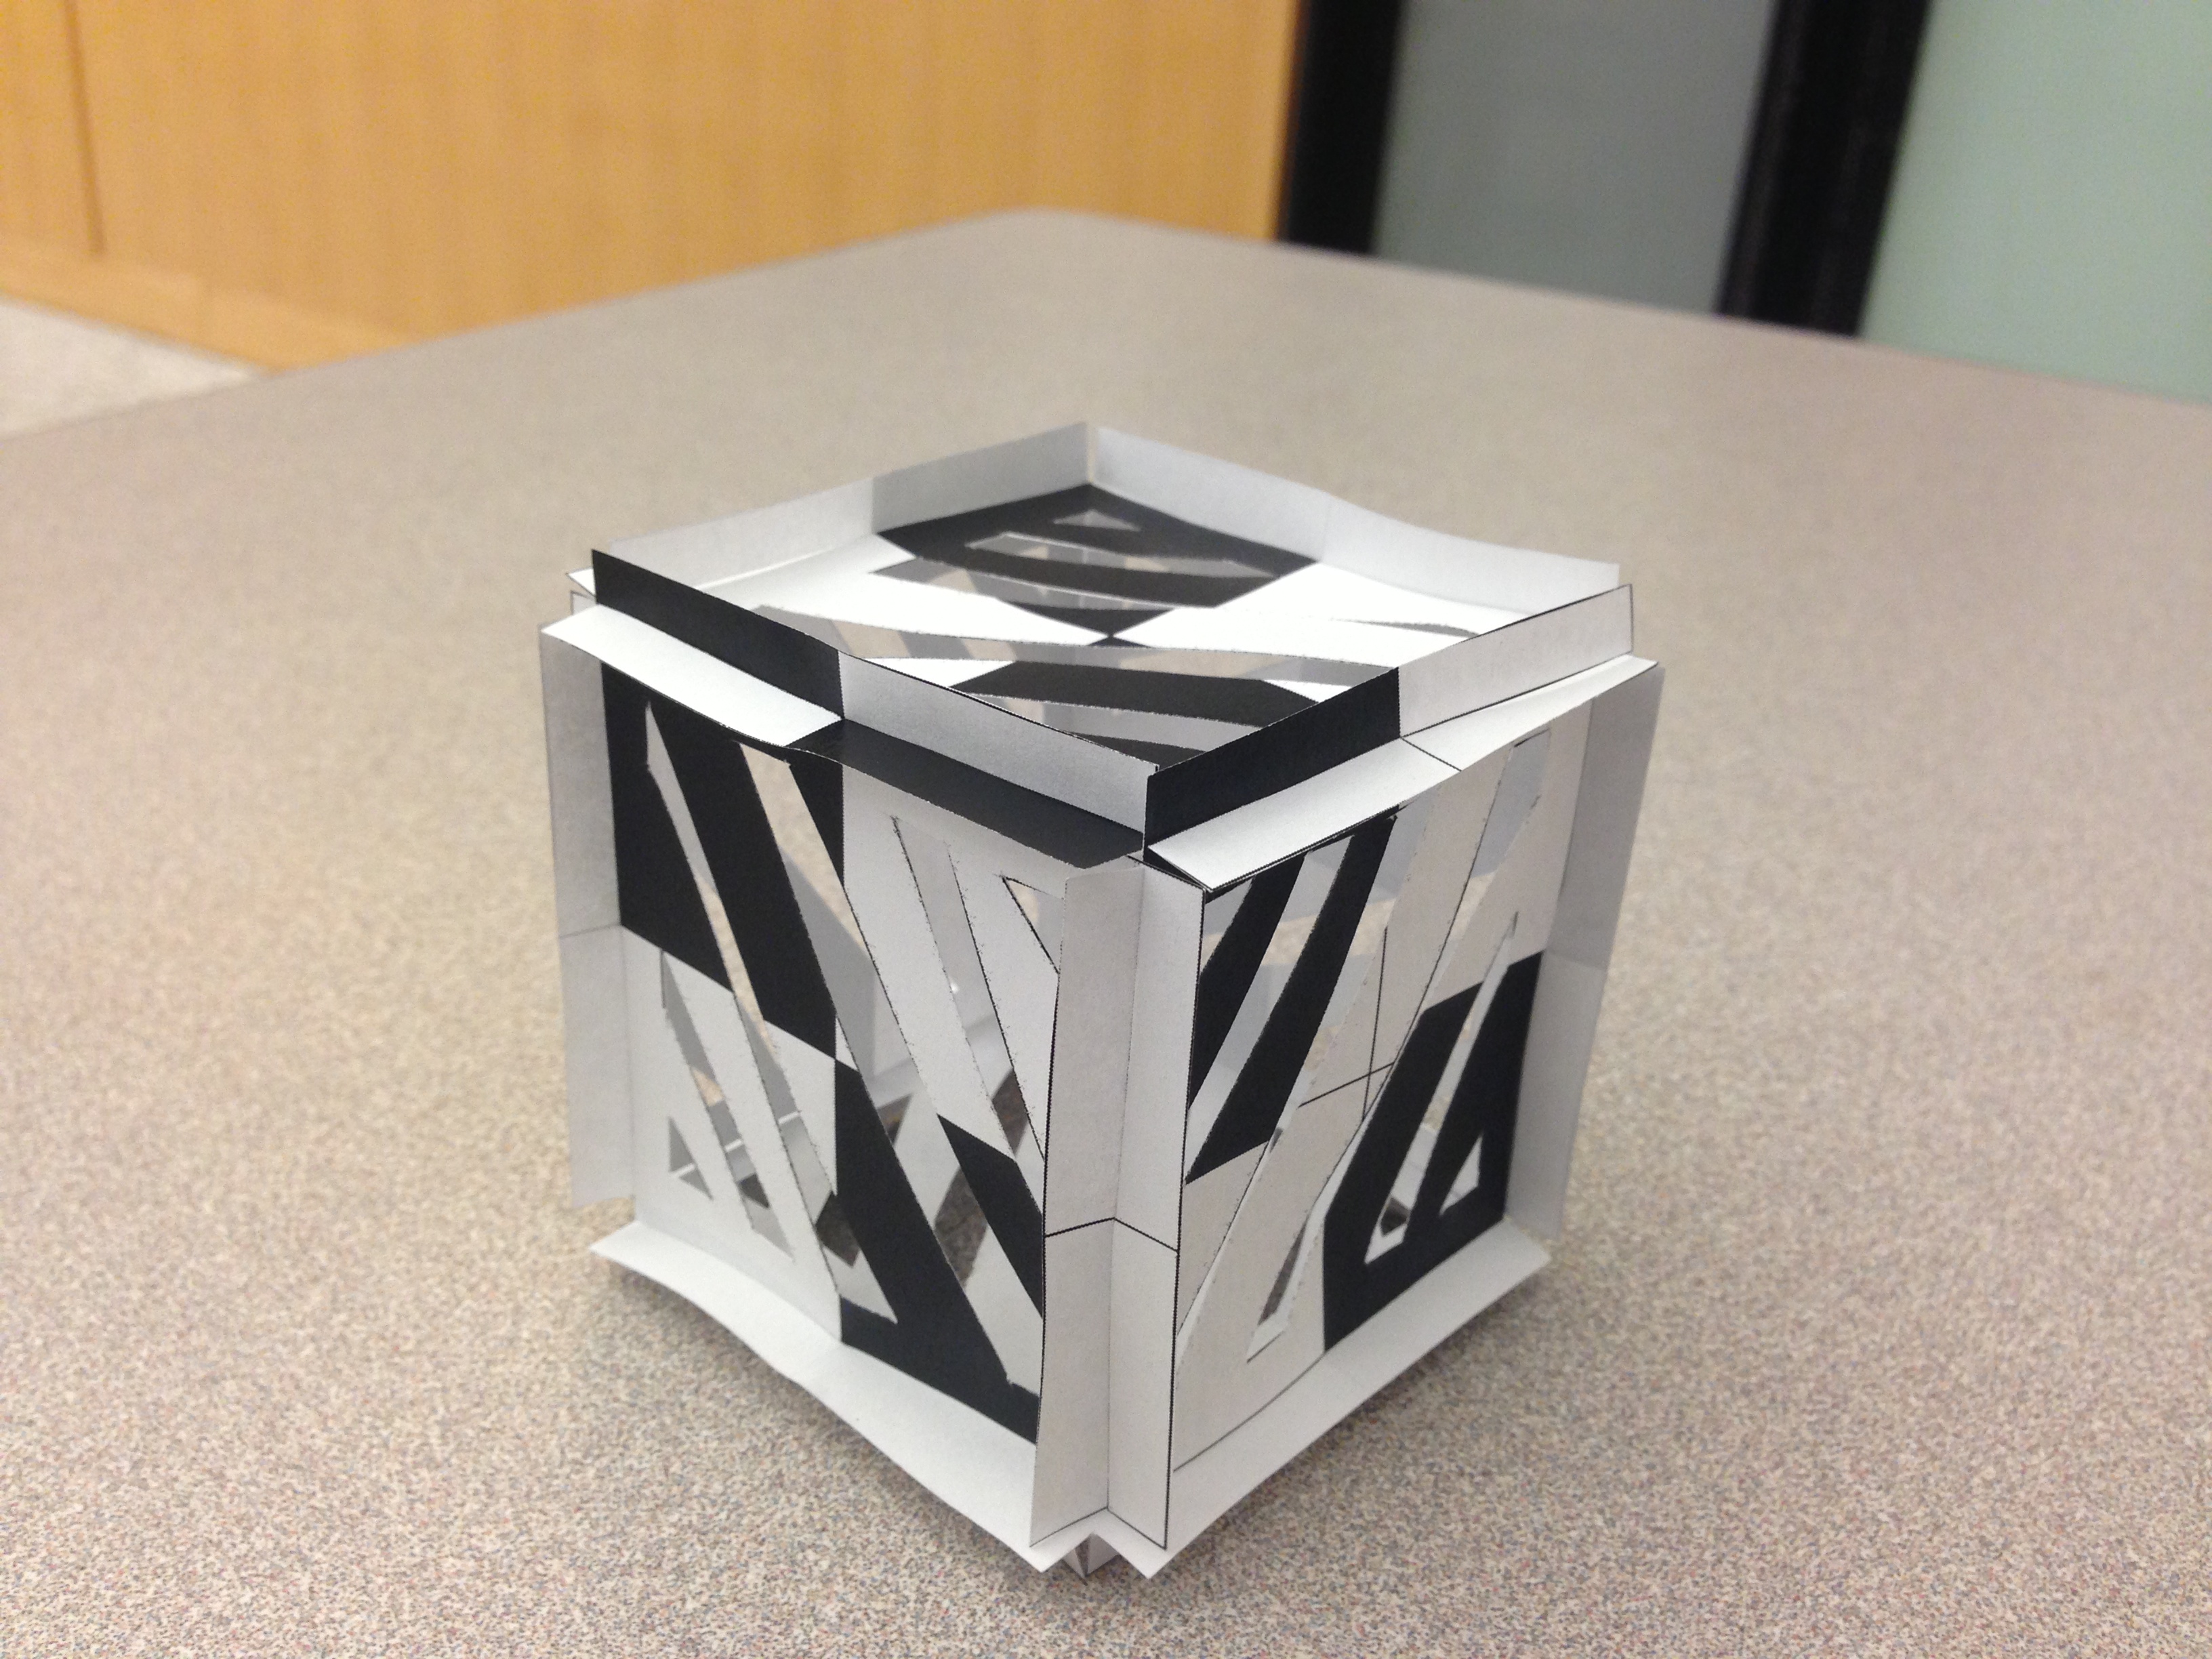
Glueless Paper Box
Design and build a press-fit paper box (use thin paper not cardboard) using surfaces, including details such openings, drawers, handles and so on. Put attention to the physical connectivity between surfaces, with no use of a glue. Write few sentences on your design decision, integrity and style of the details with respect to the design, and cite relevant references from the previous readings. Share initial sketches if you have any, and explain the design process. Show a default rendering of your box.
Initial Sketch Model Brainstorming
The final would have paper strung around the sides with the X as the main support.
In the final I would have made the top and bottom from stringing many small strips through slits on the side walls.
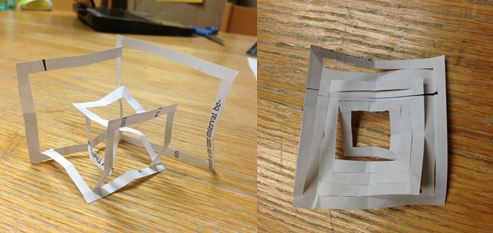
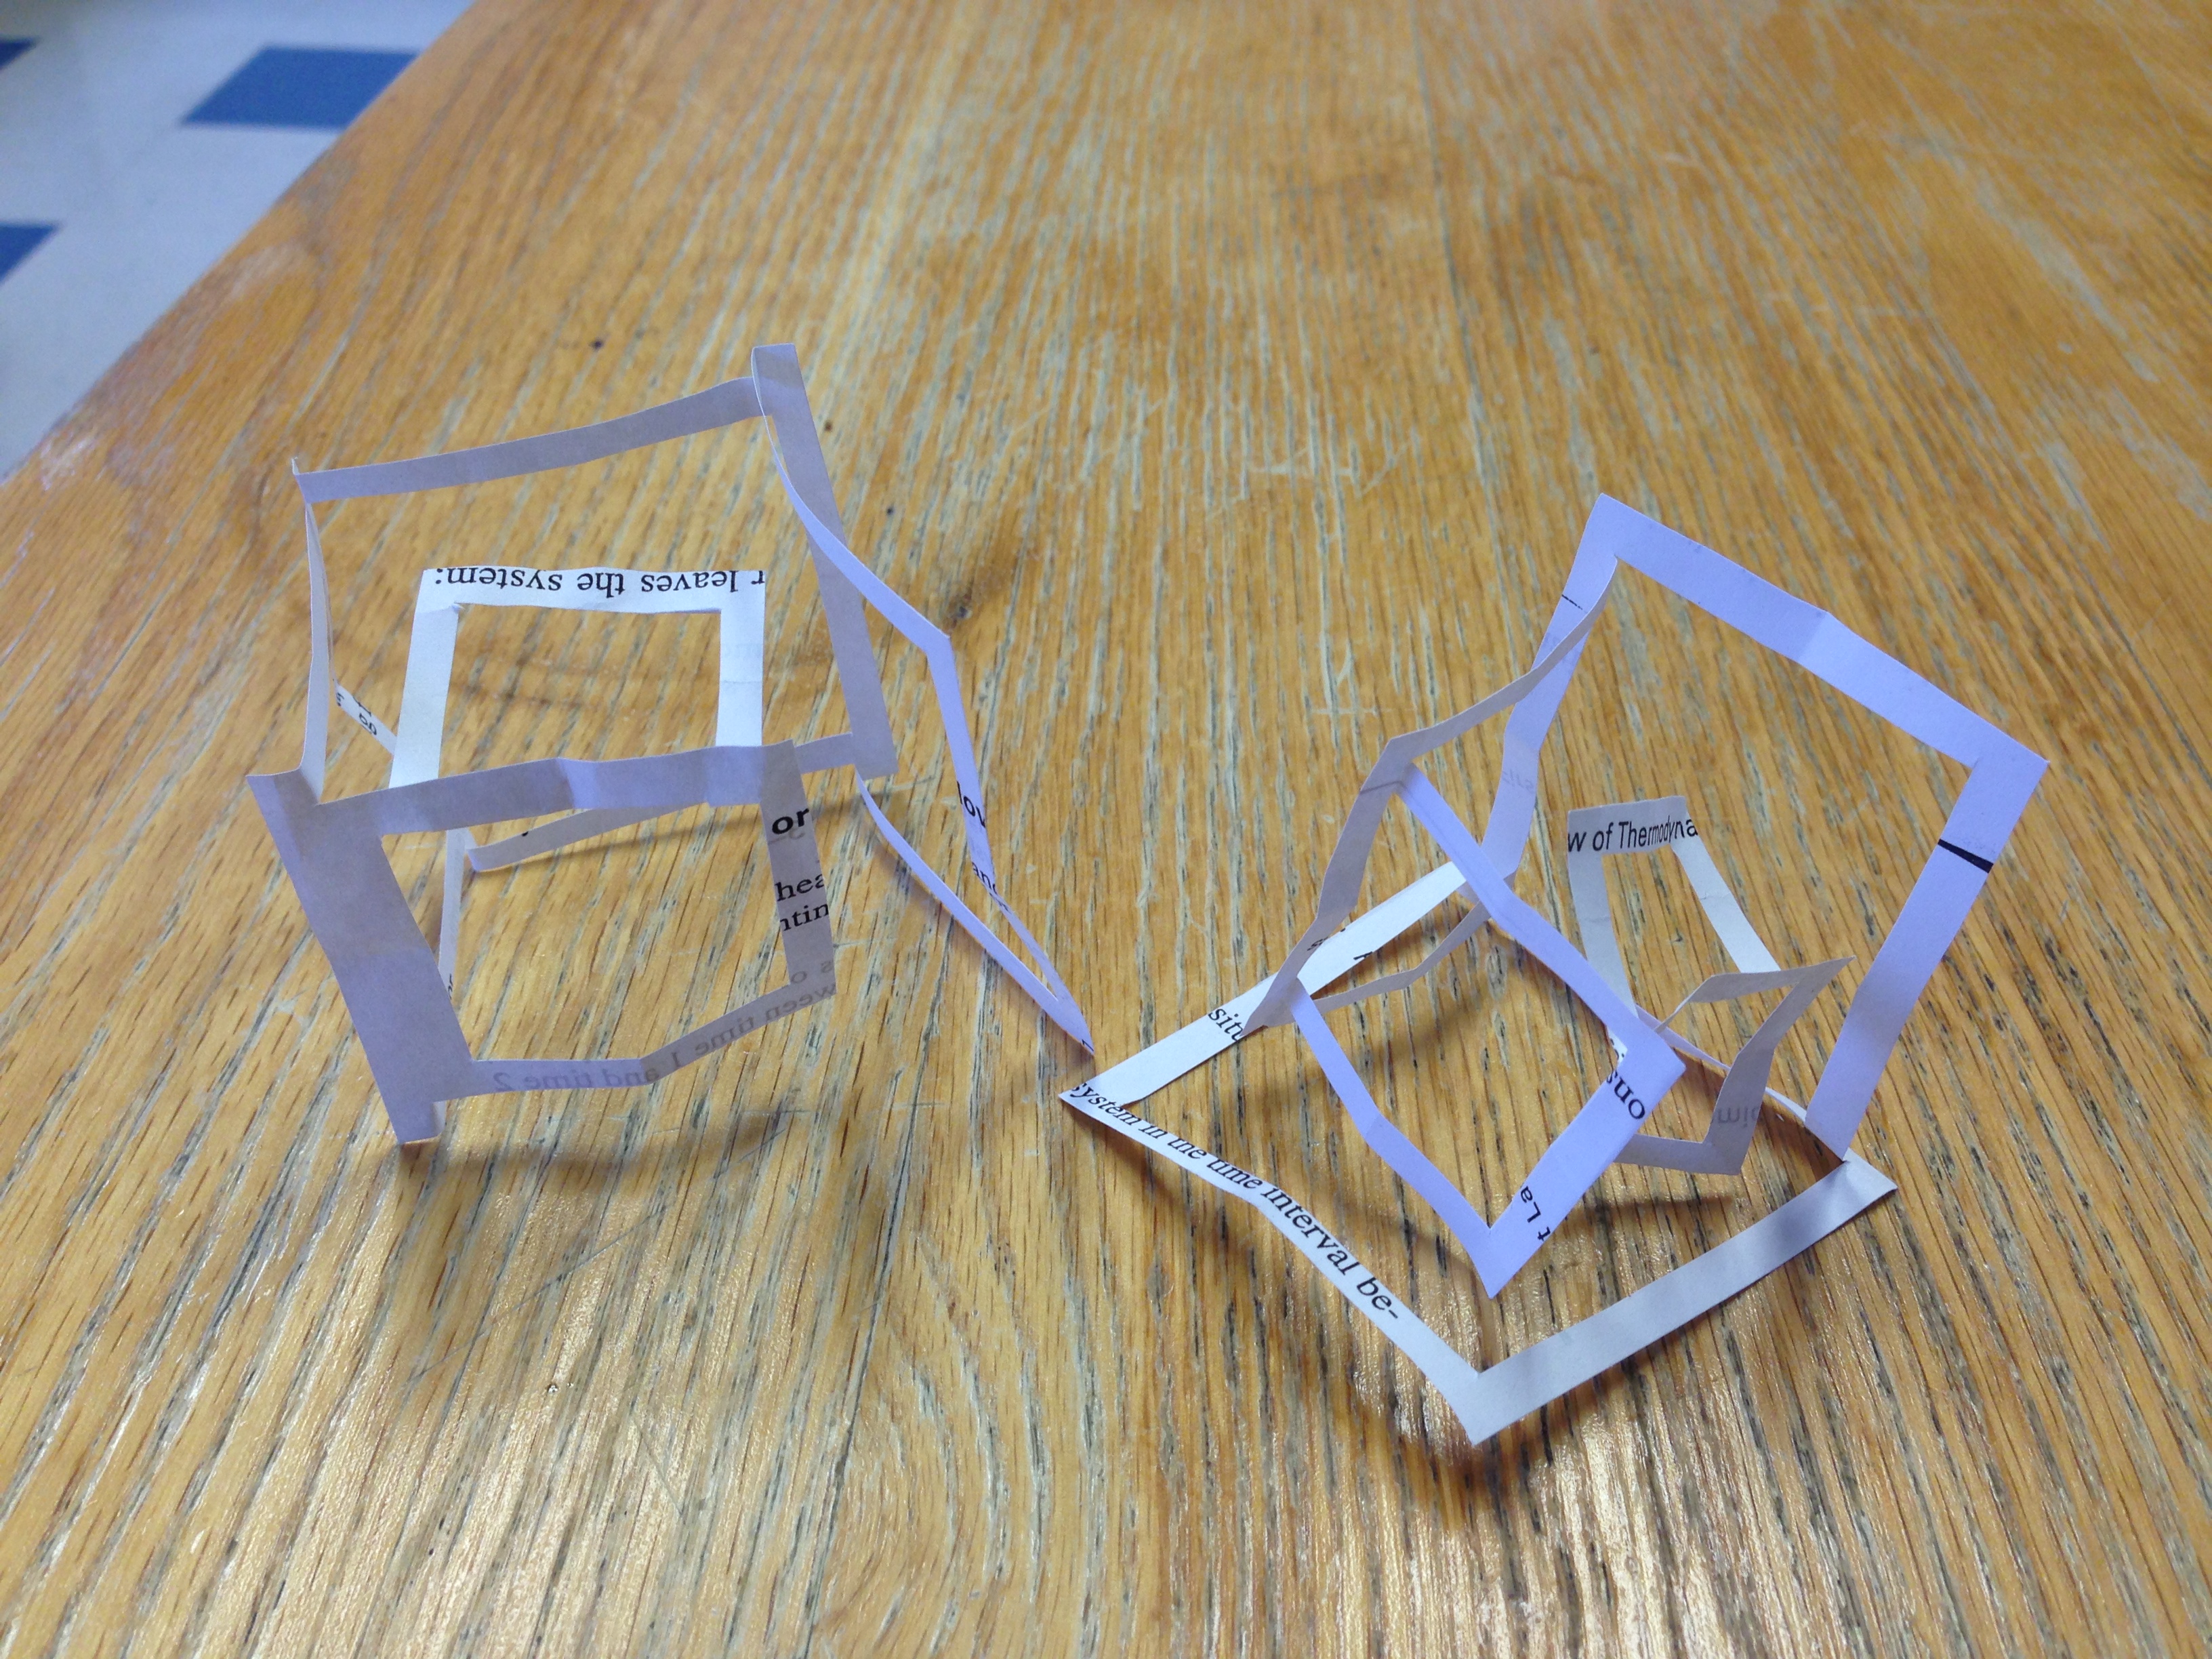
This was created from 1 paper 2D square that was continuously cut and folded strategically to form 6 walls. The walls however get smaller and go towards the center of the box as each square gets smaller.
The idea was to create a dense grate using for the paper slide method. I would have done a 9 x 9 matrix for the final.
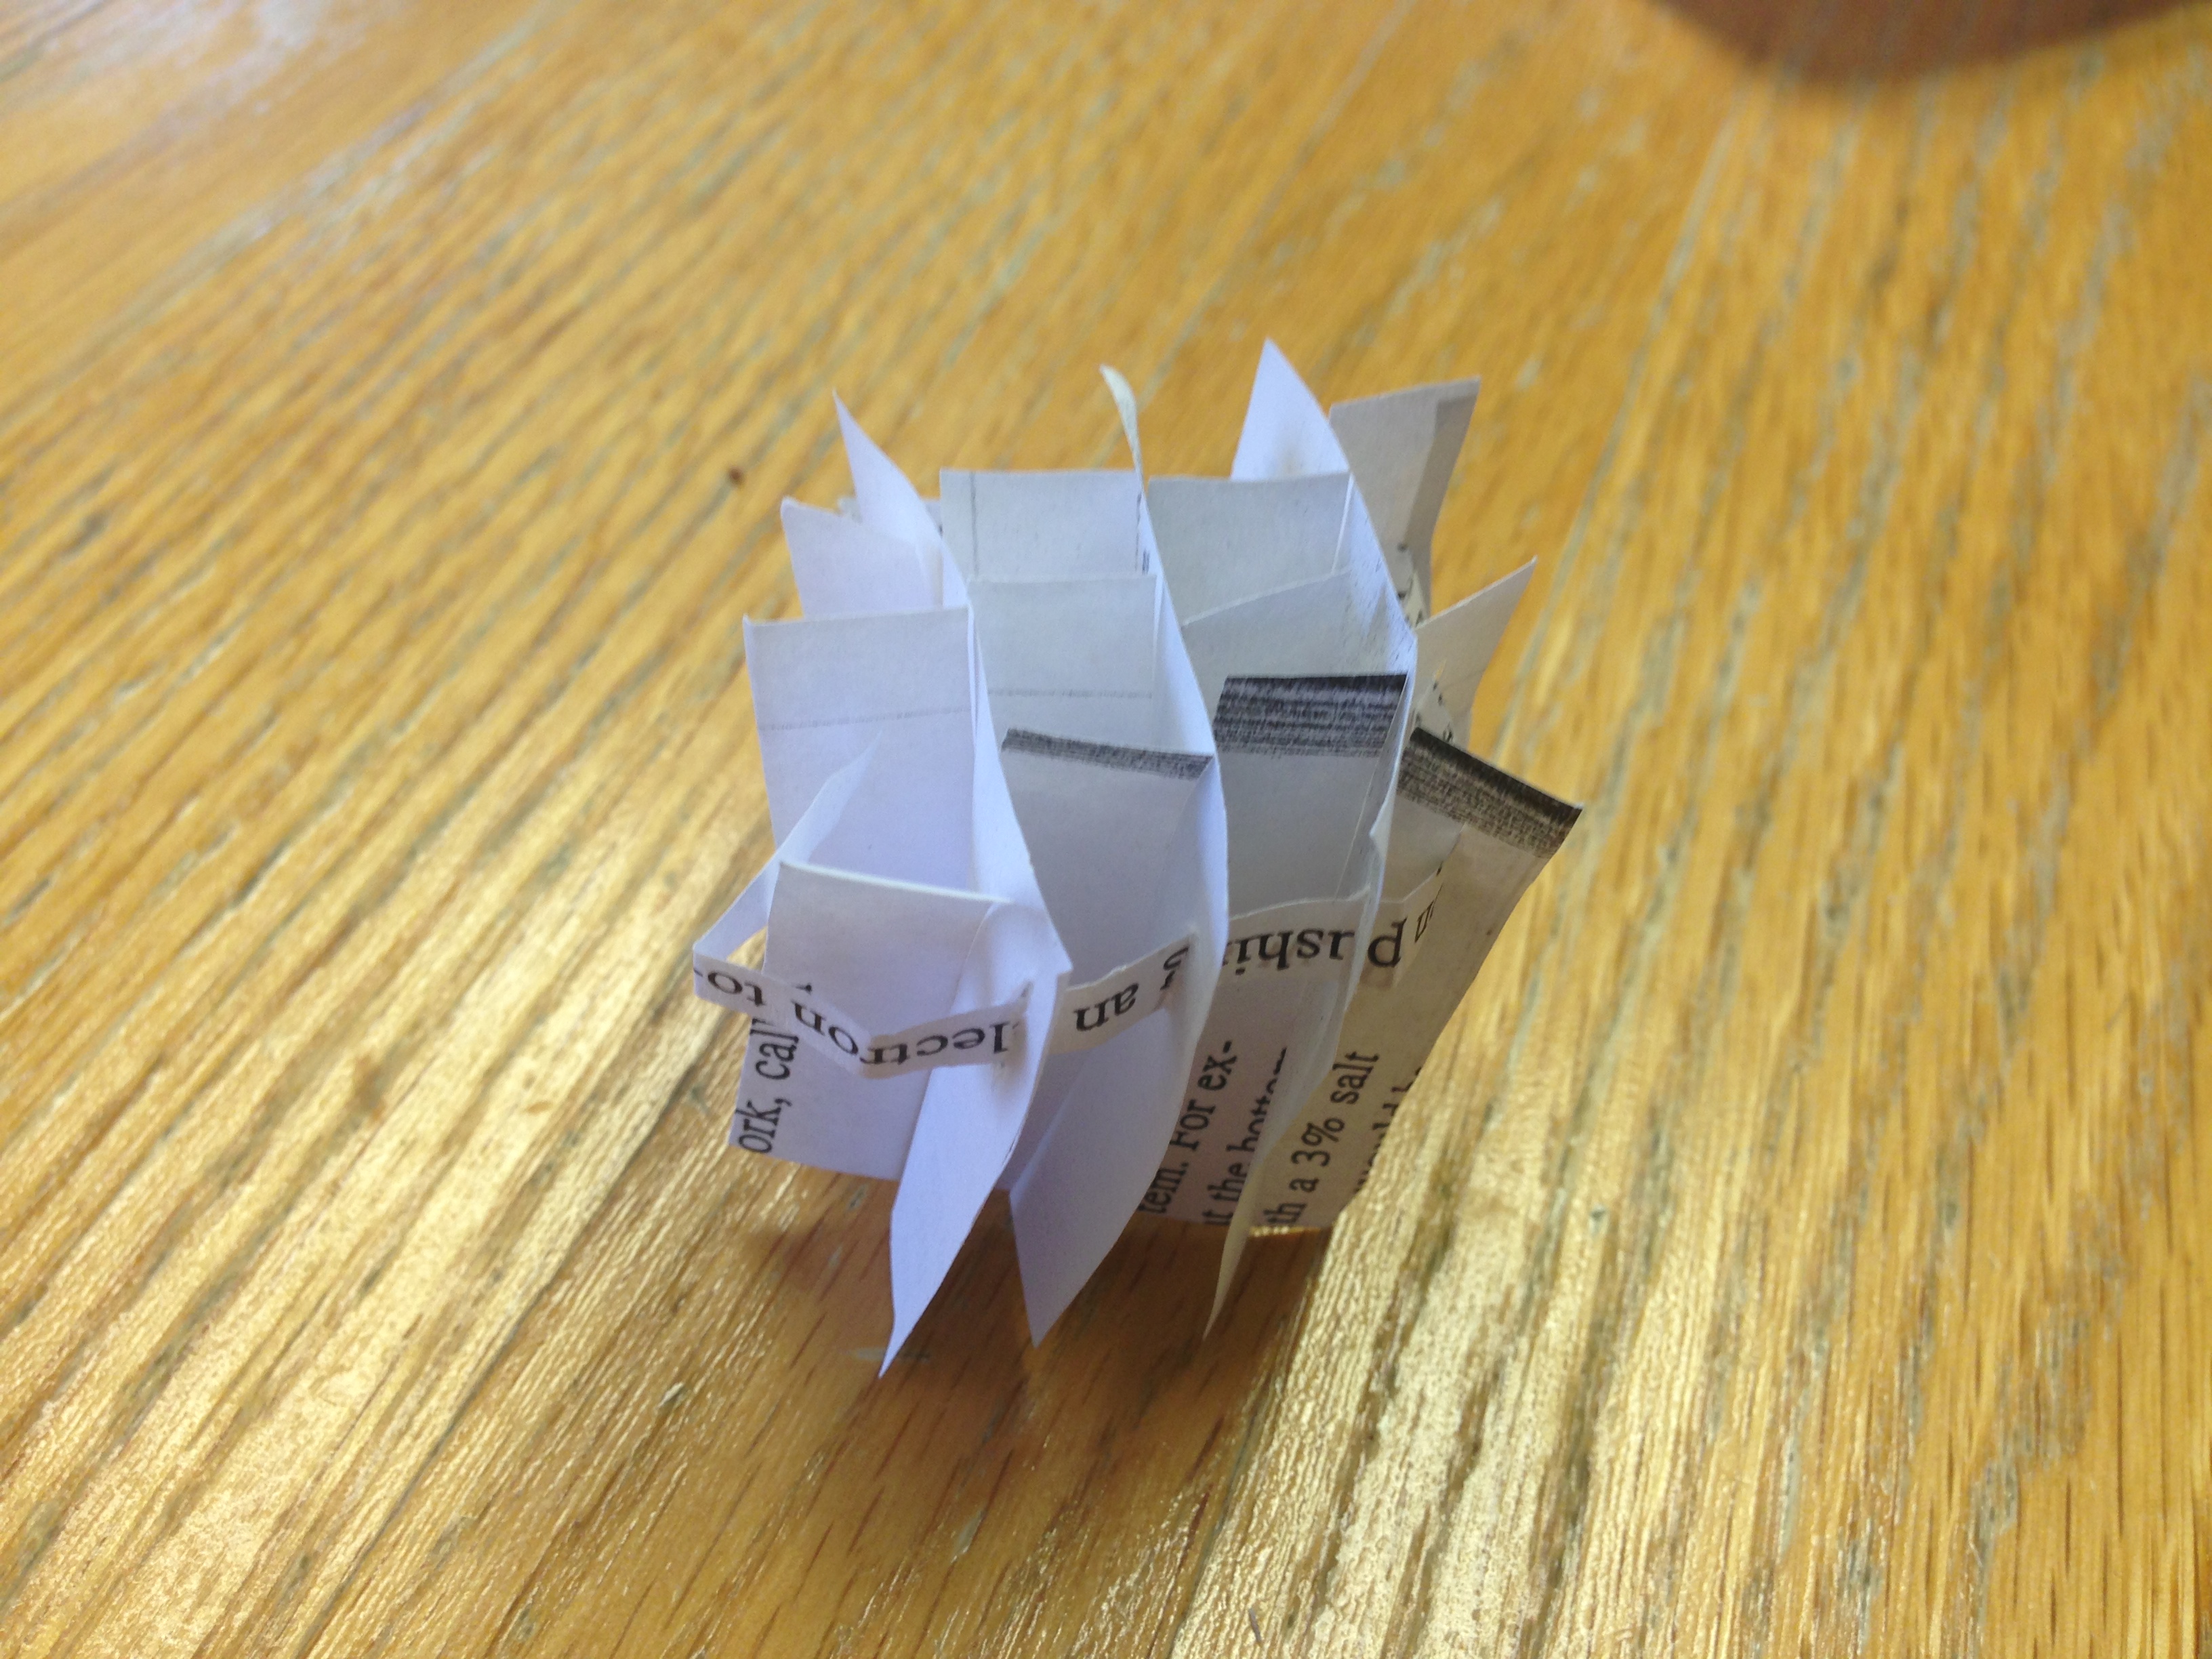
I was able to play around with folding sides of the box and sliding method to form a completely glueless cube. After playing with the cube more, I was able to eliminate the folds and make all walls have some mechanical connection to a adjacent wall.
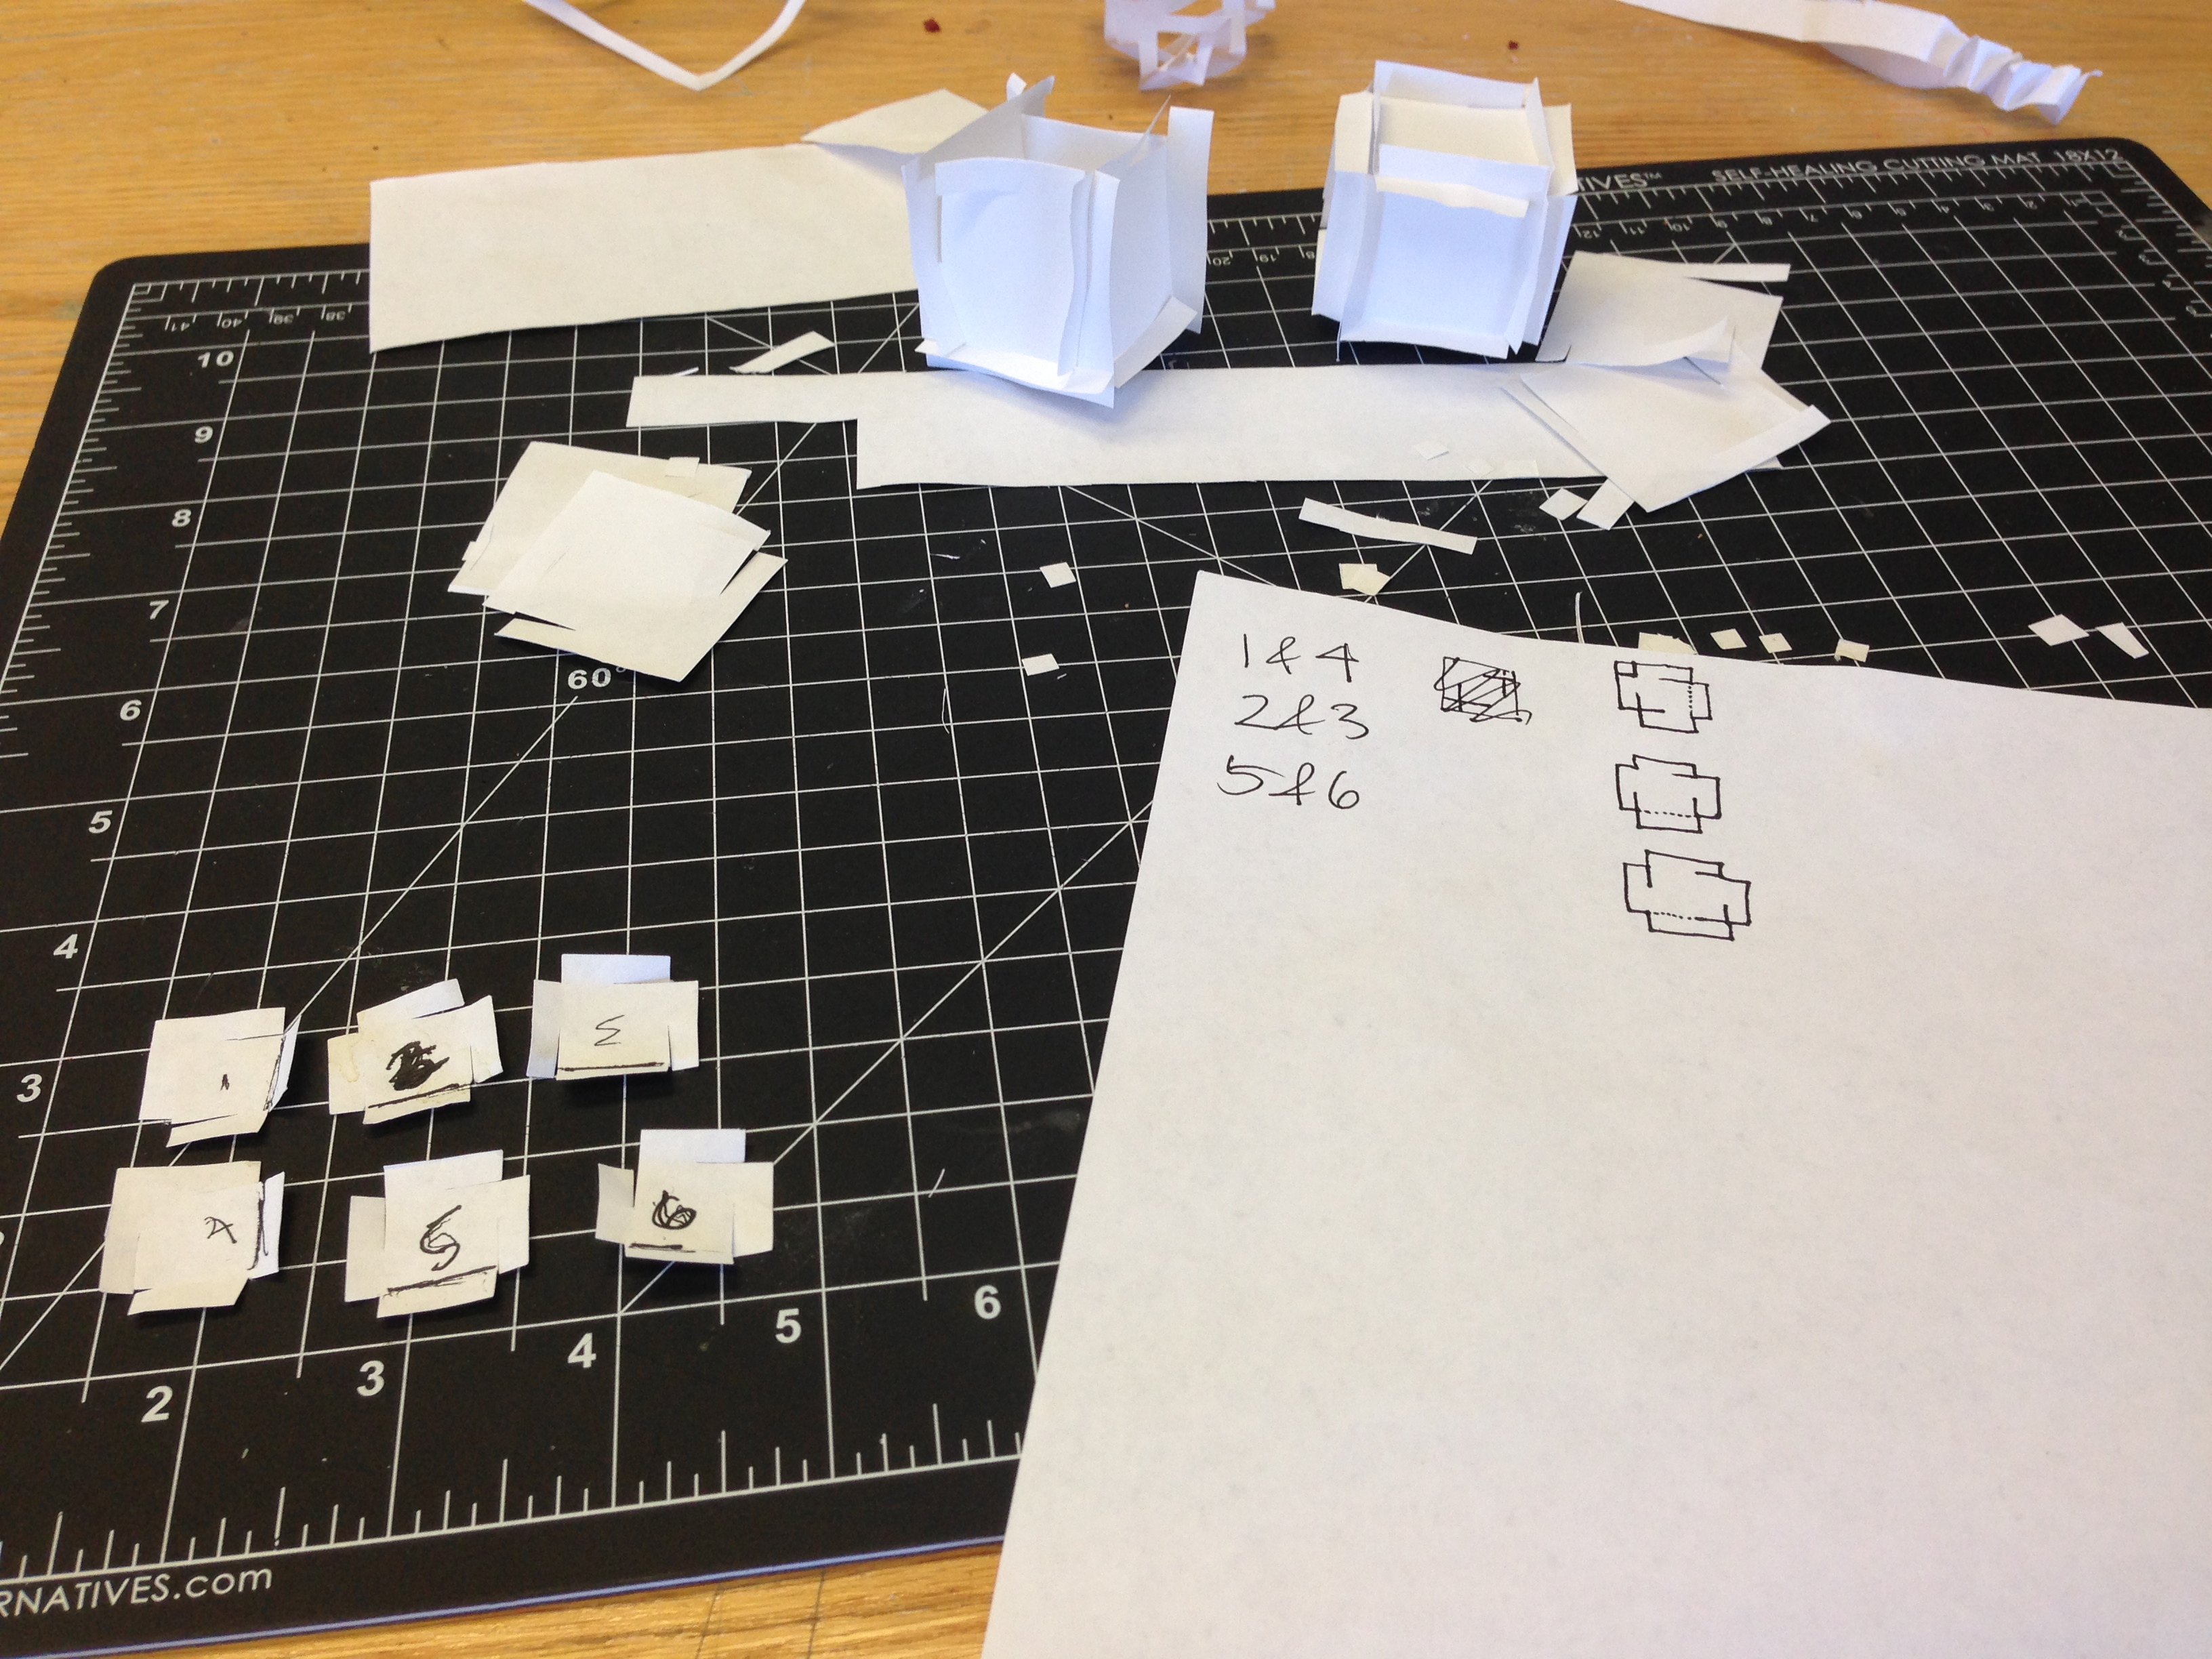
Since not all the walls had the same slits, I had to organize a way to keep track of the sides and their position.
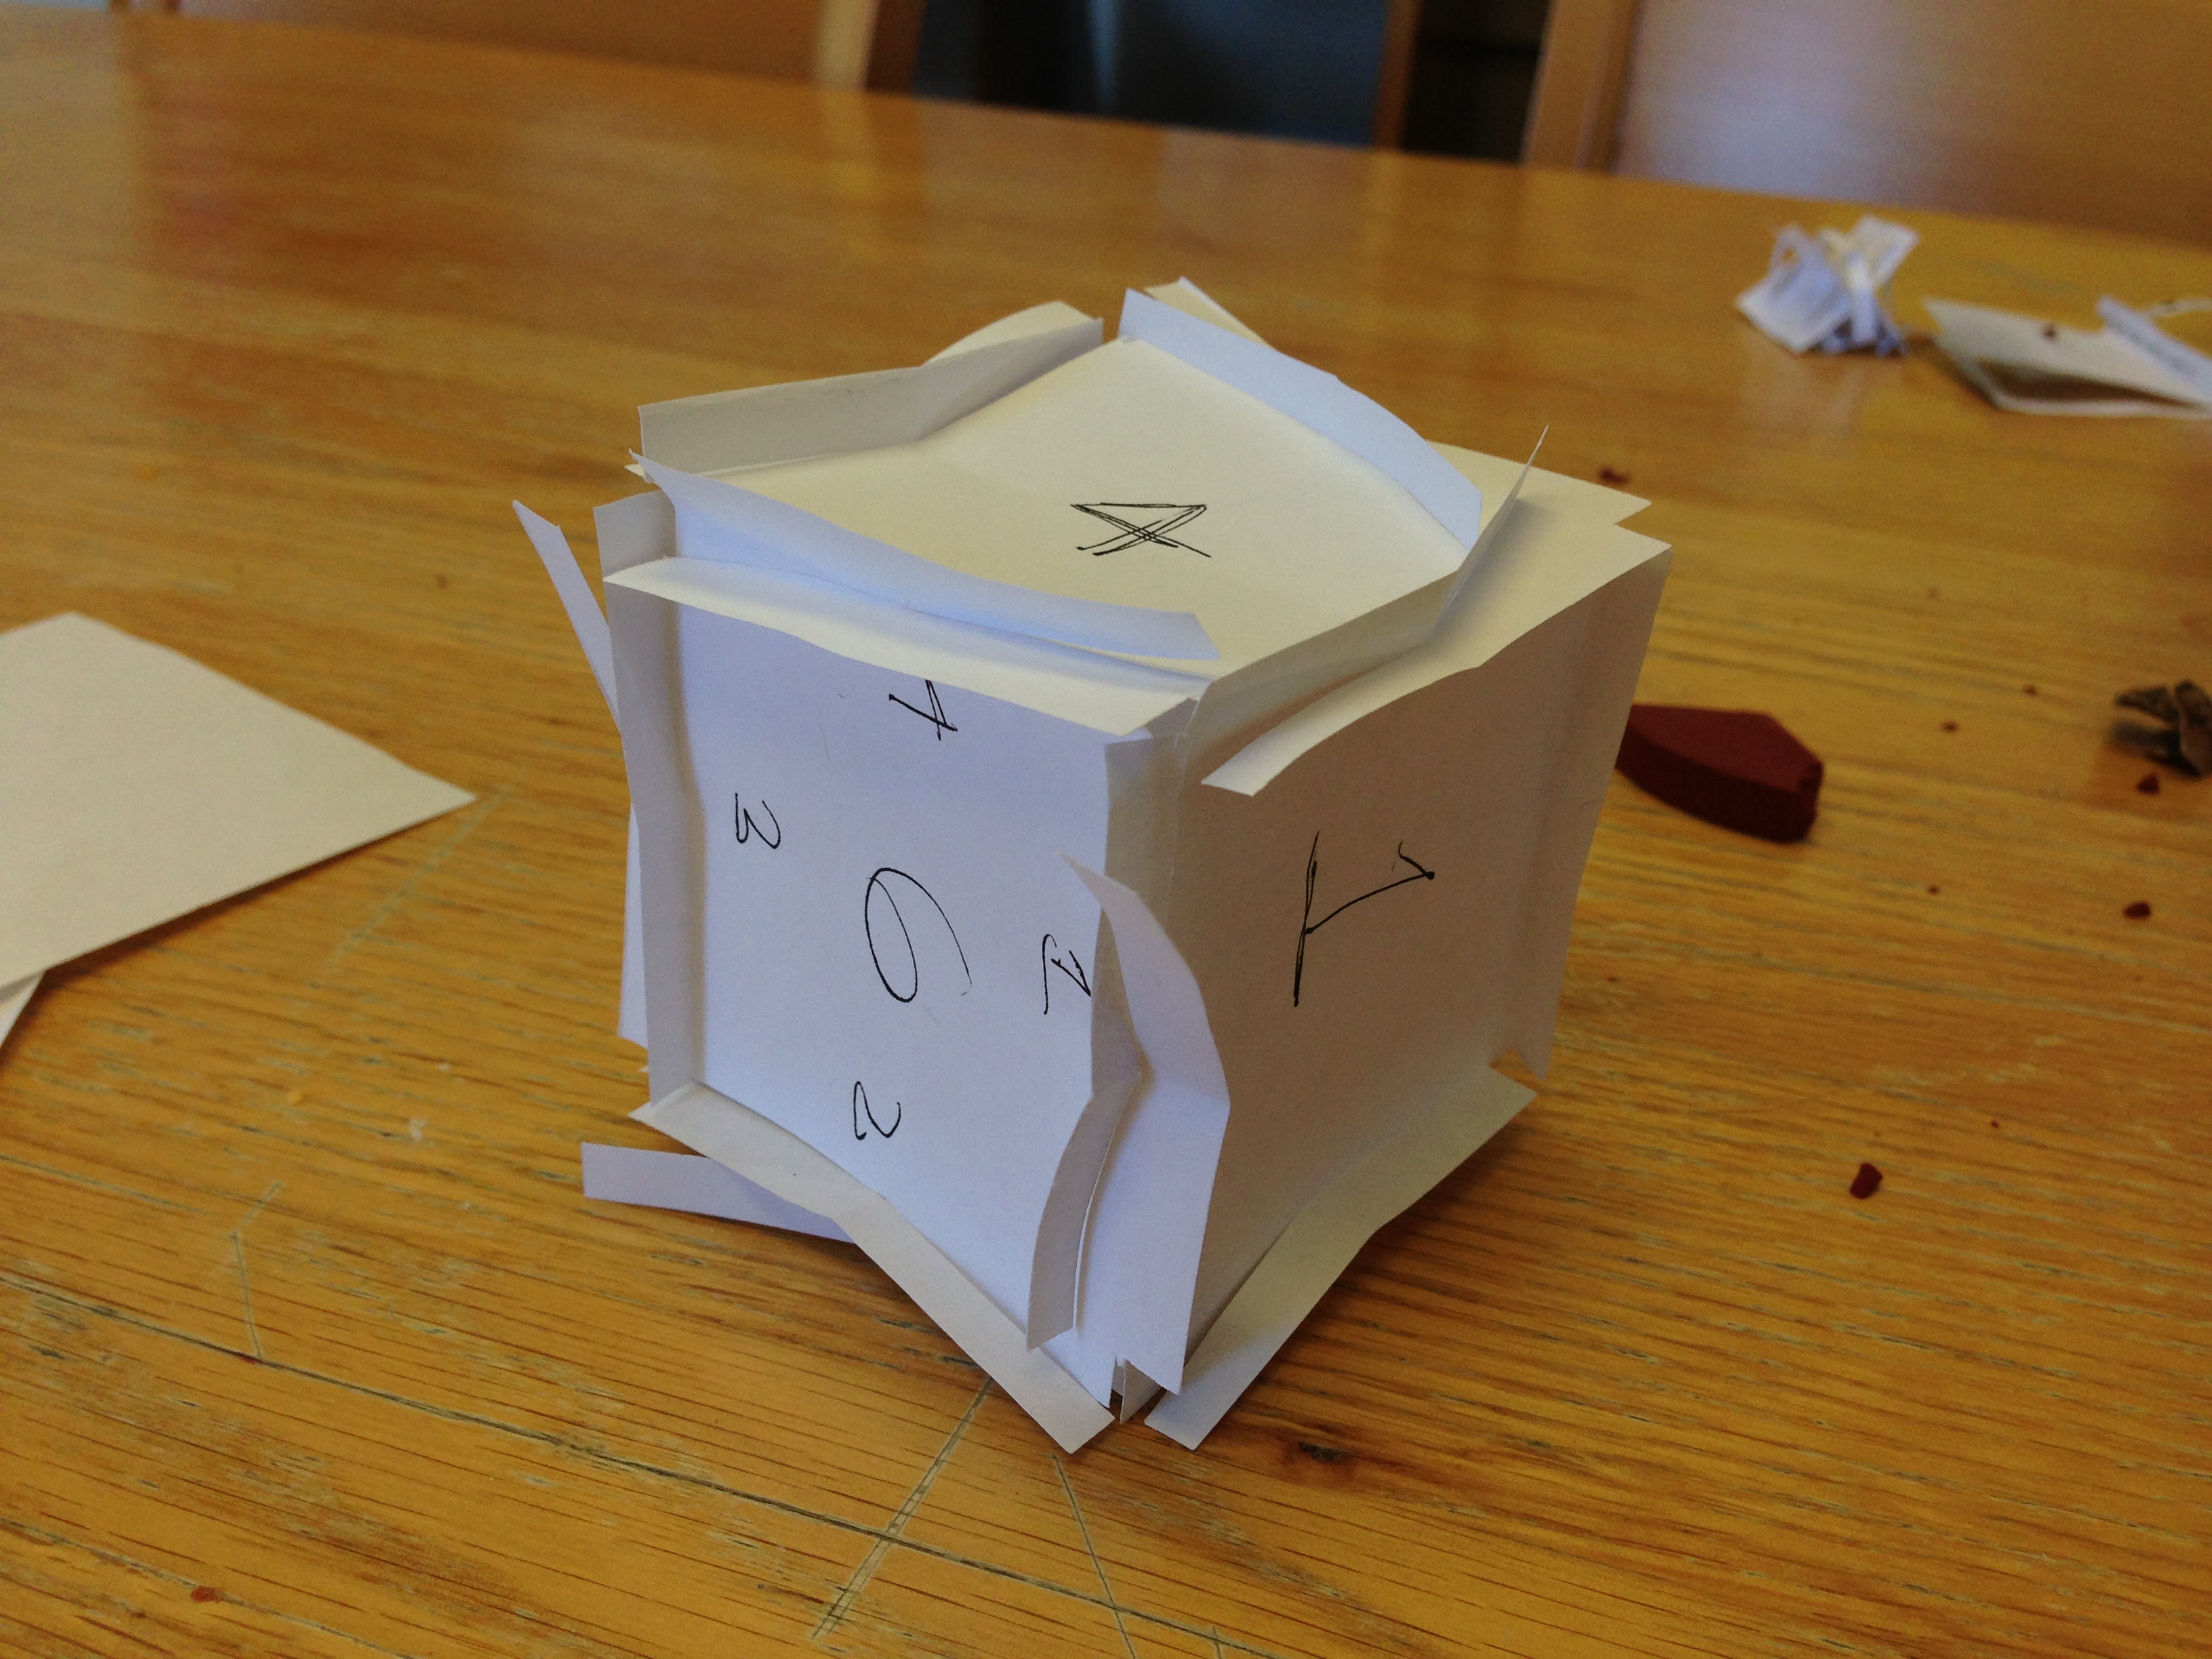
Final 2D and 3D Renderings
Position of Sides
6
1- 2- 3- 4
5
Real 3D Model
ASSIGNMENT 1 [2/14/14]
Design Critique Design Critique
2D Design - from Principles of Form and Design by Wong 2D Design - from Principles of Form and Design by Wong
Composition (armatures, cropping and framing) - from 2D Composition by Roberts Composition (armatures, cropping and framing) - from 2D Composition by Roberts
Based on these readings, choose two designs and prepare a critique on both. You can choose any example you wish, including from the list of designers in the Resources page. Based on these readings, choose two designs and prepare a critique on both. You can choose any example you wish, including from the list of designers in the Resources page.
Product Product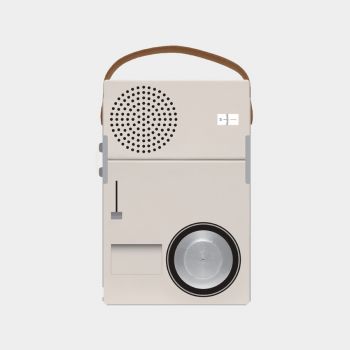 <img src="https://courses.media.mit.edu/2014fall/mass61/wp-content/uploads/sites/20/2014/02/Dieter-Rams-Radio-300x300.jpg" alt="Dieter Rams Radio" width="300" height="300" class="aligncenter size-medium
The image is of the TP 1 radio/phono combination, designed by Dieter Rams in 1959. Dieter Ram's achieves an elegant design using basic shapes and design principles of form and design. He repetition of circles and rectangles. He repeats the size of the circles as well as varies the size for contrast. There are two main large circles placed in opposite corners, which gives the product a sense of rotational symmetry and a diagonal armature. Making up the top left circle are many little circles placed in a concentric circular pattern. The product also has a line going perpendicular to its length about a third of the way down from the top. This adds a horizon line that balances out the verticalness of the radio.
Advertisement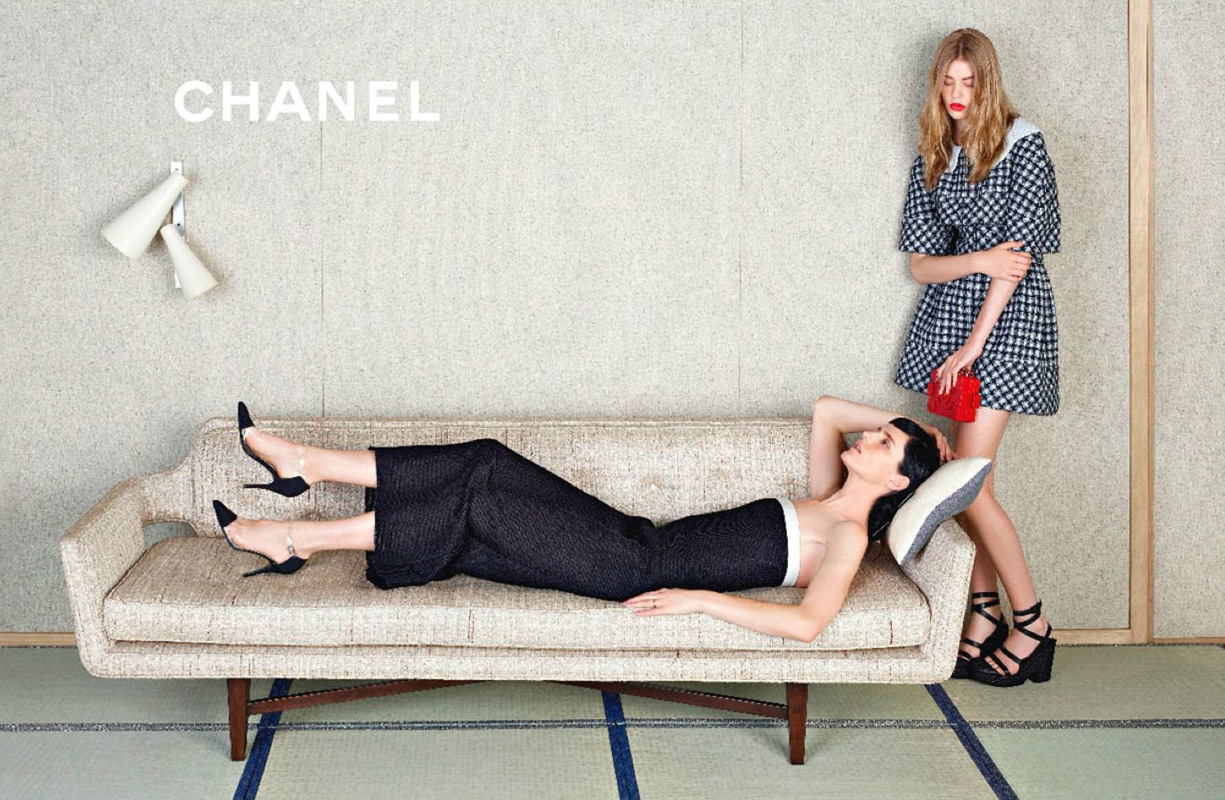
The image, photographed by Karl Lagerfeld, is one of the advertisements in Chanel's Spring Summer 2013 Campaign. Lagerfeld plays with contrast in color with the background and foreground to bring the viewers attention to the models and the clothing they are wearing. The photo also has a clear backwards L shaped armature, which draws attention to the arm's intersection--exactly where the models are. After seeing the sharp colors in the middle right area of the image, the viewers eyes will move outward toward the edge of the picture plane and end with the text "CHANEL". The text is subtle due to the low contrast in color but still pops out due to contrast in texture of the wall and white font.
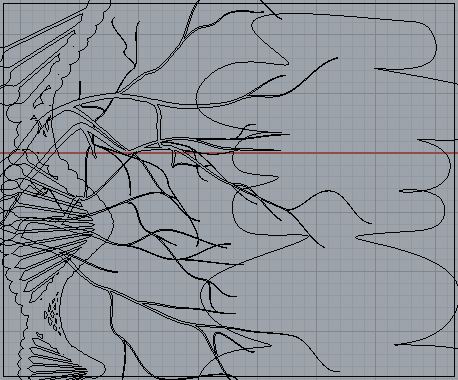
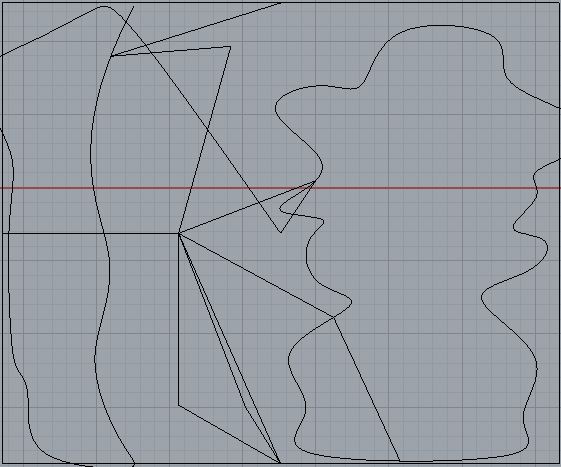
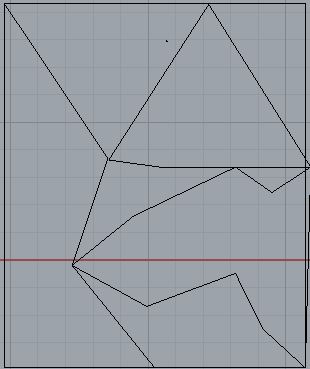
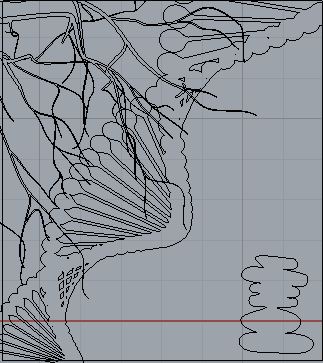
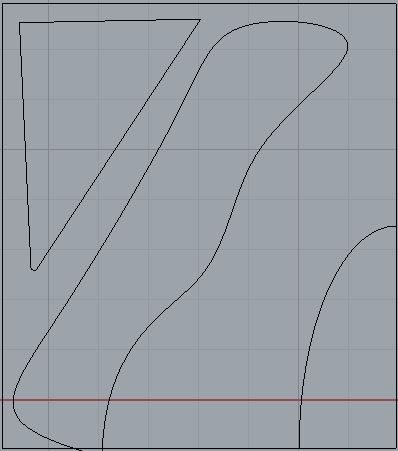
2D Outlines: A Tree, A Stack of Rocks, & DNA Helix
-Choose three objects of your preference and build their outlines (projection, extract, mesh outline or else). Present at least three compositions in Rhino for the arrangement of these objects in 2D space, and briefly articulate your design decisions with reference to Roberts reading.
-Keep the same perspective as earlier, but replace the three outlines with three simple abstract shapes of your own design. Articulate your design decisions with reference to Wong reading.
Eye Movement with Gradation
Verticals
Variation of Spacing
Contrast of Texture
Some Sense of Reflecting
Stable
Anomaly

Cruciform
Portrait-like
Contrast of shape
Contrast of Structure with Gravity and Space
Diagonal Armature
Anomaly
Crop
Contrast of Shape
Contrast of Texture
Detachment of Forms
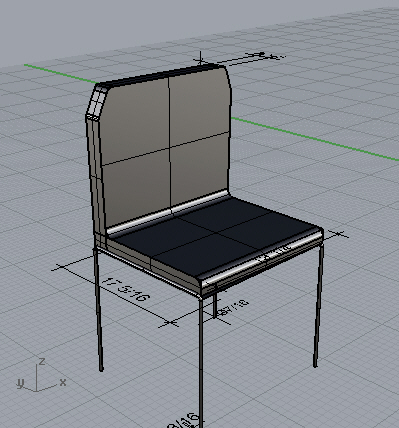
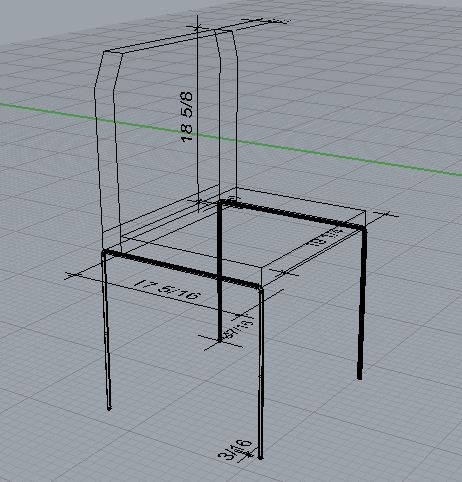
3D Outline of a Chair
Choose 3D product of your preference (shoe; clock; glasses; car; stereo system) and model it with splines in 3D. Use the Osnap tool and add dimensions on the drawing.
Rhino Files: https://www.dropbox.com/sh/ymxr90v811b73sz/vtFz-jocS7