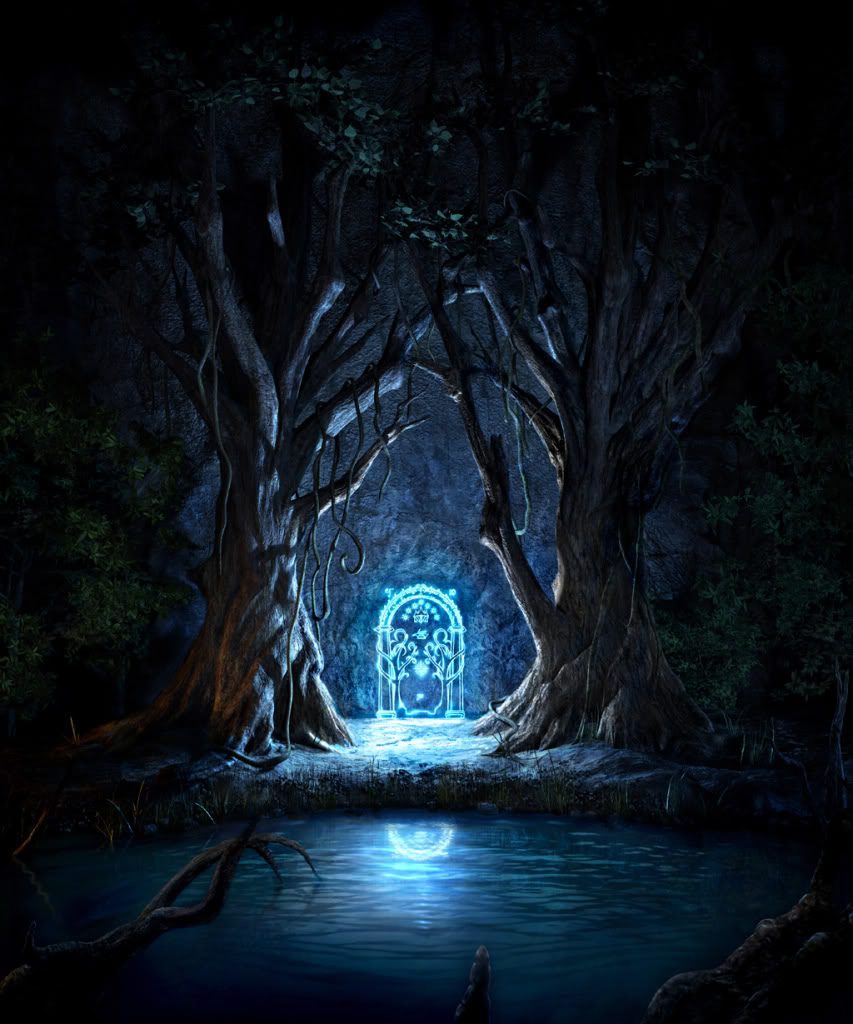
Historically, one of the oldest references to a magical wand describes the supernatural item in the form of a staff. Staffs, if not too ornate, provide their owners with a lethal weapon that many observers would regard as an ordinary walking stick. For my final project, I have assembled a moonlight illuminating staff with the power to unlock a door. This idea of unlocking doors with moonlight stemmed in part from the wondrously entertaining, magical adventure novel, The Hobbit by Tolkien. In the story, the protagonists are given the following clue to enter the Lonely Mountain and reclaim their treasure from the treacherous dragon, Smaug: “’Stand by the grey stone when the thrush knocks’, read Elrond, ‘and the setting sun with the last light of Durin’s Day will shine upon the key-hole.’” The last light actually alludes to the setting sun in the book; the movie embellishes the riddle by declaring moonlight alone to be the last light of Durin’s Day.
 Moonlight does, however, play a vital role in the novel, as Durin’s Day is, “when the last moon of Autumn and the sun are in the sky together.”
The technique chosen for developing a light source mimicking moonlight was to wire a multitude of colored LEDs together such that the number of each color was proportional to the relative intensity at that particular wavelength in the spectrum for moonlight. With only a finite number of different colors of LEDs in the circuit, the light source would serve as an approximation of moonlight. However, by inserting a sufficiently high number of LEDs into the circuit and extending the variety of colors fairly evenly across the visible region of the spectrum, this approximation should be sufficient. The spectrum that I used to determine the number of each color, originally from a paper by Ciocca & Wang, can be viewed at the following link:
http://physics.stackexchange.com/questions/244922/why-does-moonlight-have-a-lower-color-temperature
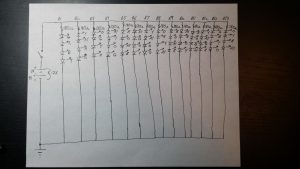
The Moon’s spectrum, shown as a blue line, was taken with the Moon at an altitude of 57 degrees. The red line on the diagram is the Sun’s spectrum at an altitude of 30 degrees. As seen, the two are markedly different over most of the visible spectrum. Six different colors of LEDs were placed in the circuit: blue at 467 nm, green at 522 nm, yellow at 592 nm, amber yellow at 595 nm, orange at 609 nm, and red at 660 nm. To develop my circuit, I first wrote down the signal strength for each of the colors from the spectrum. To the nearest tenth, I obtained: blue- 0.4, green- 0.9, yellow- 1.1, amber yellow- 1.1, orange- 1.1, and red- 1.0. Next, each of these numbers was multiplied by ten to yield the number of LEDs of each respective color; the total number of LEDs was thus 4+9+11+11+11+10 = 56. Since 56 is divisible by 4, I elected to set up the circuit with 14 parallel branches of 4 LEDs per branch. Desiring an even spread of the different colors to produce as monochromatic an appearance as possible, the process I used of arranging the locations of each LED was in no way random. Instead, I played a Sudoku-like game by requiring that each branch not contain more than one of each color, while limiting the number of same-color LEDs in each of the four rows to 3. To limit the current flowing through the LEDs, a 180 ohm resistor was positioned at the beginning of each branch. A 9 Volt battery and a 3 Volt battery pack were connected together in series to provide a total of 12 Volts to the circuit. Connected to the anode of the 3 Volt battery pack was a switch; the switch enables the wizard to easily turn on and off the LEDs by closing and opening the circuit. A picture of the complete circuit is illustrated below. The resistors and LEDs were all electrically connected by soldering on a RadioShack printed circuit board. For the body of my staff, I selected a six-foot tall cylindrical wooden pole. On top of this pole was mounted the assembled printed circuit board, along with the batteries. Over the LEDs a piece of plastic was taped down to diffuse the emanating light; a plastic bag was further placed over the board to help accomplish this task.
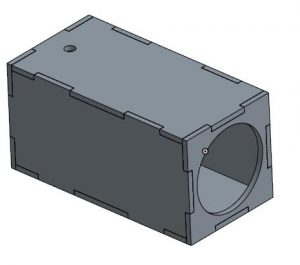
The door to be unlocked was a wooden circular one with a diameter of 4 inches. This door was part of a rectangular box, all six sides of which were laser cut and attached with Gorilla Glue. The box was designed in Onshape with grooves and protruding edges for the attachment. A picture of the design may be examined below. The shorter side that is visible on the right of the picture shows a large circular opening. After laser cutting all six sides I kept the cut-out circle from this piece to employ as the door. The shorter side not visible on the left is solid without a cut-out door. Notice also the small hole on the top piece. This is the entry point for light to enter the system. In my actual setup, I positioned this hole on the left side. I screwed on a hinge to the door and also attached a sliding lock to its interior side. On the front of the door, opposite the lock were four screws, one of which I attached to a bolt to form a door handle. The unlocking mechanism was a high-torque servo motor with a line of plastic tubing tied to the moving part of the lock. To digitally connect with the motor an Arduino Leonardo microcontroller board was used.
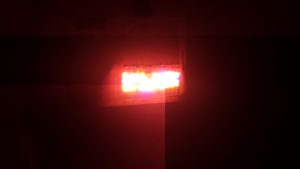
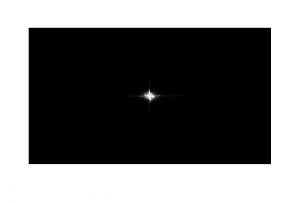
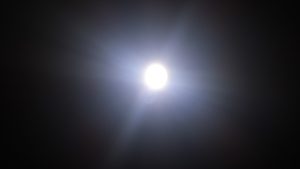
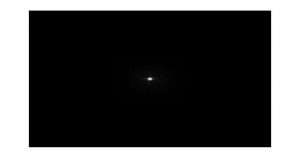
There exist a variety of methods of sensing light. One approach I strongly considered was to implement a Fast Fourier Transform on images of the light using Matlab. The Fourier Transform of a source of illumination reveals its spectrum. Below are images and corresponding shifted FFTs of both the light fixture atop my staff and an LED flashlight. Observing the differences in the two FFTs, it is clear that a comparator program would have distinguished between moonlight and sunlight in this case. Some of the challenges with this approach, however, are lag time of the computer for processing the images and running Matlab and Arduino software programs in concert. A simpler approach, and the one I implemented, is to exclusively use Arduino with photodetectors.
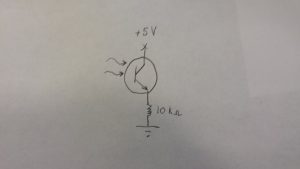
For the light sensor circuit, I considered photodiodes, phototransistors, and photocells for the light-detecting device. Connecting a photodiode in reverse-bias to a resistor without an operational amplifier in the circuit proved dreadful. The data received from the Arduino was intermittent; quite often the device would not output any signal unless I hovered a light source extremely close to it. I quickly came to the conclusion that an alternative device was necessary to obtain successful readings. Thus, I tested a 570 nm peak responsivity phototransitor. This worked remarkably well, as ambient lighting yielded a low analog reading in comparison to my moonlight staff. Furthermore, when I switched from the staff to a bright LED, I witnessed an order of magnitude increase in the value. The values read for different light sources with photocells were more uniform; however, photocells excelled at reproducing the same value for a given light source. My final system features a phototransitor in the configuration drawn below with a 10 kilo-ohm resistor.
In my program, I use a digital bandpass filter to declare moonlight to be identified when my given value (analog read signal multiplied by one million) is between 650 million and 750 million. Under that condition, the servo activates to unlock the door. The following video features me testing a variety of light sources in addition to my staff. Notice that before testing begins, I tilt the box to the right to lock it. If, for whatever reason, I am unable to open the door, I can manually tilt the box to the left to slide the lock back towards the center of the door; this prevented me from being permanently locked out. As shown in the video, when the moonlight illuminated staff is placed over the keyhole, the arm on the servo motor rotates and the door unlocks. Upon entering through the door that resembles that of a Hobbit’s home, one can view the electronic devices- Arduino Leonardo, breadboard with components, and servo motor- and associated wiring that enable the system to function.
The moonlight illuminated staff I created fits well as a natural model. Just as the Sun is far brighter than the Moon, the colored LEDs on my staff produce light of a lesser intensity than bright LEDs. I have thoroughly enjoyed the liberation to explore a topic that intrigued me greatly after reading Tolkien’s works. In the process, I have learned a great bit of science, especially regarding astronomy, as well as the magical significance of moonlight as a trigger.
