Sensor Experiments
by denamolnar
For this weeks project, I experimented with a variety of methods for producing textile sensors with varying degrees of resistance. Each sensor is activated through a unique means of tactile interaction, be it stretching, pressing or bending. The sensors were then connected to an Arduino to read their data. The data was then represented visually via a simple program written in Processing. It was interesting to see how each prototype produced different visual results!
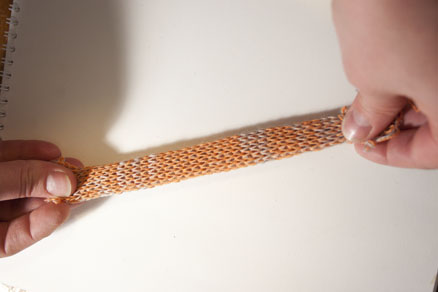
Knit Stretch Sensor- This sensor was produced on the knitting machine using a conductive and non conductive yarn. When stretched taut, the conductive material aligns to produce a lower level of resistance.
Felted Pressure Sensor-
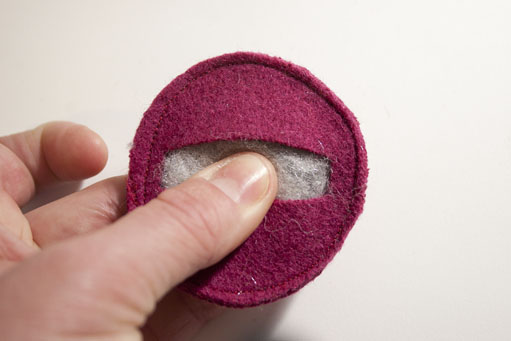
This sensor was produced by first combing together natural and conductive roving. The blend was then felted together and shaped into a soft round pad that could be squeezed or pressed into with ones fingers. I also sewed a round felt pocket with openings on both sides. This serves as a protective shell for the padding, as well as provides an area for the alligator clips (that run to the Arduino) to connect to.

Here is an image of the felt padding being slipped into the protective pocket

Once inserted, alligator clips are attached to opposite ends of the pocket “mouth”, making contact with the conductive padding. Pressing the sensor reduces resistance that can be read on screen via Processing.
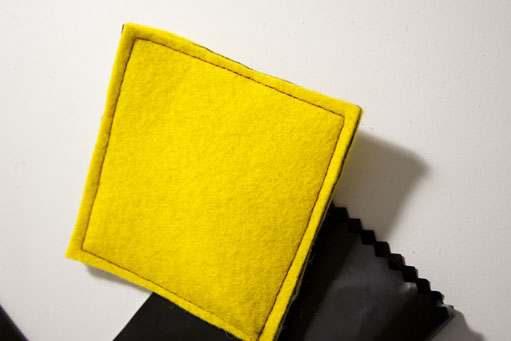
Bend Sensor-
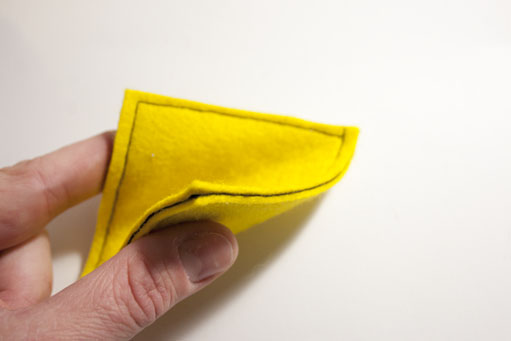
This sensor was produced by inserting 2 layers of Velostat into a felt pocket that was then sewn closed. Velostat is a material that decreases in resistance when pressed or bent.
Bending the sensor…
Below are videos of the visual information produced when physically interacting with the sensors…
Arduino Code
void setup() {
// initialize the serial communication: Serial.begin(9600); digitalWrite (A0, HIGH);}
void loop() {
// send the value of analog input 0: Serial.println(analogRead(A0));
// wait a bit for the analog-to-digital converter // to stabilize after the last reading: delay(100);}
Processing Code for this Example (you must copy and past this into your Processing sketch)
/* Processing code for this example
// Graphing sketch
// This program takes ASCII-encoded strings
// from the serial port at 9600 baud and graphs them. It expects values in the
// range 0 to 1023, followed by a newline, or newline and carriage return
// Created 20 Apr 2005
// Updated 18 Jan 2008
// by Tom Igoe
// This example code is in the public domain.
import processing.serial.*;
Serial myPort; // The serial port
int xPos = 1; // horizontal position of the graph
void setup () {
// set the window size:
size(400, 300);
// List all the available serial ports
println(Serial.list());
// I know that the first port in the serial list on my mac
// is always my Arduino, so I open Serial.list()[0].
// Open whatever port is the one you’re using.
myPort = new Serial(this, Serial.list()[0], 9600);
// don’t generate a serialEvent() unless you get a newline character:
myPort.bufferUntil(‘\n’);
// set inital background:
background(0);
}
void draw () {
// everything happens in the serialEvent()
}
void serialEvent (Serial myPort) {
// get the ASCII string:
String inString = myPort.readStringUntil(‘\n’);
if (inString != null) {
// trim off any whitespace:
inString = trim(inString);
// convert to an int and map to the screen height:
float inByte = float(inString);
inByte = map(inByte, 0, 1023, 0, height);
// draw the line:
stroke(127,34,255);
line(xPos, height, xPos, height – inByte);
// at the edge of the screen, go back to the beginning:
if (xPos >= width) {
xPos = 0;
background(0);
}
else {
// increment the horizontal position:
xPos++;
}
}
}
*/