‘Drink Me’ Water Bottle Cozy
by ellann
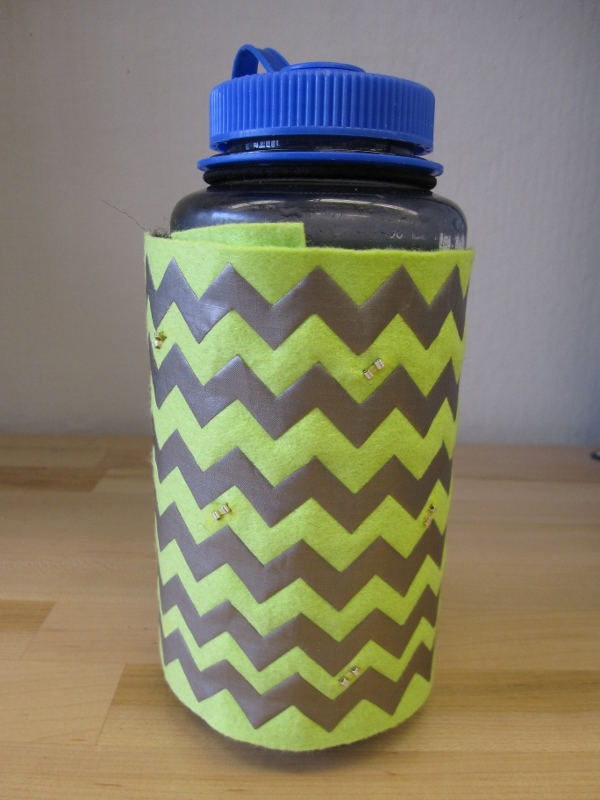 For the final project, I decided to make a water bottle cozy that reminds you to drink. I initially got the idea because I often get dehydrated especially when working at a desk all day. I have a water bottle in front of me, but just don’t think about it. I wanted something to actively remind me to drink throughout the day. Thus, the ‘Drink Me’ Water Bottle Cozy was born.
The project concept is a simple cozy covered in LEDs. Every 30 mins, the LEDs will start blinking. When the user picks up the bottle and slightly squeezes it to take a drink, the LEDs turn off and the timer restarts. The LEDs begin blinking again in 30 mins and the cycle repeats. The sensor is simply two pieces of conducting fabric that are connected by the users hand.
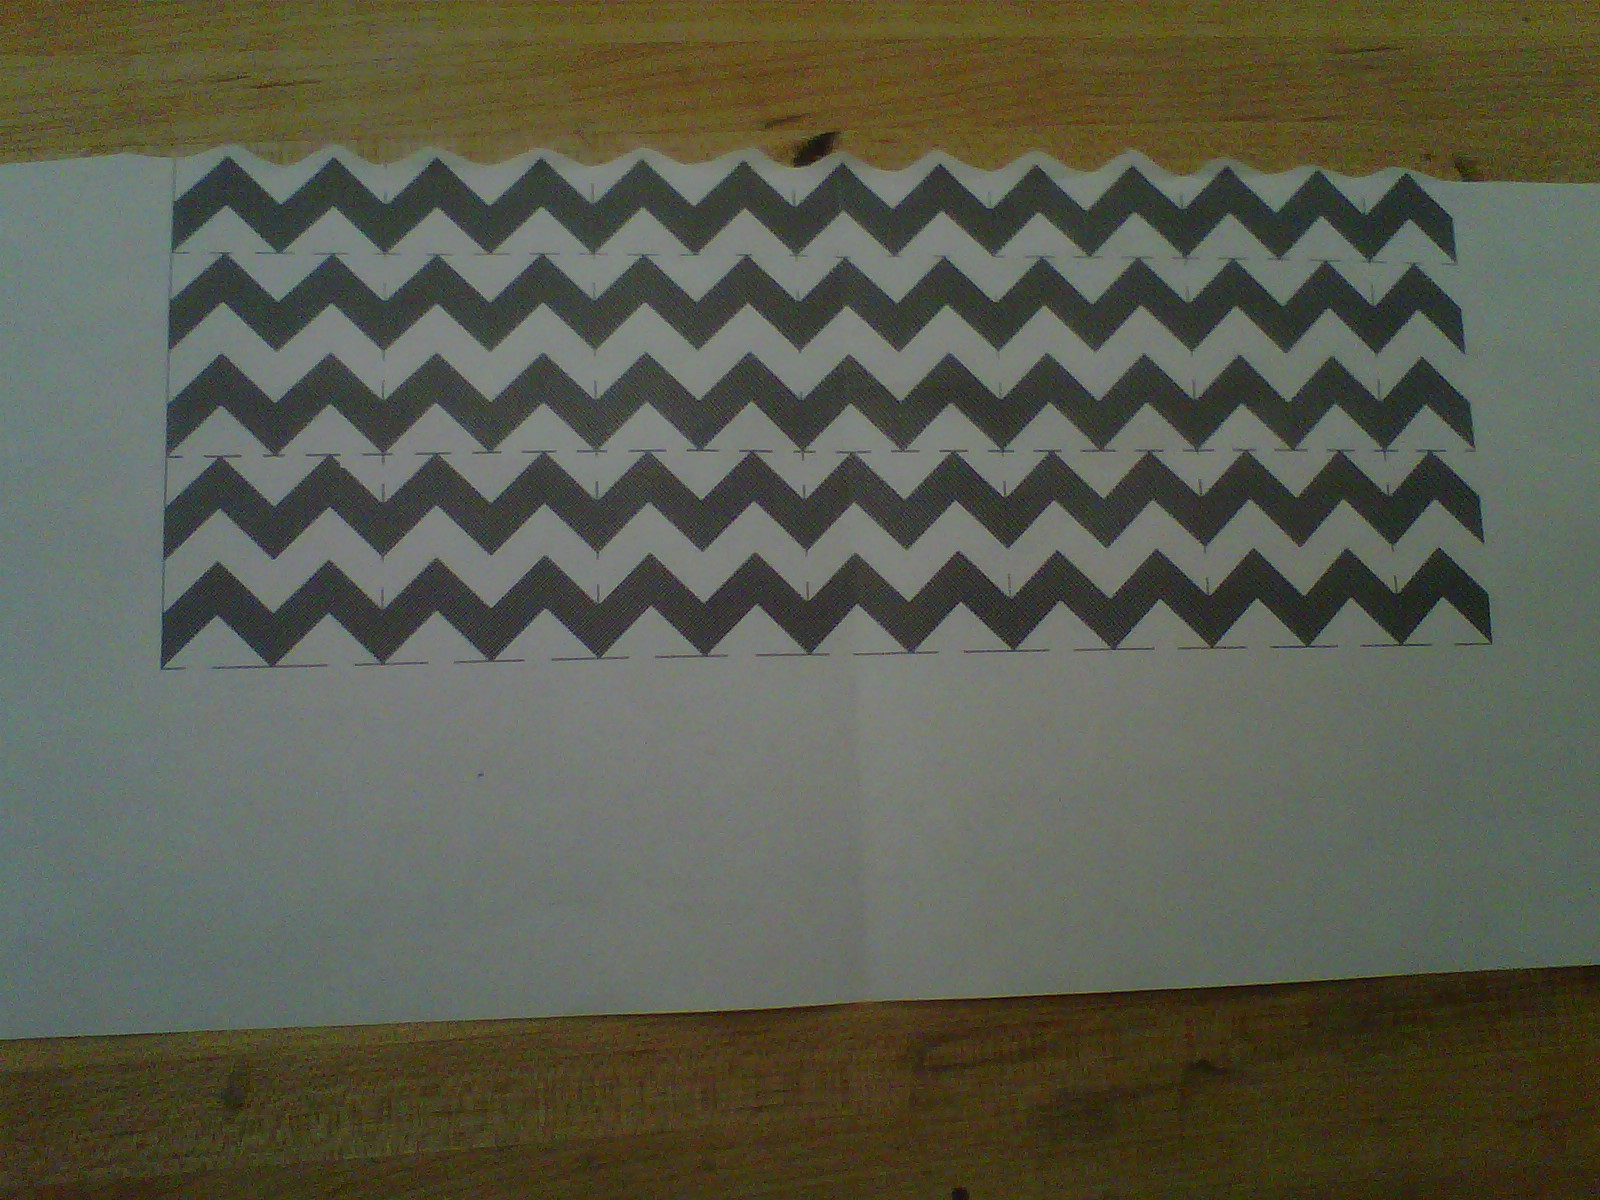
I started by laying out how I wanted the project to look. I decided to go with a zig zag pattern for the conductive fabric and horizontal stripes so that a hand would definitely connect two side by side stripes. The zig zag pattern was first printed on a piece of paper. One stripe was cut out and traced multiple times onto the conductive fabric and then cut out with an exacto knife.
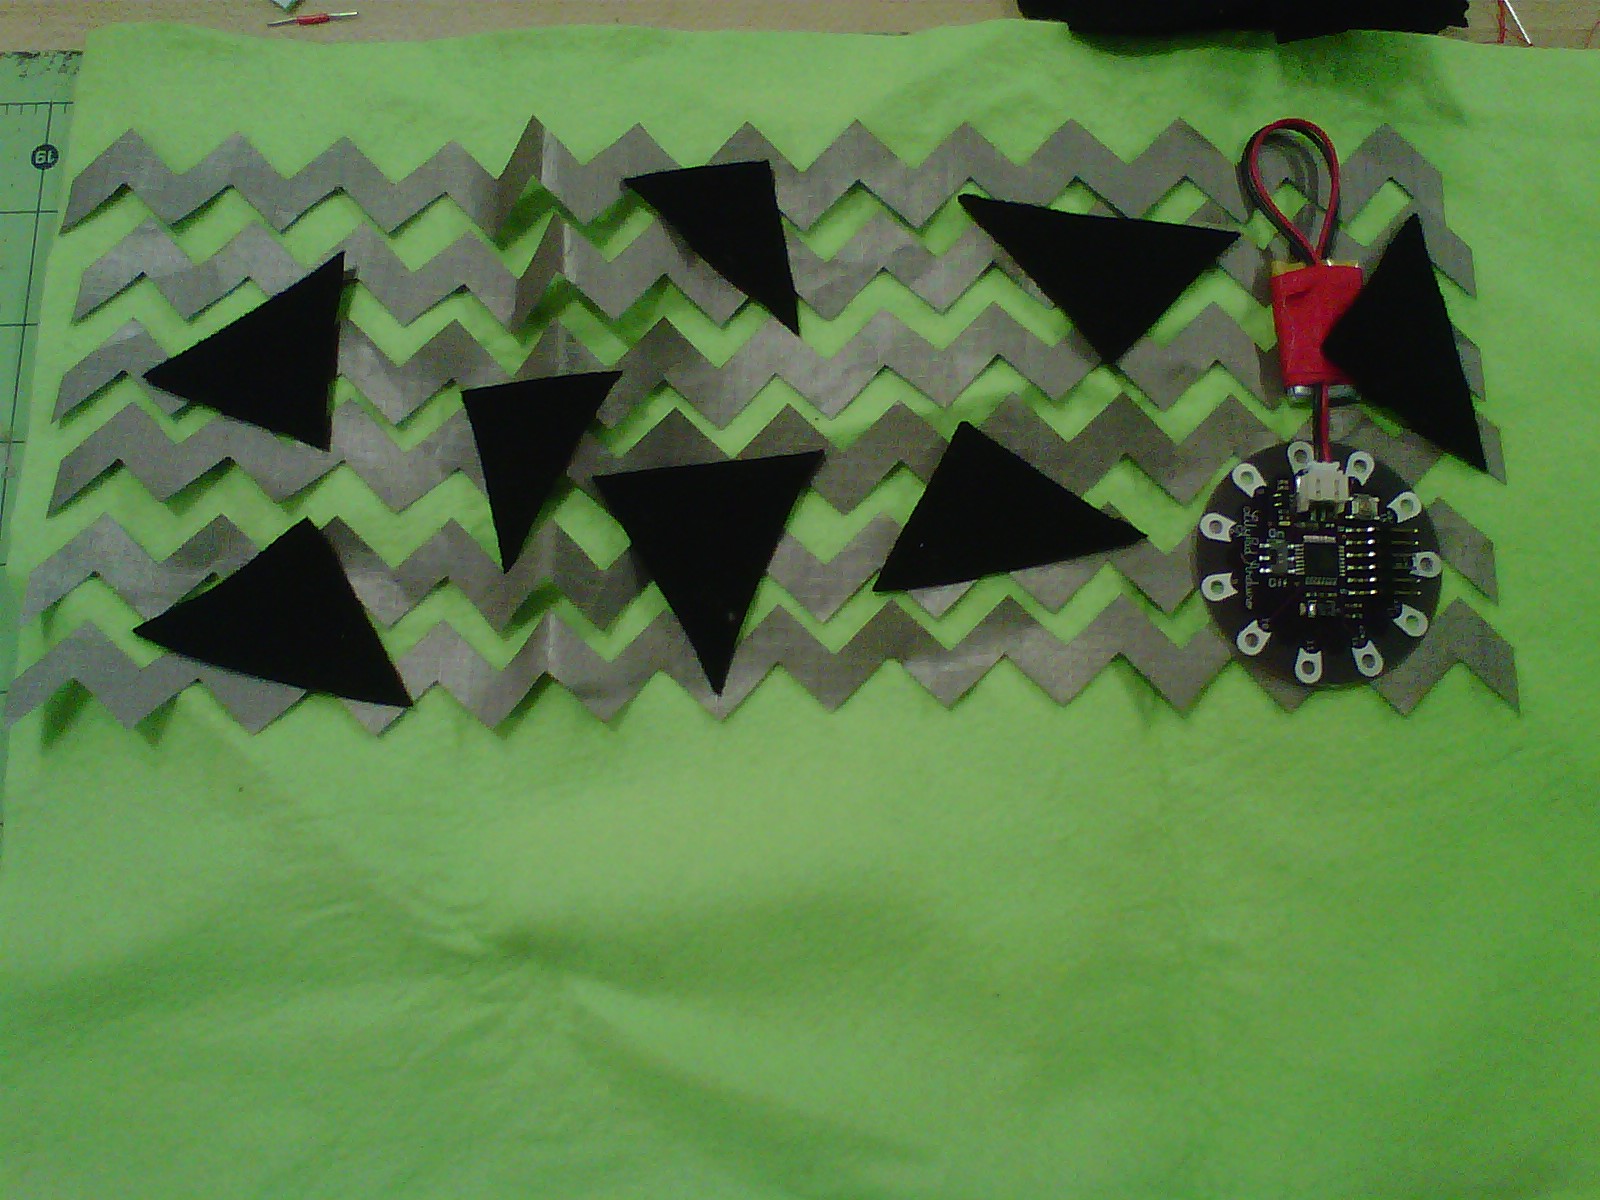
I initially started with the LEDs on black triangles but this prevented good contact with the conductive fabric and was not used in the end.
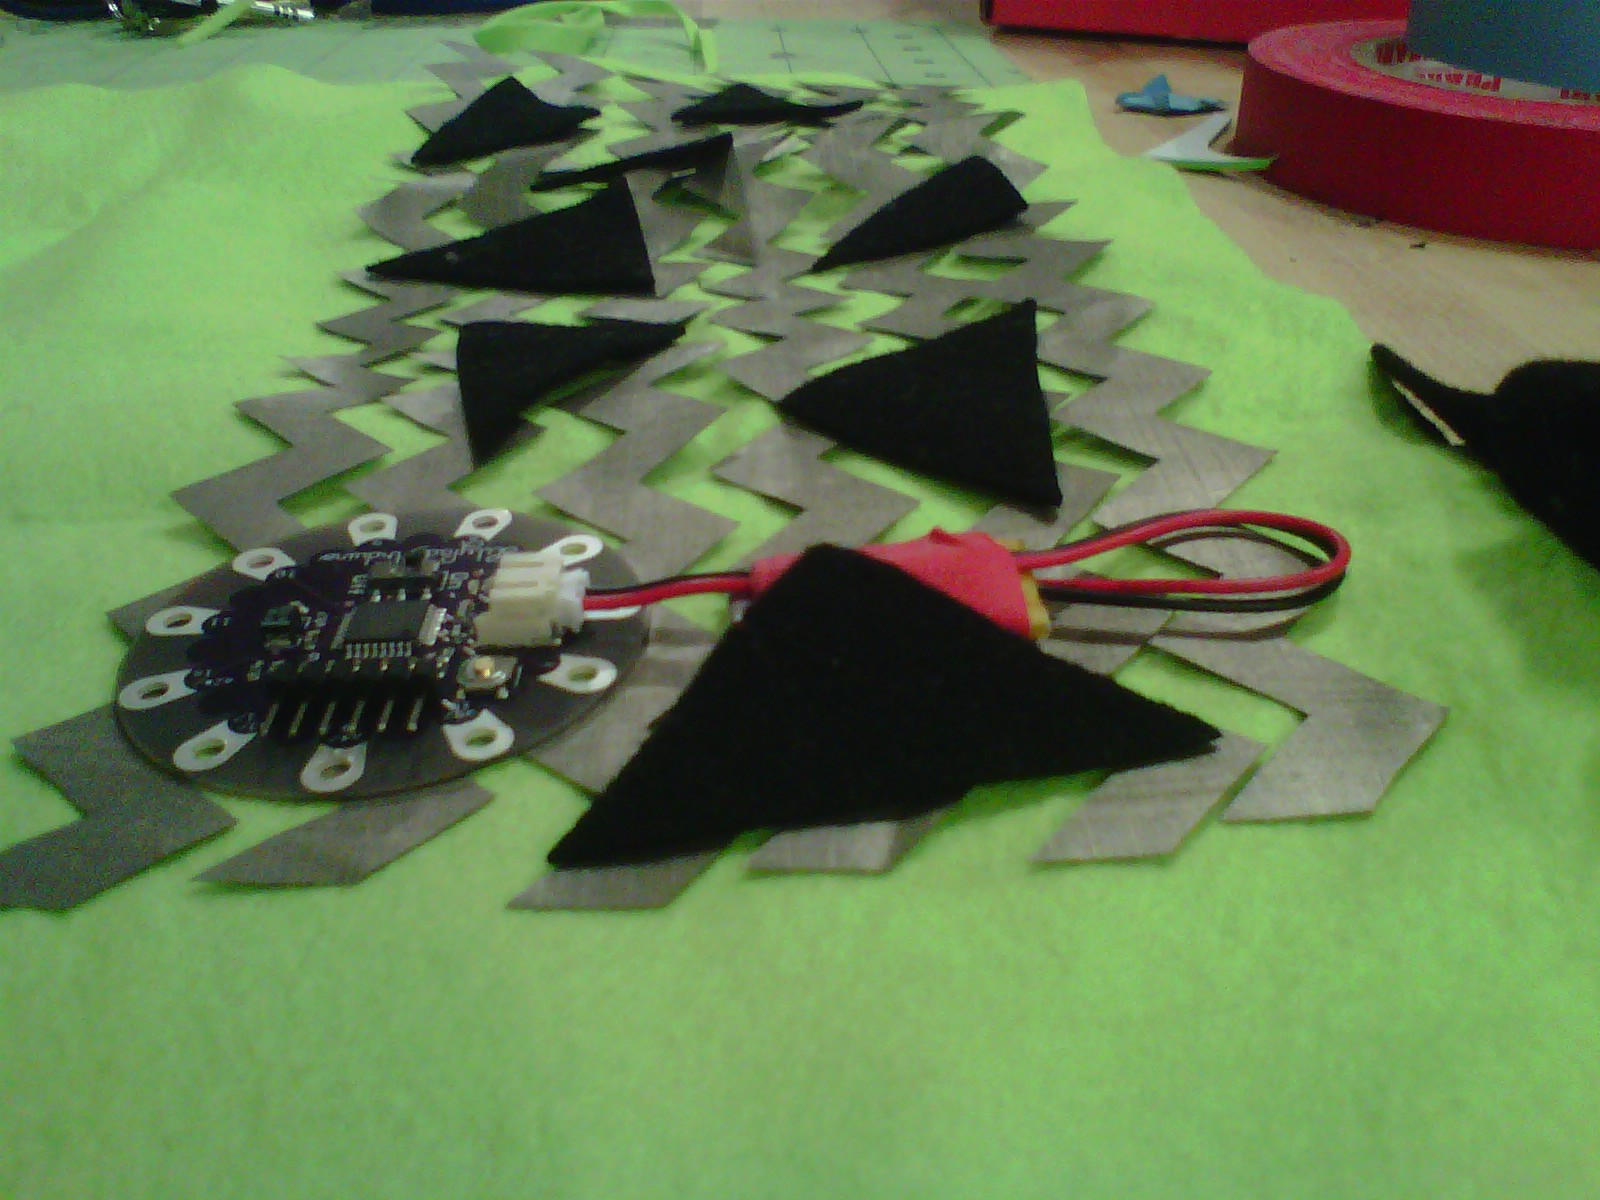
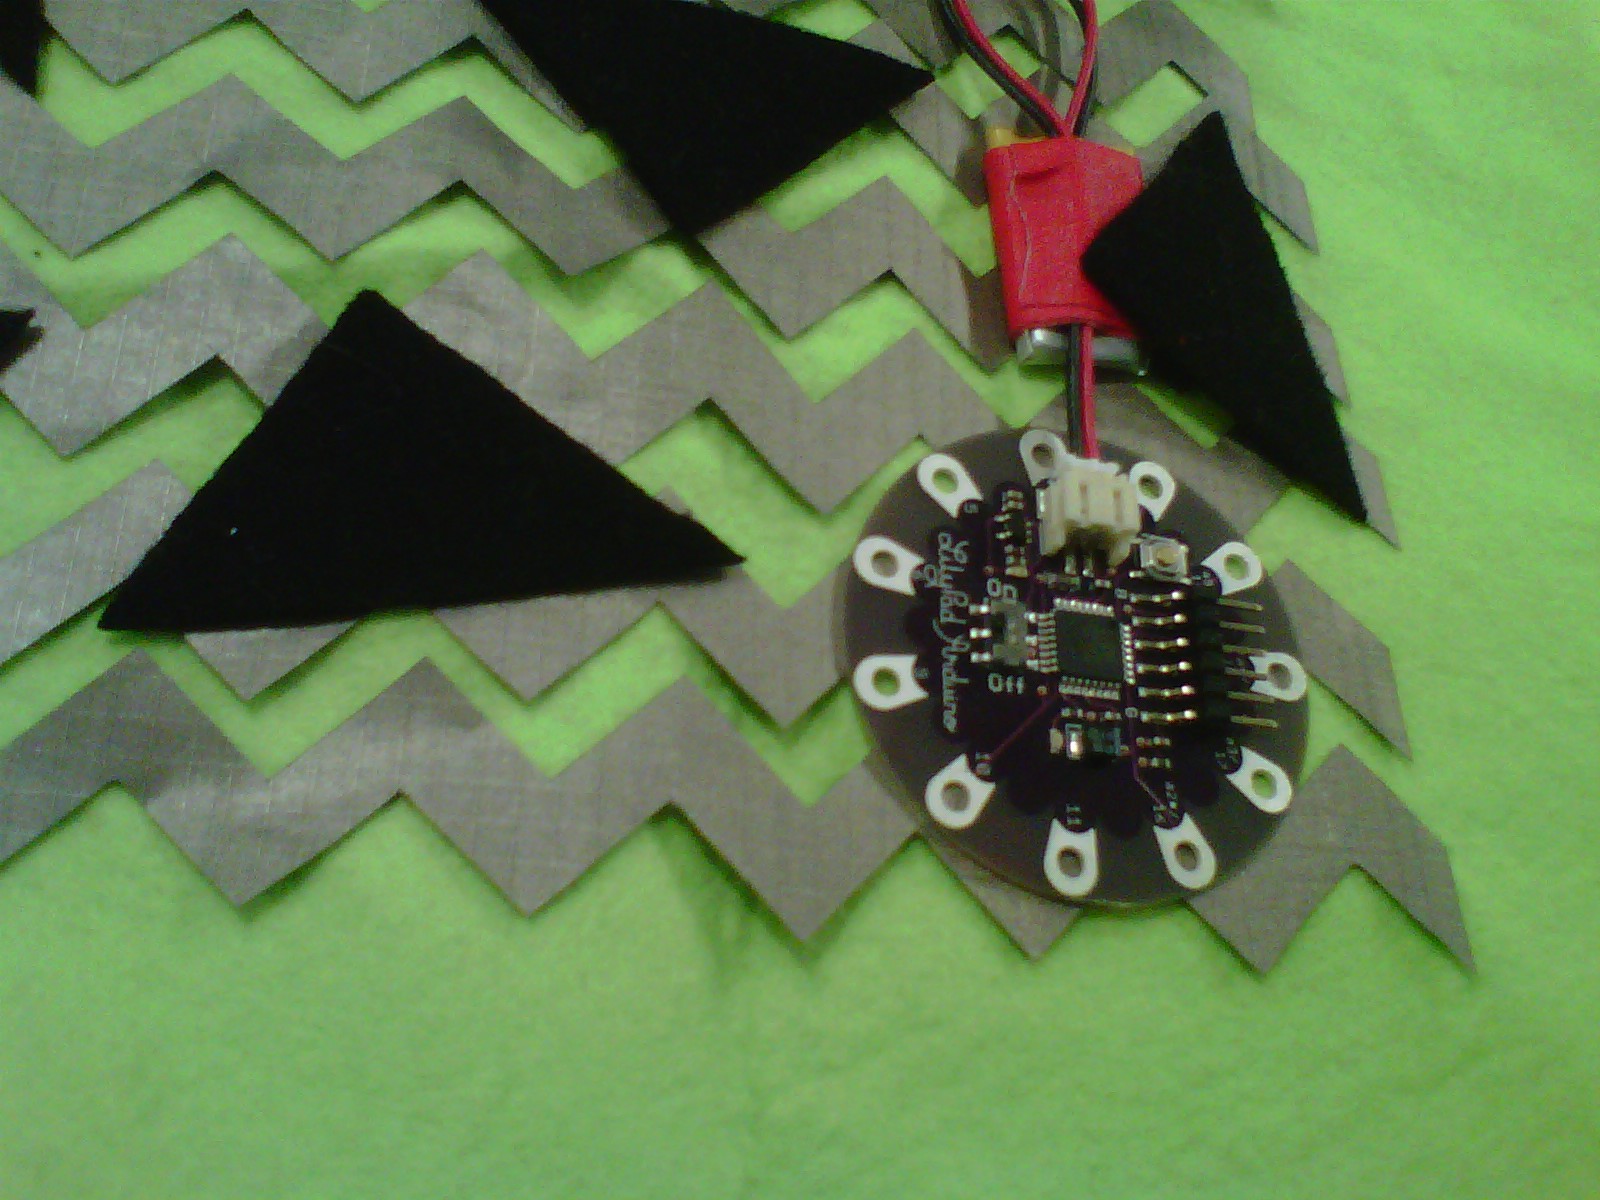
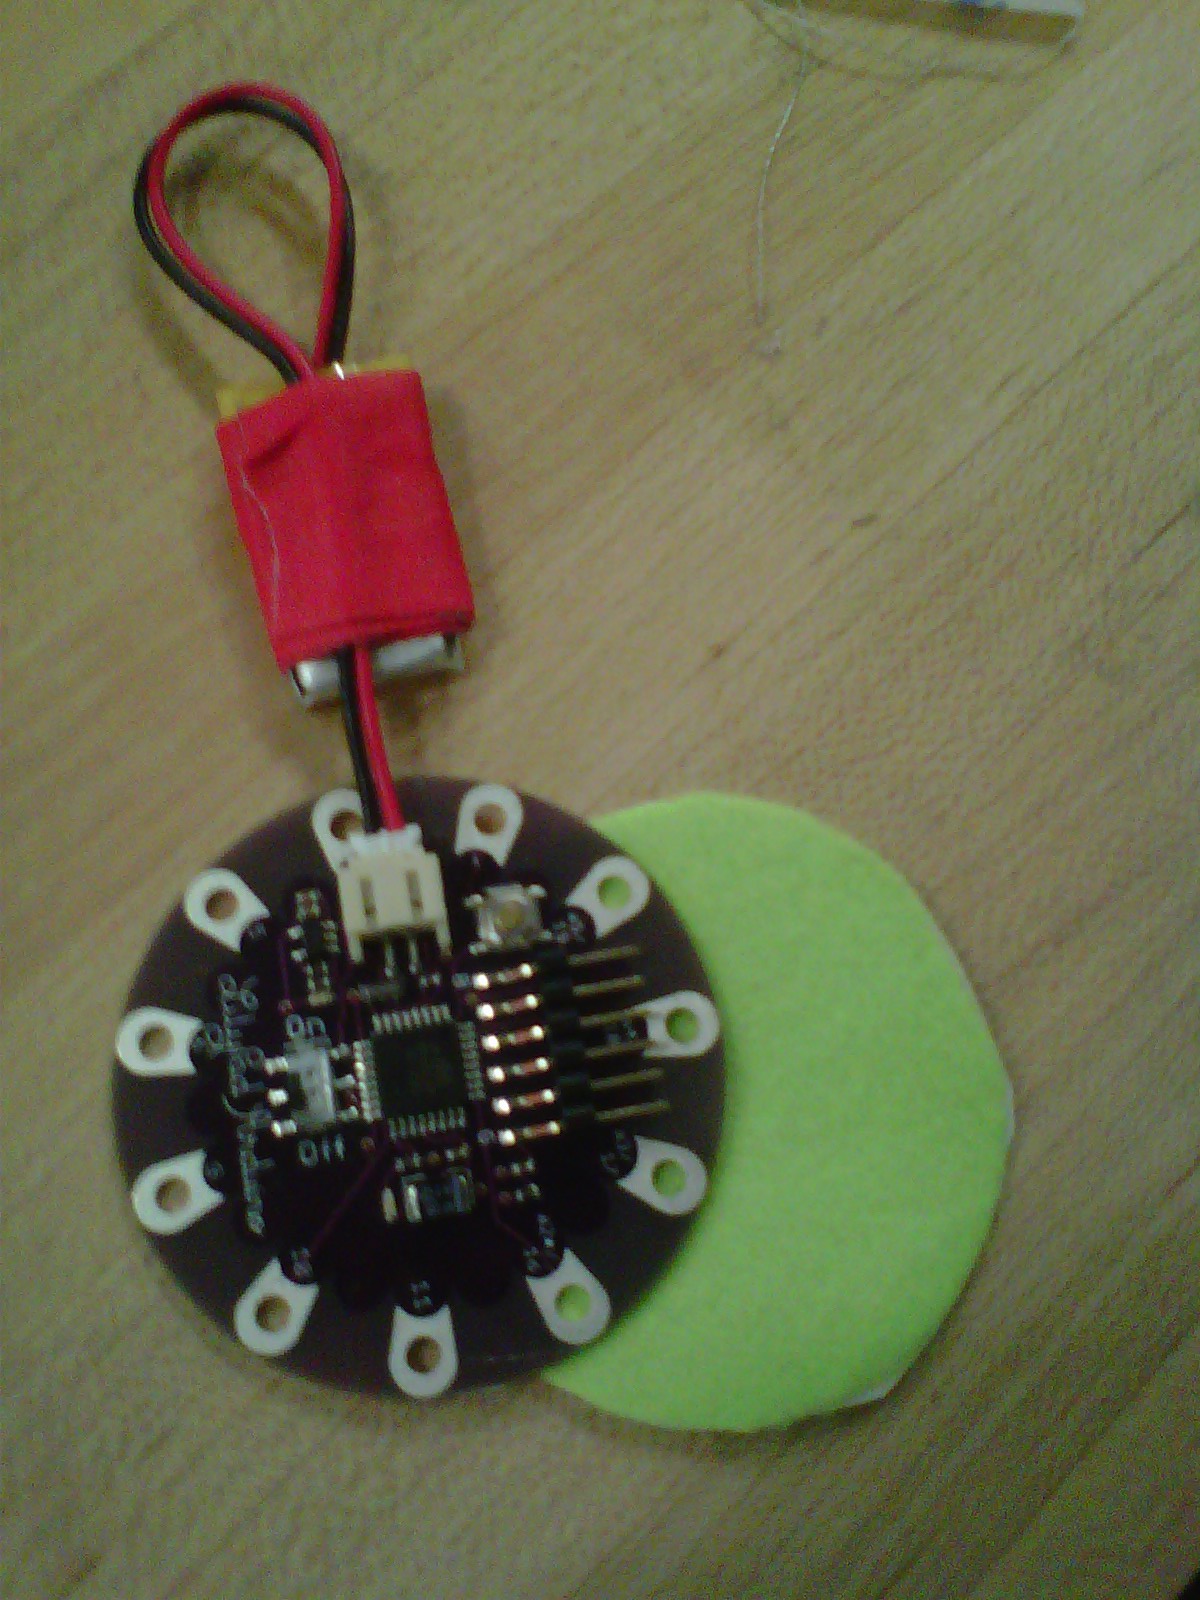
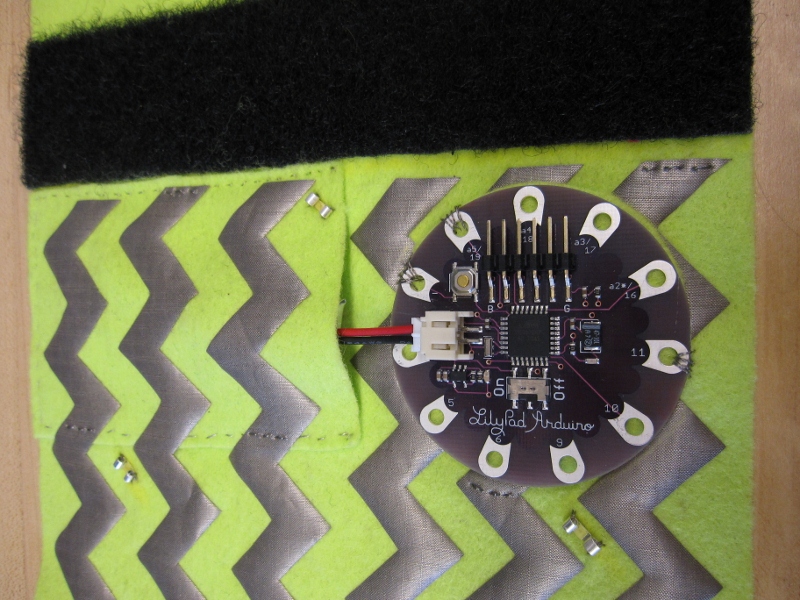
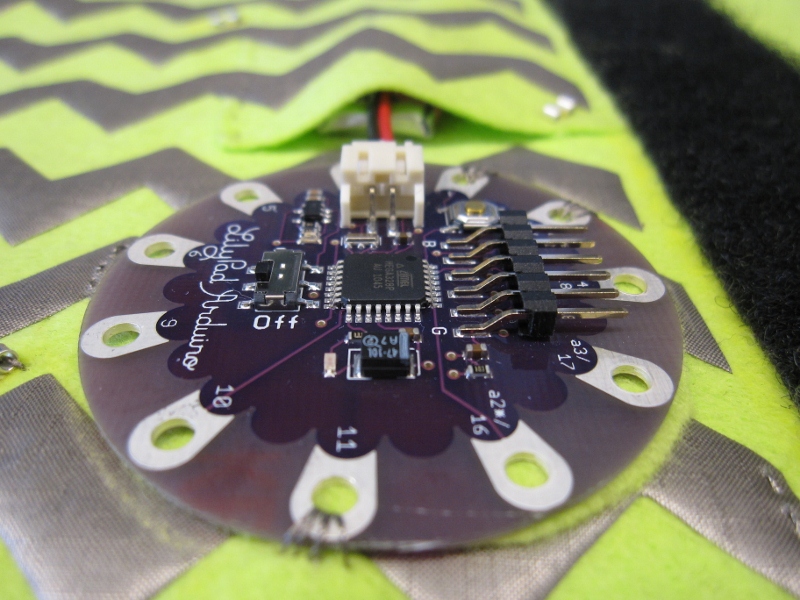
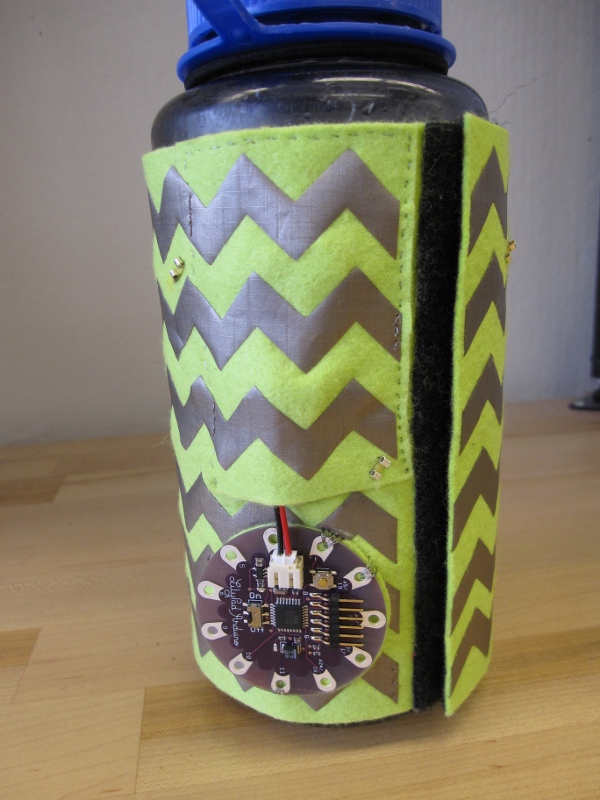
Note that the LilyPad is in direct contact with the conductive fabric. This is not good because the back of the LilyPad is also conductive at points.
Thus, I made an extra insulating circle to go between the LilyPad and the cozy.
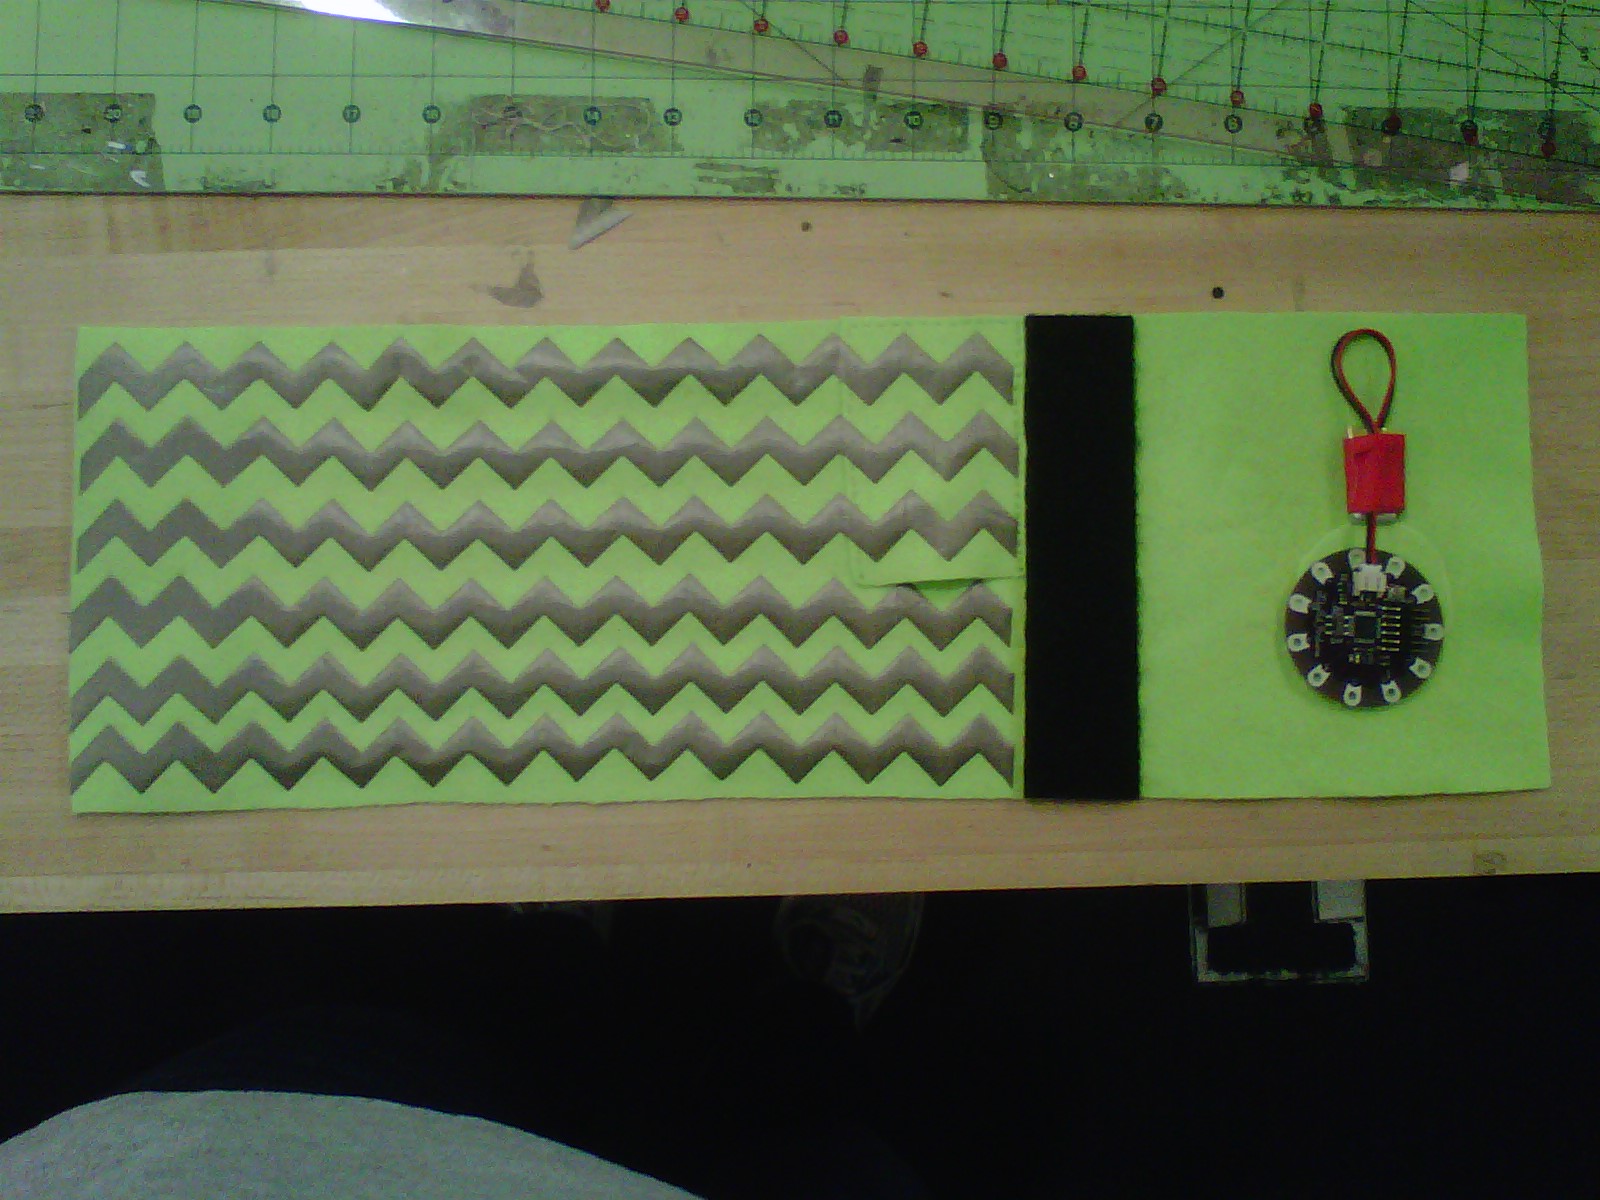
I also made a pocket to hide and to hold the battery.
After sewing on the pocket, ironing on the conductive fabric zig zags (it had heat sensitive glue on the back), and sticking on some velcro the cozy looked like this.
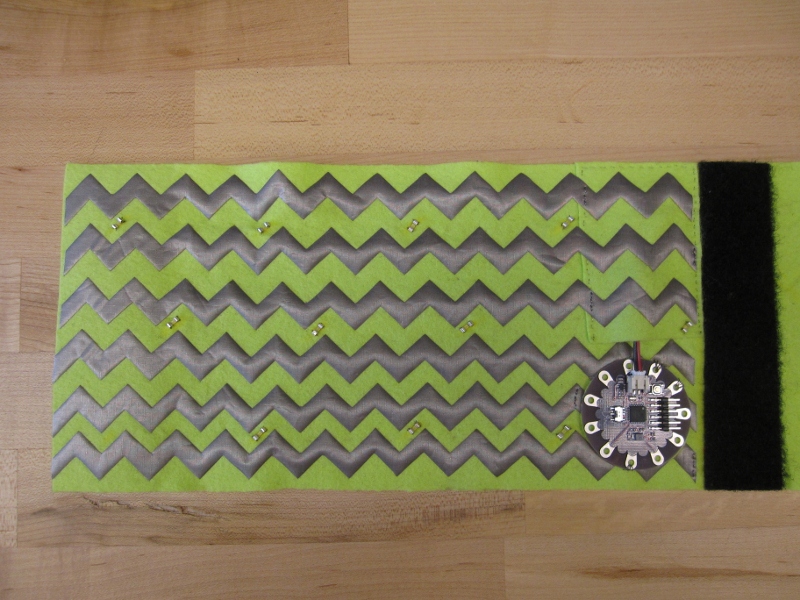
I then sewed on the LEDs and connected everything appropriately to the LilyPad Arduino.
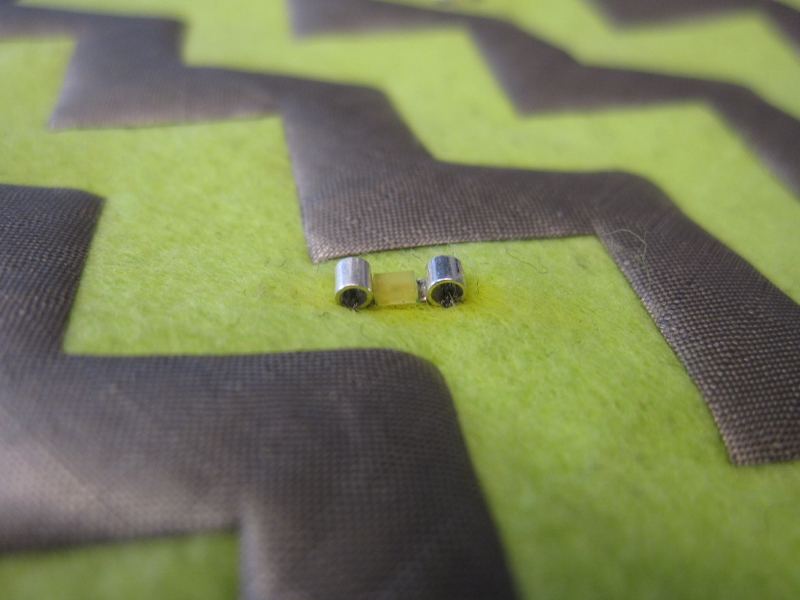
The LEDs are very small and were soldered to little metal beads to make a sewable component.
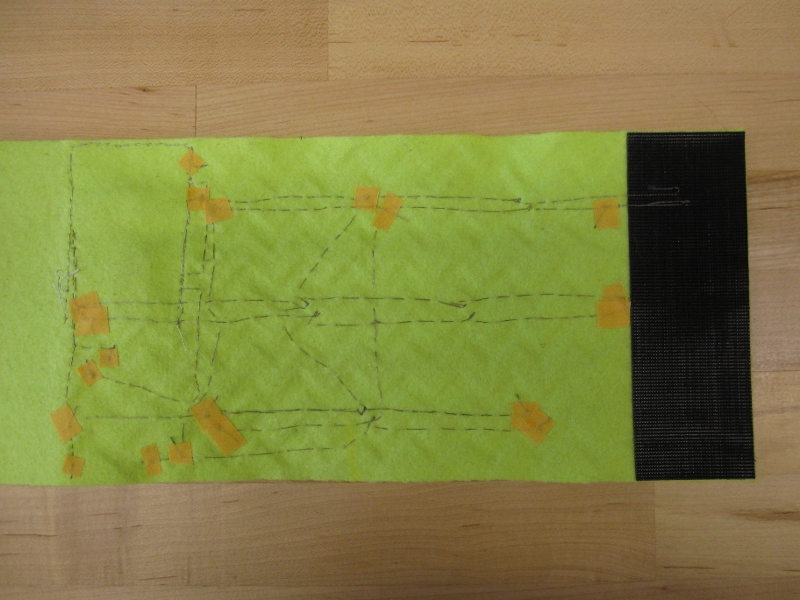
The 11 pin on the LilyPad connects to the LEDs. The A5 pin connects to 1st, 3rd, and 5th stripes from the top. The – pin connects to the 2nd, 4th, and 6th stripes as well as the negative ends of the LEDs.
The finished circuit from the back looks like this.
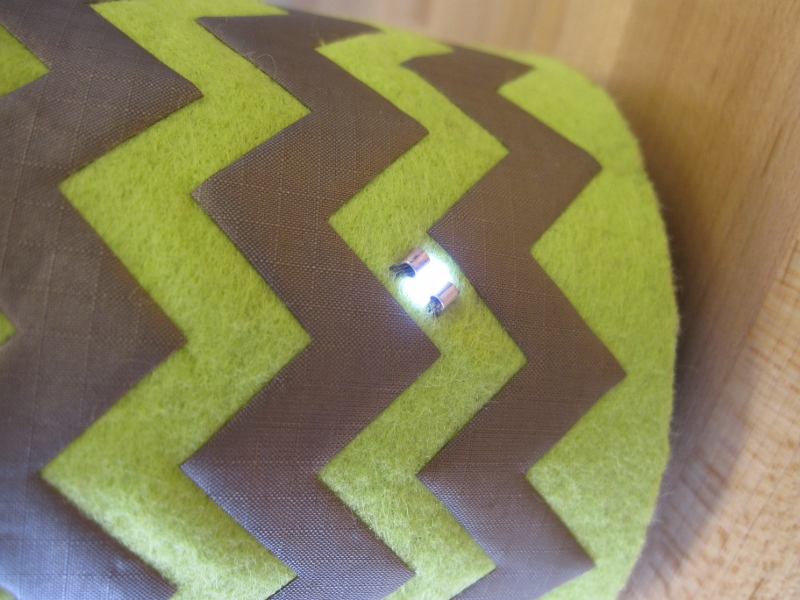
Finished product.
This video shows the finished product working with a 10 second interval.
There are a few areas where this project could be improved. First, the LilyPad Arduino is not curved or flexible in any way. This means that it cannot sit flat against the side of the bottle. A different design may have not had an issue with this. To get around the curvature issue, only the pins that are parallel to the axis of the bottle were used. This means it can roll if necessary. Second, the cozy is not extremely durable. The LEDs have broken on several occasions. This could be due to the curvature of the bottle or due to the fact that the cozy is wrapped around the bottle quite tightly, which puts stress on the LEDs. The cozy must be wrapped tightly to prevent the bottle from slipping out the bottom when lifted. Third, it would be nicer if the cozy did not have to wrapped so tightly. This might be fixed with something like rubber placed between the bottle and the cozy.
Arduino Code:
// This code was modified from the Stopwatch code by Paul Badger in 2008
// http://www.arduino.cc/playground/Code/Stopwatch// these constants don’t change:
const int ledPin = 11; // LED connected to digital pin 13
const int fabricButton = A5; // fabric button input to pin A0
const int threshold = 900; // threshold value to decide when fabric button connected
const int timerInterval = 10000; // interval to wait for next blinking: sec*1000// these variables will change:
int value = LOW; // previous value of the LED
int blinking; // condition for blinking – timer is not timing
long interval = 100; // blink interval – change to suit
long previousMillis = 0; // variable to store last time LED was updated
long startTime ; // start time for timer
long elapsedTime ; // elapsed time for timeint sensorReading = 0; // variable to store the value read from the sensor pin
int ledState = LOW; // variable used to store the last LED status, to toggle the lightvoid setup()
{
pinMode(ledPin, OUTPUT); // sets the digital pin as output
pinMode(fabricButton, INPUT); // sets the analong pin to input
digitalWrite(fabricButton, HIGH); // turn on pullup resistors. Wire button so that press shorts pin to ground.
Serial.begin(9600); // use the serial port
}void loop()
{
// read the sensor and store it in the variable sensorReading:
sensorReading = analogRead(fabricButton);// this is to check the value of the sensor reading in the Serial Monitor
Serial.println(analogRead(fabricButton));
delay(10);// check for button press while blinking
if (sensorReading <= threshold && blinking == true) {
// if true, restart the timer and turn off the blinking
startTime = millis(); // store the start time
blinking = false; // turn off blinking while timing
delay(5); // short delay to debounce switch
}
else{
elapsedTime = millis() - startTime; // calculate the elapsed time
}// check if the timer has reached the desired time length
if (elapsedTime > timerInterval) {
// if ture, turn on blinking
blinking = true;
}// blink routine – blink the LED while not timing
// check to see if it’s time to blink the LED; that is, the difference
// between the current time and last time we blinked the LED is larger than
// the interval at which we want to blink the LED.if ( (millis() – previousMillis > interval) ) {
if (blinking == true){
previousMillis = millis(); // remember the last time we blinked the LED// if the LED is off turn it on and vice-versa.
if (value == LOW)
value = HIGH;
else
value = LOW;
digitalWrite(ledPin, value);
}
else{
digitalWrite(ledPin, LOW); // turn off LED when not blinking
}
}}
