Main.FabricPCBs History
Hide minor edits - Show changes to markup
March 02, 2010, at 10:05 PM
by -
Changed line 12 from:
step 2. (already done for you) laser etch the circuit.\\
to:
step 2. (already done for you) laser etch the circuit.
March 02, 2010, at 10:04 PM
by -
Changed line 13 from:
put the conductive fabric with iron-on adhesive so that it's paper side is facing up to etch it. \\
to:
place the fabric into the machine so that it's paper side is facing up to etch it.
March 02, 2010, at 10:03 PM
by -
Changed lines 12-13 from:
step 2. (already done for you) laser etch the circuit.
put the conductive fabric with iron-on adhesive so that it's paper side is facing up to etch it. \\\
put the conductive fabric with iron-on adhesive so that it's paper side is facing up to etch it. \\\
to:
step 2. (already done for you) laser etch the circuit.
put the conductive fabric with iron-on adhesive so that it's paper side is facing up to etch it. \\
put the conductive fabric with iron-on adhesive so that it's paper side is facing up to etch it. \\
March 02, 2010, at 10:03 PM
by -
Changed line 13 from:
put the conductive fabric with iron-on adhesive paper side up in the machine. \\\
to:
put the conductive fabric with iron-on adhesive so that it's paper side is facing up to etch it. \\\
March 02, 2010, at 10:02 PM
by -
Changed lines 12-13 from:
step 2. (already done for you) laser etch the circuit.
to:
step 2. (already done for you) laser etch the circuit.
put the conductive fabric with iron-on adhesive paper side up in the machine. \\\
put the conductive fabric with iron-on adhesive paper side up in the machine. \\\
March 02, 2010, at 10:01 PM
by -
Added lines 1-49:
Fabric PCB Tutorial
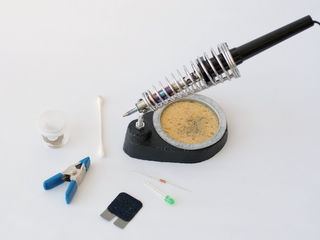
supplies
illustrator file with circuit drawing
constructing: conductive fabric, backing fabric, mat knife, iron
soldering: LED, resistor, pliers, flux, clamp, soldering iron & solder
protecting: epoxy, toothpicks, binder clips, mold components
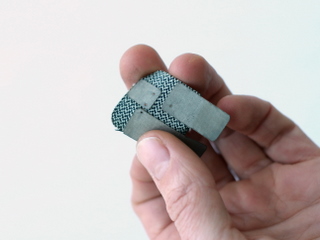
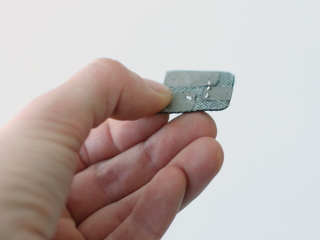
constructing a fabric PCB
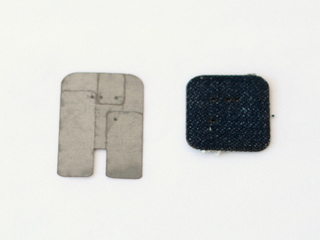
step 1. (already done for you) iron a sheet of Heat-n-Bond onto a sheet of conductive fabric.
step 2. (already done for you) laser etch the circuit.
step 3. (already done for you) laser cut the backing fabric.
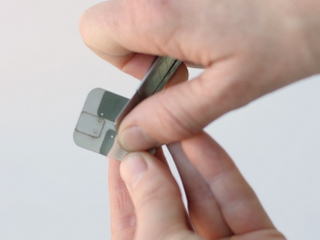
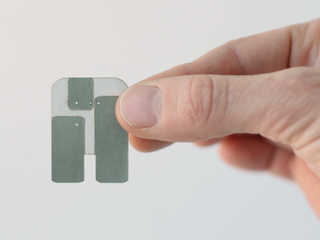
step 4. peel the paper off of the circuit only where you want it to adhere to the backing fabric.
step 5. iron the circuit onto the backing fabric.

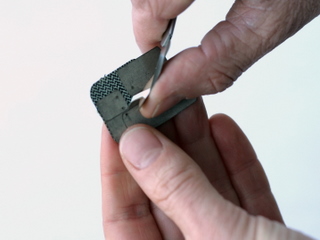
step 6. peel the excess conductive fabric away from the backing fabric, leaving the circuit behind.
step 4. peel the paper off of the circuit only where you want it to adhere to the backing fabric.
step 5. iron the circuit onto the backing fabric.
step 6. peel the excess conductive fabric away from the backing fabric, leaving the circuit behind.
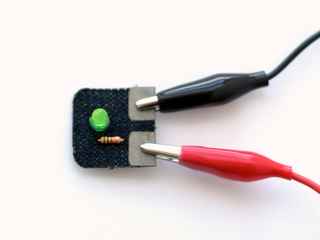
soldering a fabric PCB
step 1. bend the ends of the resistor down & insert into fabric PCB
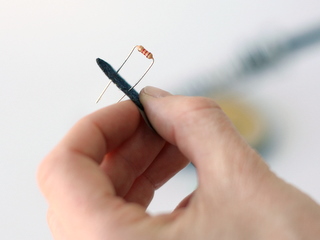
step 2. bend resistor legs out slightly and apply flux
step 2. bend resistor legs out slightly and apply flux
step 3. solder resistor
watch soldering video
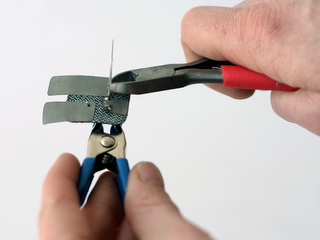
step 3. trim legs
watch soldering video
step 3. trim legs
step 5. insert LED with + end (anode) facing resistor
step 6. bend legs out slightly and apply flux
step 7. hold LED with clamp to solder
step 8. trim legs
step 9. test with power supply
step 9. test with power supply
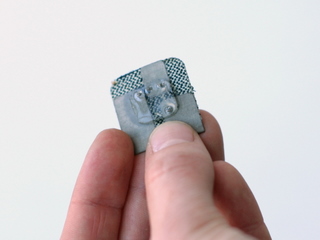
protecting the solder joints
step 1. clamp circuit to mold with binder clips

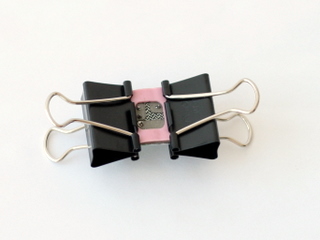
step 2. mix epoxy and pour into mold
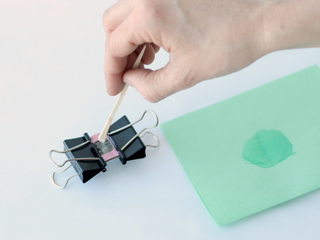
step 3. wait for epoxy to cure (approx. 10 mins)
step 2. mix epoxy and pour into mold
step 3. wait for epoxy to cure (approx. 10 mins)
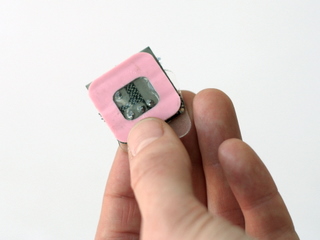
step 4. remove circuit from mold

step 8. test with power supply
step 8. test with power supply