Main.FeleciasPatchworkKnit History
Hide minor edits - Show changes to markup
For this assignment I used the knitting machine and tried several different yarn types and the two different carrigages on the machine. Below is a sample of 3 different kinds of yarns on 2 carriages and tension set on the carriages to change the density of the stitches. One goal was to see how long a piece I could make, it was a bit finicky to keep the yarn on the needles after a certain length. I think this can be solved if you can go back into the knit to reconnect the stiches by hand. Casting off, which was done once, takes a bit of time, but the end effect is quite nice. \\
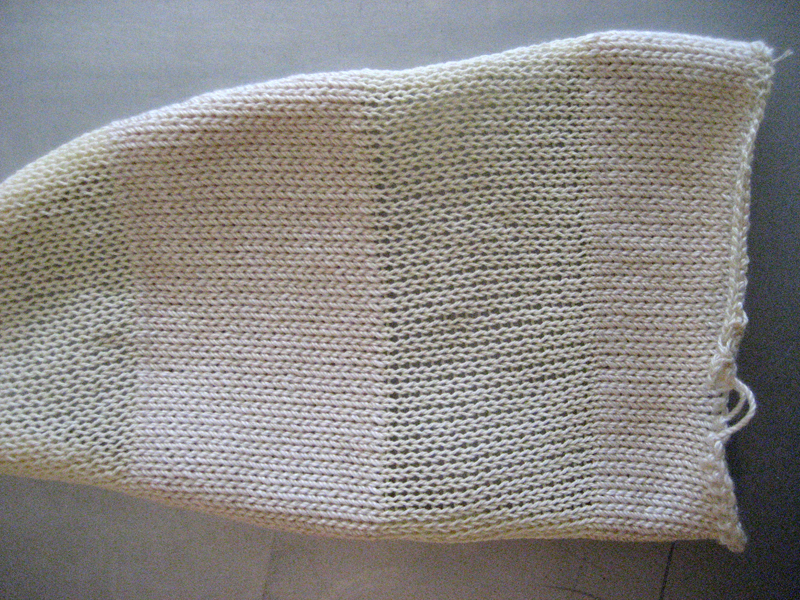
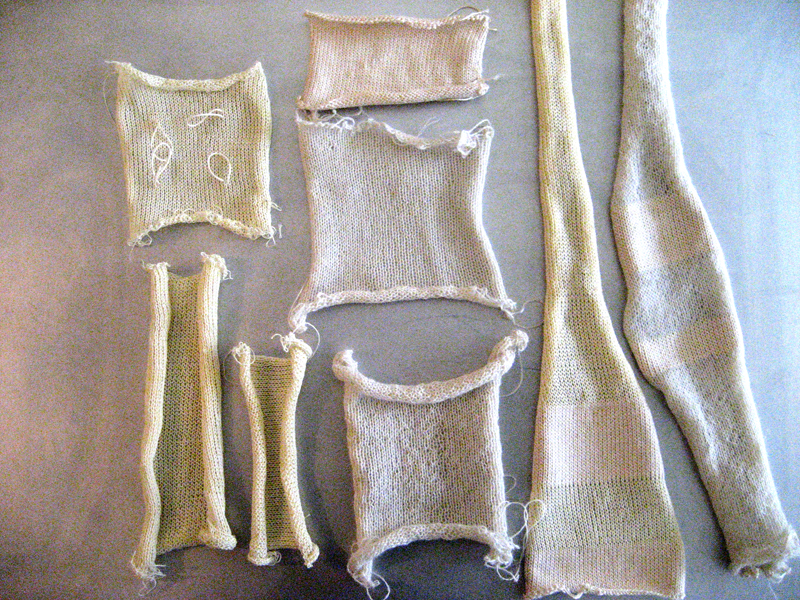
For this assignment I used the knitting machine and tried several different yarn types and the two different carrigages on the machine. Below is a sample of 3 different kinds of yarns on 2 carriages and tension set on the carriages to change the density of the stitches. One goal was to see how long a piece I could make, however, it was a bit finicky to keep the yarn on the needles after a certain length, thus the bits of knitted patches. I think this can be solved if you can go back into the knit to reconnect the stiches by hand using a crochet needle. Casting off, which was done once, takes a bit of time, but the end effect is quite nice. \\
* When changing yarns to make stich stripes, it is helpful to tie loose ends together along sides.\\
- When changing yarns to make stich stripes, it is helpful to tie loose ends together along sides.\\
- When changing yarns to make stich stripes, it is helpful to tie loose ends together along sides.\\
- When making stripes of thicker and thinner yarn, remember to change the tension on the dial up and down for each yarn type.\\
- When making stripes of thicker and thinner yarn, remember to change the tension on the dial up and down for each yarn type.\\
\\
\\
\\
For this assignment I used the knitting machine and tried several different yarn types and the two different carrigages on the machine. Below is a sample of 3 different kinds of yarns on 2 carriages and tension set on the carriages to change the density of the stitches.\\
For this assignment I used the knitting machine and tried several different yarn types and the two different carrigages on the machine. Below is a sample of 3 different kinds of yarns on 2 carriages and tension set on the carriages to change the density of the stitches. One goal was to see how long a piece I could make, it was a bit finicky to keep the yarn on the needles after a certain length. I think this can be solved if you can go back into the knit to reconnect the stiches by hand. Casting off, which was done once, takes a bit of time, but the end effect is quite nice. \\
!Lessons Learned:
- Keep weight claws very close to the top of the knit piece. Space evenly as possible.
* When changing yarns to make stich stripes, it is helpful to tie loose ends together along sides.
* When making stripes of thicker and thinner yarn, remember to change the tension on the dial up and down for each yarn type.
*
\\\\
\\
Attach:
\\
Attach:
Attach:
Patchwork Knit Sampler
For this assignment I used the knitting machine and tried several different yarn types and the two different carrigages on the machine. Below is a sample of 3 different kinds of yarns on 2 carriages and tension set on the carriages to change the density of the stitches.
Attach:file.ext Δ