Signal Transduction Lamp
created by Amy LeMessurier
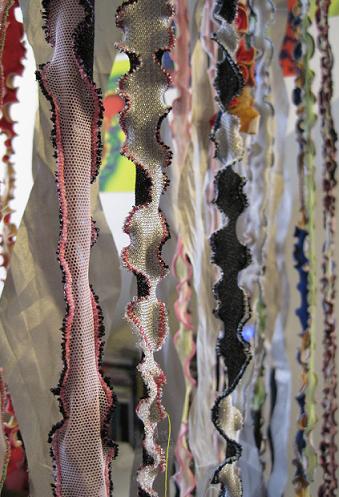
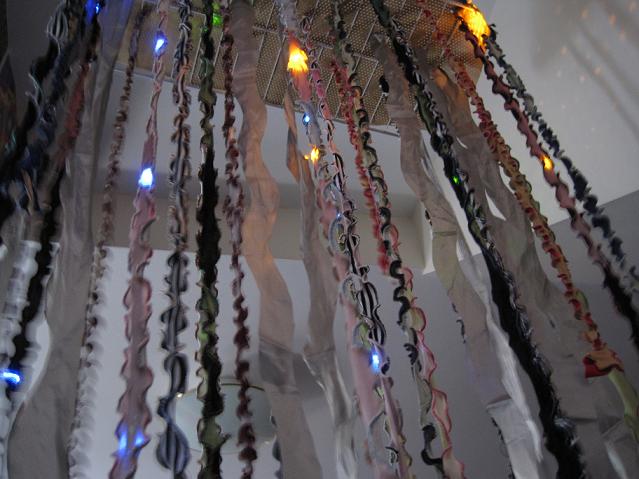
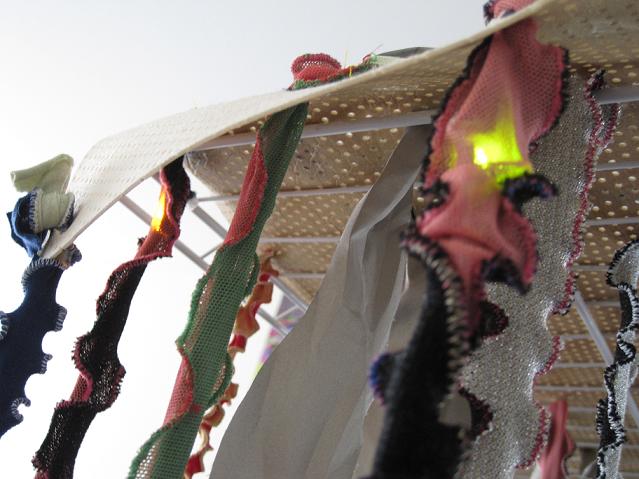
My final project is a lamp that models neuronal activity and signal transduction in the brain. The lamp is a rectangle consisting of a number of model "neurons" that hang from a grid mounted on the ceiling. The neurons are represented by lengths of stretchy nylon yarn with with LEDs or vibrating pager motors inside them. When some of the neurons receive a "signal," the vibrator motors turn on, indicating increased neuronal activity. The "signal" that these neurons receive is the completion of a circuit for which the switch is two hanging strips of conductive fabric. When someone walks through the network of "neurons", they will brush the lengths of conductive fabric, which will complete a circuit and turn on the motors. The LEDs are always on. Essentially, the person acts as the signal that is transmitted down the length of the model from neuron to neuron. Activation of the motors allows the viewer to feel the signal being transduced, while the LEDs that are always on reflect basal levels of activity.
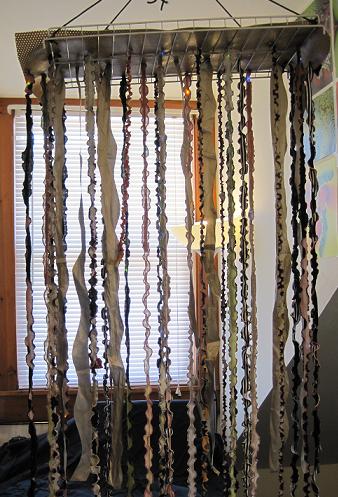
Here's what it looks like normally:
...and here's what it looks like in the dark:
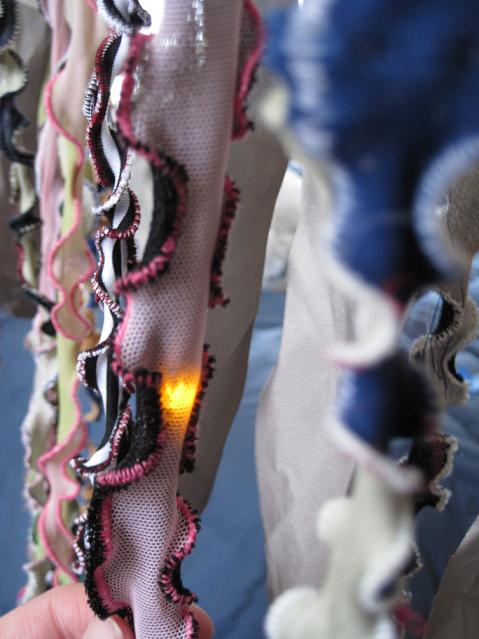

Here's how the "signal transduction" works (it's hard to see, but the yarn that's in focus vibrates when the conductive "neurons" touch:
Construction
Originally, I had envisioned a much larger version of the final product. I was hoping to make a 3' x 4' lamp that could hang in a hallway and that people could actually walk through. Because of issues with construction, the final product is much smaller than planned and somewhat simplified. The main difficulty I faced was inserting the LEDs and motors into the stretchy yarns without creating shorts or breaking the circuits. I wired the LEDs (surface mount LEDs in blue, yellow, and green soldered to rings) in parallel using 4-ply conductive thread. I insulated the threads from each other using small strips of duct tape, which worked but was very time consuming. It was difficult to thread the circuits through the yarns without pulling apart the LEDs. If I decide to add to this project, I think I will use flexible, enamel-insulated wires to decrease resistance and make more robust circuits. Since this is a project that is meant to be played with, it should ideally be more robust that it is now.
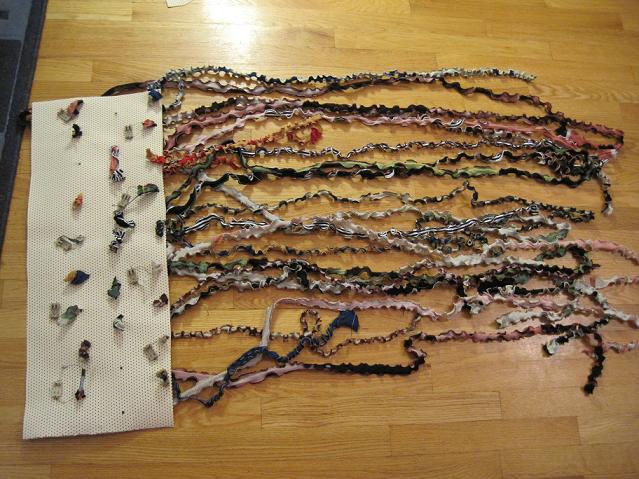
the lamp mid-construction

The yarns are threaded through the top fabric (vinyl with small holes throughout), then attached to battery packs that sit on top of the fabric.
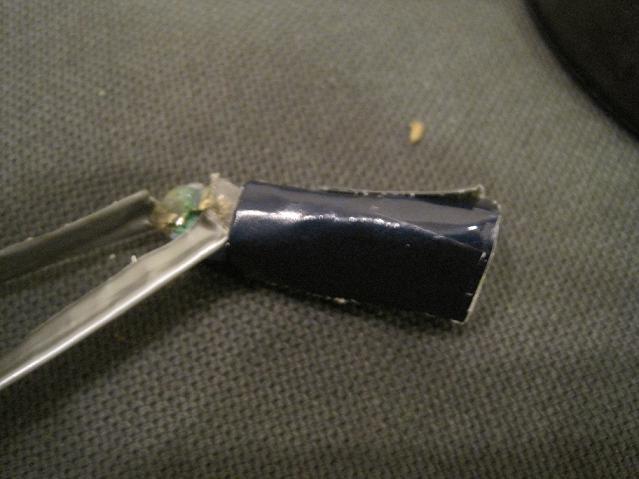
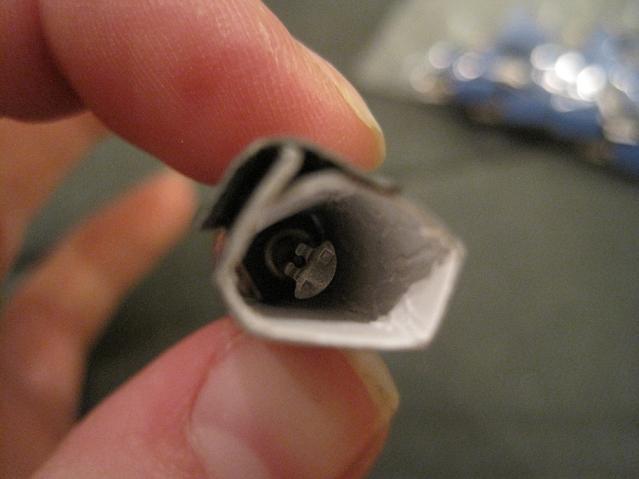
The motors are covered with little cardboard cones so that he vibration isn't dampened by the fabric
Notes on the experience
Overall, creating this project was a great experience. I learned how time consuming it can be to work with soft electronics, but at the same time had a lot of fun playing with circuits. This project gave me a lot of ideas for things to make/experiment with in the future, and I definitely plan to build upon it to make it into what I had originally envisioned.