ITO Glass and Conductive Play Doh
by fayefaye
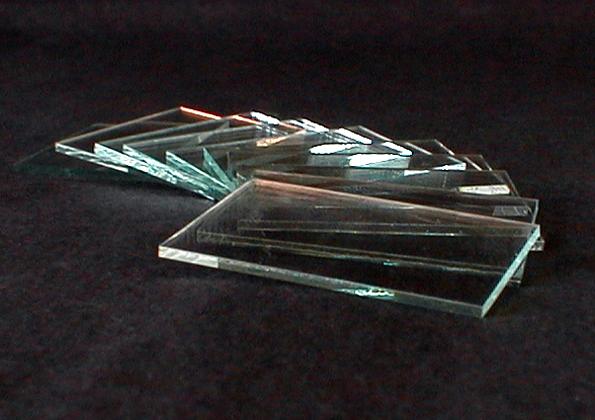
ITO Glass
Conductive Play Doh
How To: Conductive & Insulating Play Doh Recipe
Tools:
large mixing bowl
rolling pin
wax paper
non-stick saucepan
ziplock bags
whisk
wooden spoon
cookie sheet
small bowls
sponge

How To: Conductive Play Doh
Main Ingredients:
1-cup of water
1.5-cups of flour
¼-cup of salt
3-tbsp. of cream of tartar
1-tbsp of vegetable oil
food coloring

1) mix water, 1-cup of flour, salt, cream of tartar, oil, and food coloring in bowl
2) transfer to pot, cook over medium heat, & stir consistently
3) stir mixture until chunky; will form a ball in the middle of the pot
4) place dough on floured surface, flatten with a rolling pin and knead remaining flour into the ball until a desired consistency is reached
5) store in an airtight container or plastic bag

How To: Insulating Play Doh
Main Ingredients:
1.5-cups of flour
½-cup of sugar
3-tbsp of vegetable oil
½-cup of distilled water
food coloring

1) mix 1-cup of flour and all other solid ingredients and oil in a bowl
2) thoroughly stir in 1-tbsp of distilled water; repeat until majority of water has been used
3) once mixture has reached a lumpy state, knead into one ball
4) place dough on floured surface, flatten with a rolling pin and knead remaining flour into the ball until a desired consistency is reached
5) store in an airtight container or plastic bag

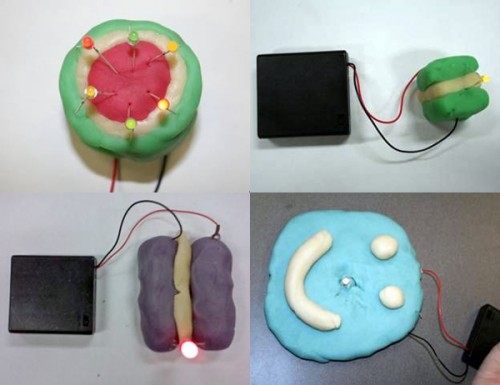
Testing 123: Conductive & Insulating Play Doh
Tools:
3-mini 3-volt LEDs
(preferably red, yellow,
and green)
9-volt battery
soldering iron
rosin-core solder
mini alligator clips
9-volt battery holder

Testing 123: Basic Circuit
• after soldering the alligator clips to the battery holder, insert the battery
• create a circuit by separating conductive dough with insulating dough
• stretch the leads of an LED into the respective +/- globs of dough
click here to see the basic circuit work!
Resistive Properties

Potential Applications
•use conductive and inductive play doh as a grout for ITO glass
•create conductive stained glass or soft sculptures
•for more ideas, check out Squishy Circuits: http://courseweb.stthomas.edu/apthomas/SquishyCircuits/index.htm
Complications
•non-uniform sputtering on ITO glass
•corrosive salts in conductive play doh eat away at metals
•consistency of conductive vs insulating play doh are different
•shelf-life of insulating play doh is shorter than conductive dough
Next Steps
•test if hardened doughs are still functional
•mix in metals such as graphite into conductive dough
•create a longer-lasting insulating dough
•revisit ITO glass; consider reapplying ITO or other transparent conductive material over glass
ENJOY!