Fabric Capacitors and Resistive Sensors
by N.Tari
Sensor 1. Capacitor
Inspiration:
Inspired by our research topic from last week, in I decided to play with capacitors in order to further my knowledge of how they work. The SmartSkin sensor desicribed in our paper is far more complex than this one I made this week. Though building this sensor I learned a great deal about how capacitors work and their relation ship with resistors.
Fabrication:
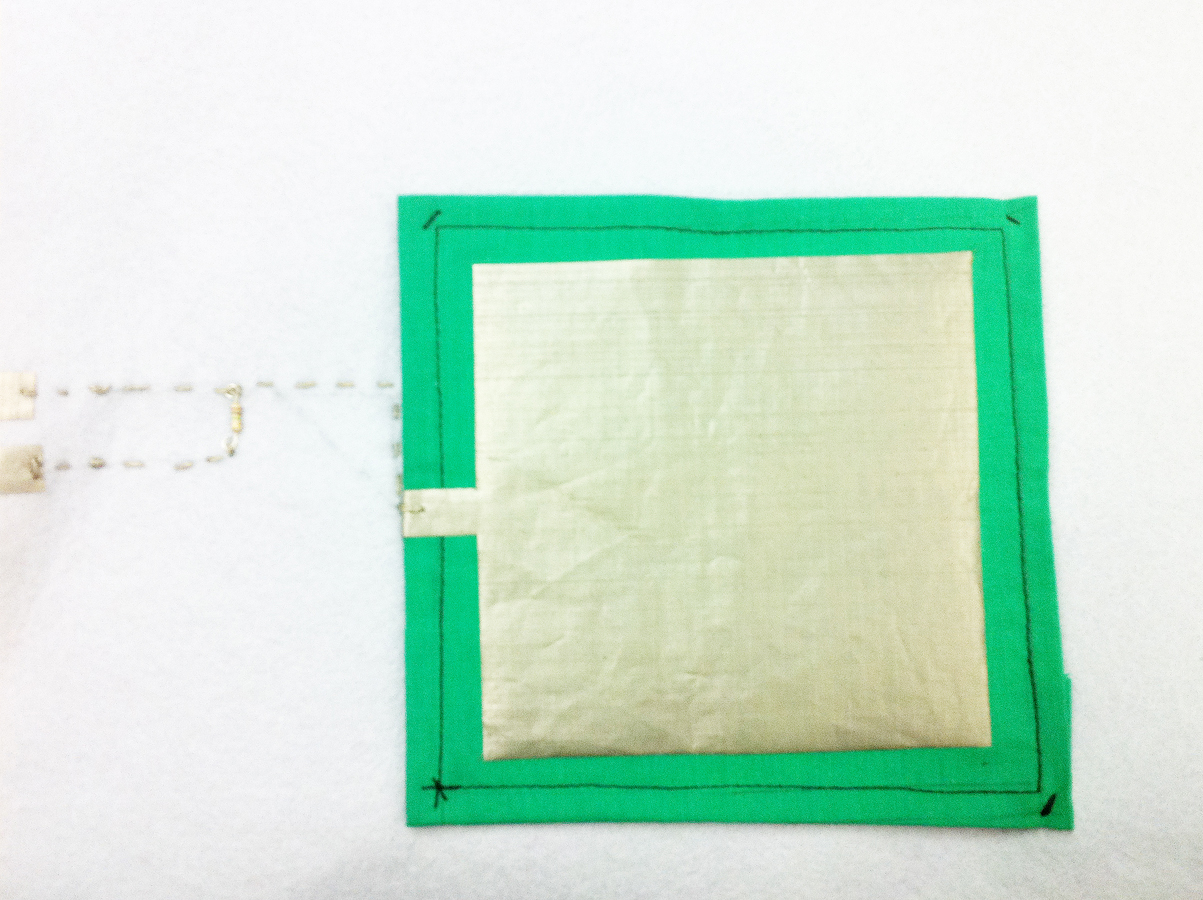
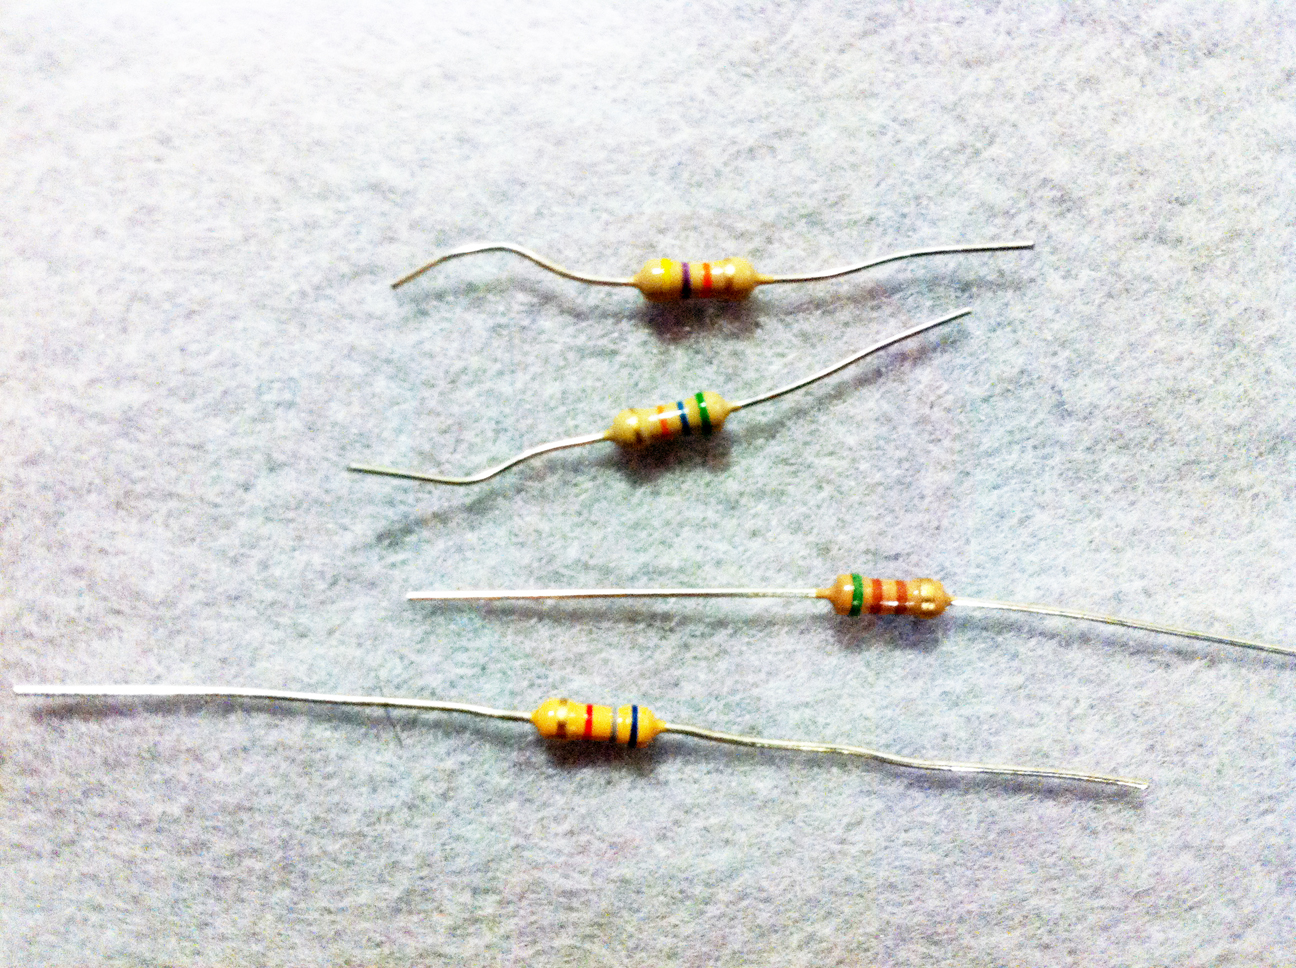
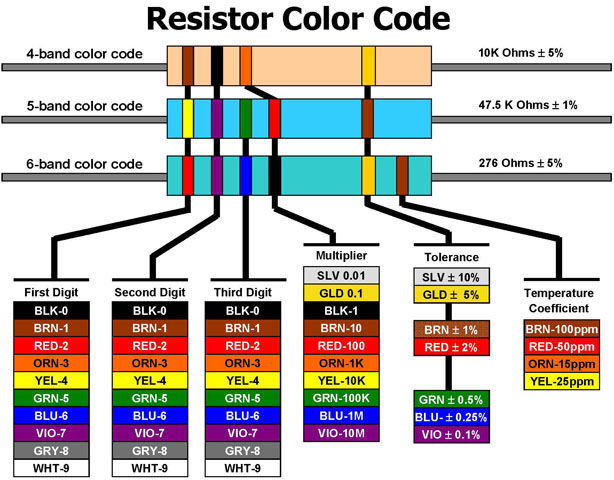
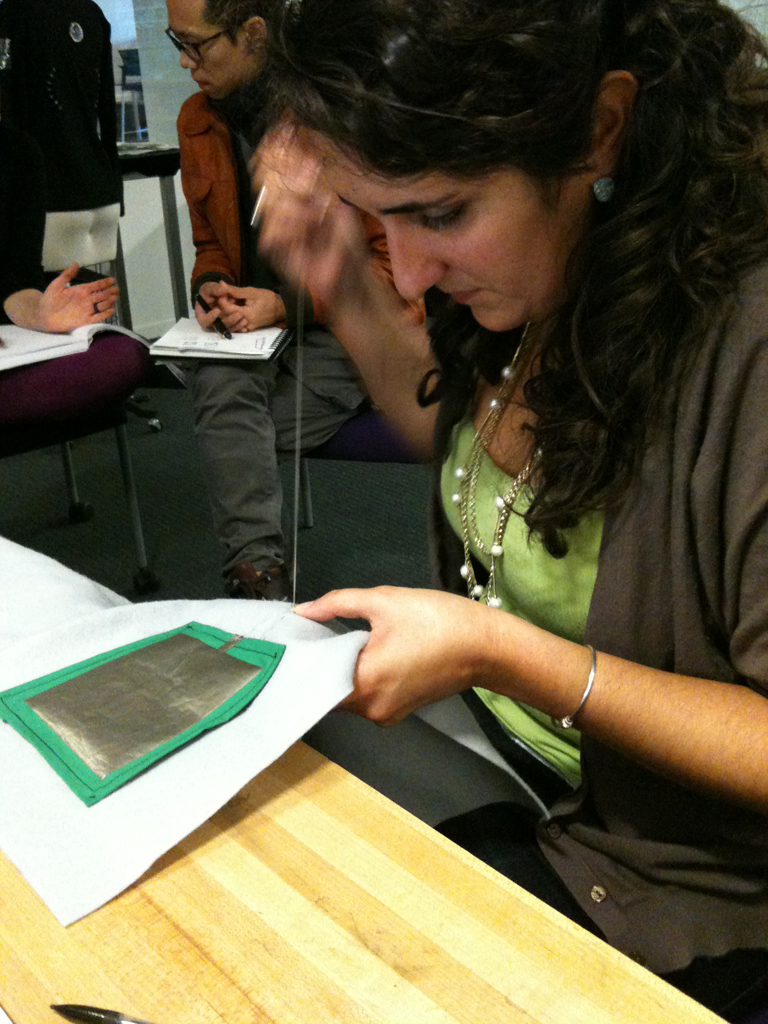
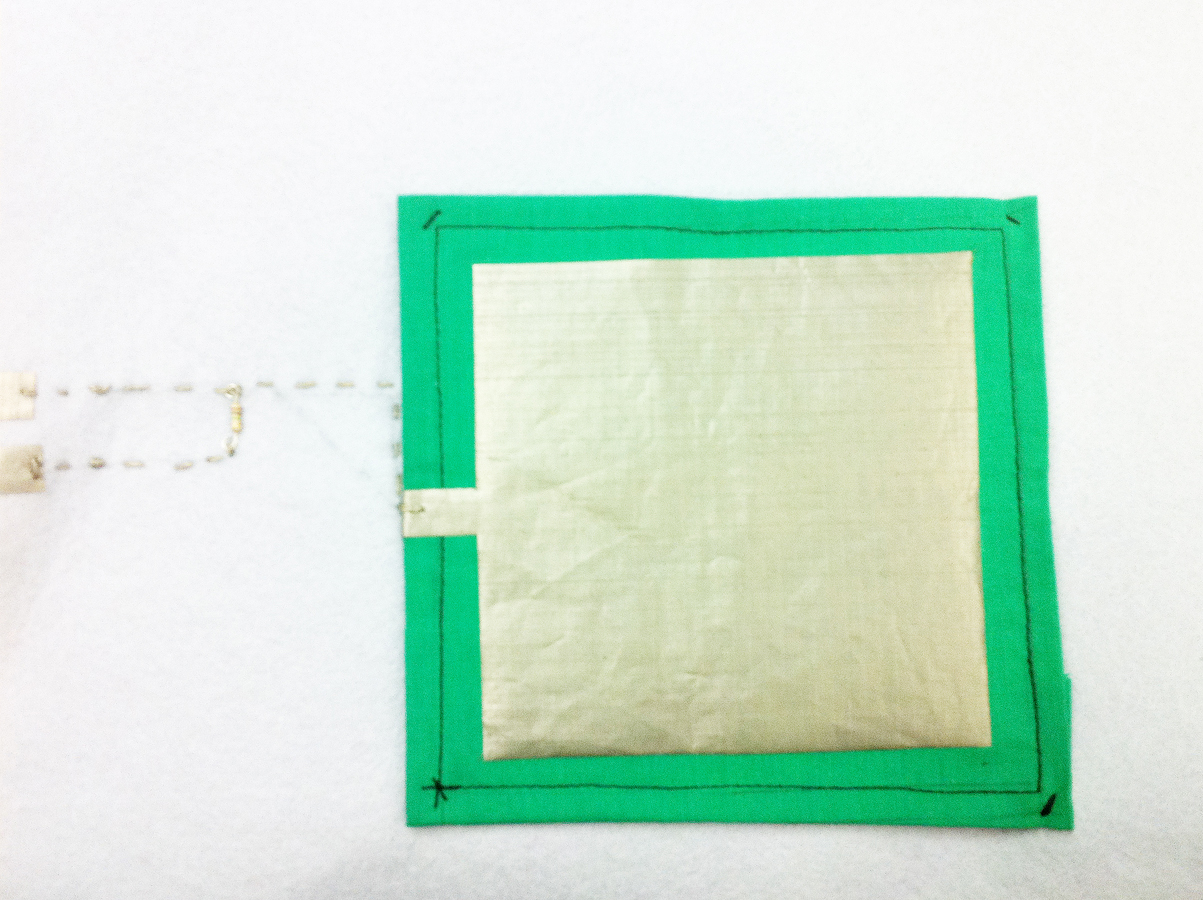
To create this sensor I used felt and a conductive piece of fabric with iron on sticky back paper. I ironed on the conductive piece of fabric, cut with a lead to attach to the arduino. After creating the sensor I had to experiment with differnt types of resistors inorder to slow the discharge down and get measuarble data. In this process I learned about the color coding on resistors as well as why a hight resistance is necessary to make the capasitoy function well. After testing several different sensors d a 100000 Ohm resistor was found to work well.
Computation:
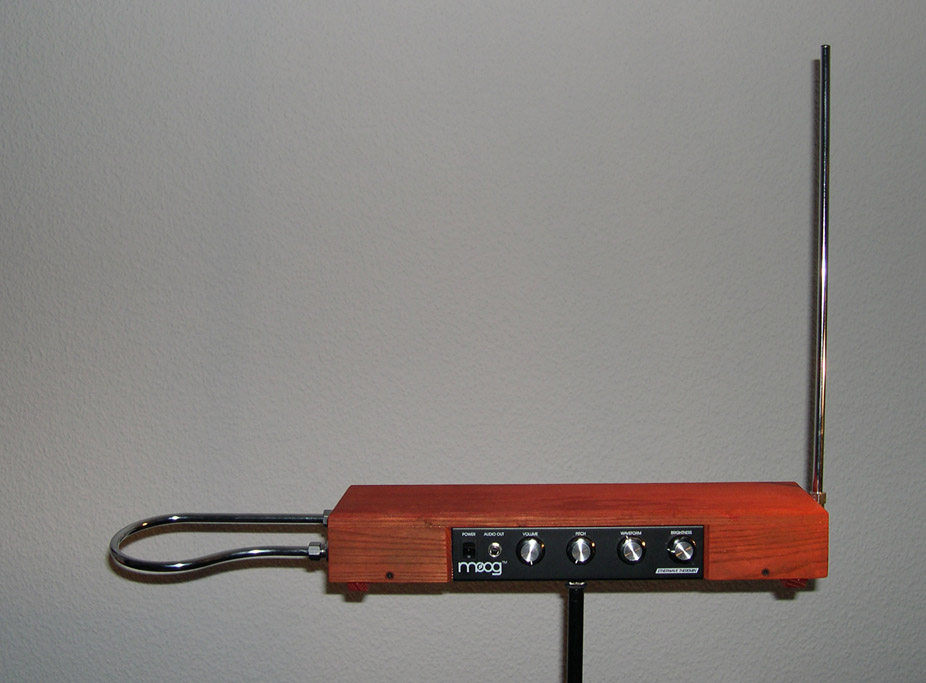
I ended up using (with modifications) the arduino code Leah posted on the course website found here. I started by changing the pins to accommodated the lilyPad. Inspired by the exercise we did in class with water, more complex systems like the Theremin, and other musical capacitors like it, I decided to play with sound. In processing, I began with the code provided for our in class exercise and modified it to play a series of sounds as your hand moves from in proximity to the sensor. One sound also changes in pitch depending on how close or far away from the sensor your hand is.
Application:
In conducting this experiment a variety of potentials interactive applications have been made apparent. The soft flexible nature and shape of the sensor makes it attractive to use in physical interfacing. It could be used to make interactive quilts, or prints on fabric. They can be used to make more complex wearable interactive musical instruments. Or like the smartSkin, possibly a bigger fabric sensor could be created using rows of transmitters and receivers to create a grid of capacitors. This could be used to flexible, soft, and also beautiful surfaces. These surfaces could becomes systems that reveled different pieces of sound and or projection that are part of a larger narrative.
Sensor 2. Array of Fabric Pressure Sensors
Inspiration & Fabrication:
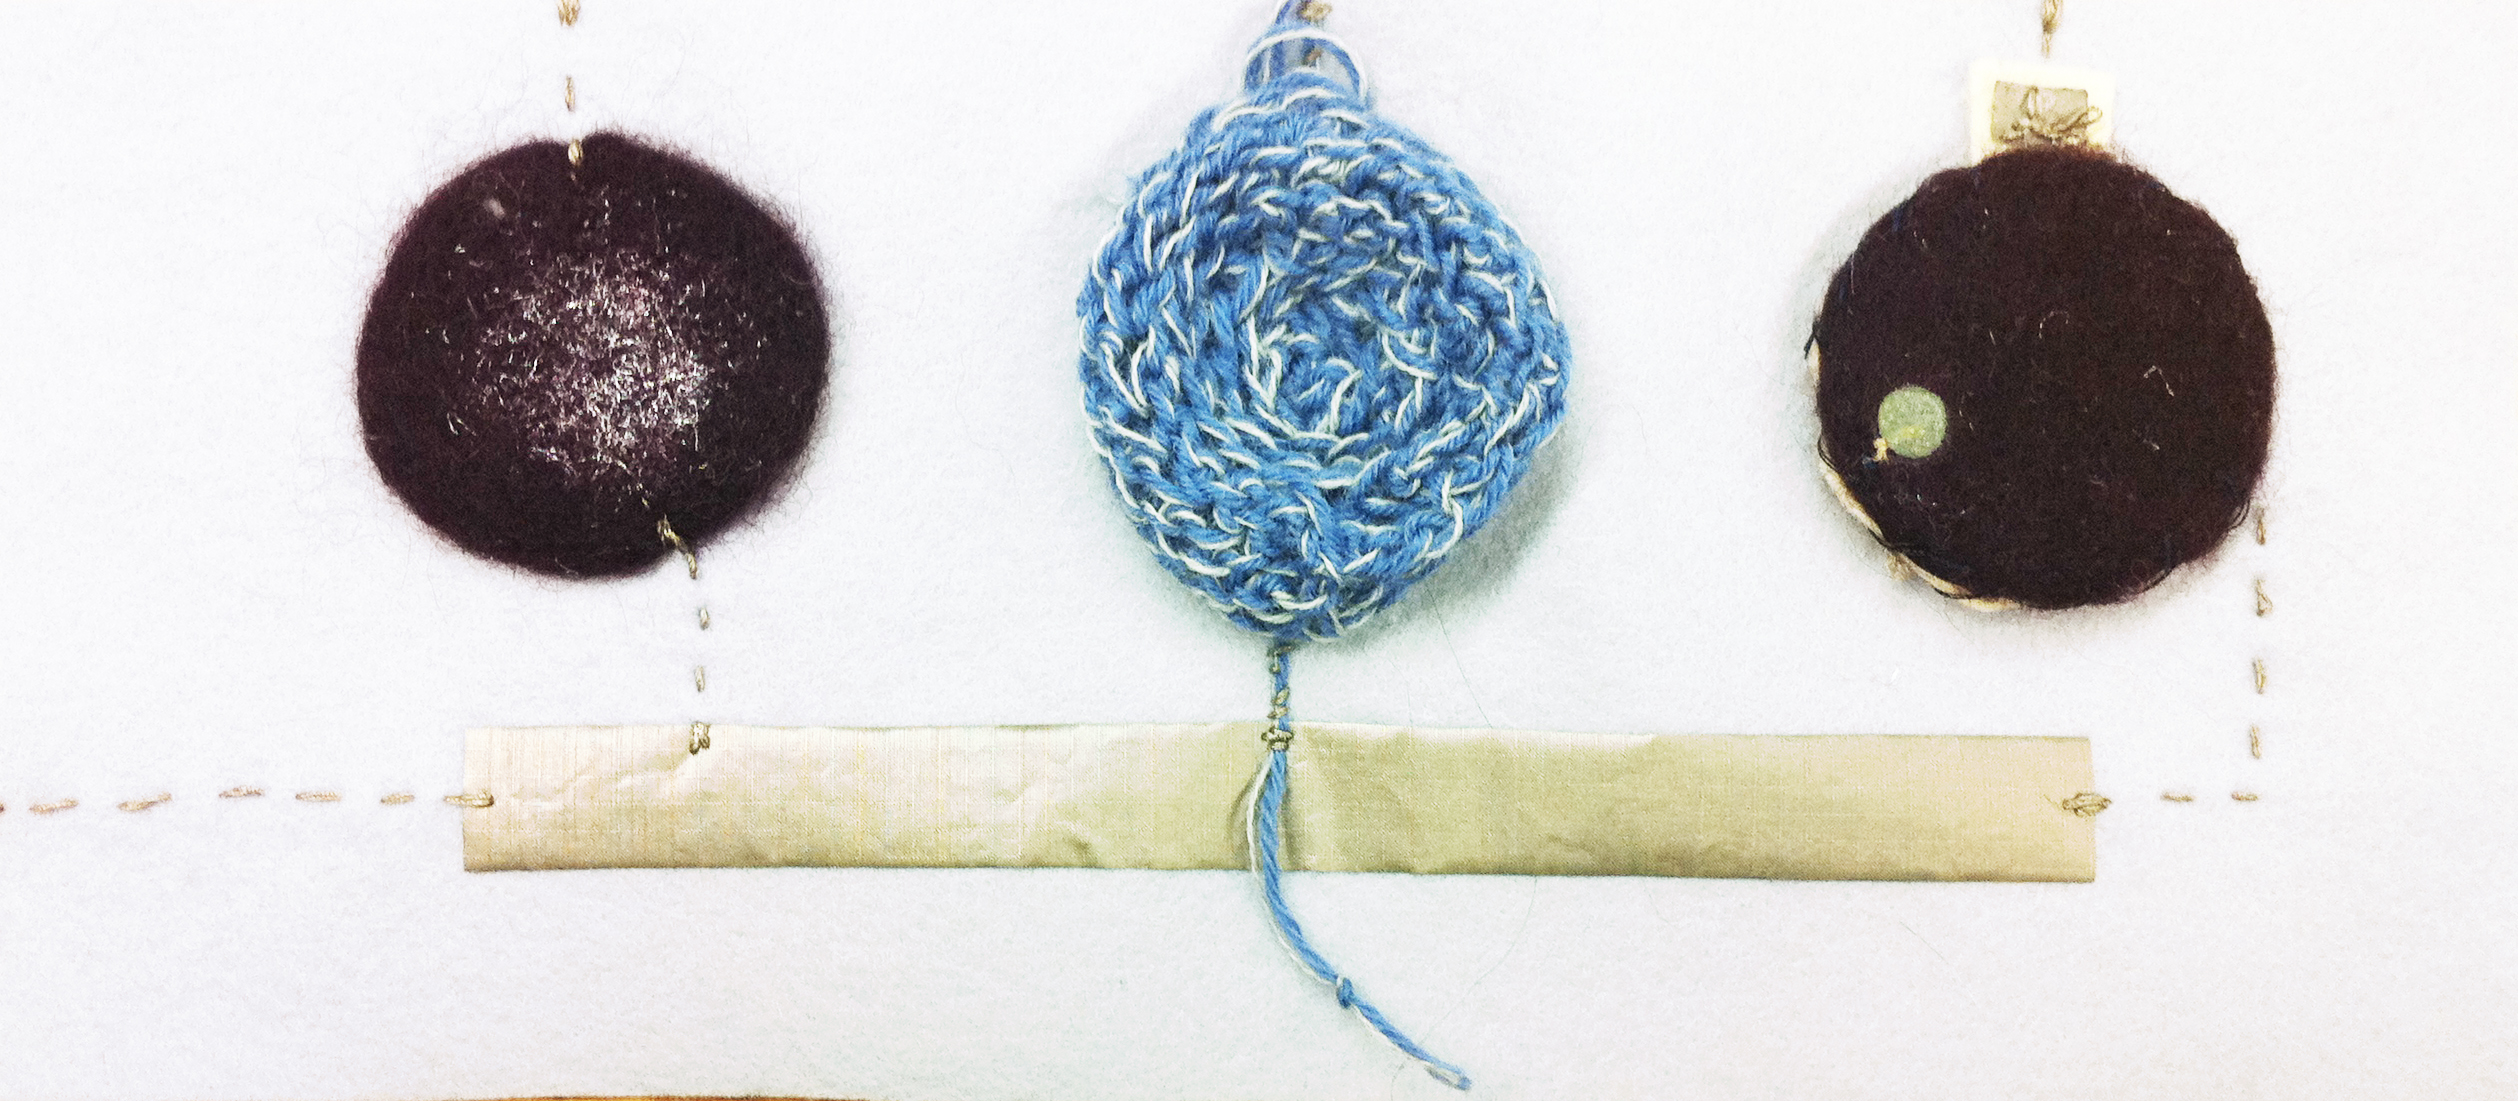
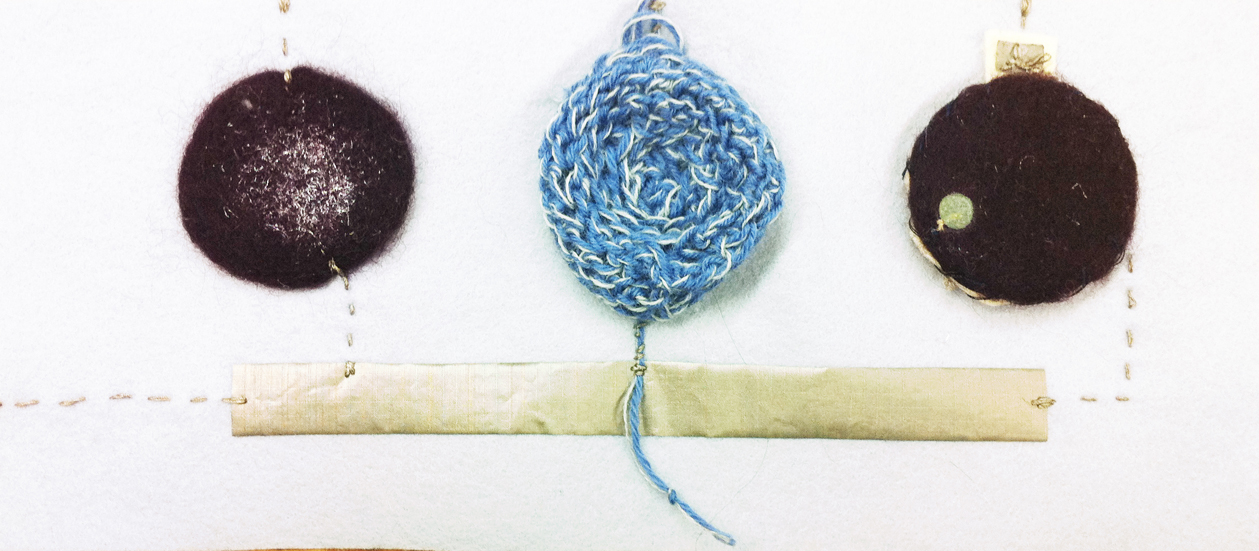
The second experiment I conducted was with fabric pressure sensors made of different materials. These sensors were created last semester during in Leah’s New Textiles class. More information about their construction and individual attributes can be found here .
Prior to this investigation I had created several different sensors but was only able to use one at a time. This week I my challenge was to create a system that could used data from more than one sensor at a time. Each sensor was initially hooked up to alligator clips for testing. After testing each sensor was sewn onto a larger piece of fabric. The lead for the arduino analog pin was sewn out of with conductive thread to the edge of the fabric. each are attached to the same conductive strip of fabric that runs to ground ground
Computation:
In order to collect data from all three sensors I used this code that hard wires each arduino pin for each sensor . In talking to Leah I learned that this can be done in an additional more abstract way allow the code to be more flexible and in turn easer to add or remove sensors from the array with out changing the code. The code I used is a modification of the code posted here. Though processing, I was able to connect the sensors to a visual response.
Application:
This array of fabric resistive sensors had similar potentials to the capacitor. The difference begin that using pressure sensors requires actual contact with the sensor to receive data.
Encountered Problems:
The capacitor data changes drastically depending on what is around it. I notices that when using the sensor with one hand touching various other objects with the other hand changes the data output of the sensor significantly. This created a challenge when programing the sounds to respond to the data output.
Code:
Ardunio code for multiple sensors
Processing Code for Array of Sensors:
import processing.serial.*;
Serial myPort; // The serial port
//variables for collecting and storing information
int ARRAYX = 2;
int ARRAYY = 2;
int [][] sensorArray = new int[ARRAYX][ARRAYY];
//variables for drawing information on the screen
int spacing = 100;
void setup () {
//set the window size:
size(800, 600);
// list all the available serial ports
println(Serial.list());
// open the appropriate port
myPort = new Serial(this, Serial.list()[0], 9600);
// don’t generate a serialEvent() until you get an exclamation mark character
myPort.bufferUntil(‘!’);
// set inital background:
background(#174D67);
}
void draw () {
background(#174D67);
//loop through the array
for (int i=0;i<ARRAYX;i++)
{
for (int j=0;j<ARRAYY;j++)
{
if (sensorArray[i][j] < 20) {
ellipse (200, 200, sensorArray[i][j], sensorArray[i][j]);
color (#ffffff);
noStroke();
smooth();
}
else {
if (sensorArray[i][j] > 21 && sensorArray[i][j] < 40) {
ellipse (300, 300, sensorArray[i][j], sensorArray[i][j]);
color (#ffffff);
noStroke();
smooth();
}
else {
if (sensorArray[i][j] > 41 && sensorArray[i][j] < 60) {
ellipse (400, 200, sensorArray[i][j], sensorArray[i][j]);
color (#ffffff);
noStroke();
smooth();
}
else {
if (sensorArray[i][j] > 61 && sensorArray[i][j] < 80) {
ellipse (500, 400, sensorArray[i][j], sensorArray[i][j]);
color (#ffffff);
noStroke();
smooth();
}
else {
if (sensorArray[i][j] > 81 && sensorArray[i][j] < 100) {
ellipse (600, 200, sensorArray[i][j], sensorArray[i][j]);
color (#ffffff);
noStroke();
smooth();
} else {
if (sensorArray[i][j] > 200 && sensorArray[i][j] < 300) {
ellipse (700, 300, sensorArray[i][j], sensorArray[i][j]);
color (#ffffff);
noStroke();
smooth();
}
}
}
}
}
}
}
}
}
void serialEvent (Serial myPort) {
//store a batch of data into variable “inString”
//batches are separated by exclamation mark characters
String inString = myPort.readStringUntil(‘!’);
//split the data into rows (rows separated by new line characters)
String[] incomingArrayRows = splitTokens(inString, “\n”);
//loop through all of the rows
for (int i=0;i<ARRAYX;i++)
{
//split each row into entries (entries separated by tab characters)
String[] incomingArrayEntries = splitTokens(incomingArrayRows[i], “\t”);
//loop through all of these entries
for (int j=0;j<ARRAYY;j++)
{
//store entries in the “sensorArray” variable
sensorArray[i][j]=int(incomingArrayEntries[j]);
//print the entries to the terminal, separated by tab characters
print(sensorArray[i][j]);
print(‘\t’);
}
//print a new line after each row
println();
}
//print a new line after each batch of data
println();
}
Processing Code for Cap Sensor:
import processing.serial.*;
import pitaru.sonia_v2_9.*;
Serial myPort; // The serial port
int xPos = 1; // horizontal position of the graph
Sample tone;
Sample tone2;
Sample tone3;
void setup () {
// set the window size:
size(400, 300);
// List all the available serial ports
println(Serial.list());
// I know that the first port in the serial list on my mac
// is always my Arduino, so I open Serial.list()[0].
// Open whatever port is the one you’re using.
myPort = new Serial(this, Serial.list()[0], 9600);
// don’t generate a serialEvent() unless you get a newline character:
myPort.bufferUntil(‘\n’);
// set inital background:
background(0);
Sonia.start(this);
// Create a new sample object.
tone = new Sample( “Tone1.wav” );
tone2 = new Sample(“Tone2.wav”);
tone3 = new Sample(“Tone3.wav”);
// Loop the sound forever
// (well, at least until stop() is called)
}
void draw () {
// everything happens in the serialEvent()
}
void serialEvent (Serial myPort) {
// get the ASCII string:
String inString = myPort.readStringUntil(‘\n’);
if (inString != null) {
// trim off any whitespace:
inString = trim(inString);
// convert to an int and map to the screen height:
float inByte = float(inString);
inByte = map(inByte, 0, 1023, 0, height);
if (inByte > 1 && inByte < 10 ) {
tone.repeat();
tone.setVolume(1);
smooth();
} else if(inByte > 10 && inByte < 40){
tone2.repeat();
tone2.setVolume(2);
smooth();
} else if(inByte > 40 && inByte < 70){
tone3.repeat();
tone3.setVolume(2);
smooth();
} else {
tone.stop();
tone2.stop();
tone3.stop();
}
//println (inByte);
// draw the line:
stroke(127, 34, 255);
line(xPos, height, xPos, height – inByte);
// change the playback speed using the incoming data
float ratio = (float) (inByte/height)*5;
//println(ratio);
tone.setRate(ratio*88200, 0);
println(inByte + ” “+ ratio*88200);
//tone.setVolume(ratio);
// at the edge of the screen, go back to the beginning:
if (xPos >= width) {
xPos = 0;
background(0);
}
else {
// increment the horizontal position:
xPos++;
}
}
}
// Pressing the mouse stops and starts the sound
void mousePressed() {
if (tone.isPlaying()) {
tone.stop(); // The sound can be stopped with the function stop().
}
else {
tone.repeat();
}
}
// Close the sound engine
public void stop() {
Sonia.stop();
super.stop();
}
