Knitted Ribbon
by heidiqc
Experience:
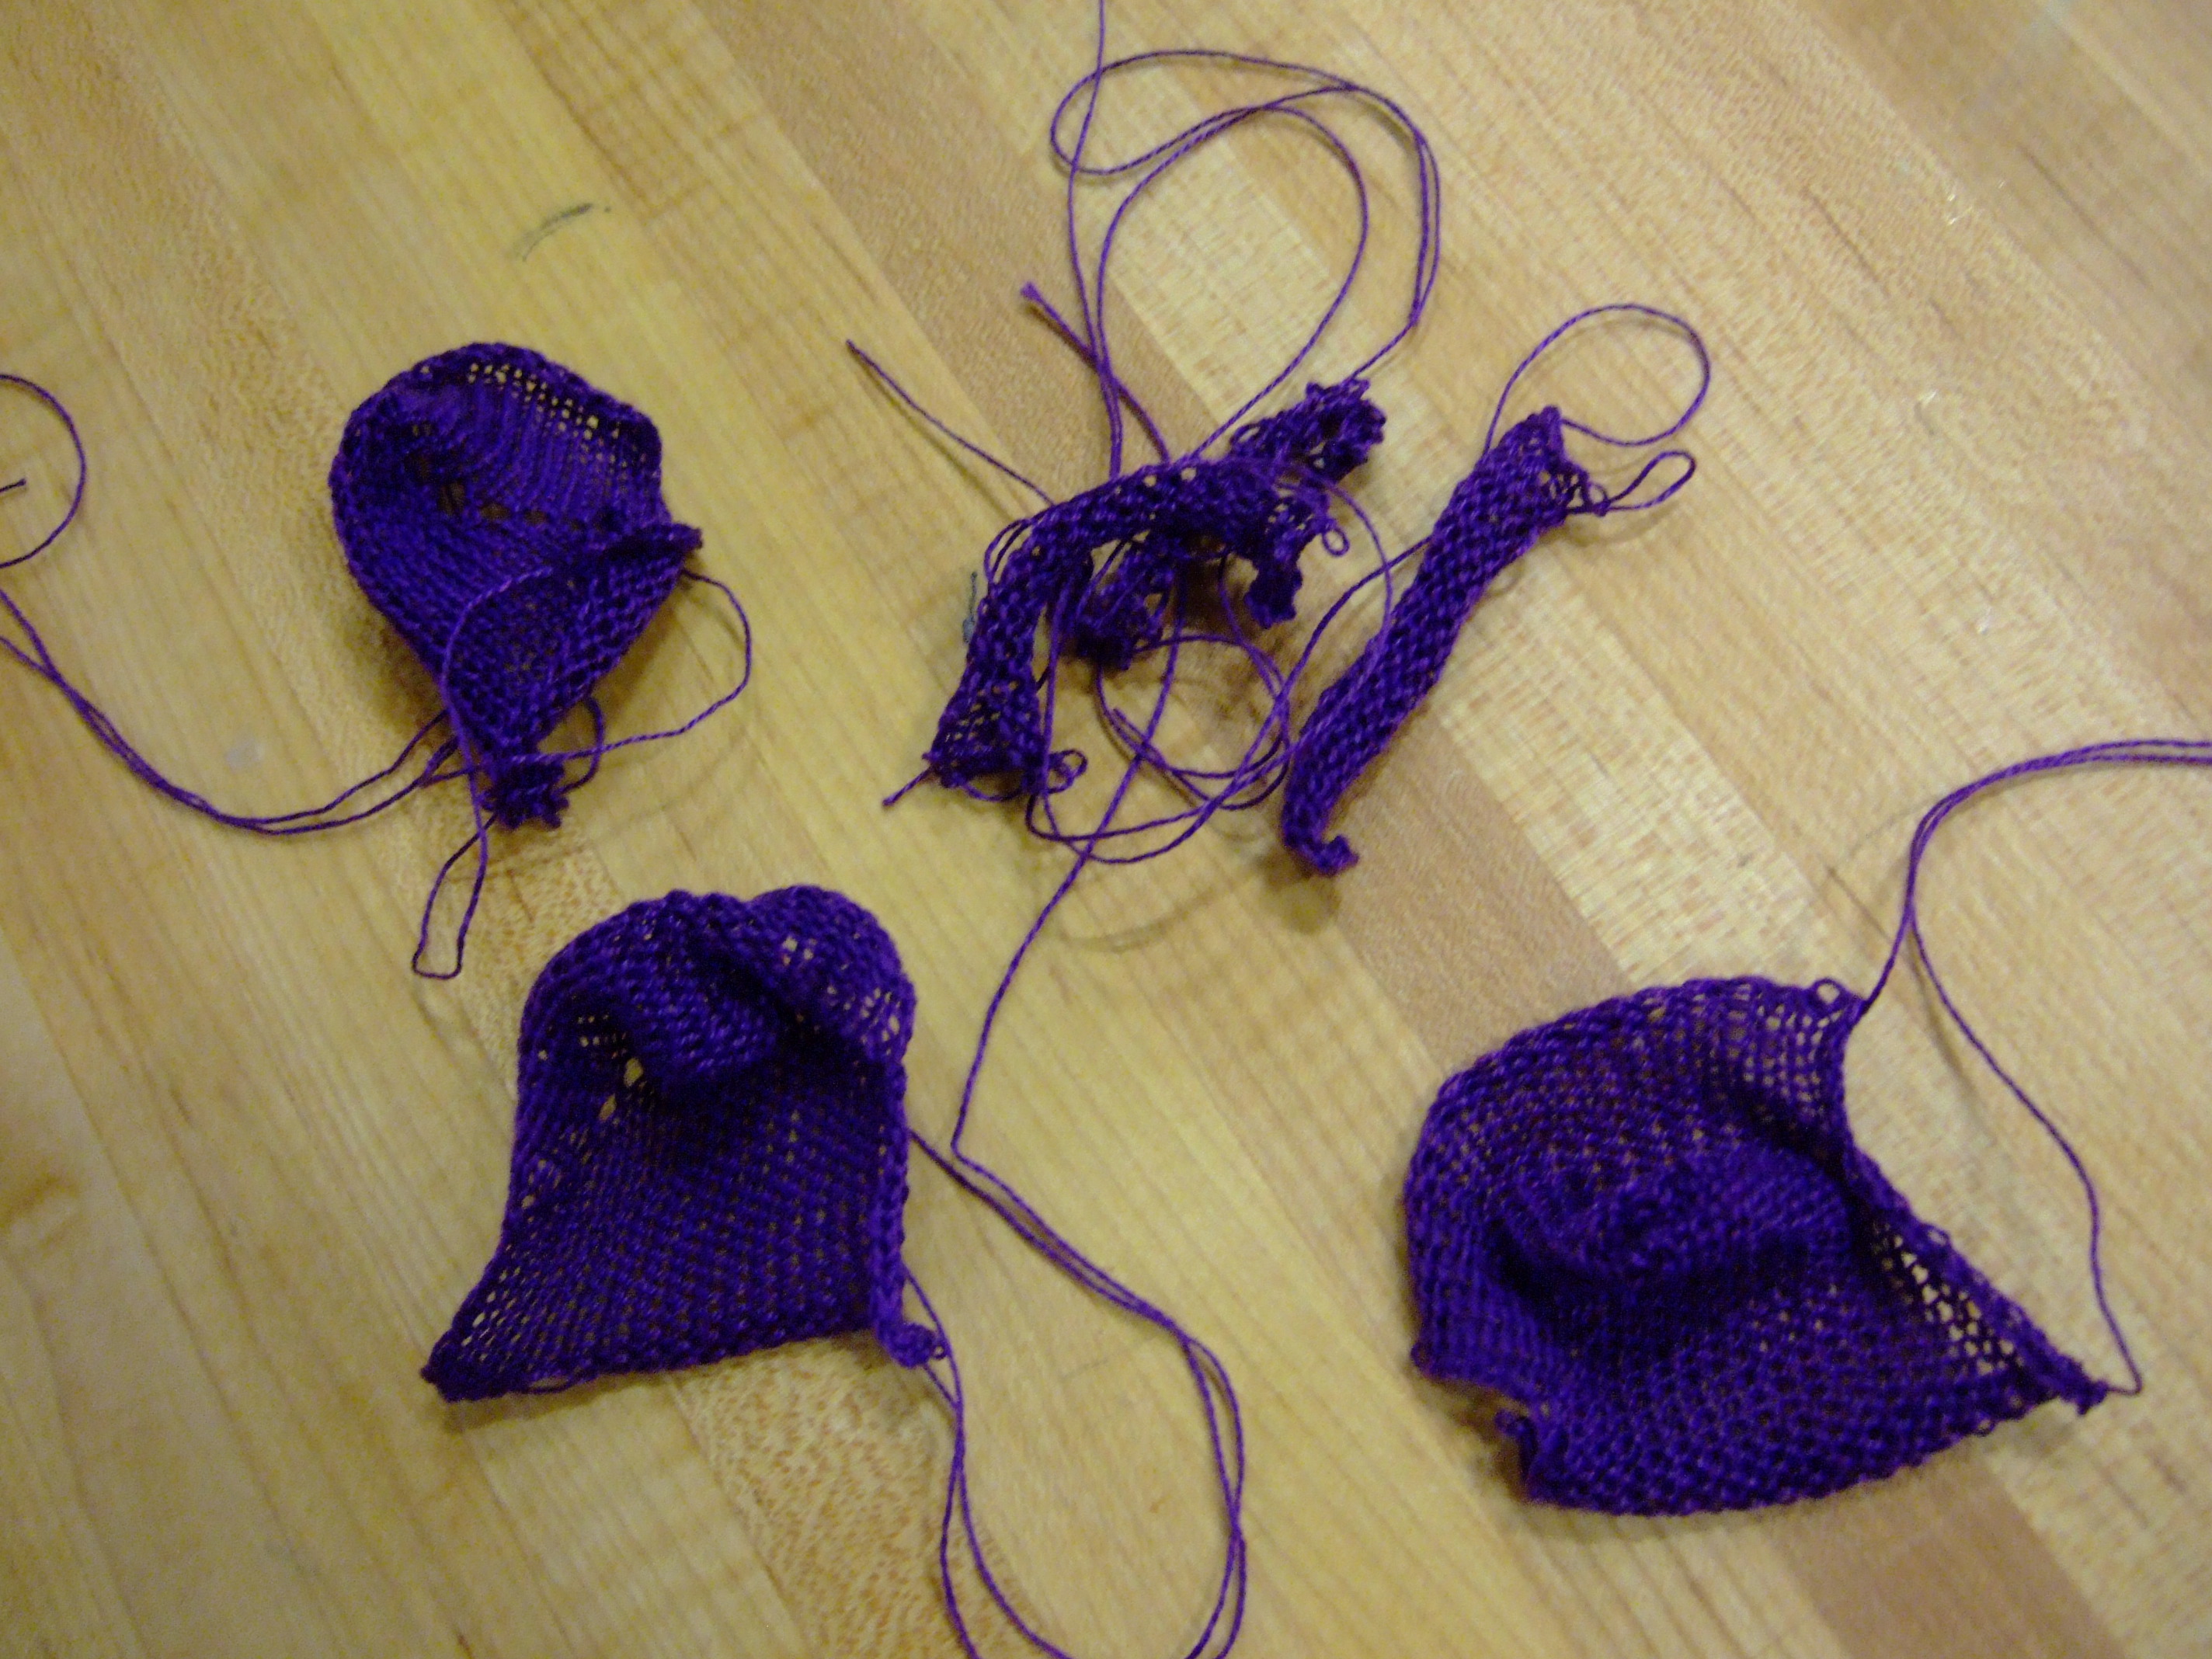
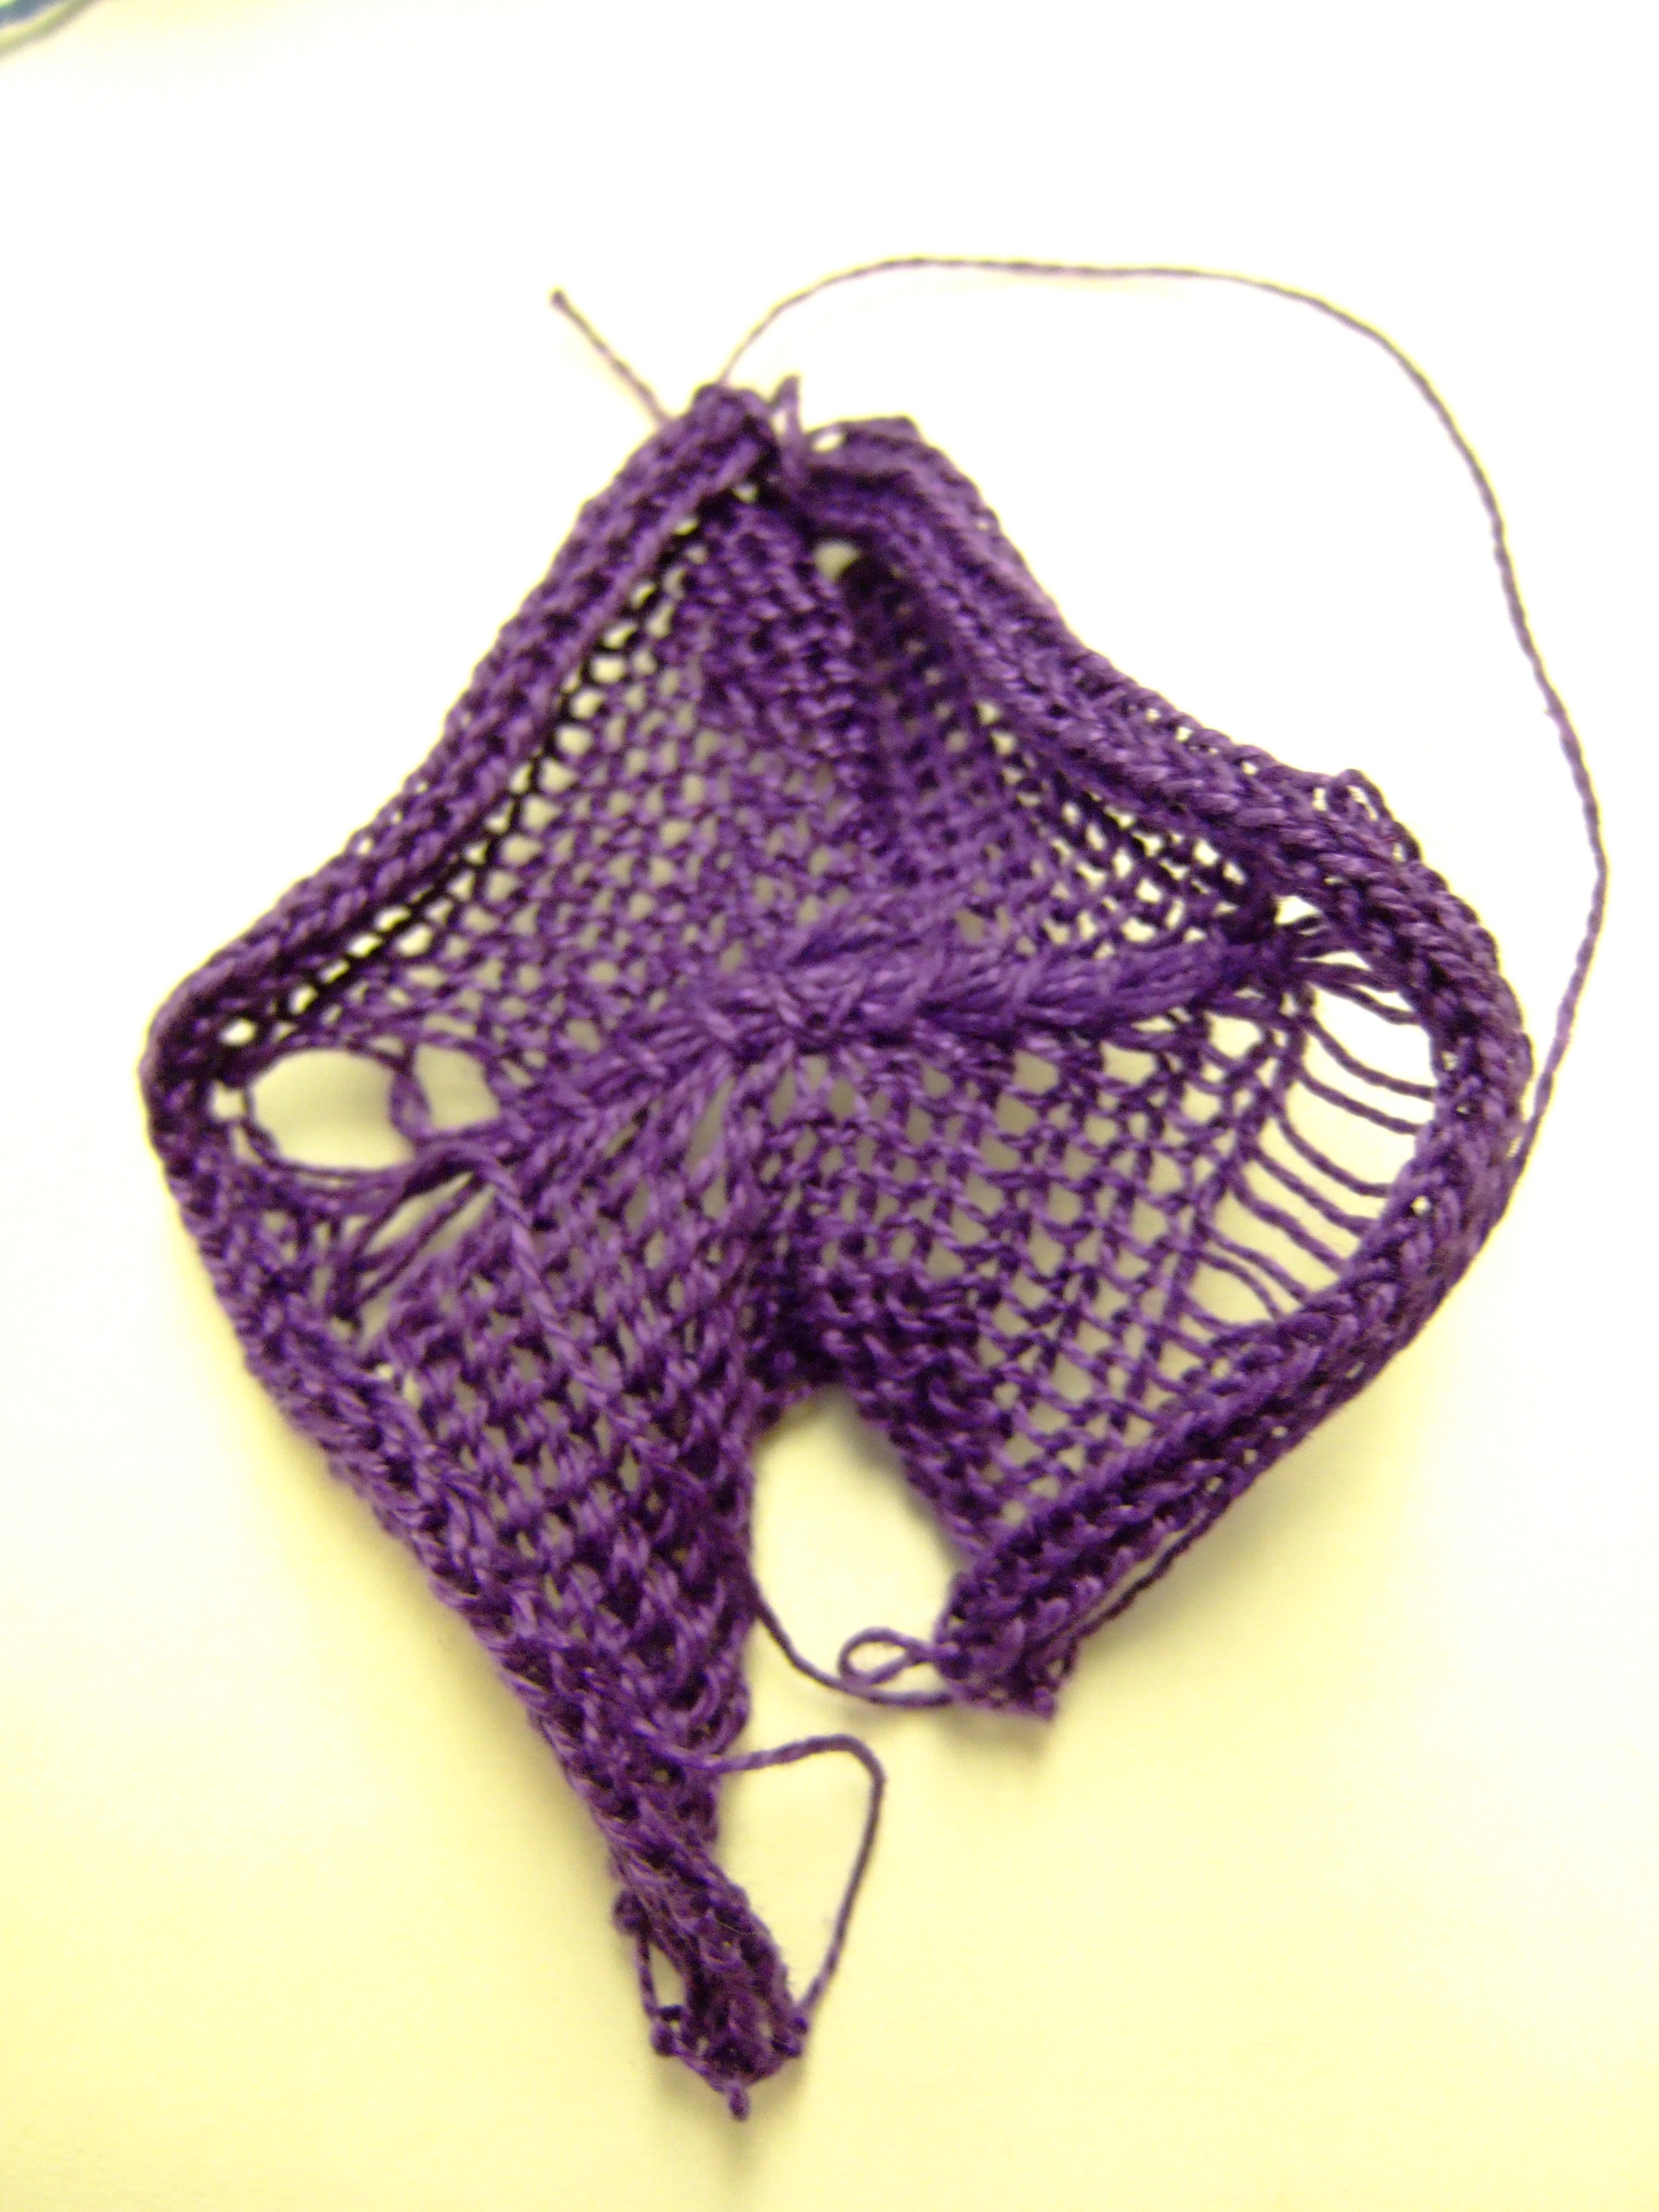
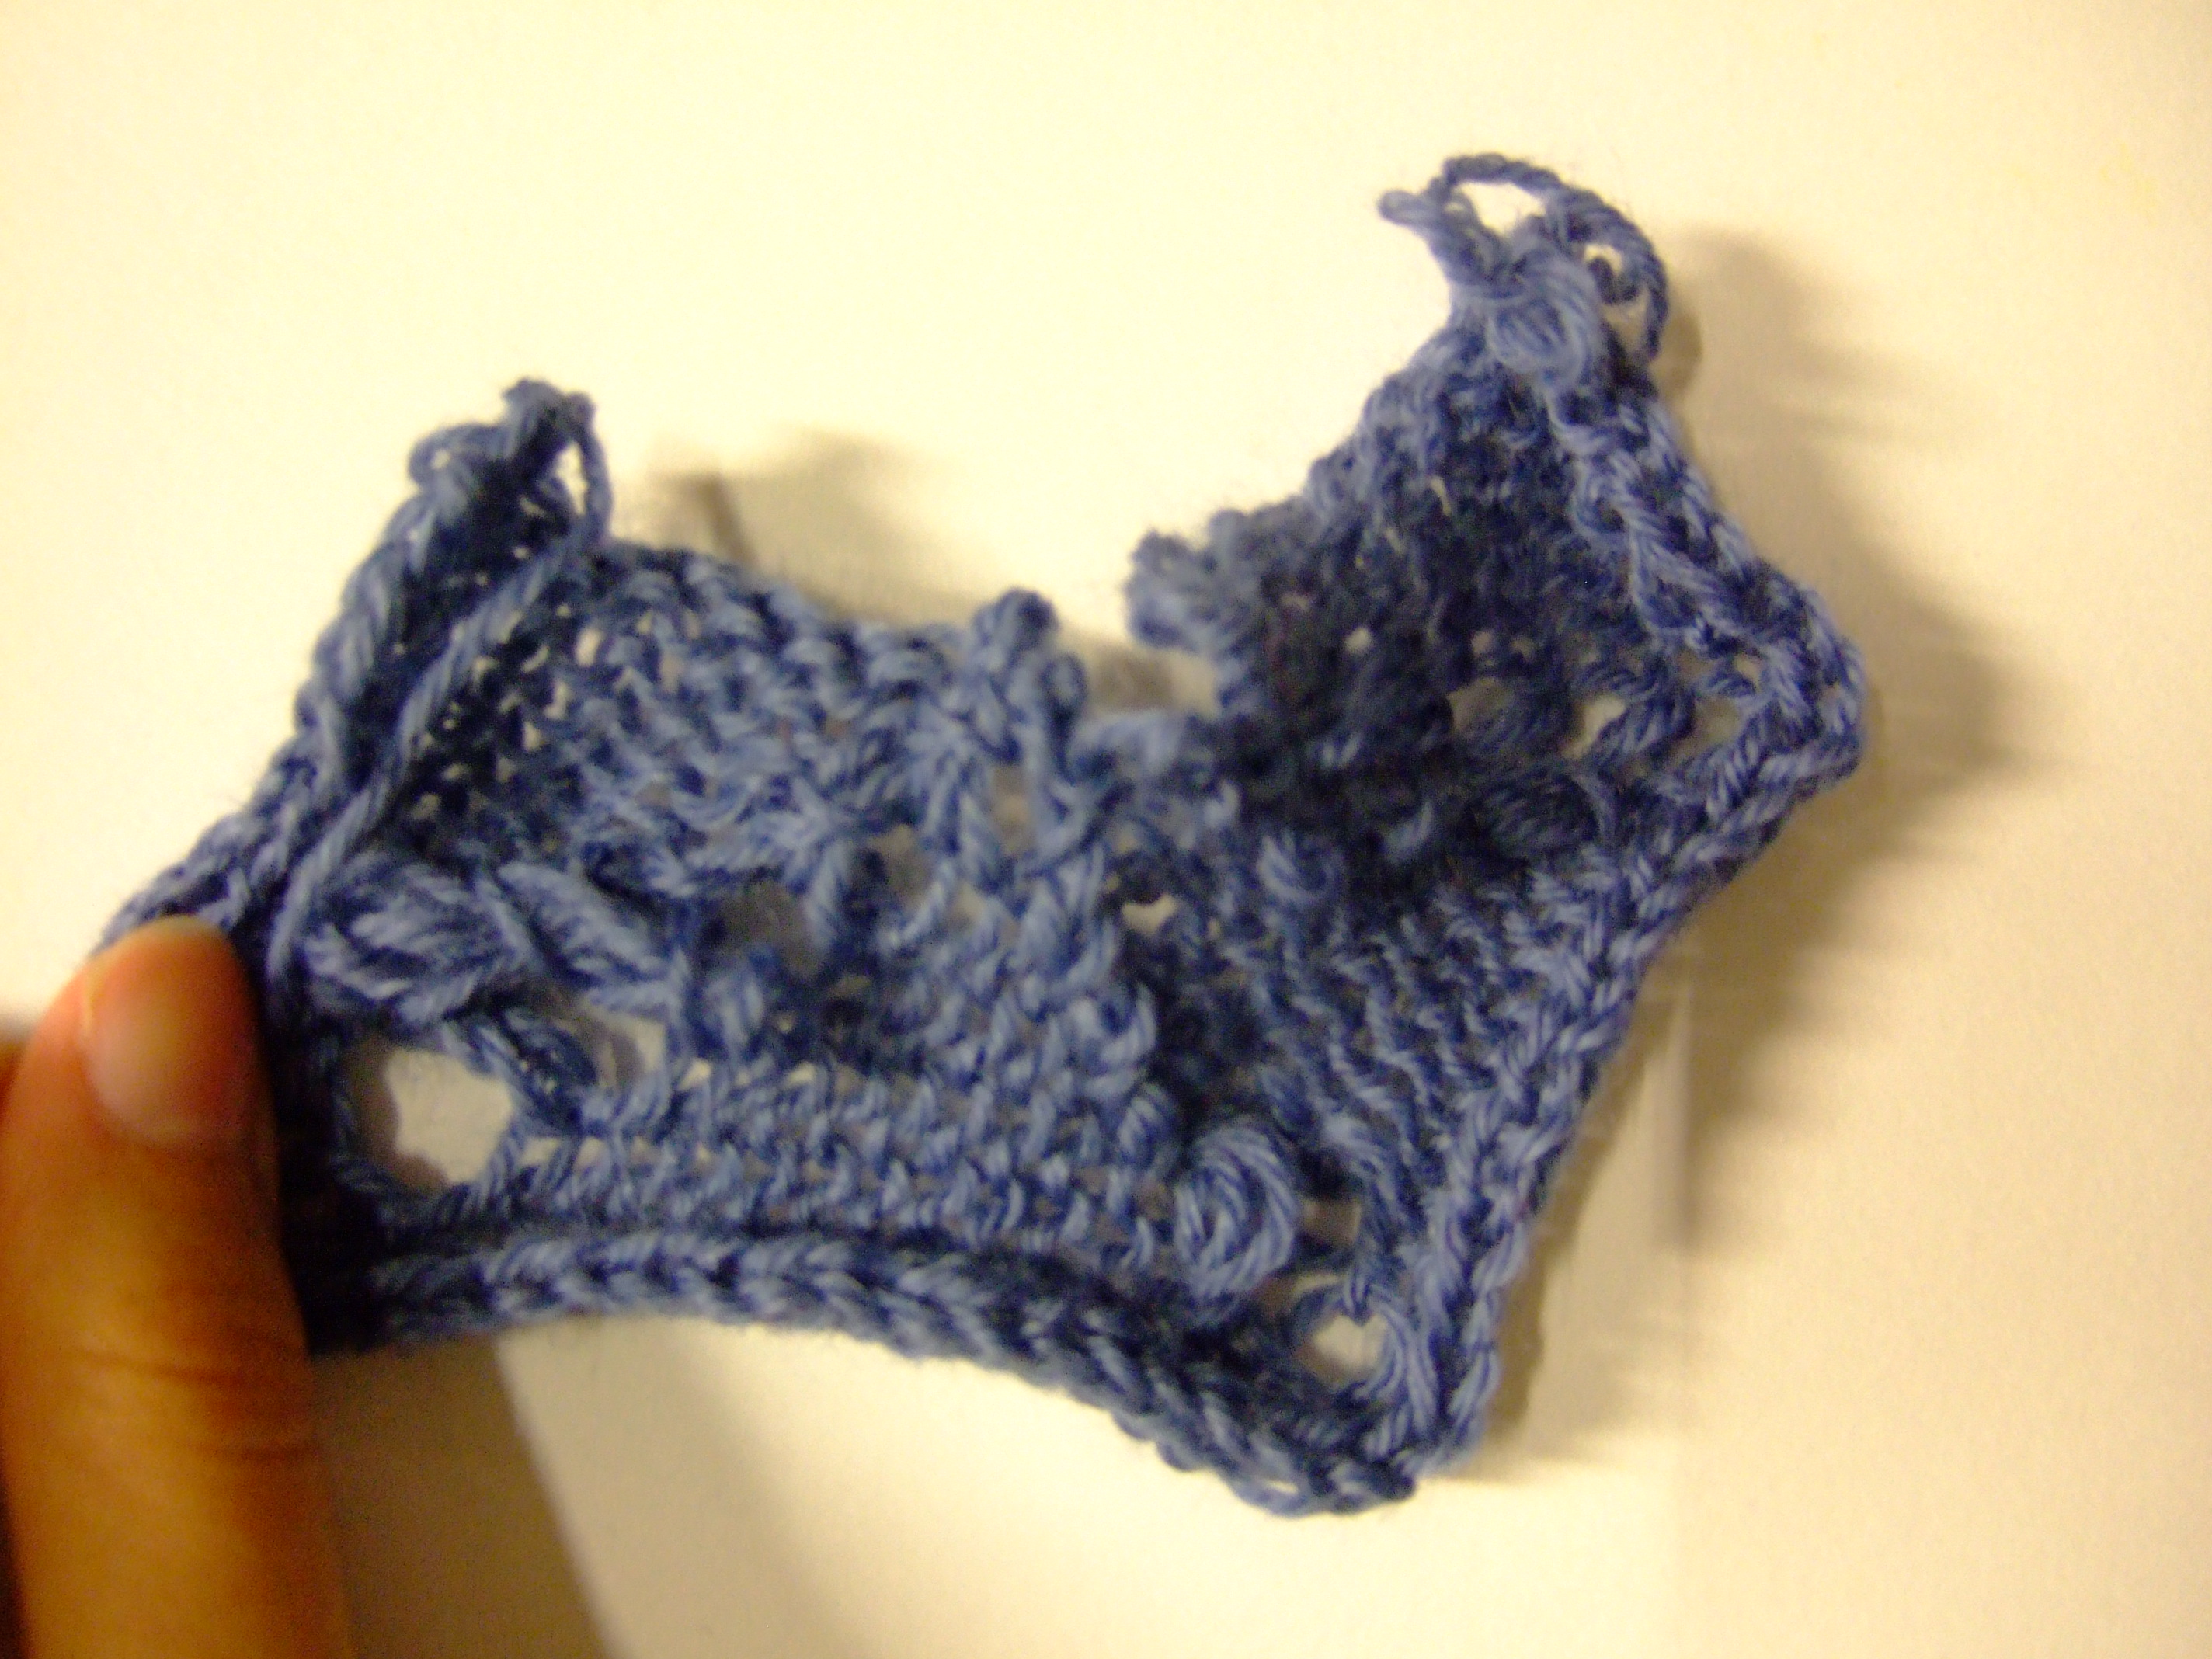
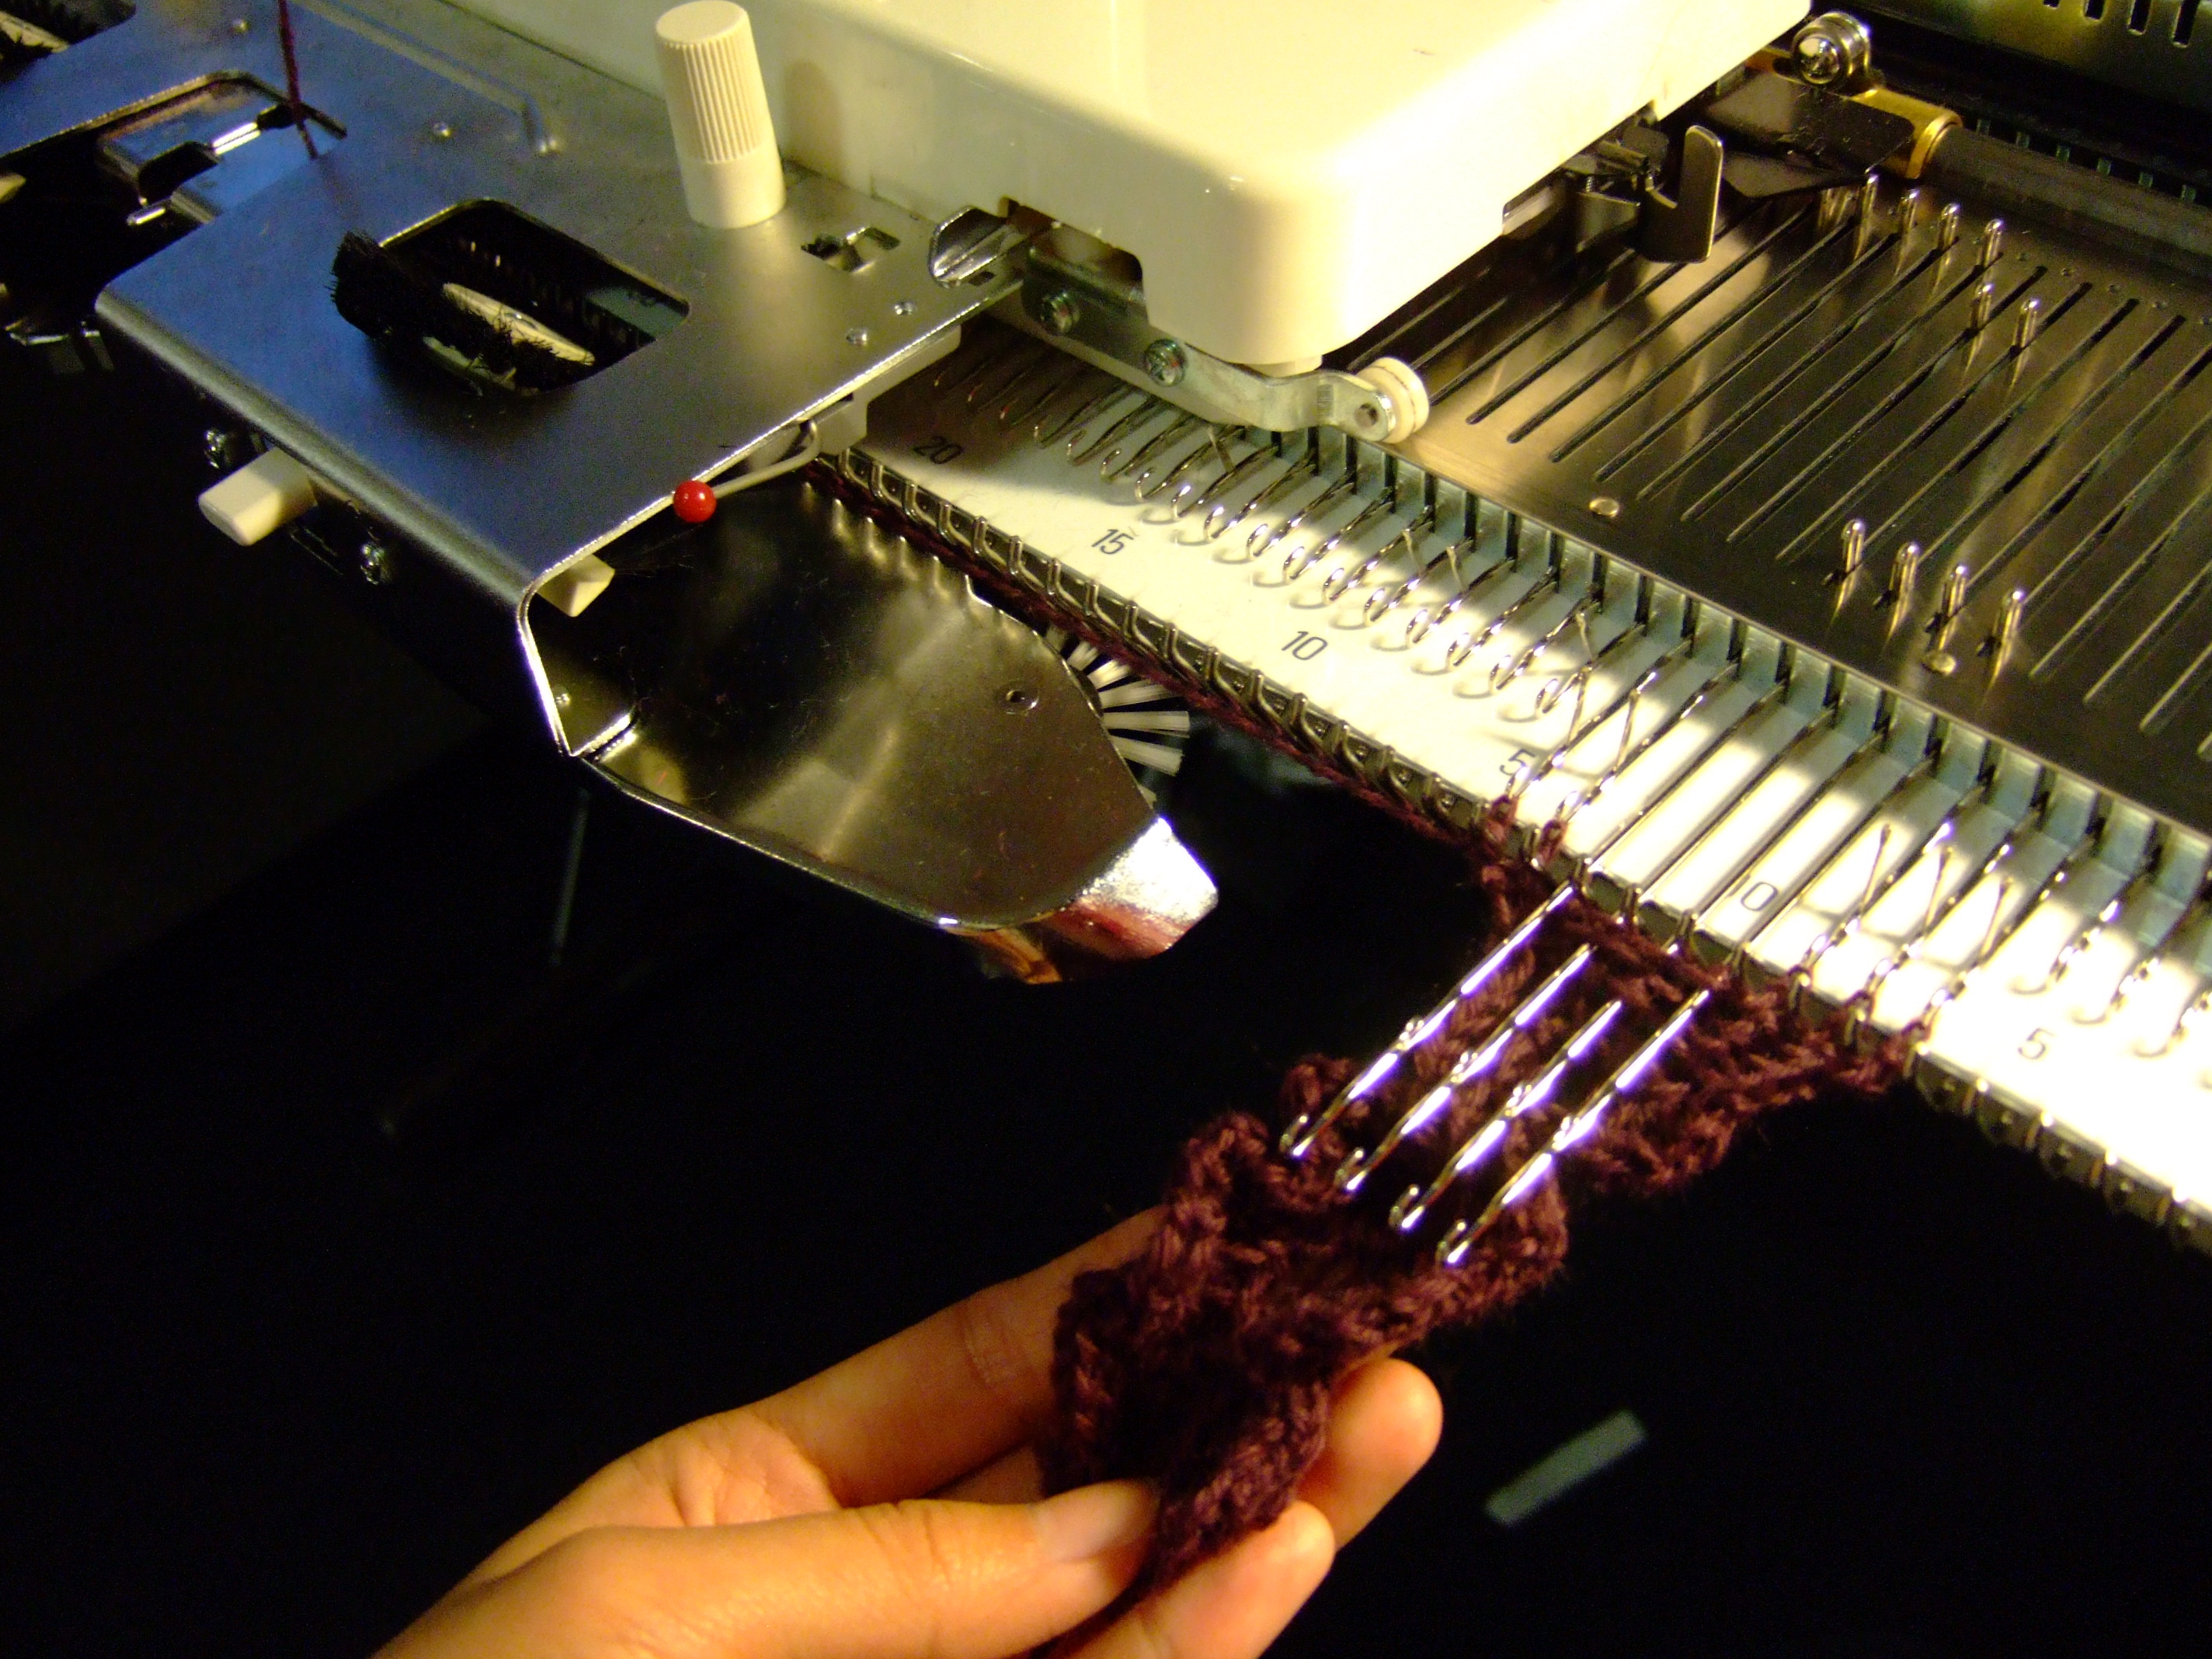
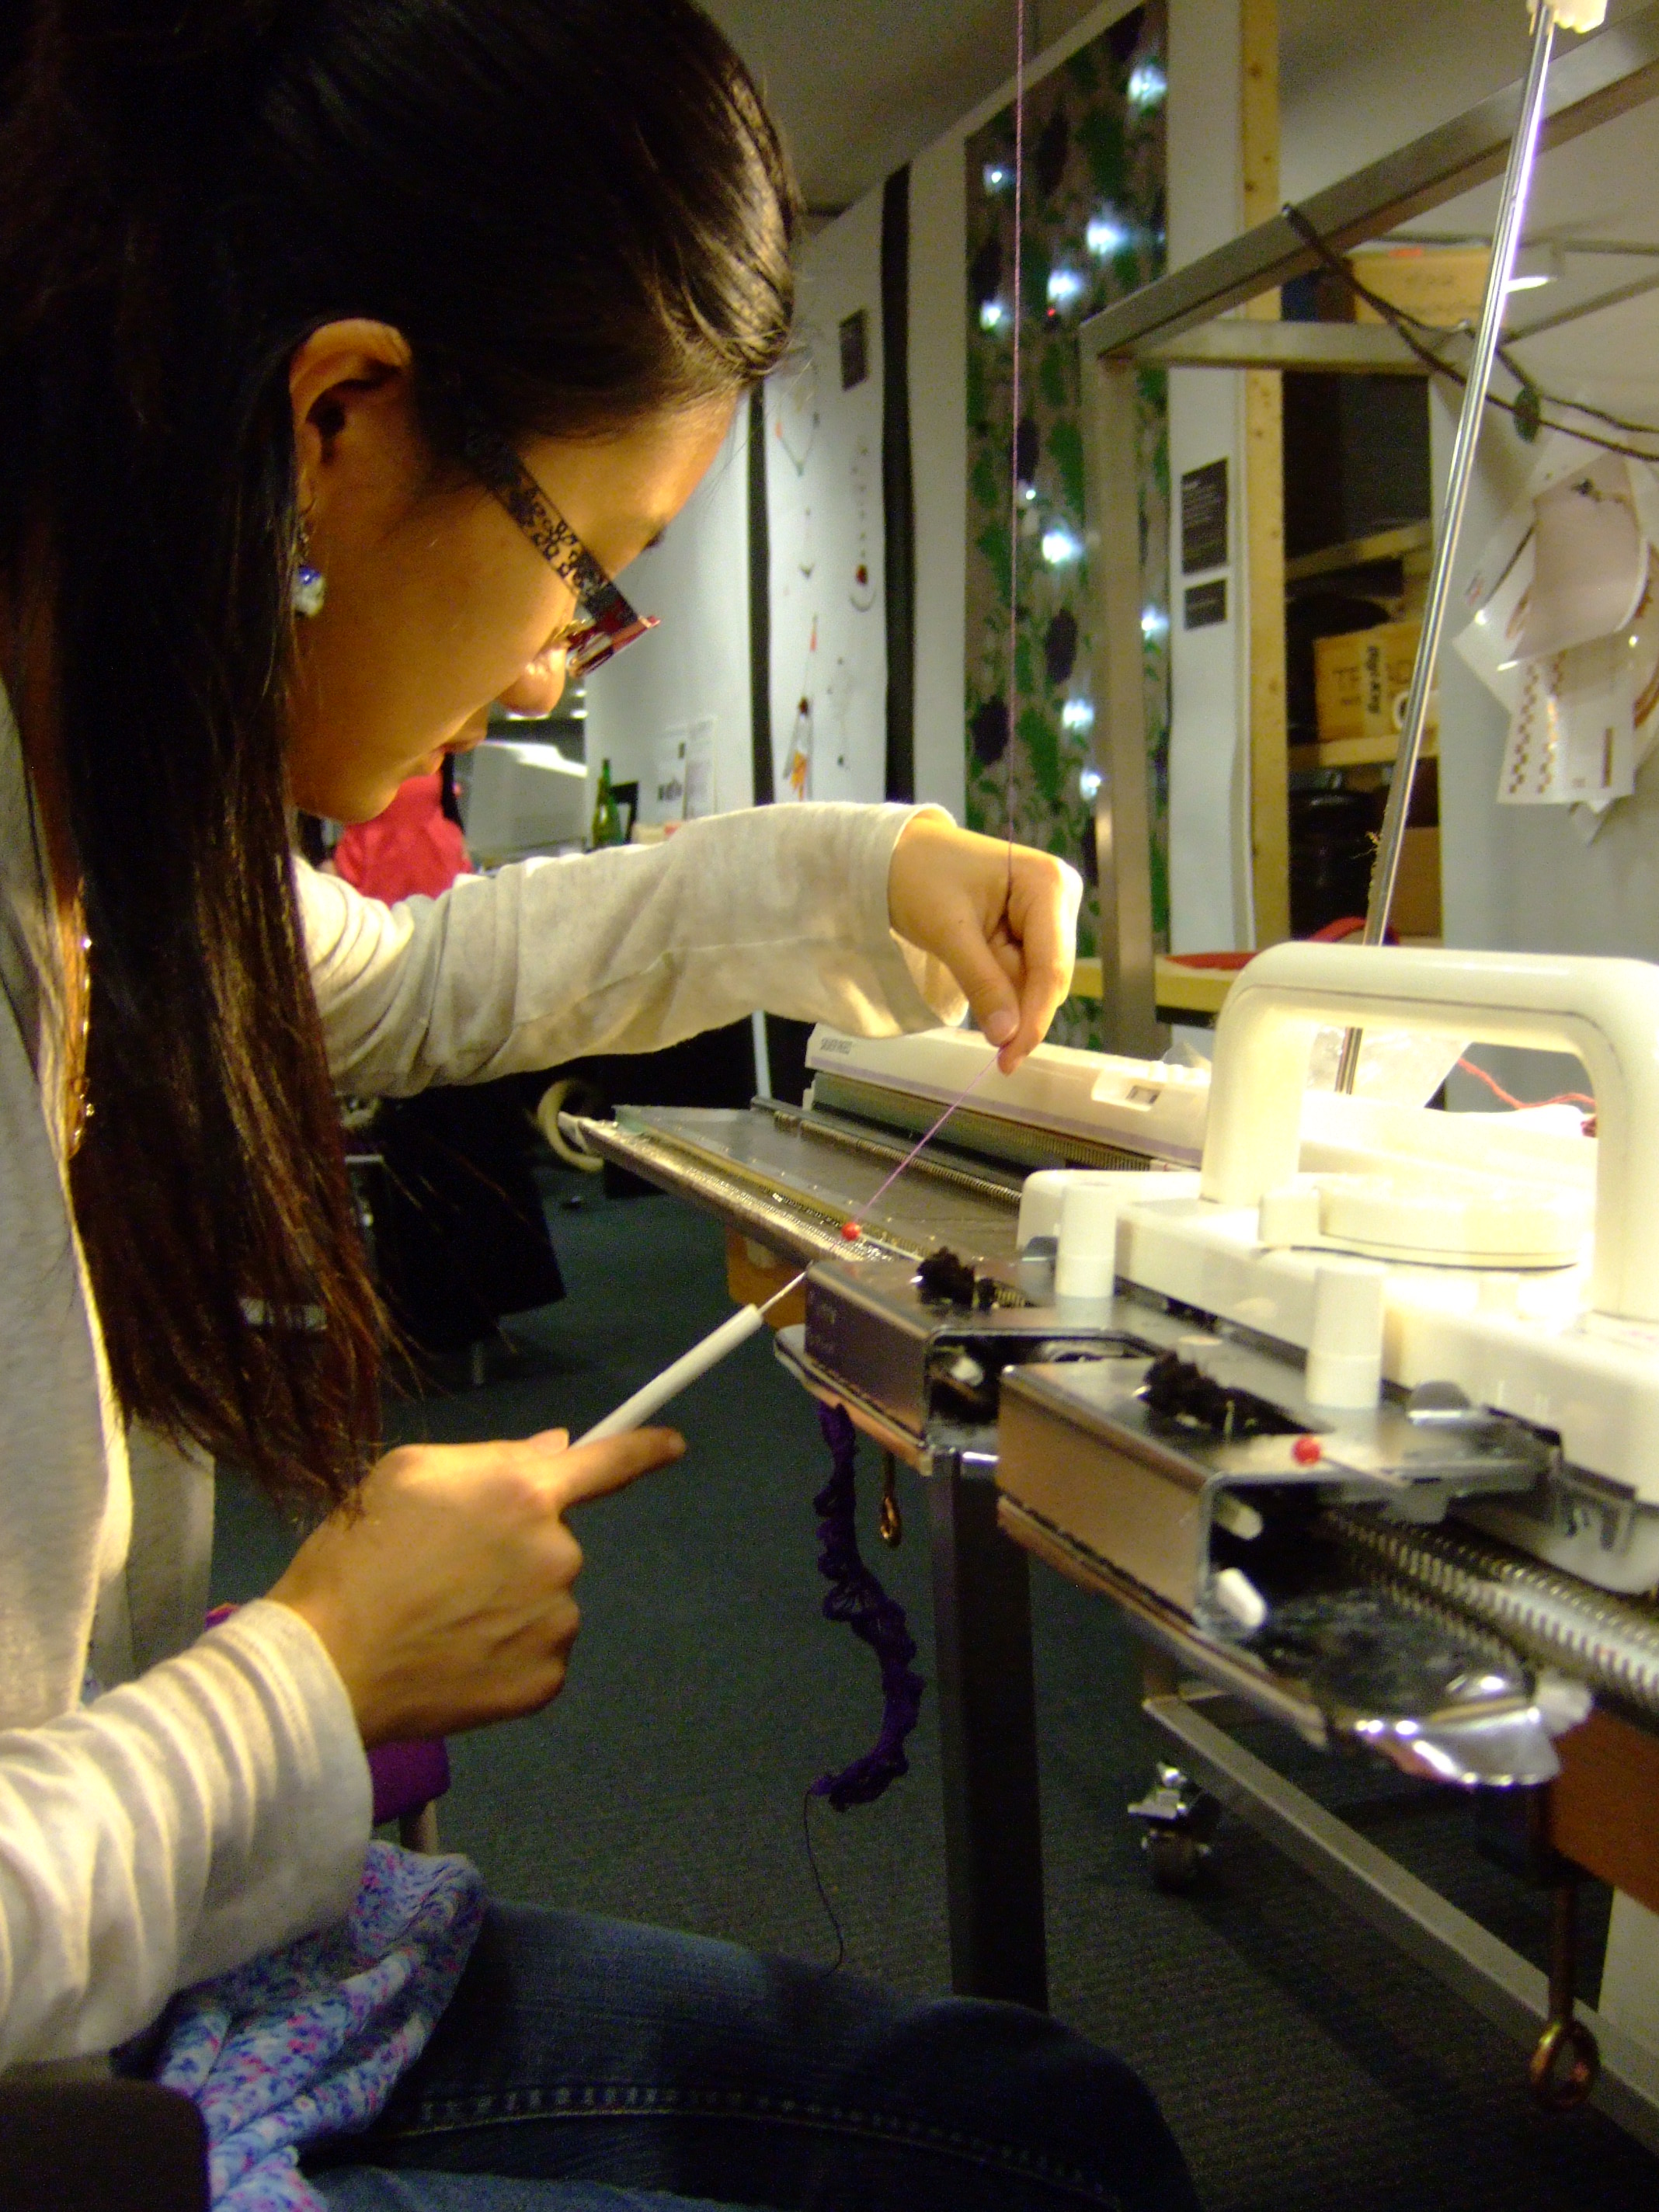
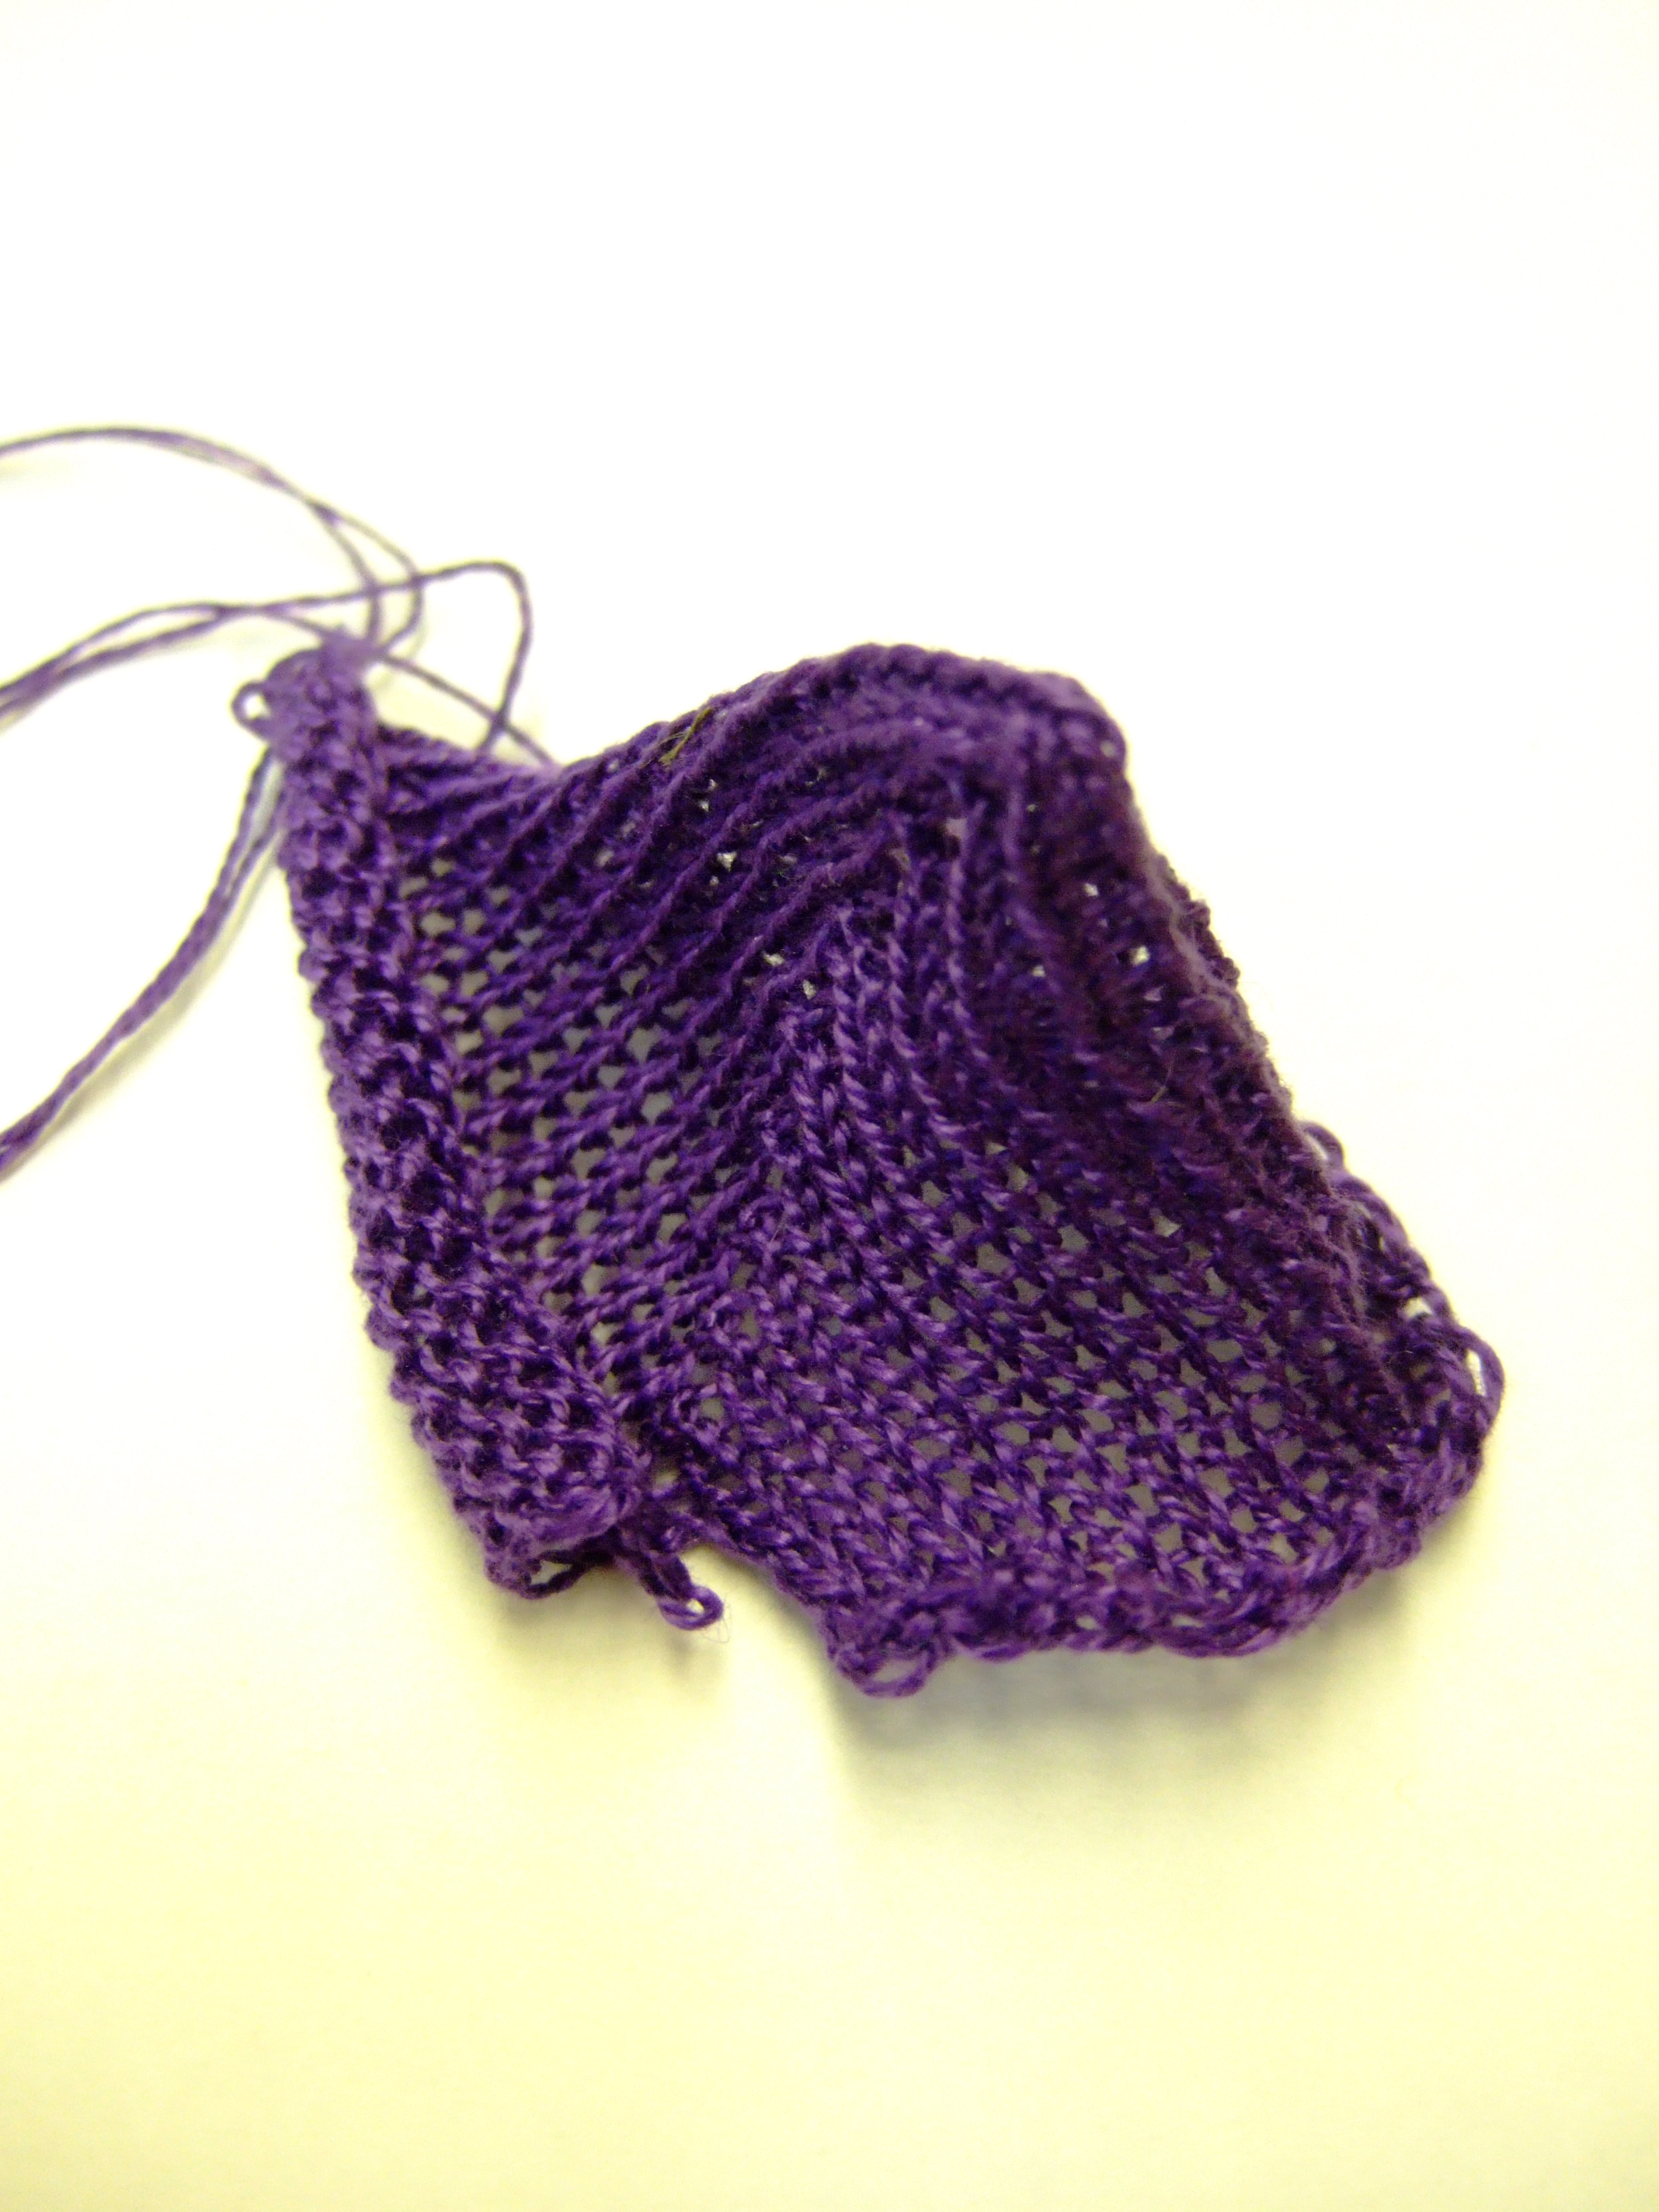
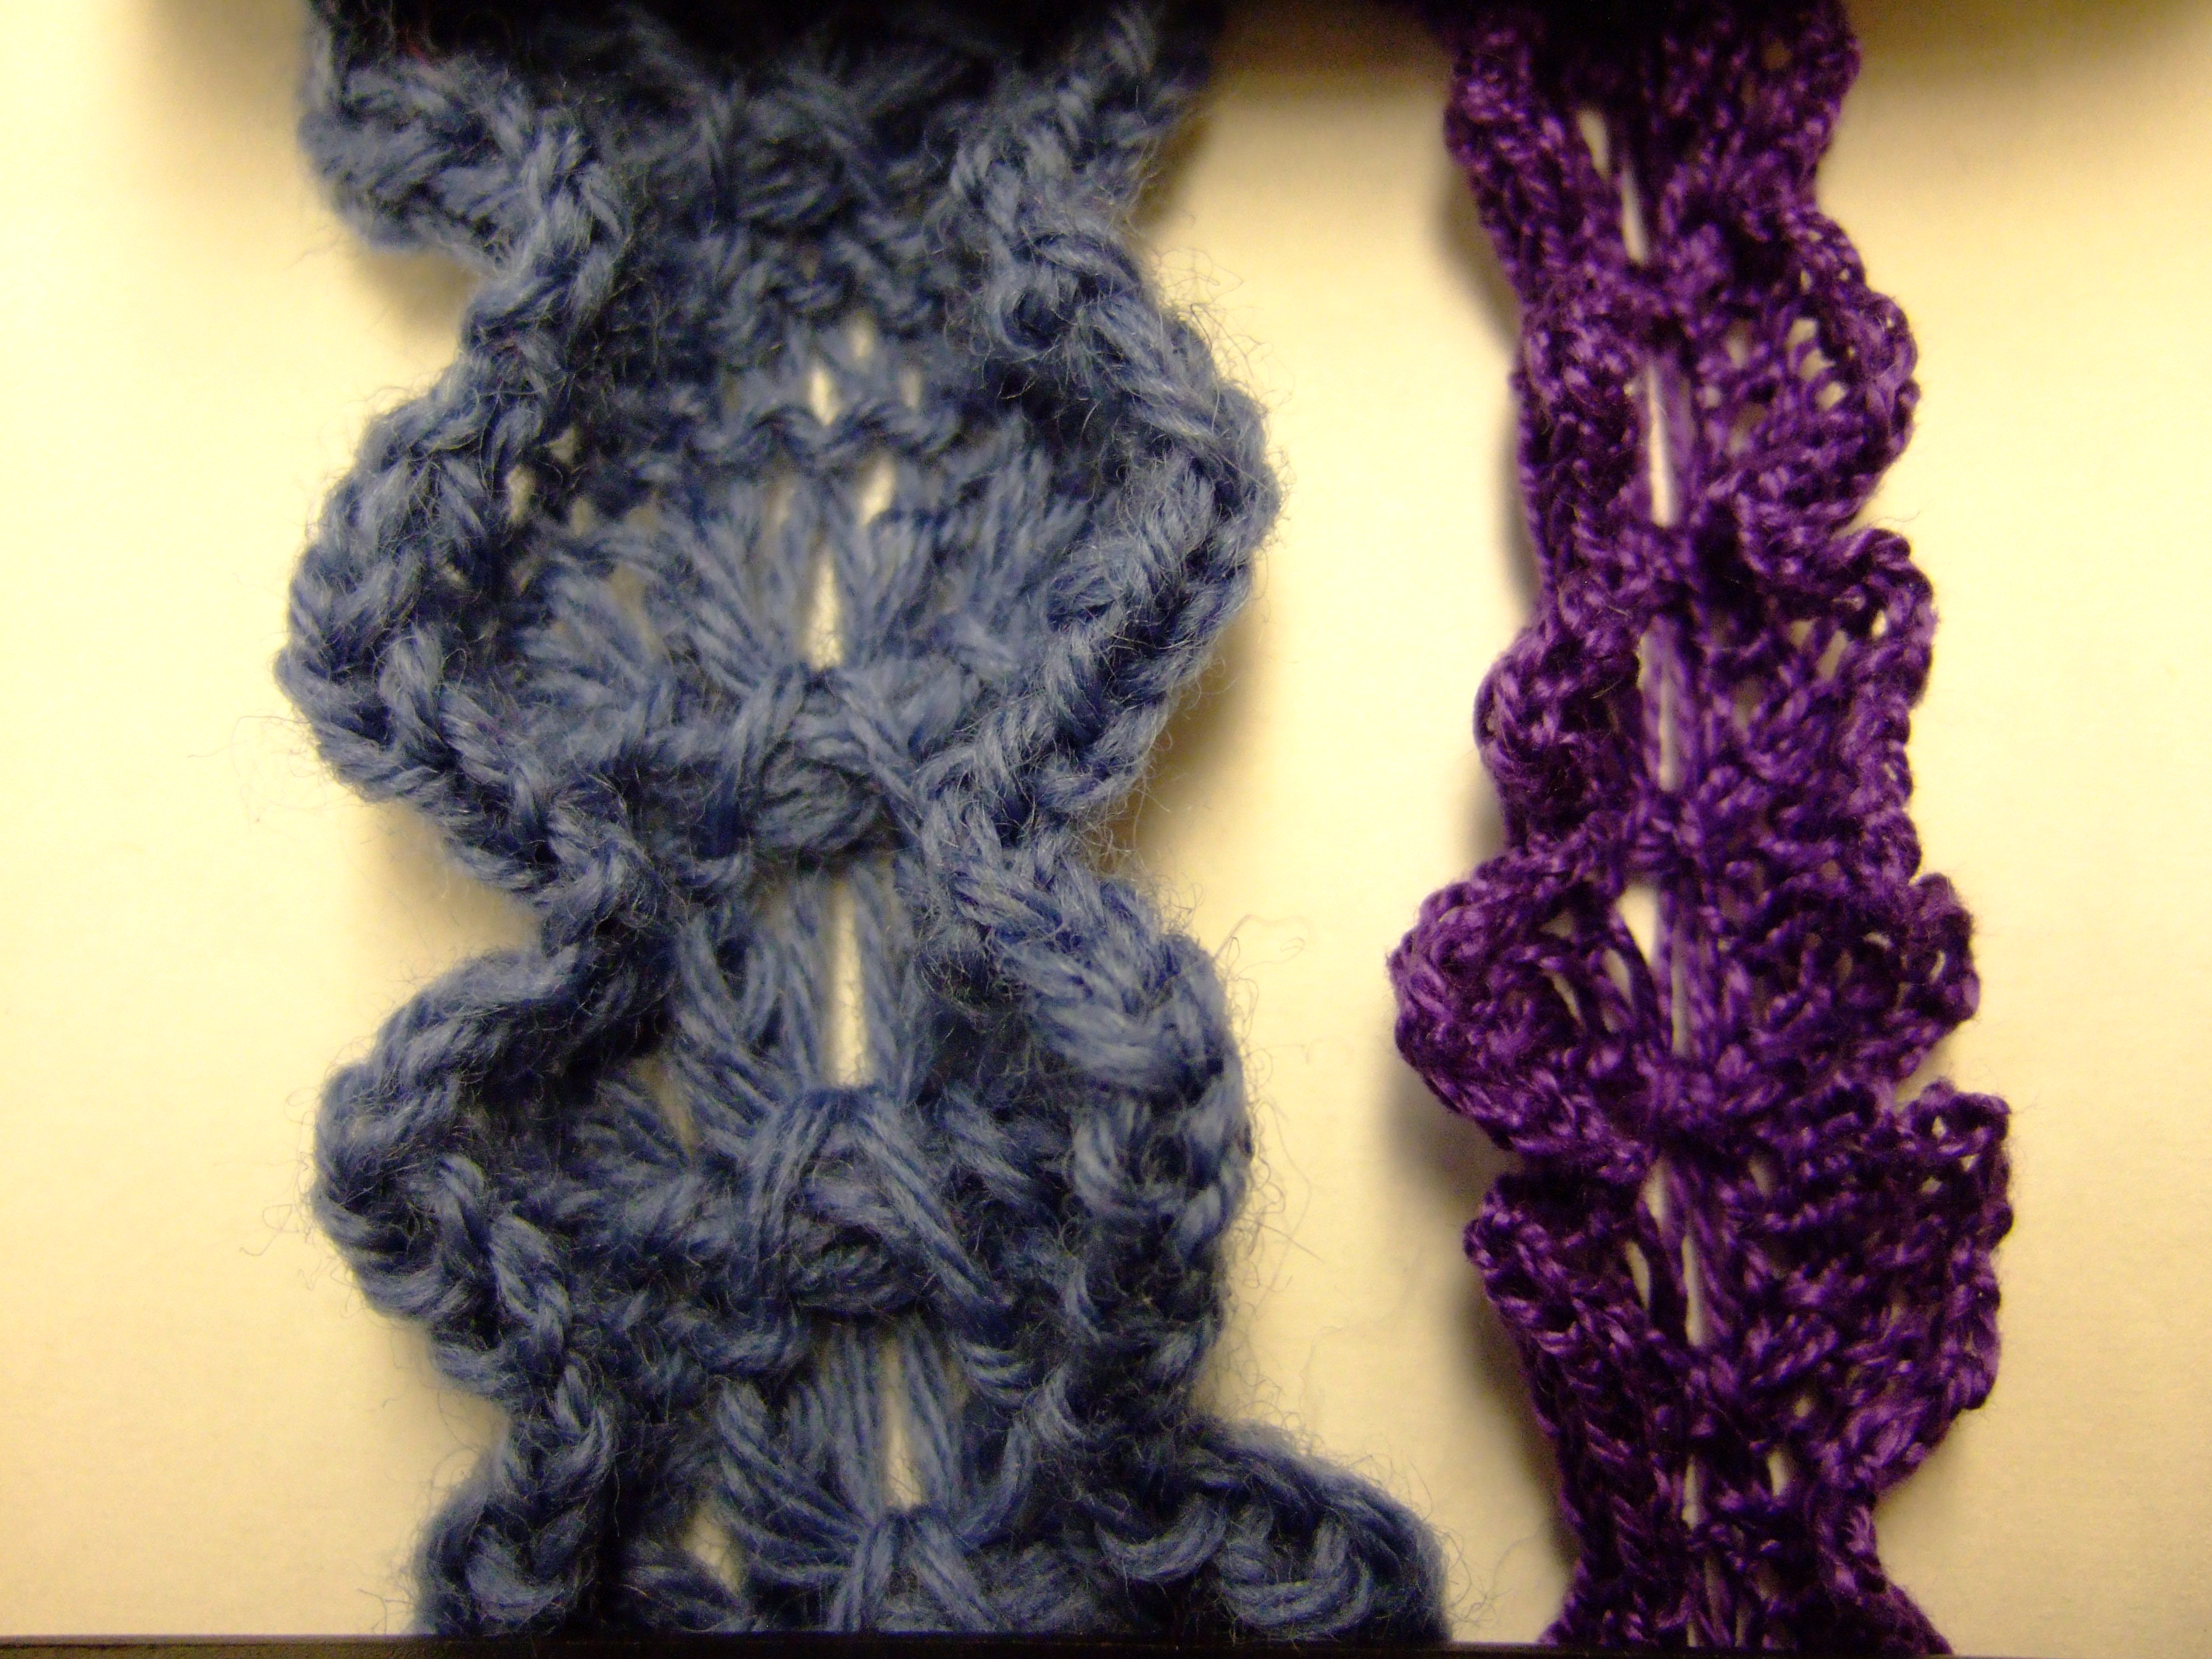
As I started with the fine-gauge knitting machine, starting was somewhat challenging, and I lost stitches several times and could not “save” my work as the stitches were too small. Casting off was also a struggle, and it took me 3 tries to get it right. After getting the hang of using the knitting machine, the rest went quite smoothly. When creating the second pattern, I discovered that there are nuances to the knitting process, like how putting needles on hold closer to the carriage has a different effect from putting needles on hold further from the carriage. The order of taking needles in and out of hold changes the resulting pattern. The amount of tension on the stitches also changes the end result. Furthermore, the process of putting my plans and ideas into knitted reality posed a difficulty, as translating the pattern from paper to knit did not quite produce what I intended. I experimented with several ideas (shown in the gallery) before finally settling on the ribbon pattern. Finally, for some yet unknown reason, the ribbon I produced on the fine-gauge knitting machine had some irregularities on the right of the pattern, which did not go away when the hold order of the needles was reversed. This did not occur in the mid-gauge machine, and even after talking to Leah, I could not fix it. Perhaps this is due to a tensioning problem on the fine-gauge machine.
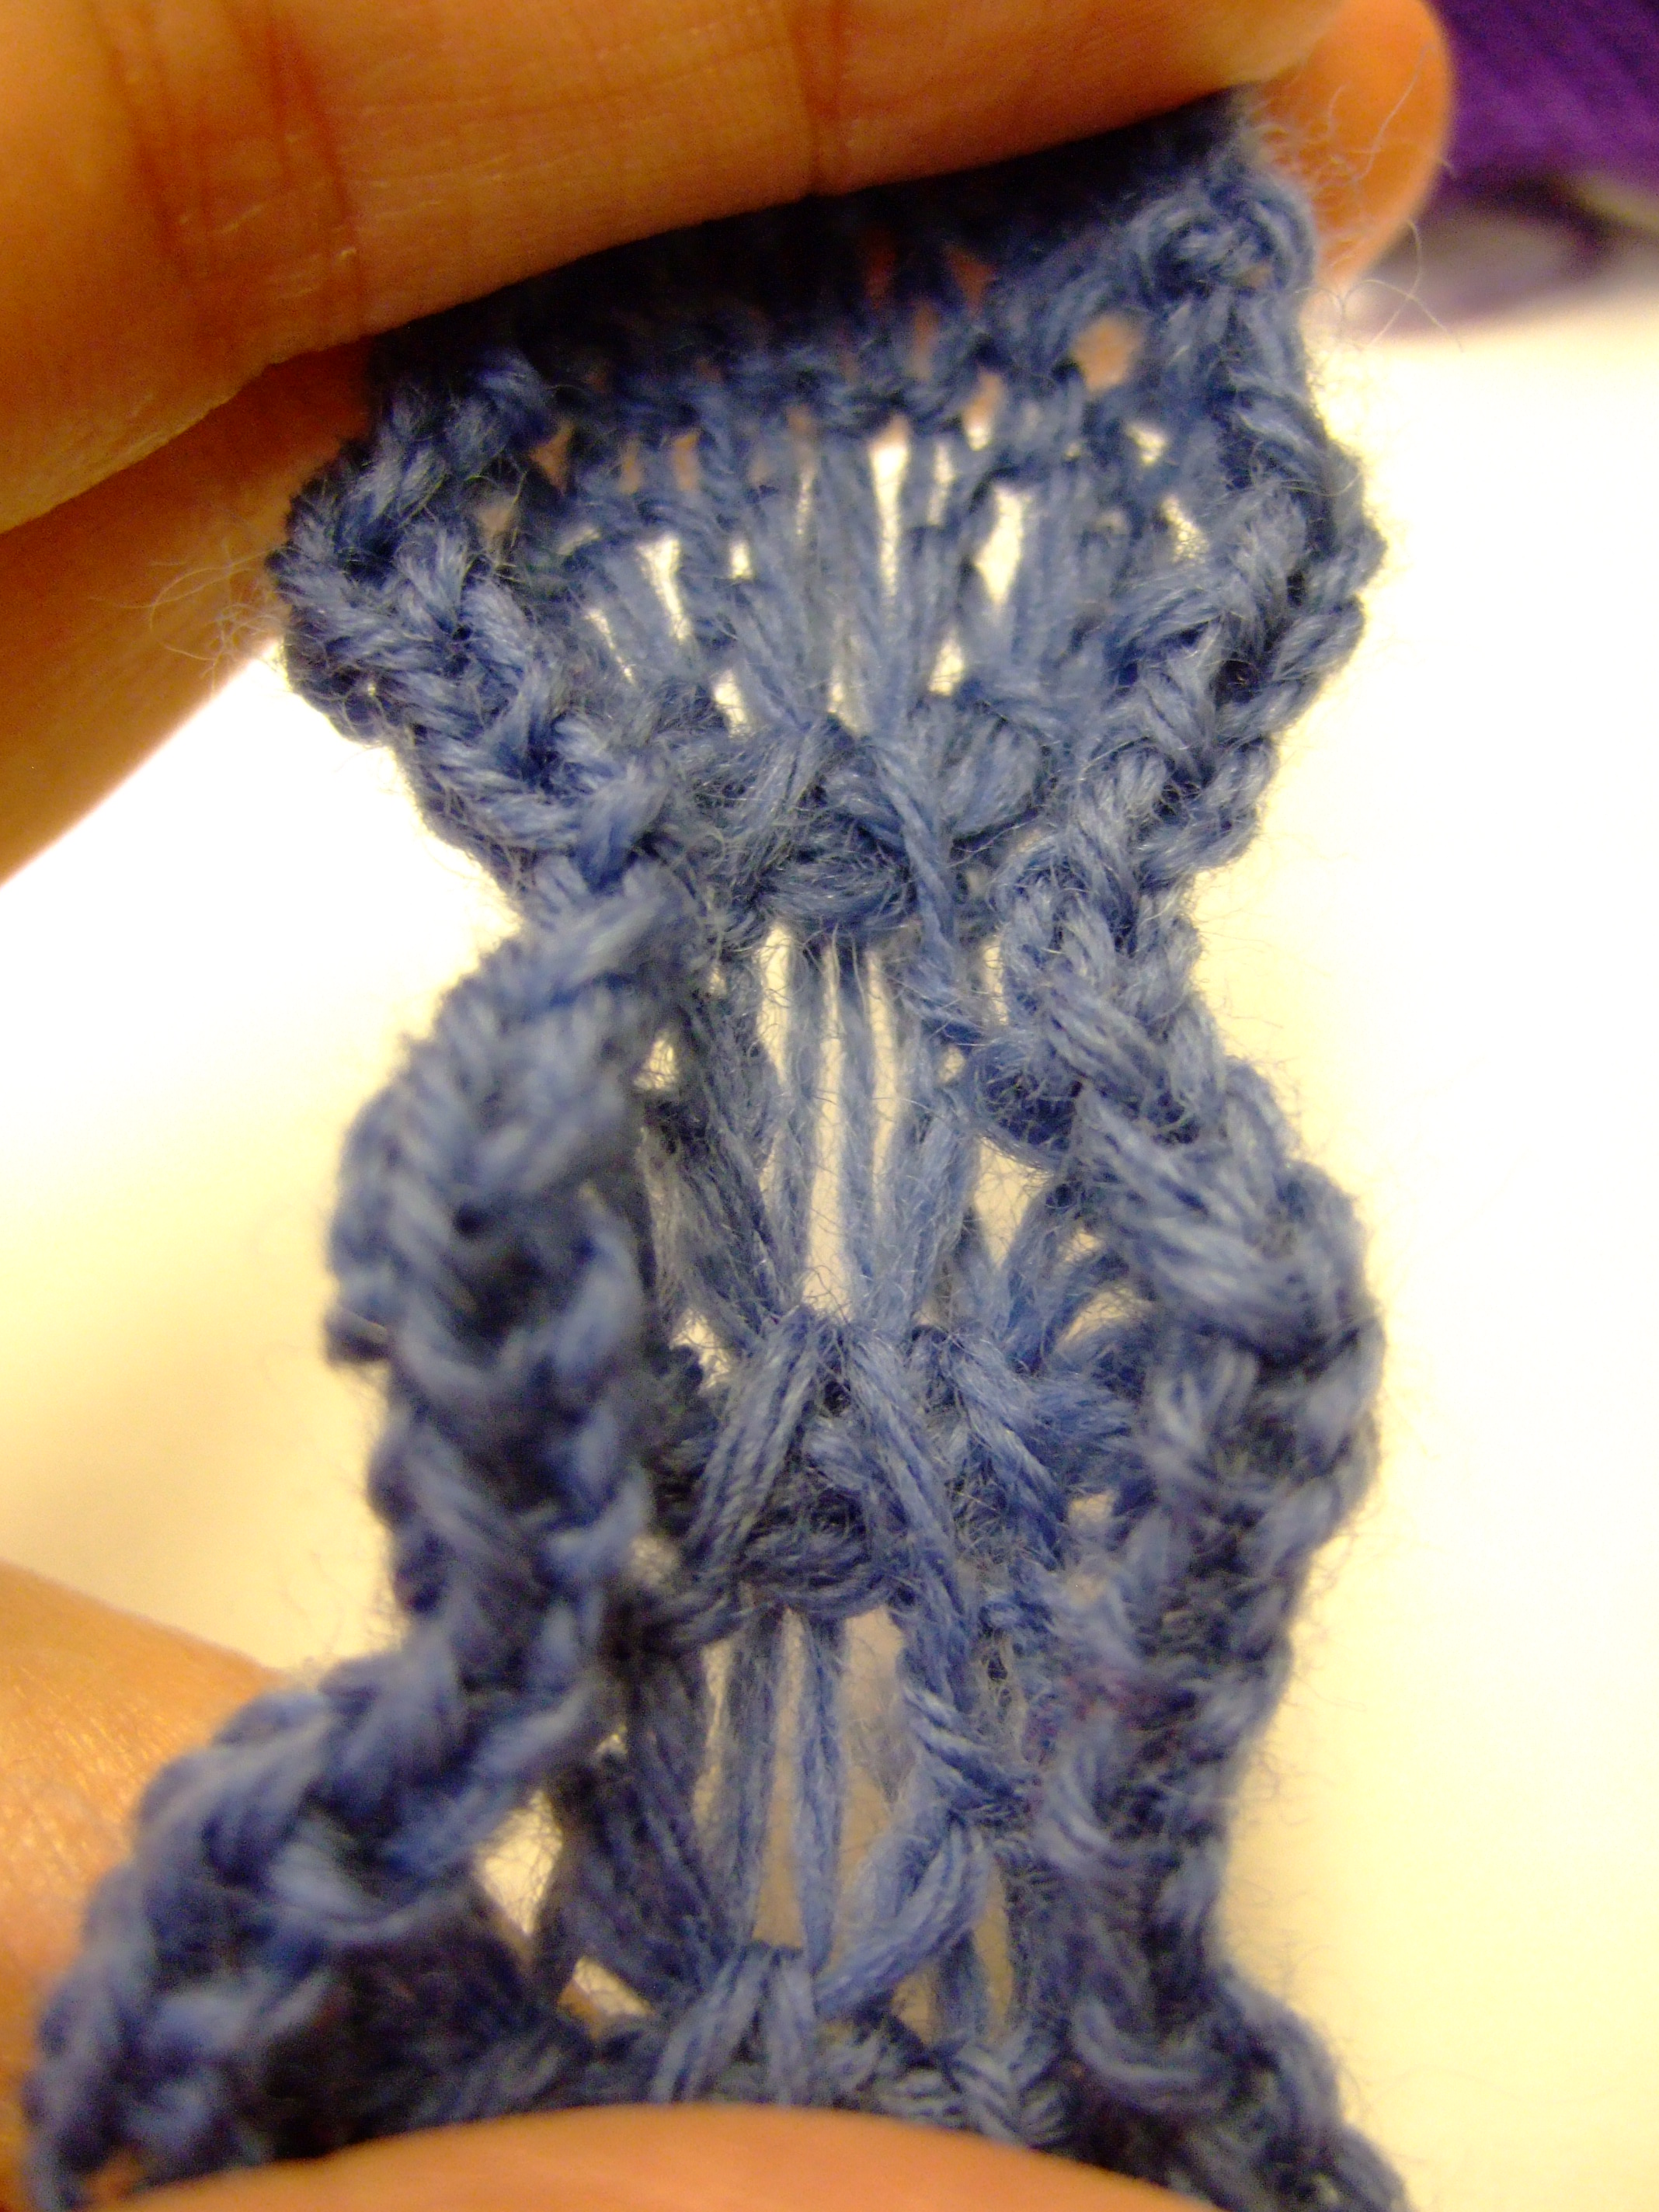
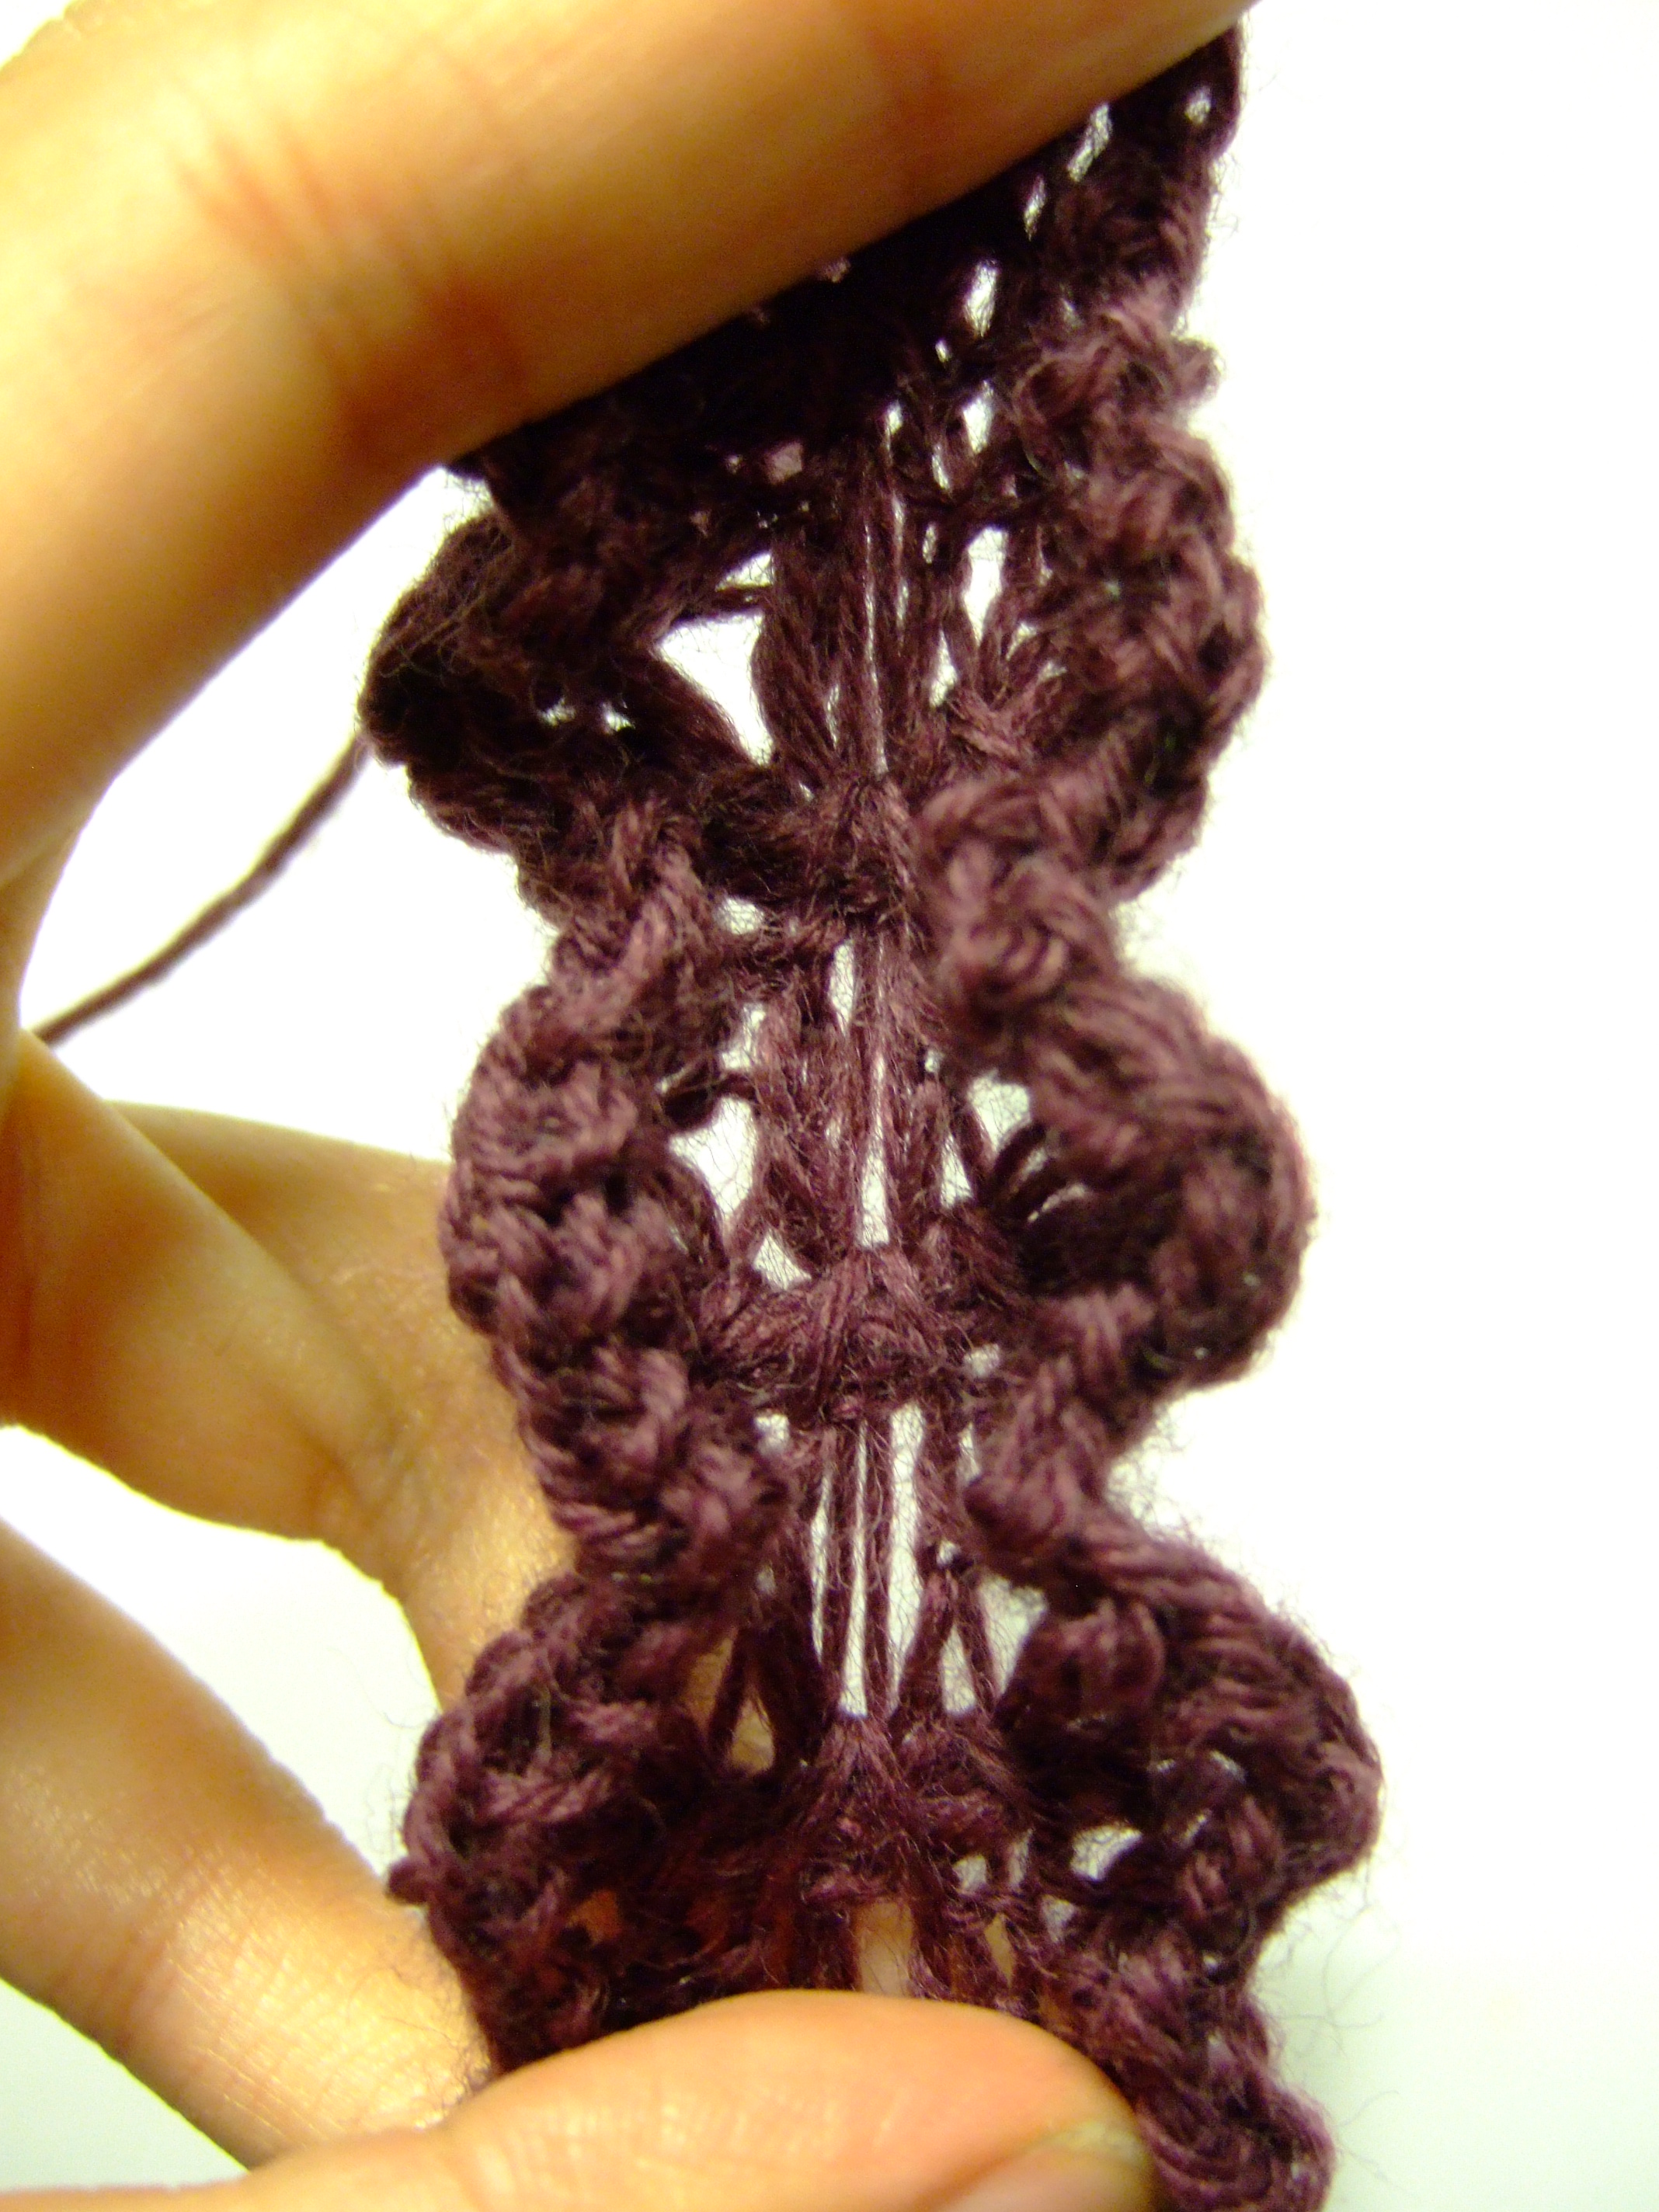
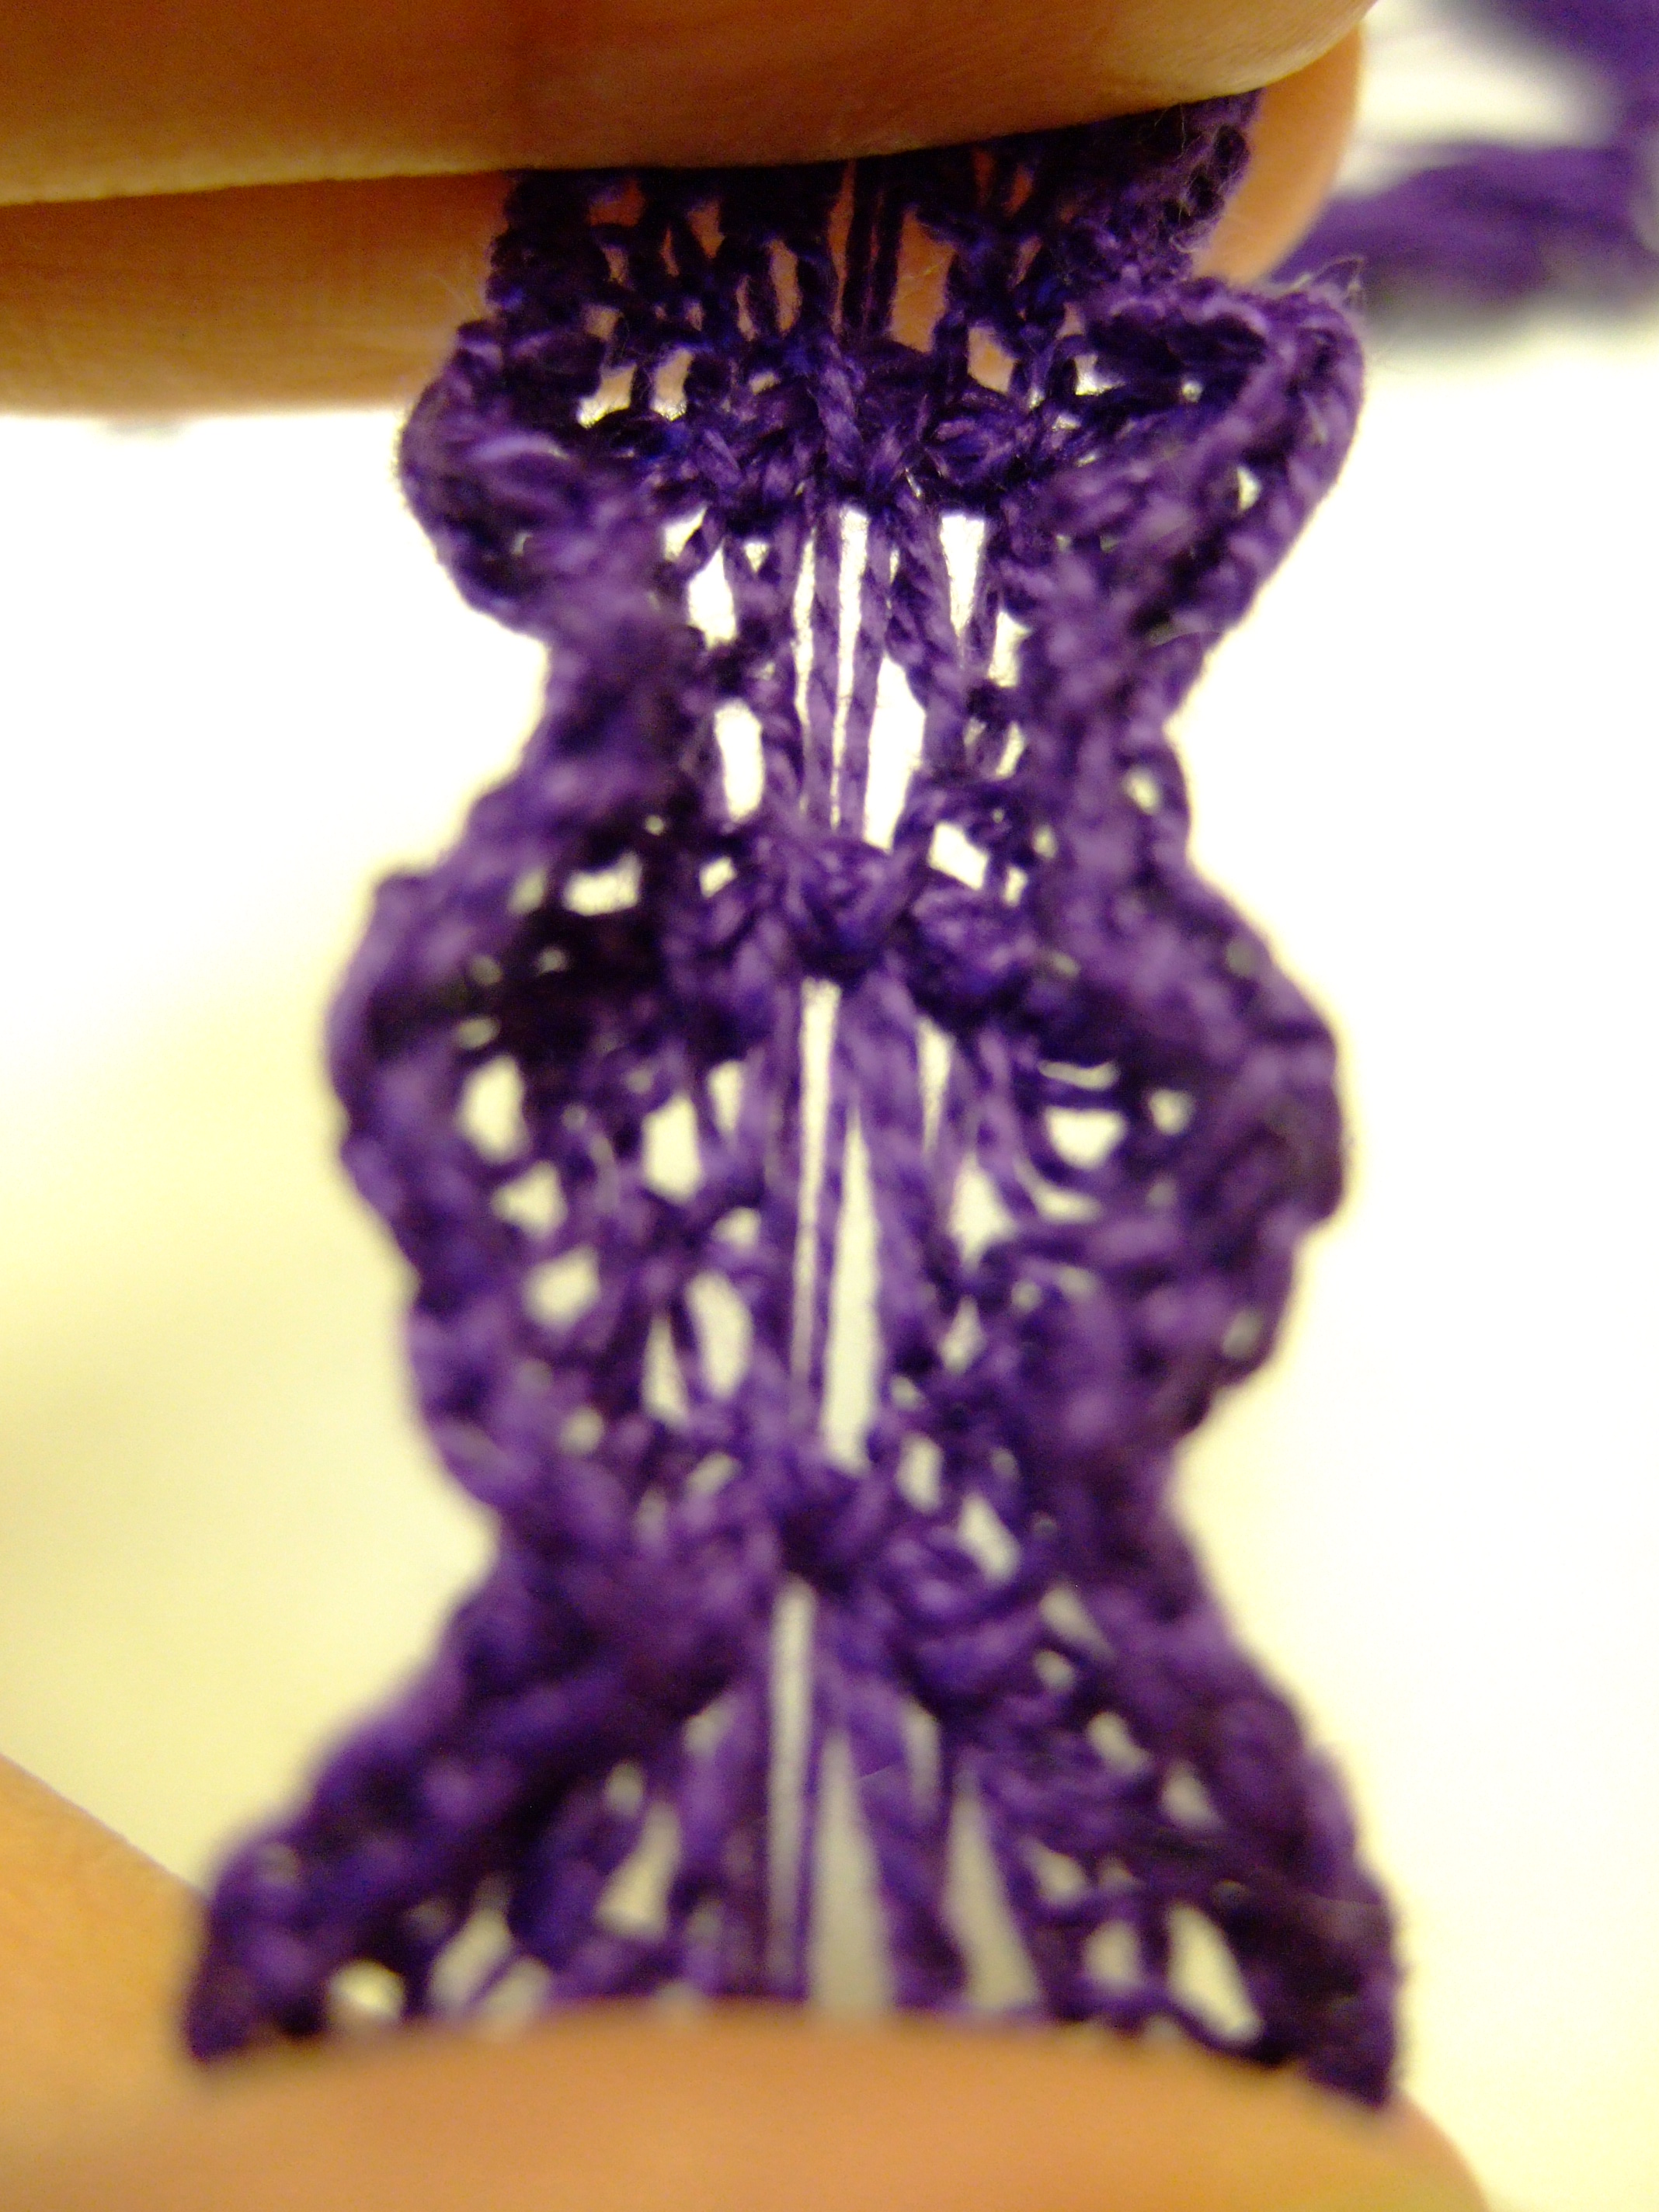
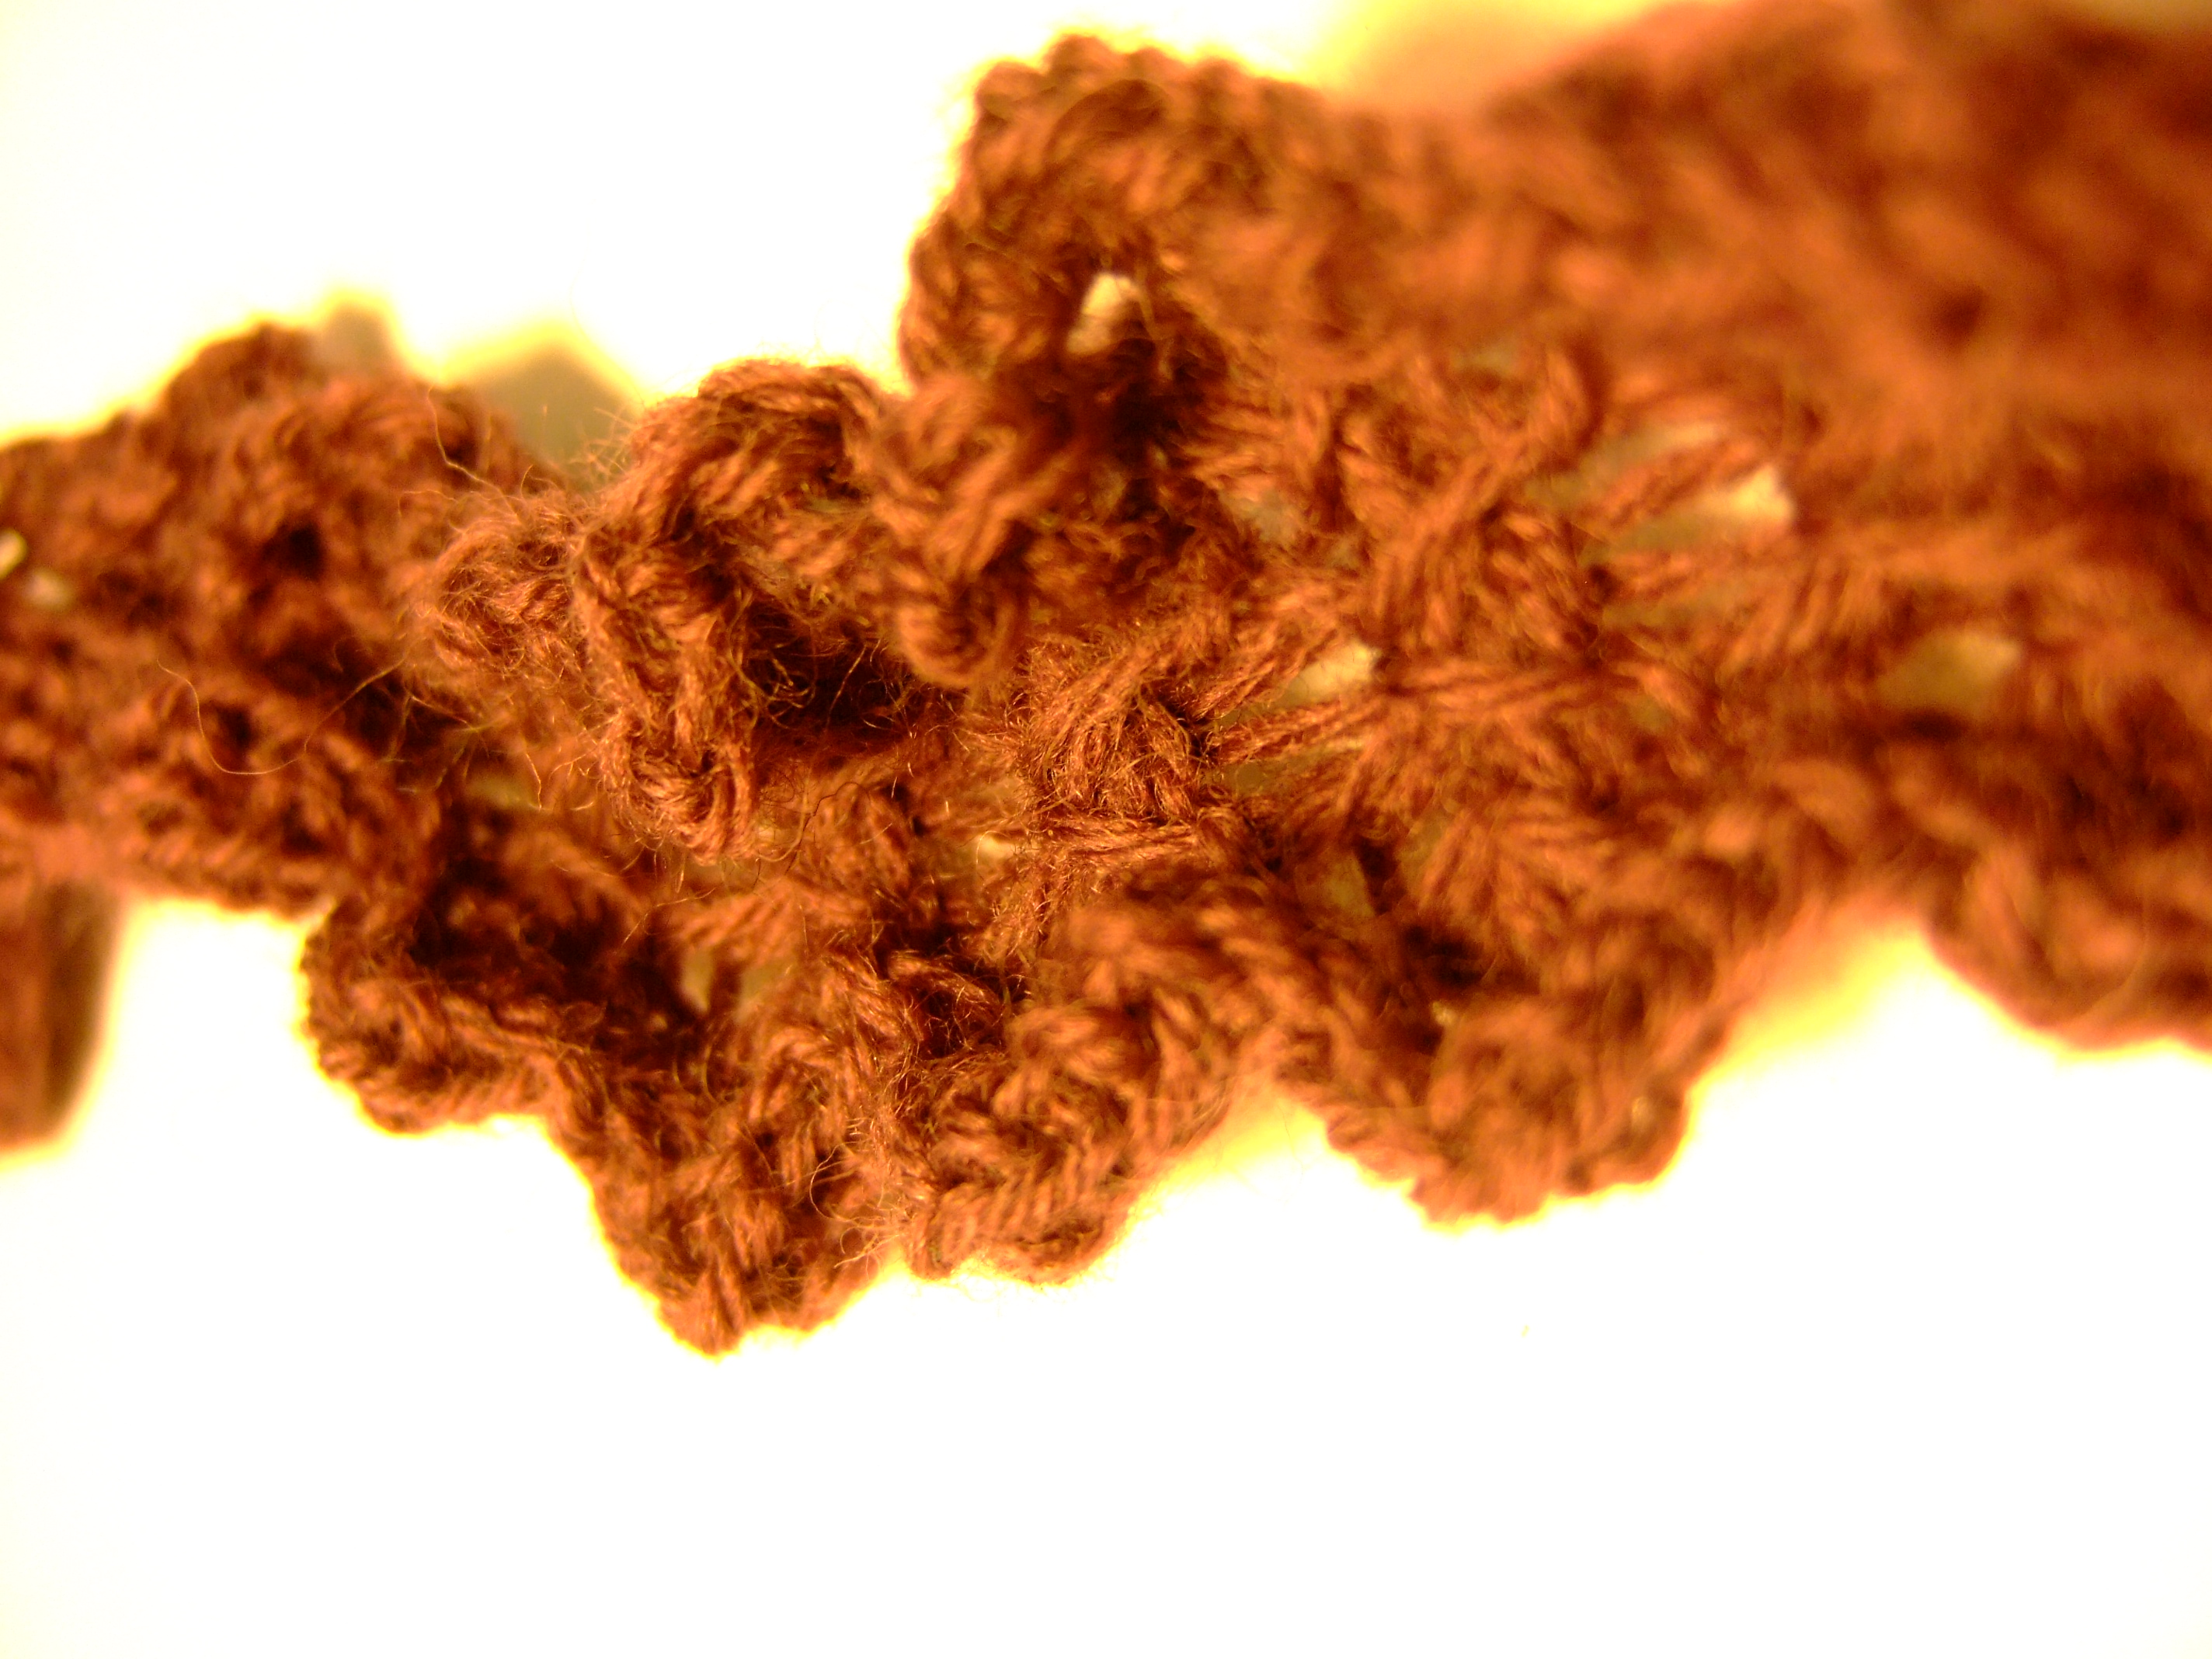
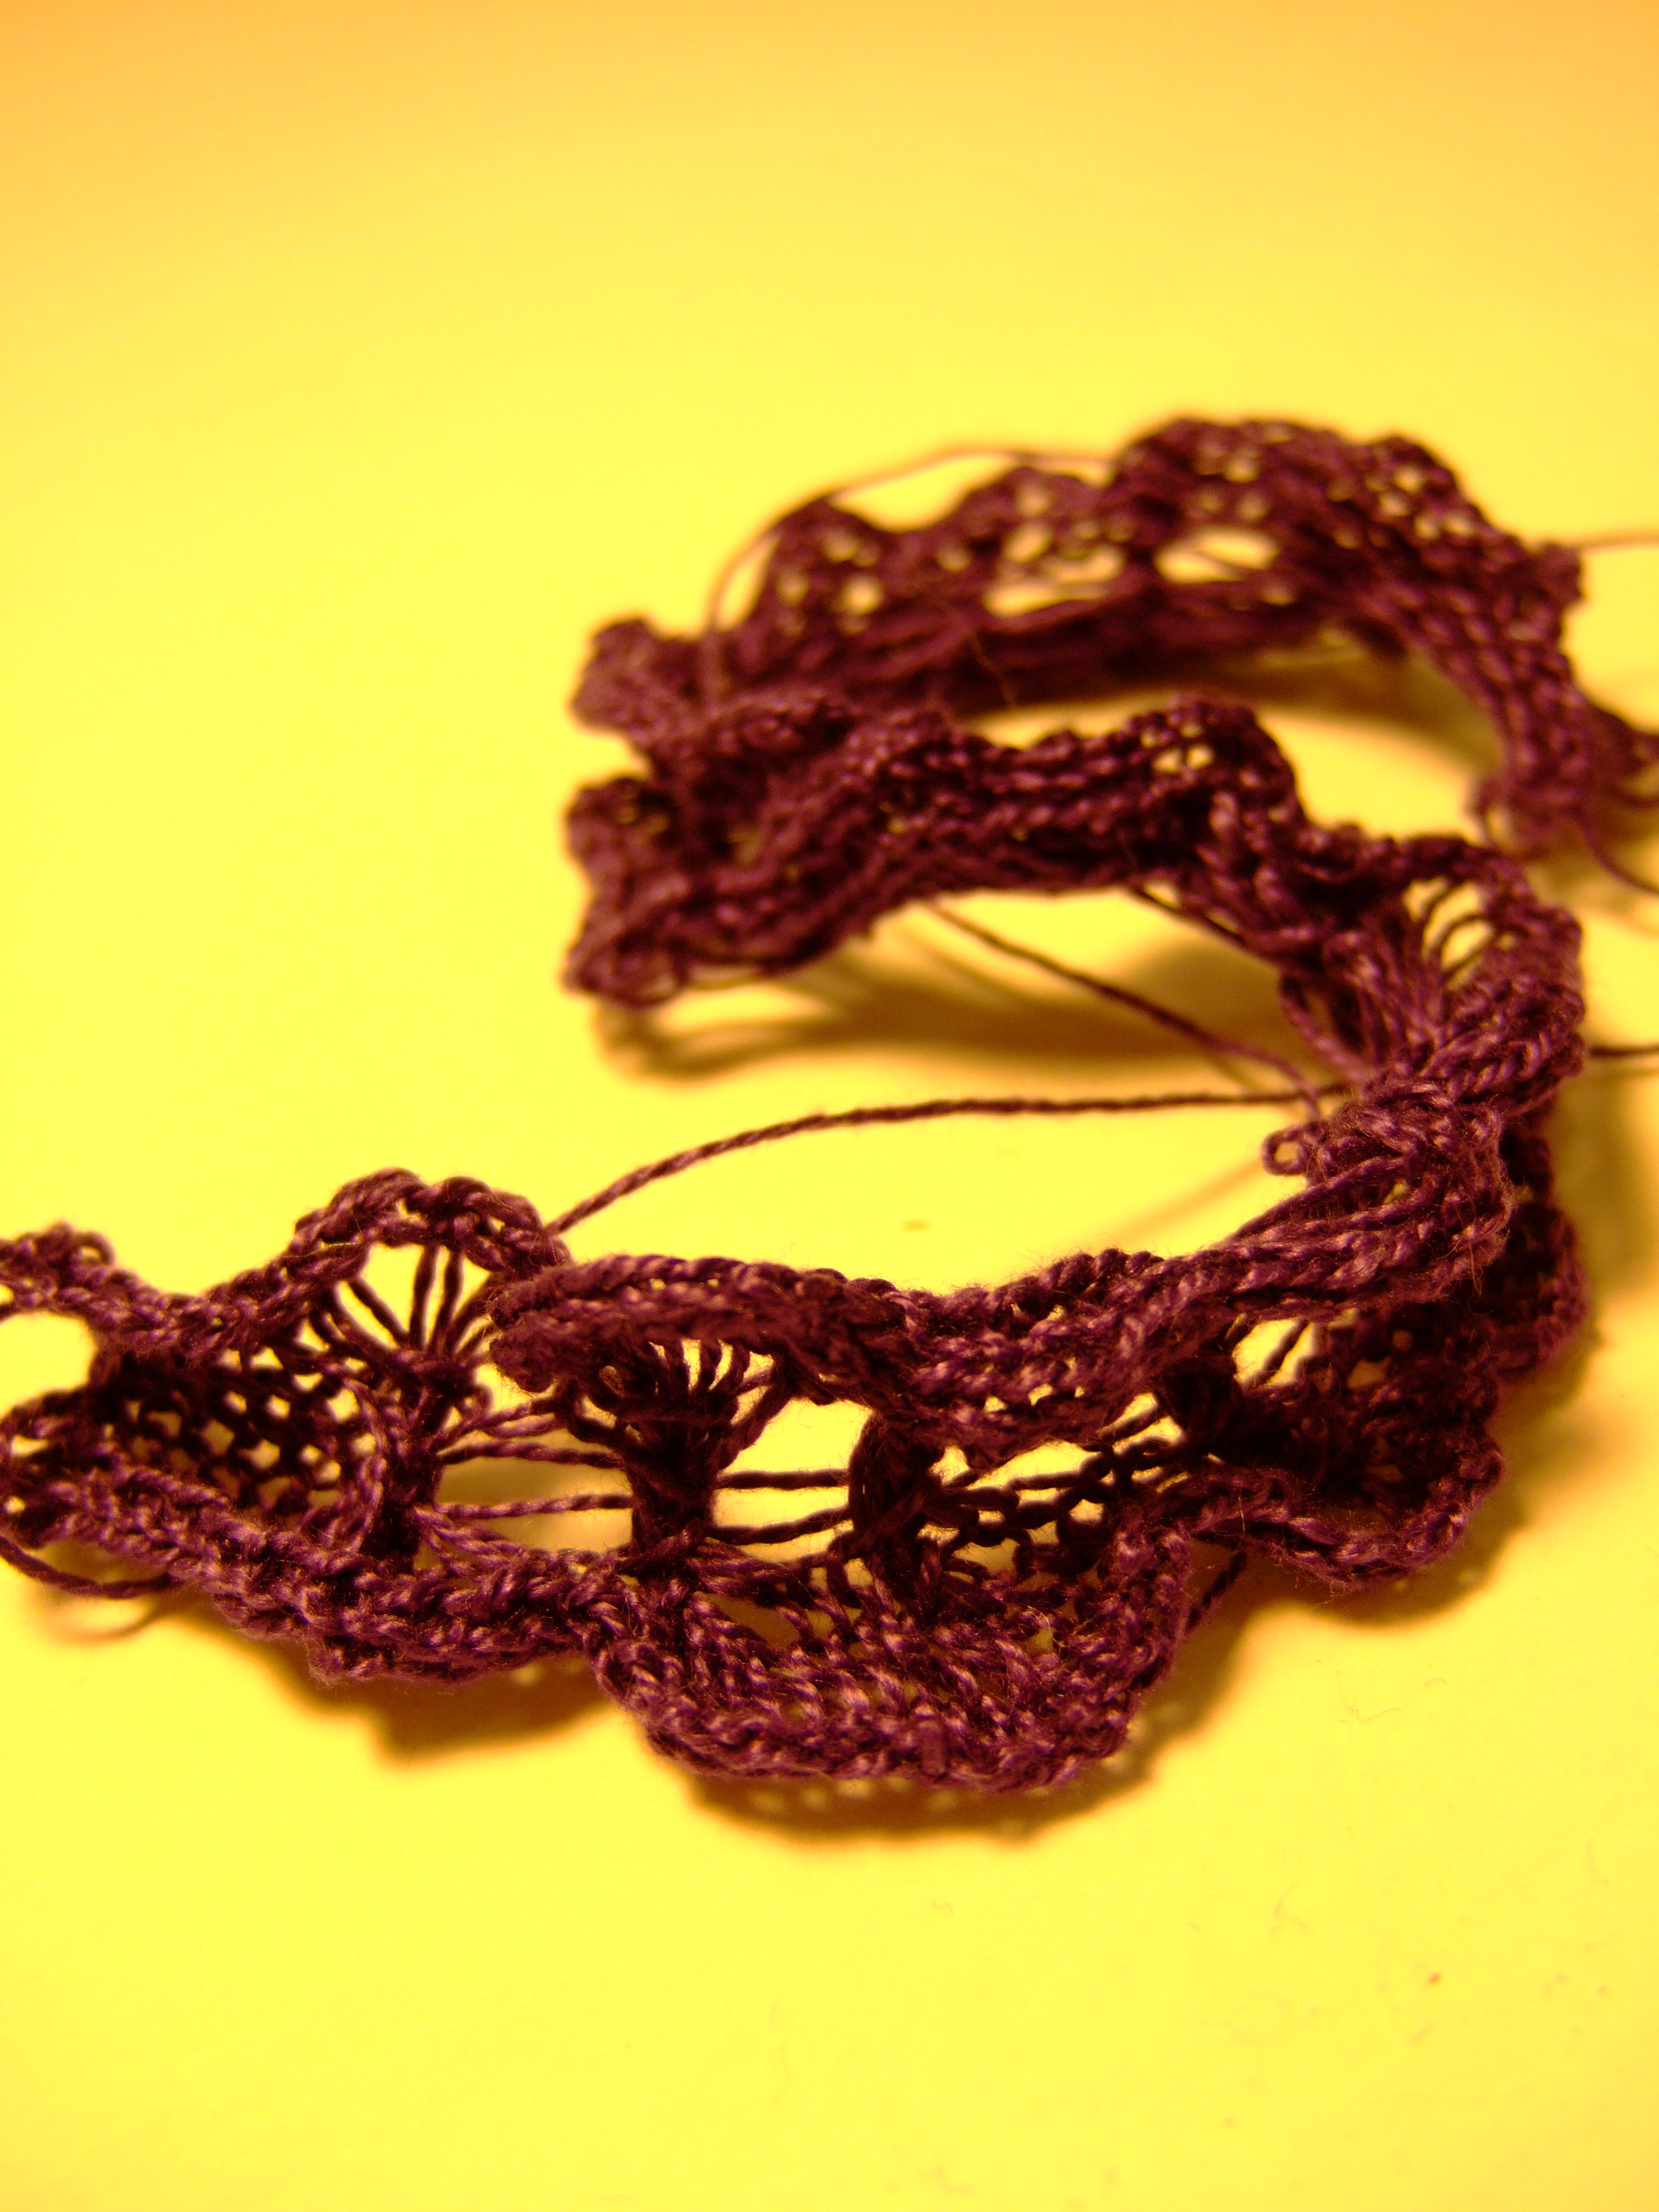
My pattern is interesting because I make use of the gathering of threads in the center to produce a “bump” in the ribbon, which is accompanied by excess knit on the edges which curl up to produce a wavy 3d outline. The “bumps” are alternated with spaces in between, which gives the ribbon its distinctive look.
Gallery:
Pattern:
Cast on 9 needles. Knit 6 rows. Carriage should be on right side. Make sure Russel levers are in position I.
Start of repeating ribbon pattern:
Bring center needle (needle 5 from left) into hold position. Knit one row.
Bring needle 4 into hold position. Knit one row.
Bring needle 6 into hold position. Knit one row.
Bring needle 3 into hold position. Knit one row.
Bring needle 7 into hold position. Knit one row. (By this point, 5 needles (needles 3-7 from left) should be in hold. Carriage should be on the left side.
Begin taking needles out hold by pushing the following needles into B position.
Bring needle 3 out of hold. Knit one row.
Bring needle 7 out of hold. Knit one row.
Bring needle 4 out of hold. Knit one row.
Bring needle 6 out of hold. Knit one row.
Bring needle 5 out of hold. Knit one row. Carriage should be on the right side.
Repeat ribbon pattern until desired length of ribbon is obtained.
To end: Knit 6 rows. Cast off.
