Topology knit and knitting machine woes
by KristyKat
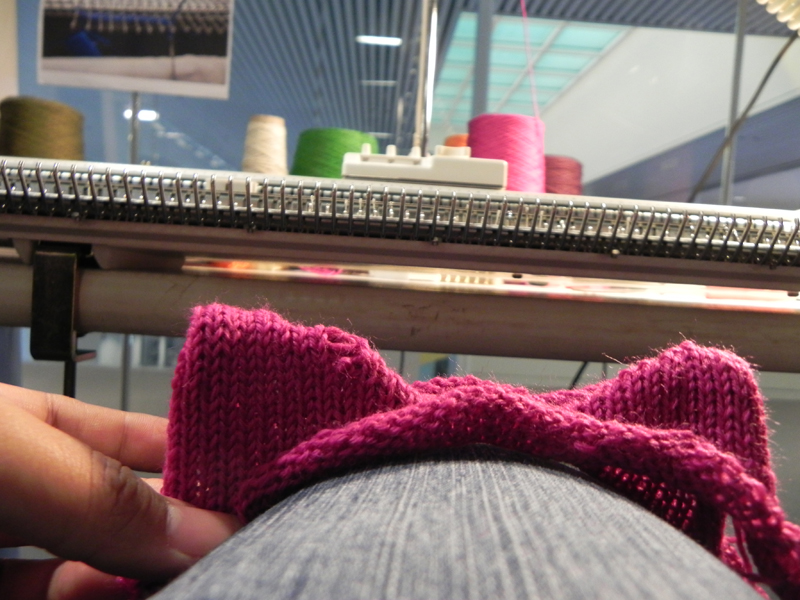
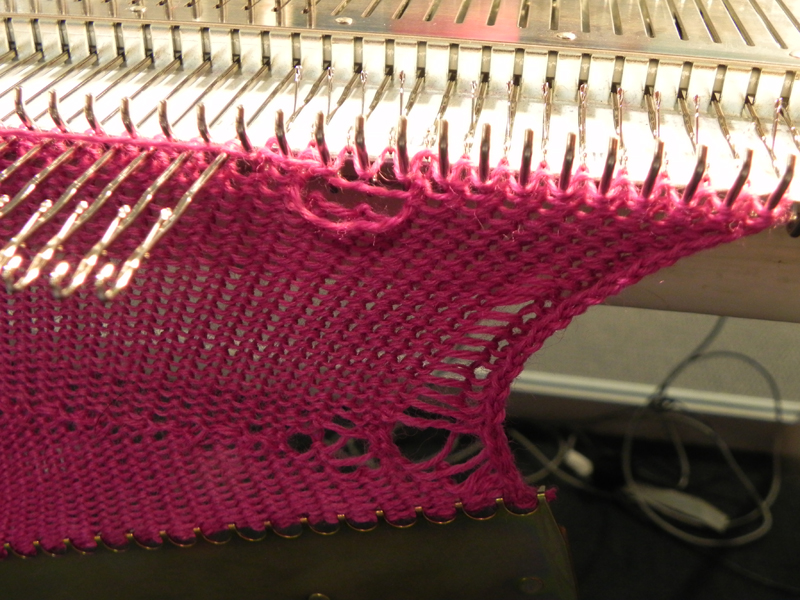
So, I encountered alot of agony (i.e. dropped knits) while working with the knitting machine. Part I took a few tries on my part before I didn’t drop any stitches.
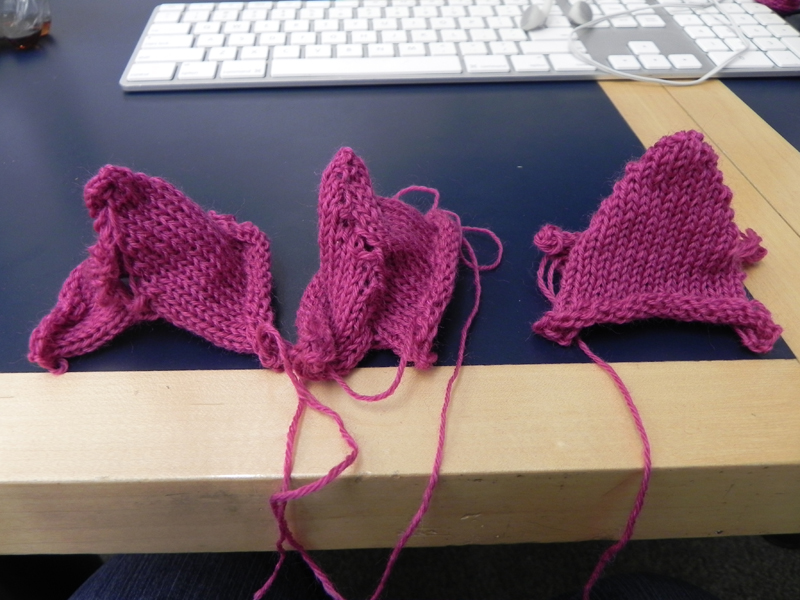
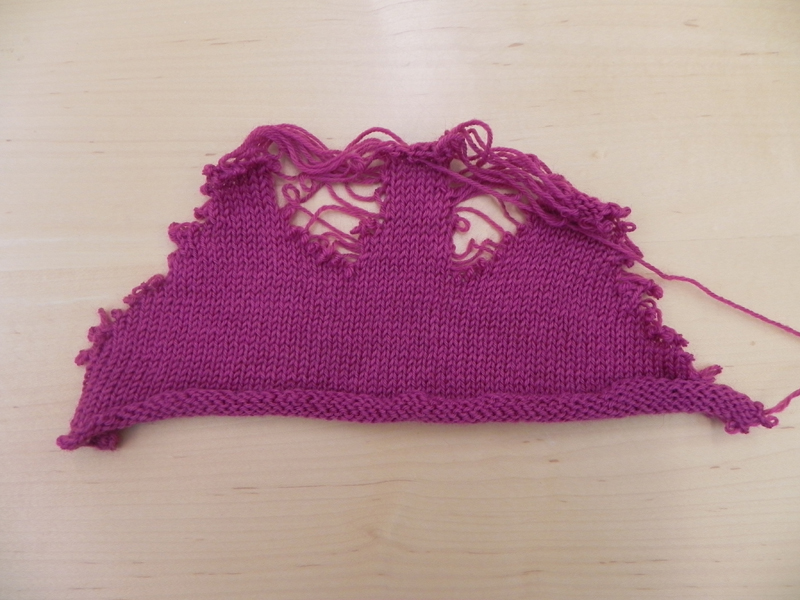
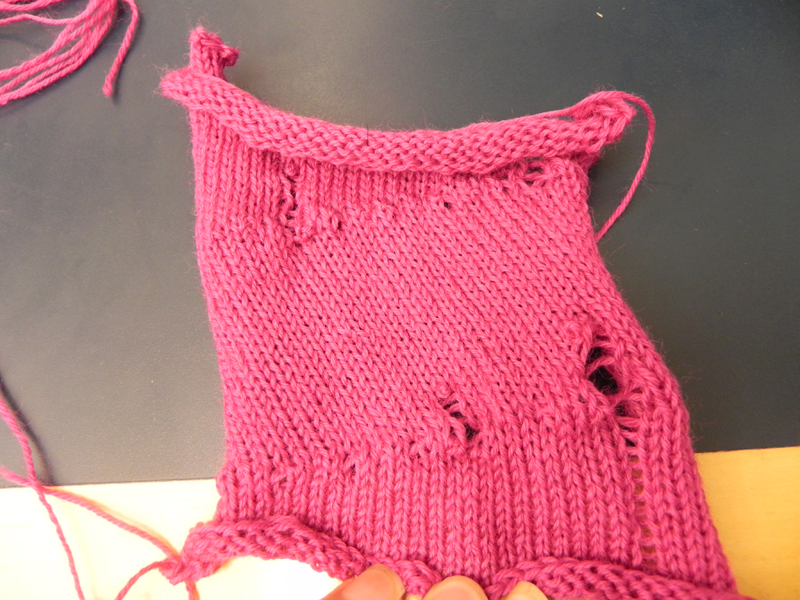
After completing the first part of the knitting assignment, I began working on part II and I decided to knit two peaks in the same row. My first try was somewhat successful as it produced the desired shape…but then I discovered a collection of string that had gathered on the purl side.
For some silly reason, I decided to continue a similar knitting venture except this time, the two peaks are separated…this did not work out either.
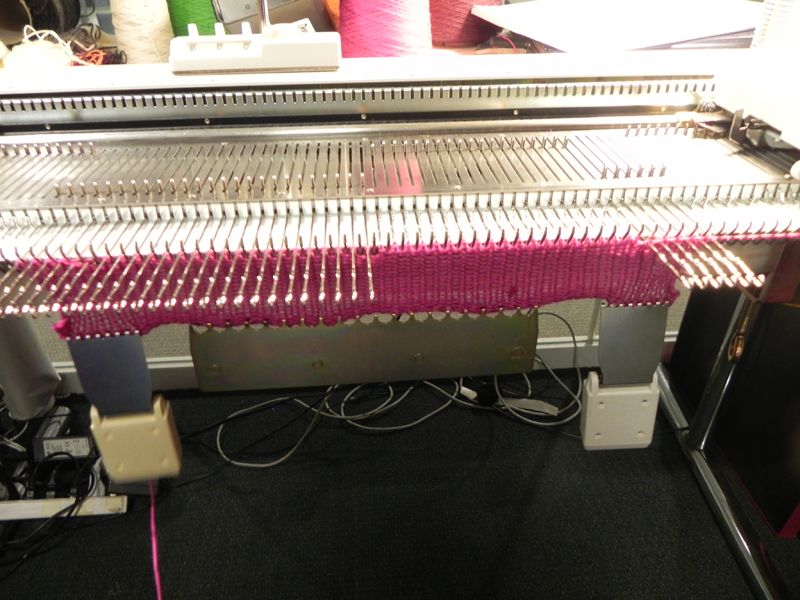
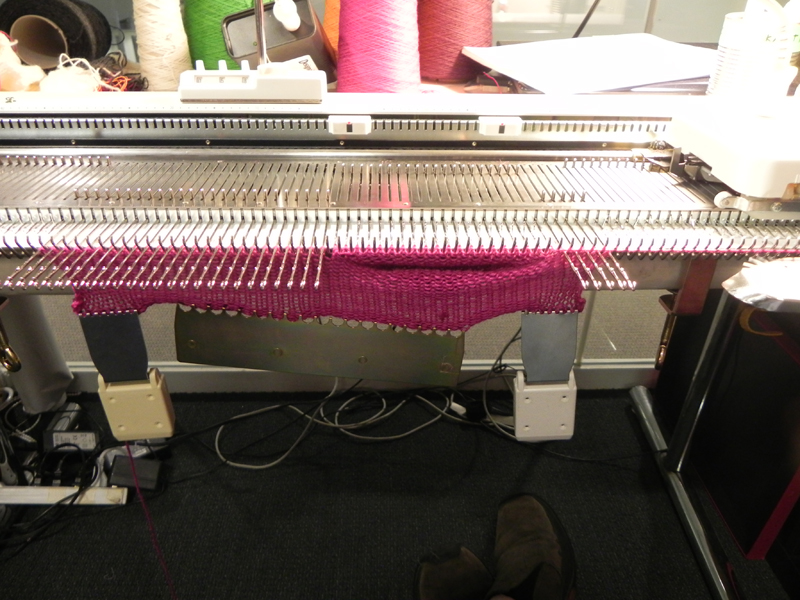
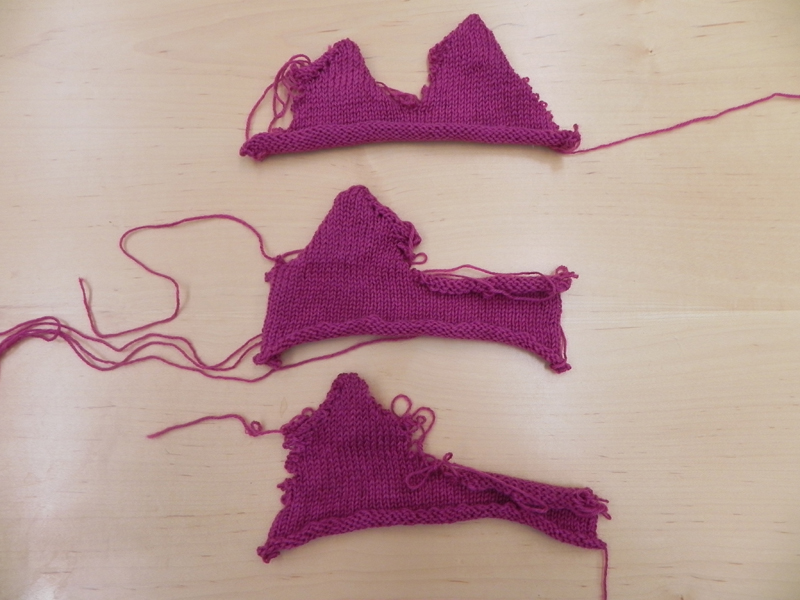
After speaking with Hannah, she said to knit the peaks separately. Aha! That makes sense, I thought. This, however, was the beginning of a long agonizing process. Time and time again, after completing one peak, the stitches for the next peak dropped! Frustrated (and tenacious), I began working on scrap segments in attempt to figure out what was going on.
So, then I decided, just do something simple. So, I tried a method similar to what was used in creating the peak in Part I, but on the side. Again, the same story, I kept dropping stitches.
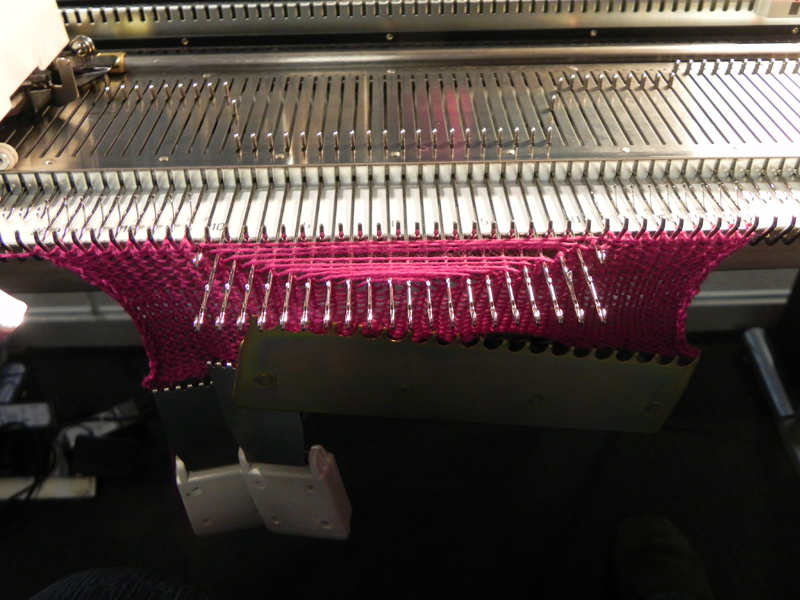
I eventually discovered that to add several stitches without unintentionally dropping them, the tension yarn had to be
crossing the needles. When adding one stitch, however, the yarn did not need to cross over the needles.
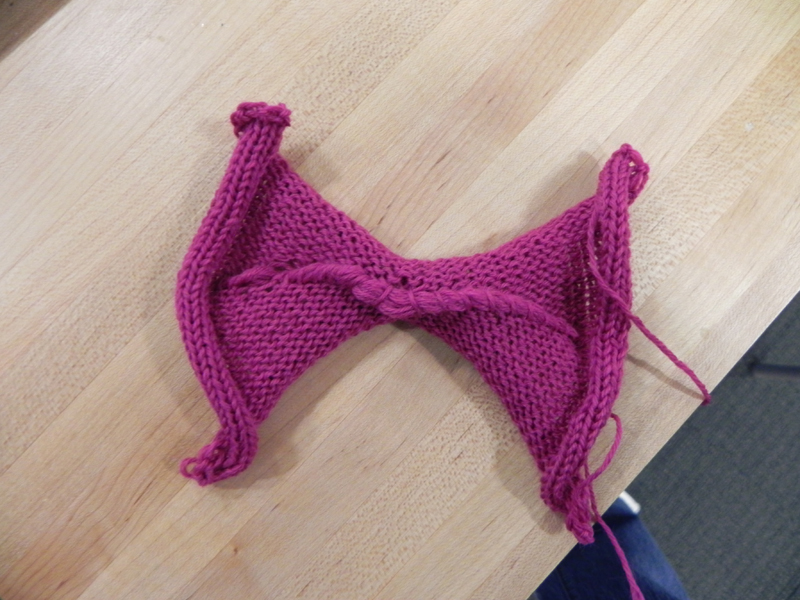
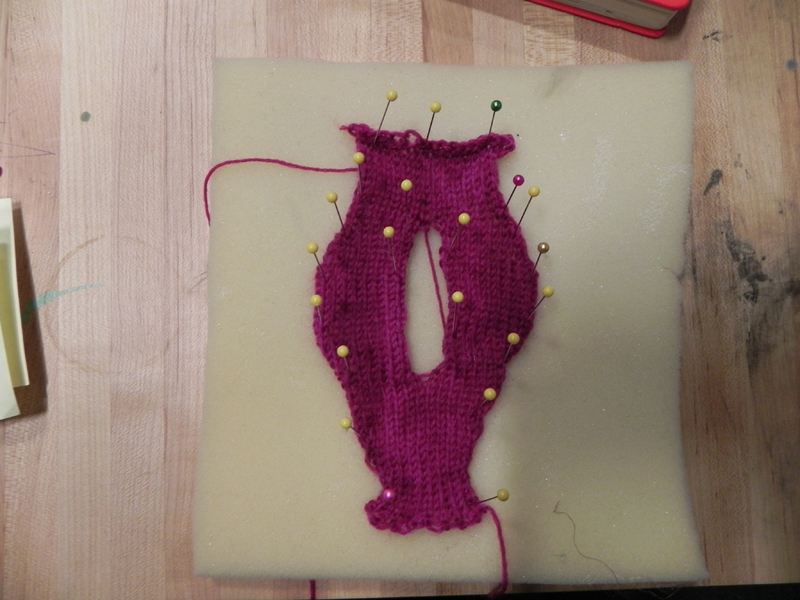
Apparently, these experiences with the knitting machine inspired some knitting typlogies early one morning…but due to time constraints, I only tried out one.
Pattern:
Russell Levers on Level I
Cast on 10 stitches.
Knit 10 rows (carriage finishes on right side)
[
Add a stitch* at opposite side of carriage (left side), Knit 1 row
Add a stitch at opposite side of carriage (right side), Knit 1 row
Knit 2 rows
]**
** repeat two more times. When finished, knit columns should total 16.
Change Russell Levers to level II. Hold left 8 stitches.
Knit 3 rows ( when finished, carriage is on left side)
[
Add a stitch at opposite side of carriage (right side), Knit 1 row
Knit 1 row (carriage is on left)
]***
***repeat two more times. When finished, knit columns should total 11. Carriage is on right side.
Knit 7 rows. When finished, carriage is on right side.
[
subtract 1 stitch, knit 1 row (carriae is on left side)
knit 1 row (carriage is on right side)
]****
****repeat 2 more times. When finished, knit columns should total 8. Carriage is on left side.
Knit 3 rows.
Move this knitted rows to position D.
Move left knitted rows from position D to B.
Knit 3 rows
[
Add a stitch at opposite side of carriage (left side), Knit 1 row
Knit 1 row (carriage is on right)
]****
****repeat 2 more times. Finish with carriage on left and 11 knit columns.
Knit 7 rows. Finish with carriage on right side.
[
Subtract a stitch at opposite side of carriage (left side), knit 1 row
Knit 1 row (carriage is on right).
]****
***repeat 2 more times. Finish with carriage on right and 8 knit columns.
Move right 8 knit columns from position D to B.
Knit 10 rows.
*Take a loop from previous row, twist and hook onto adjacent empty hook
