Maria’s Pressures.
by maria.stangel
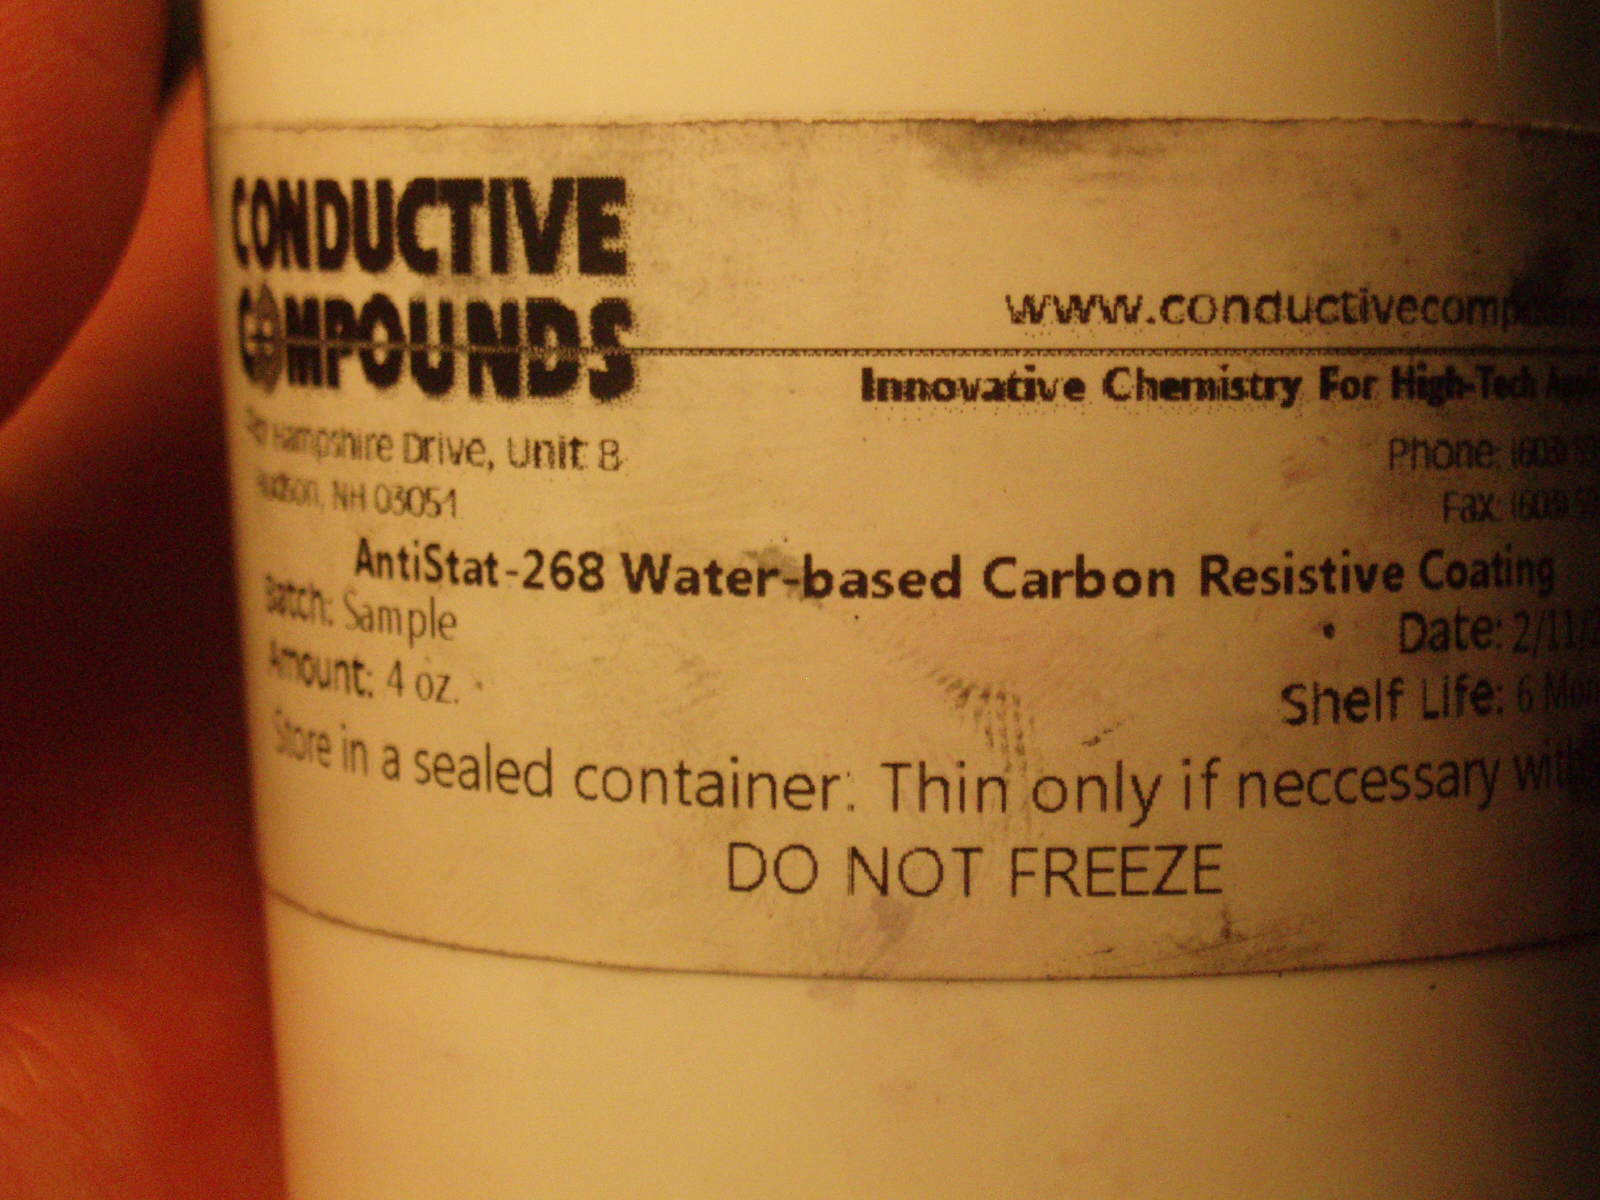
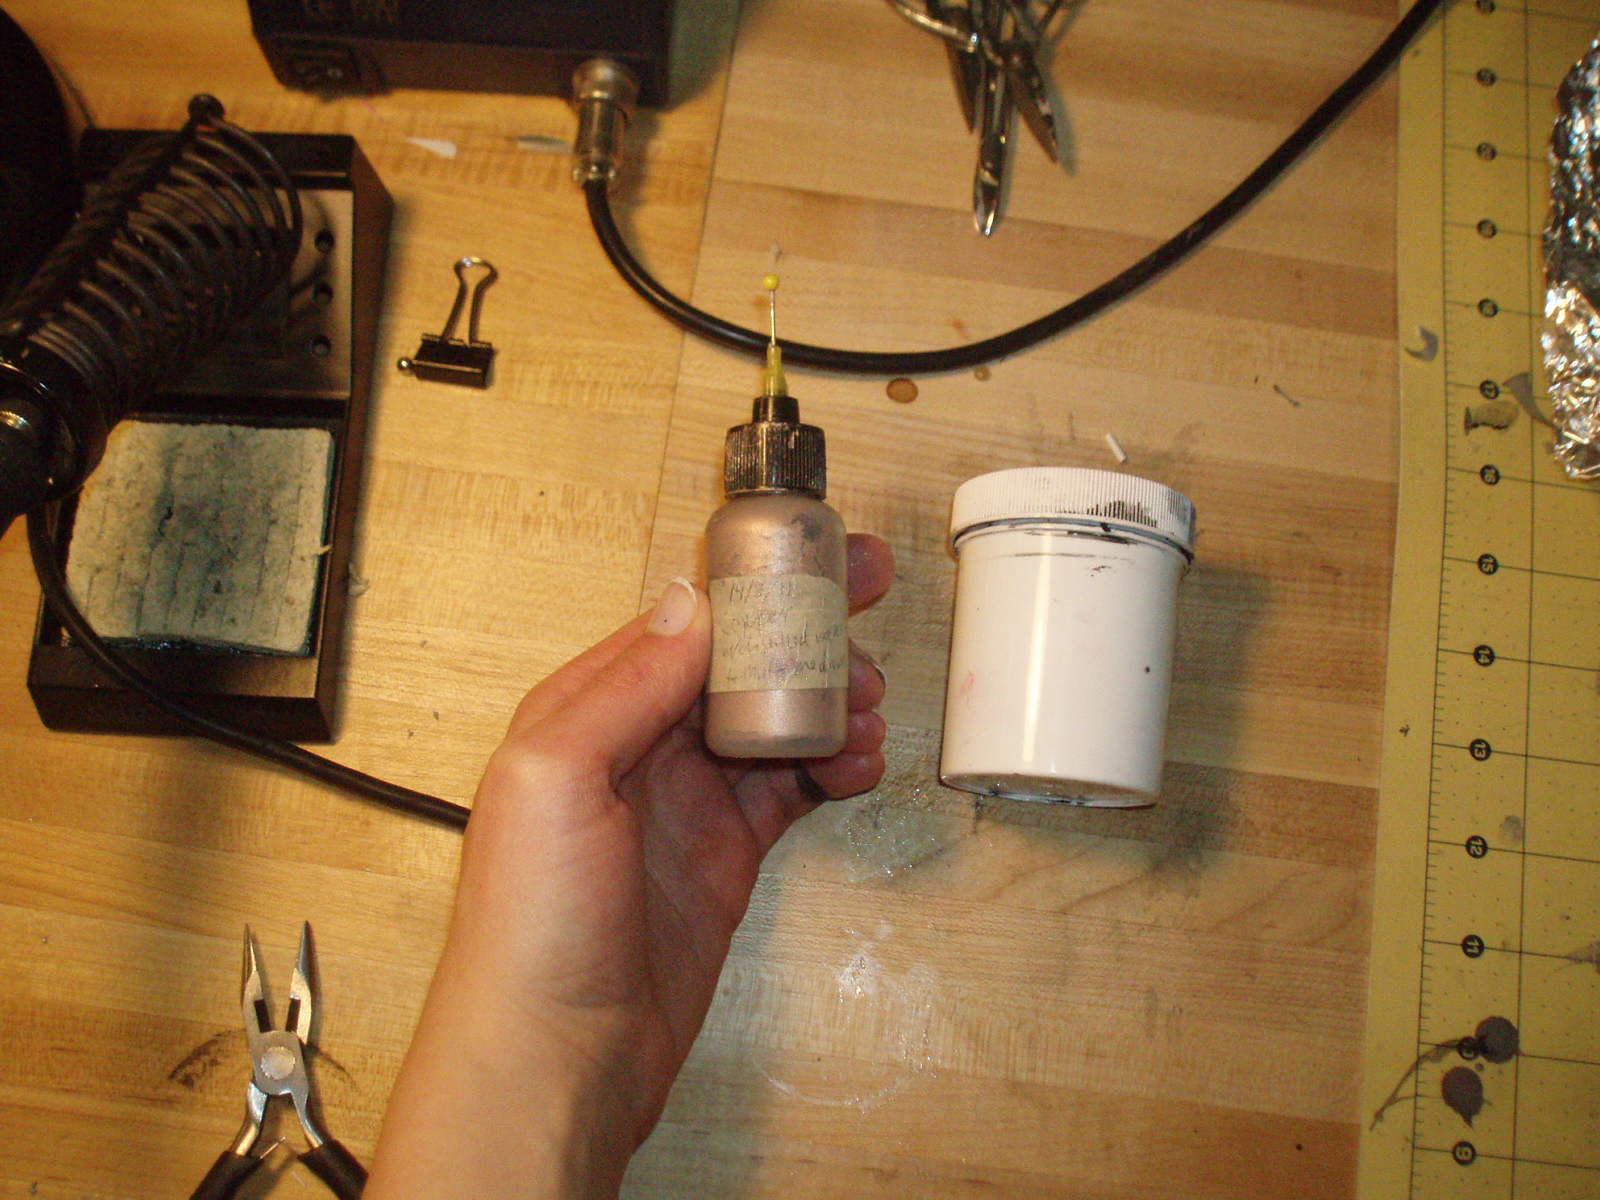
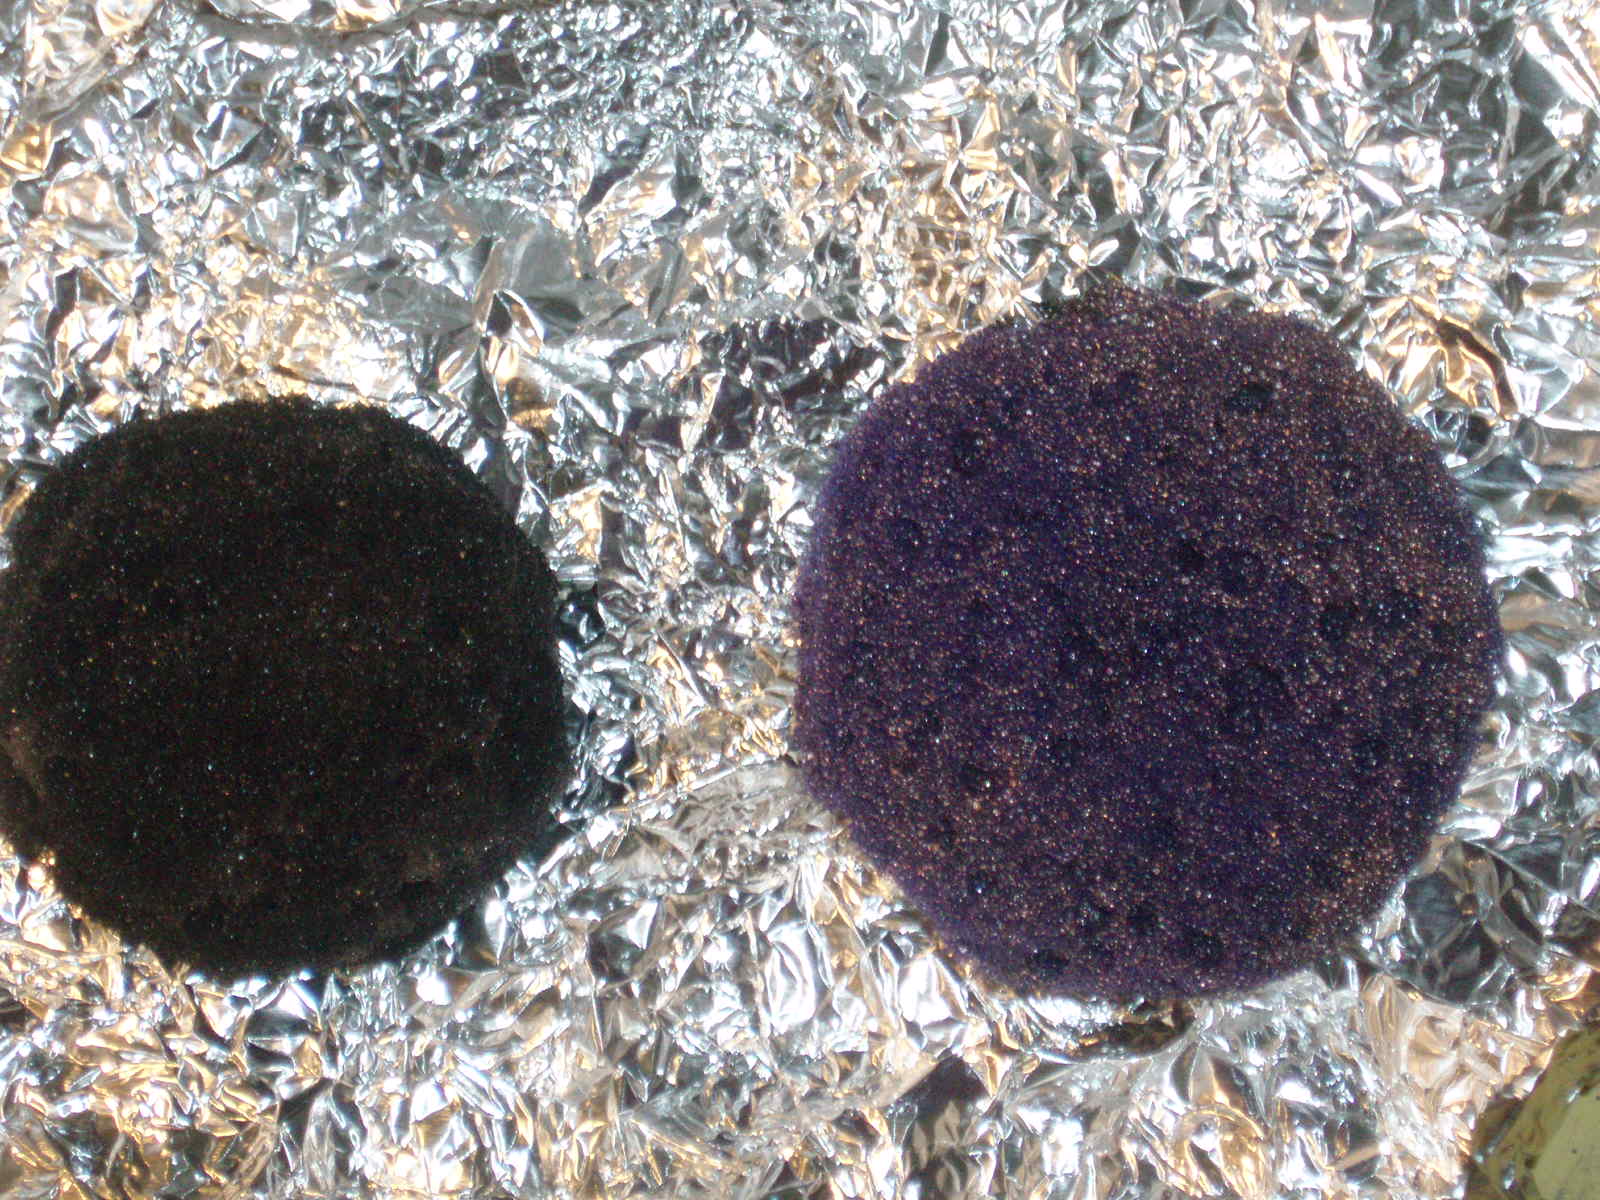
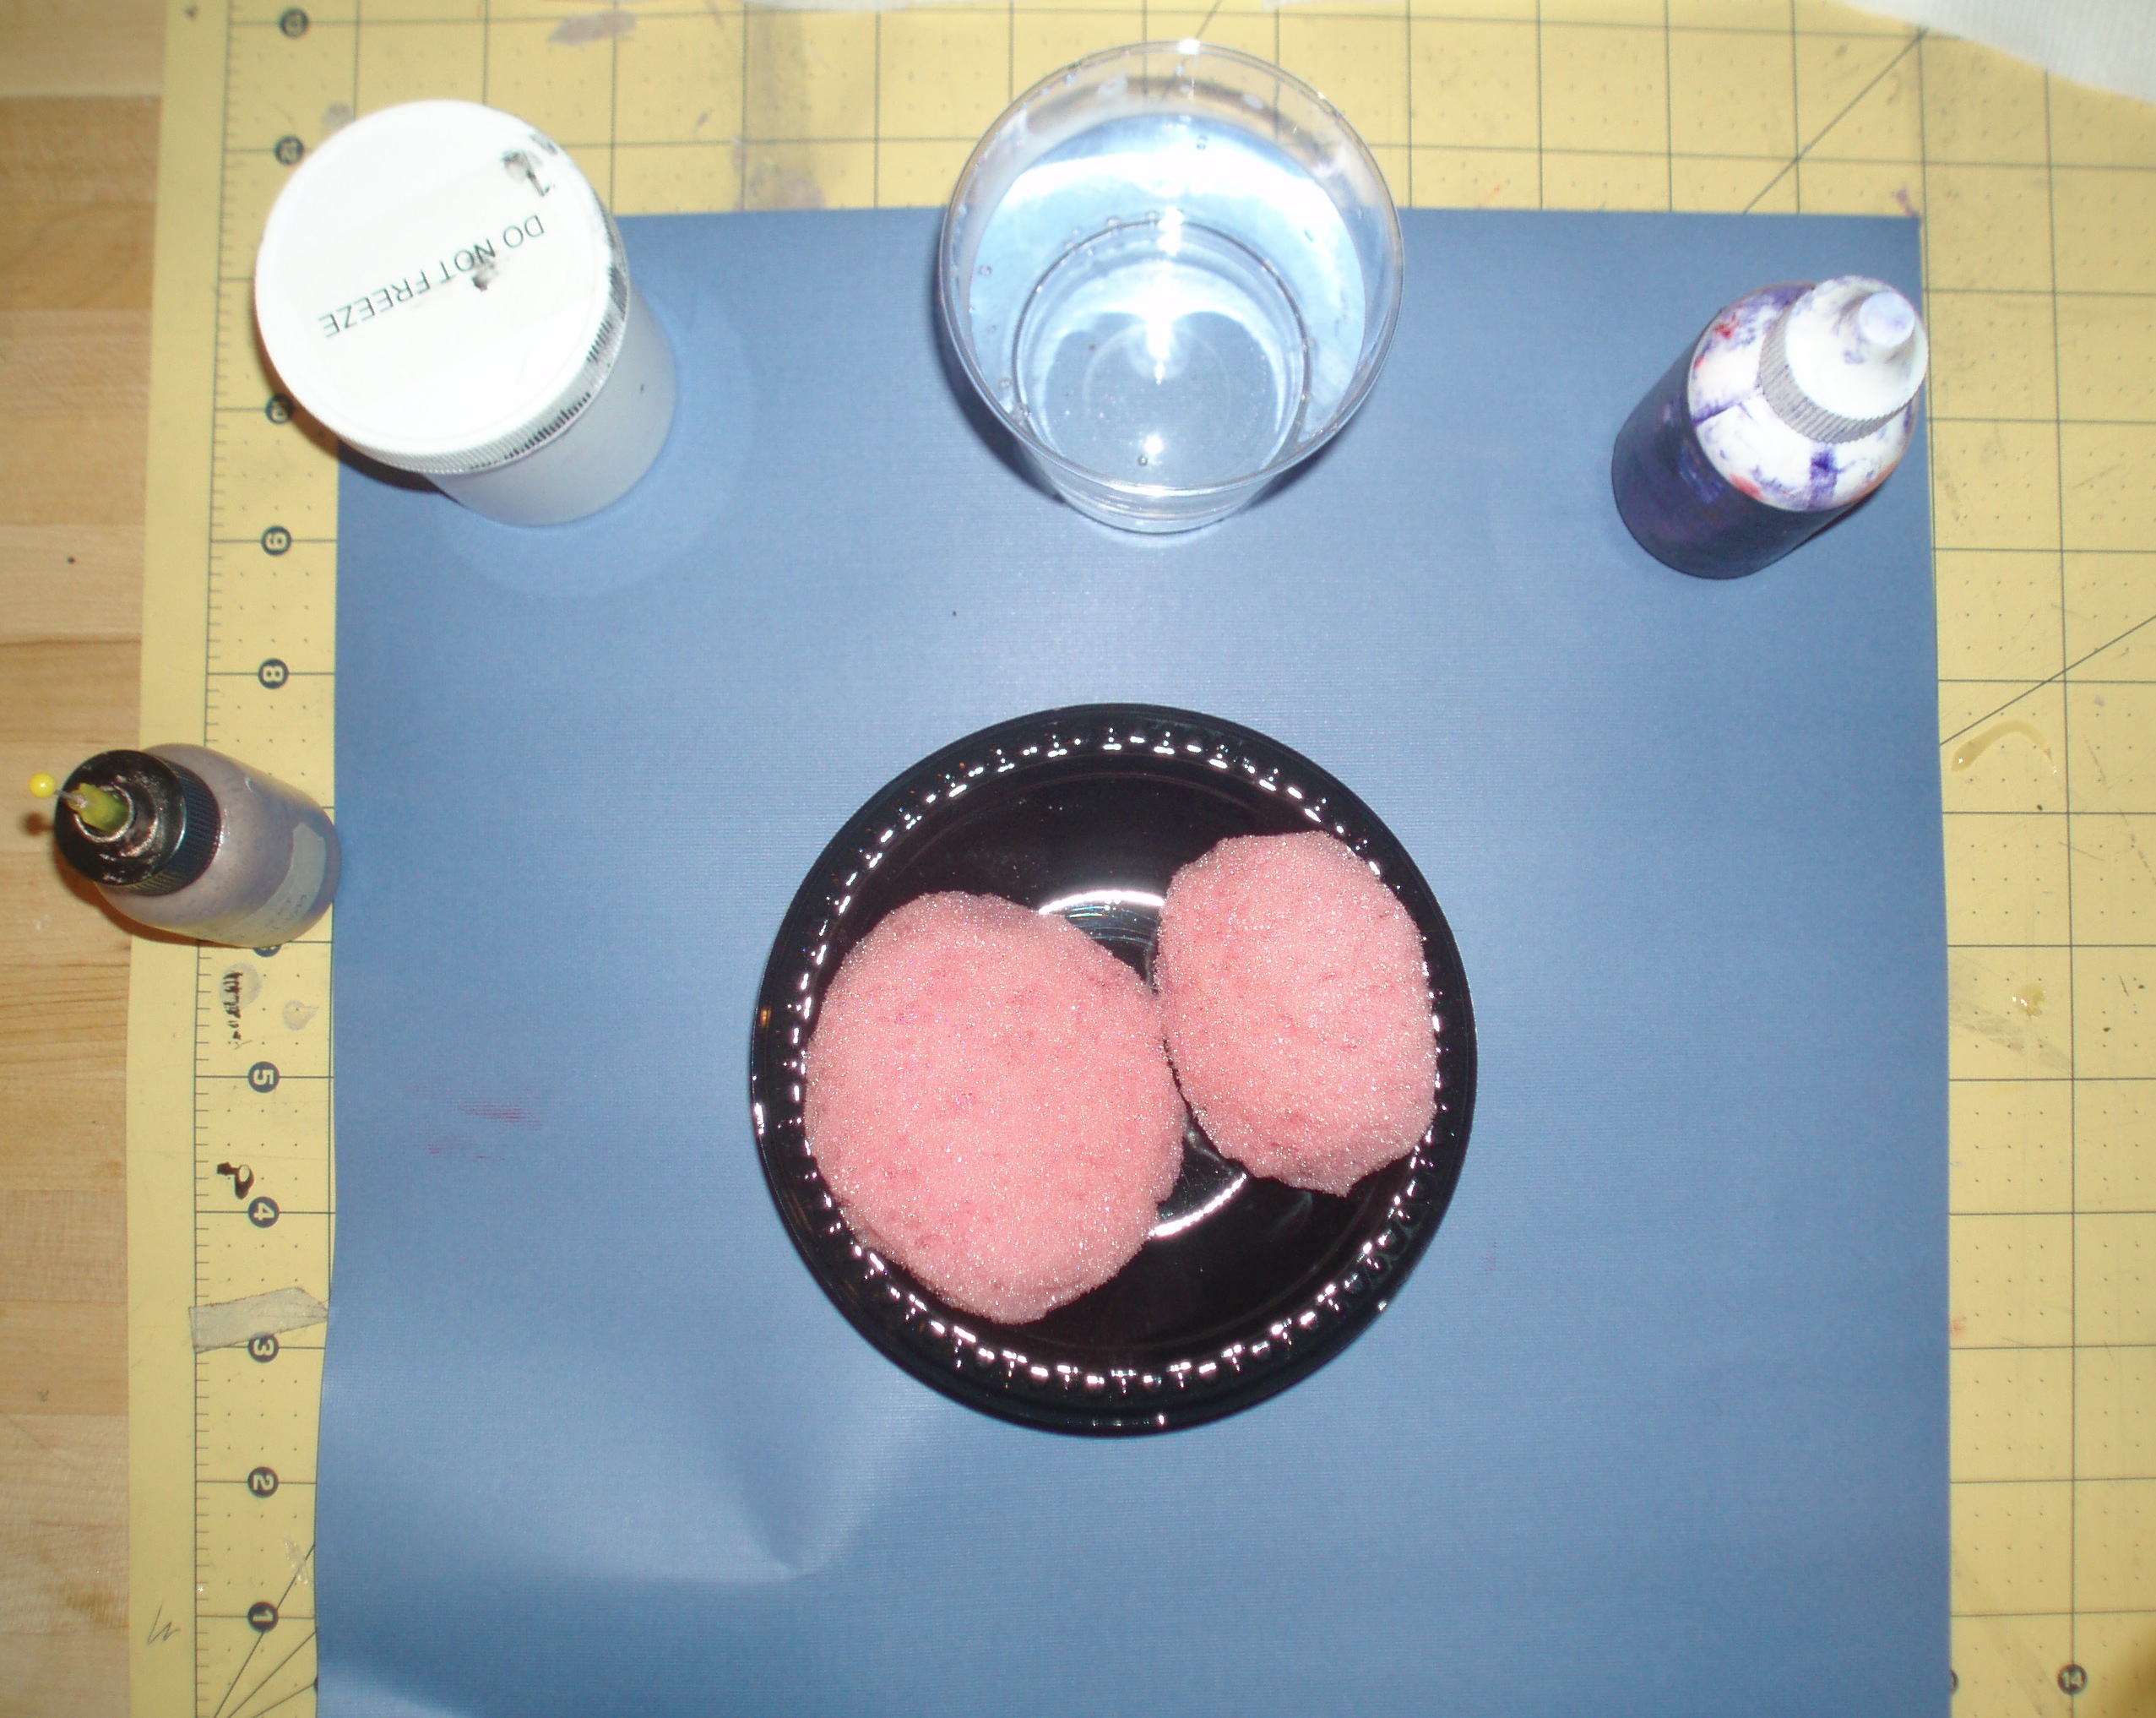
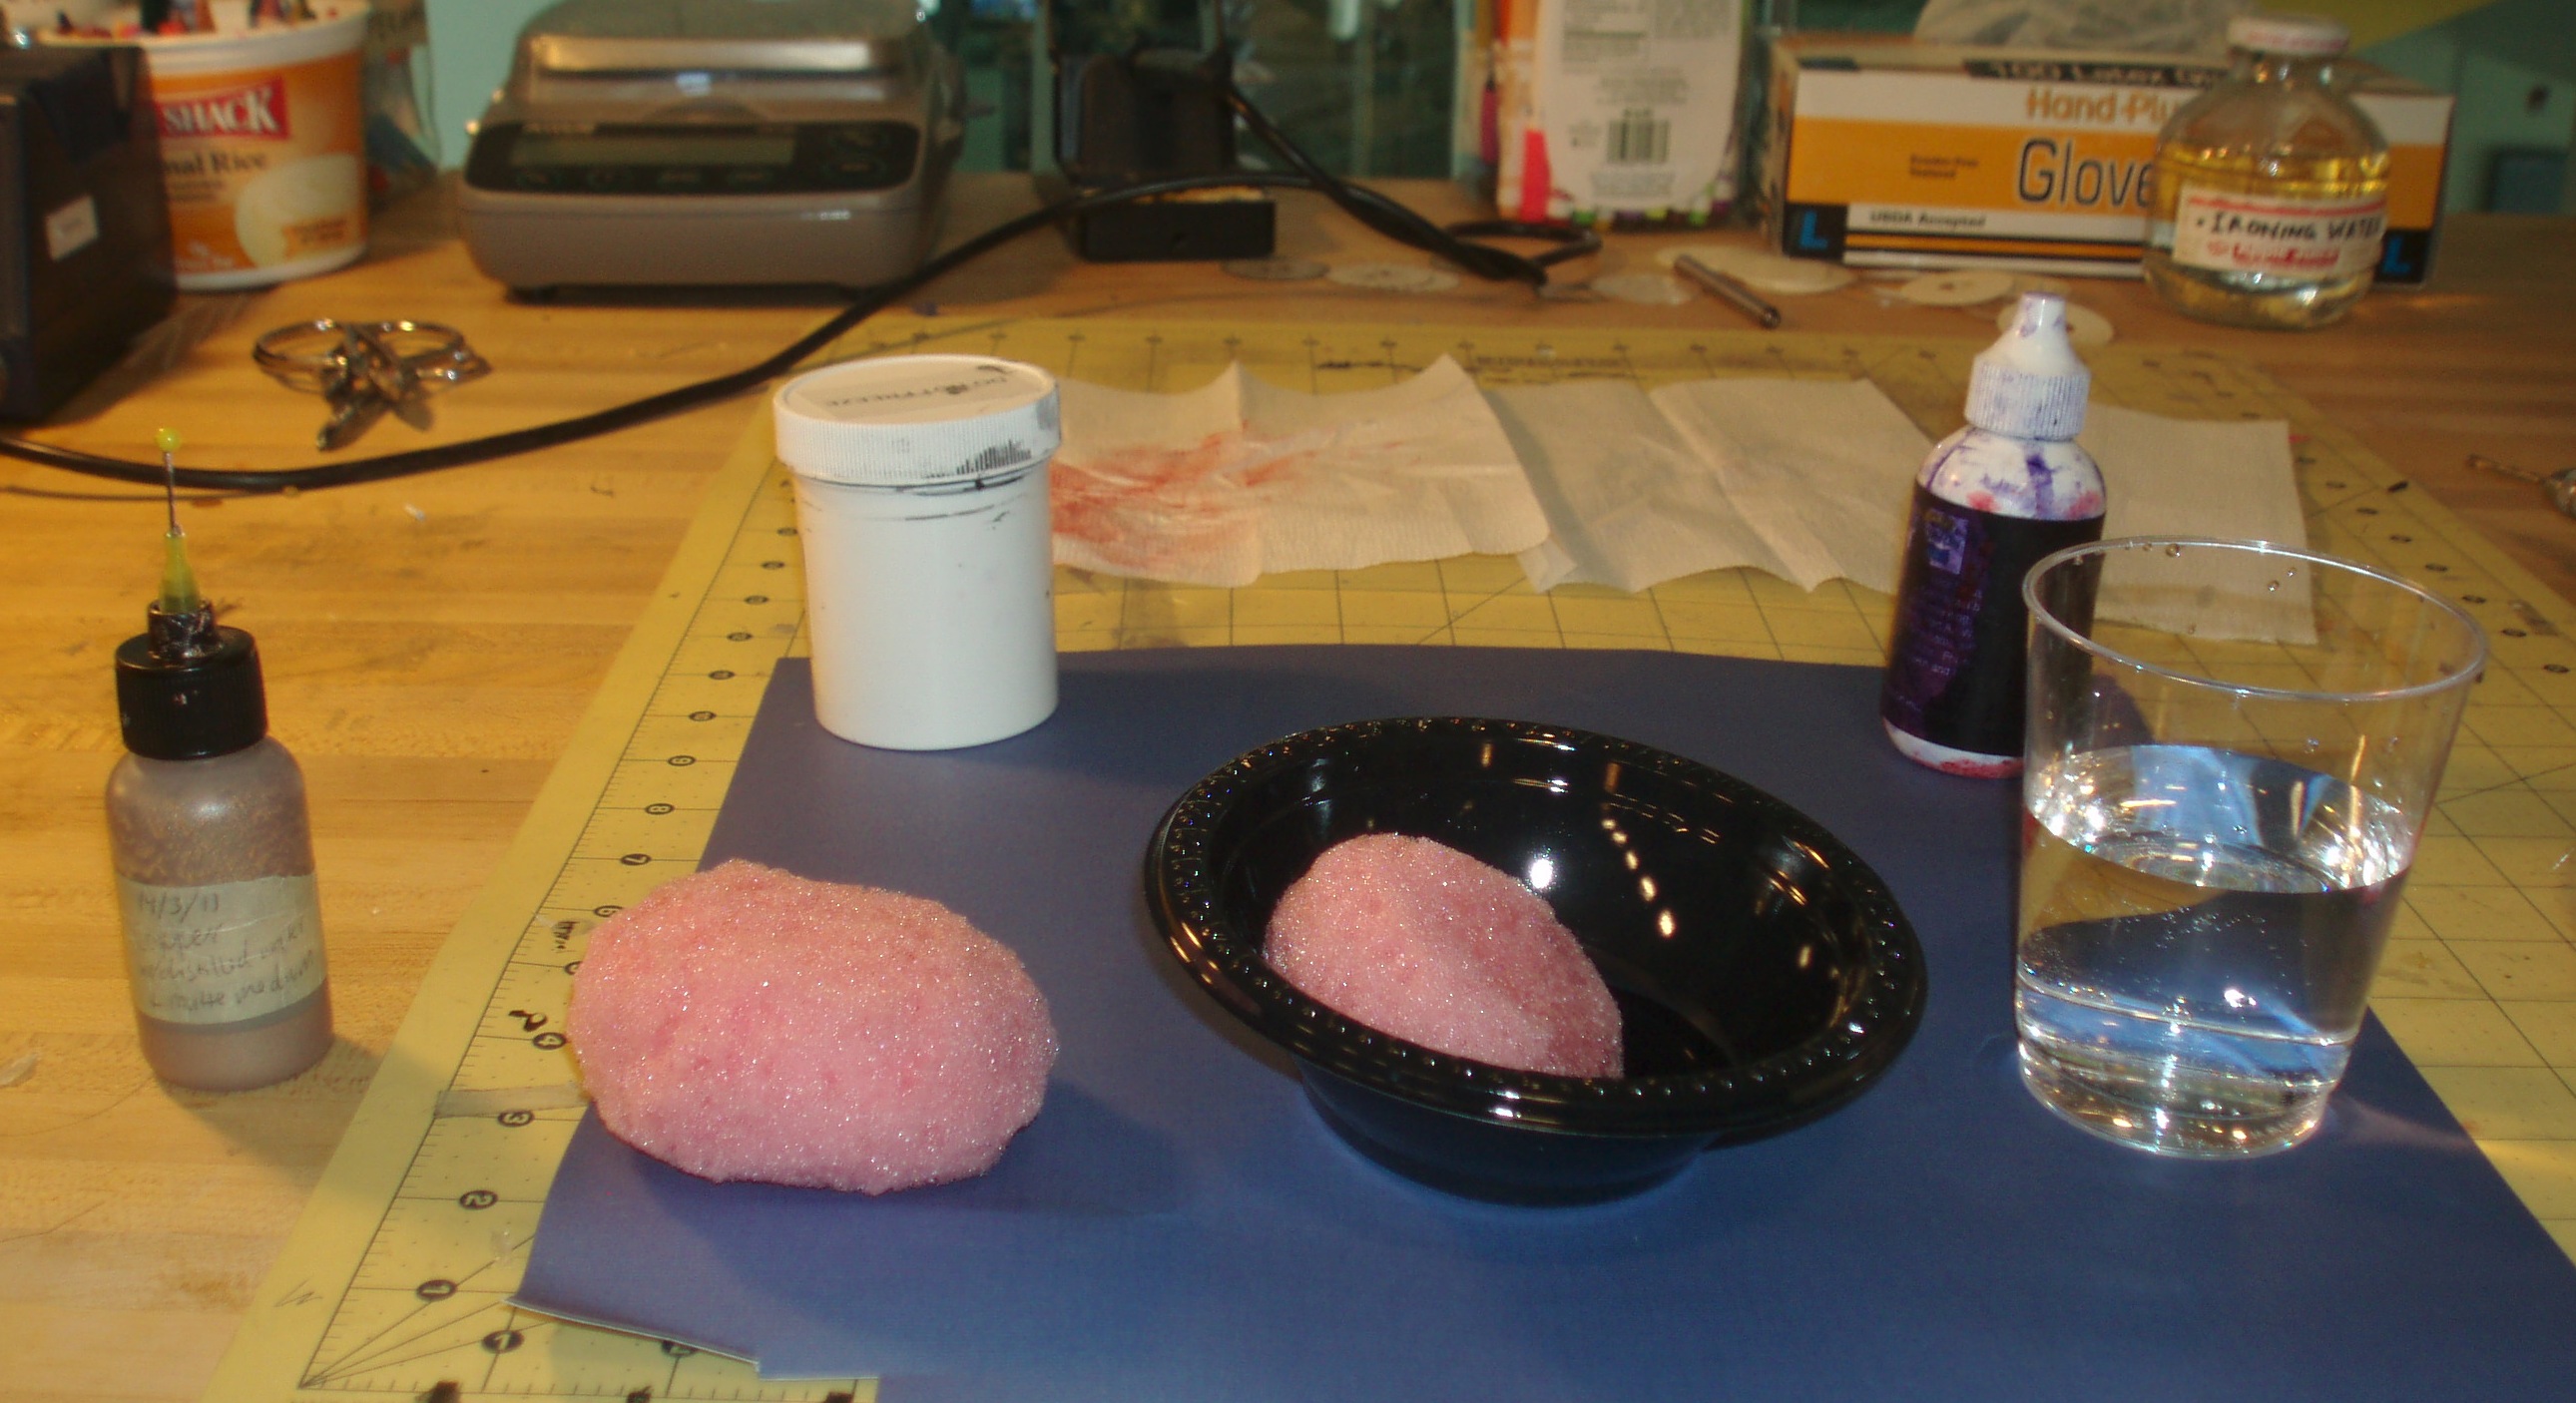
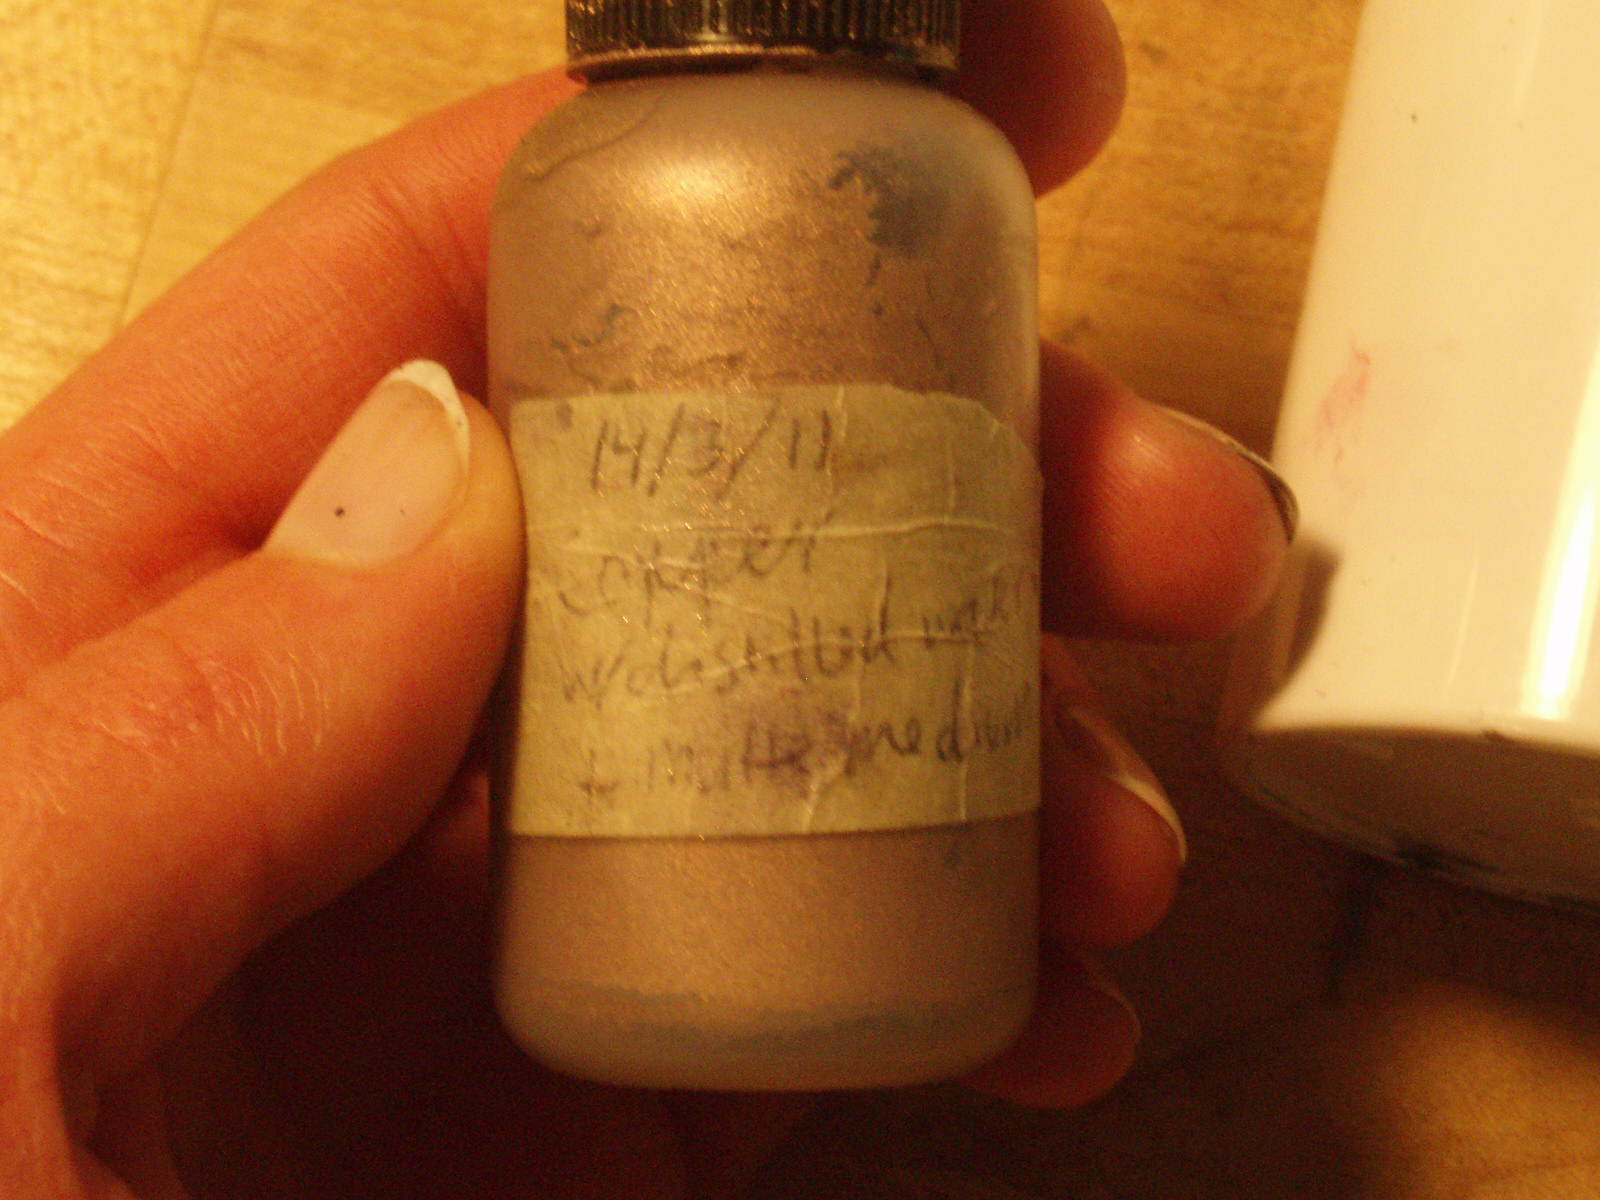
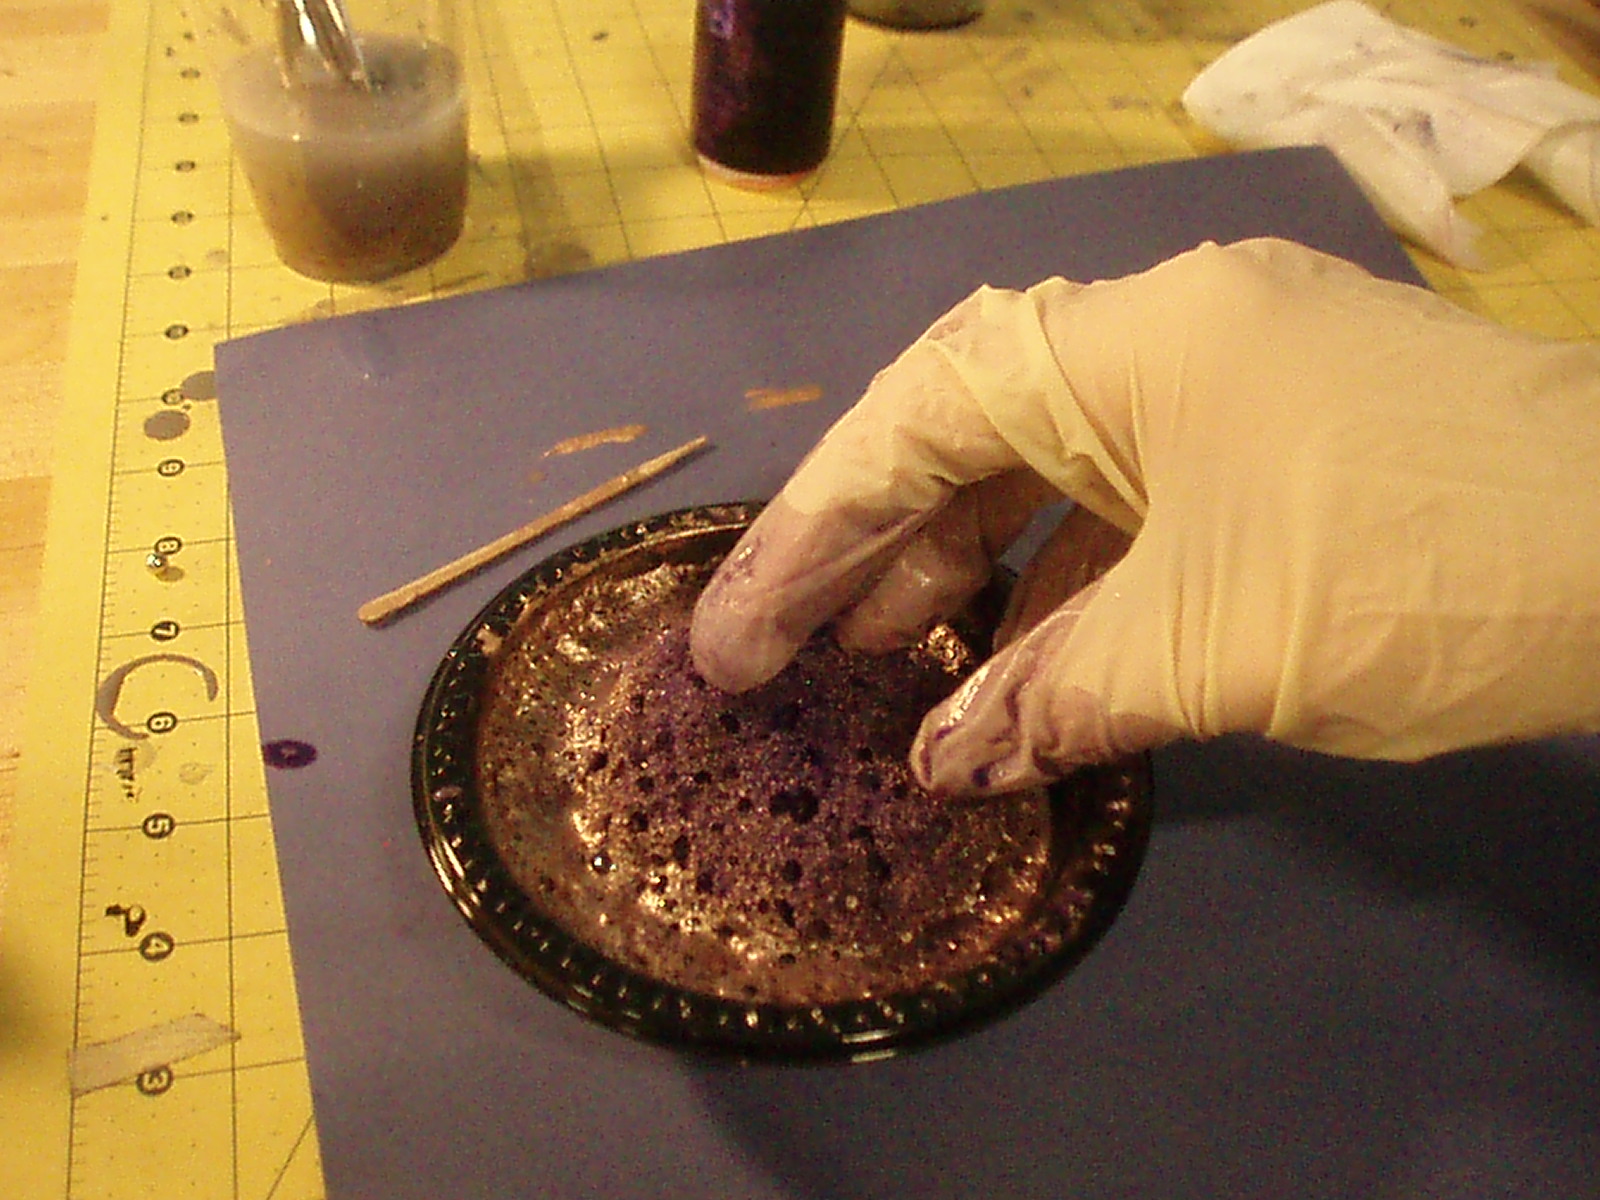
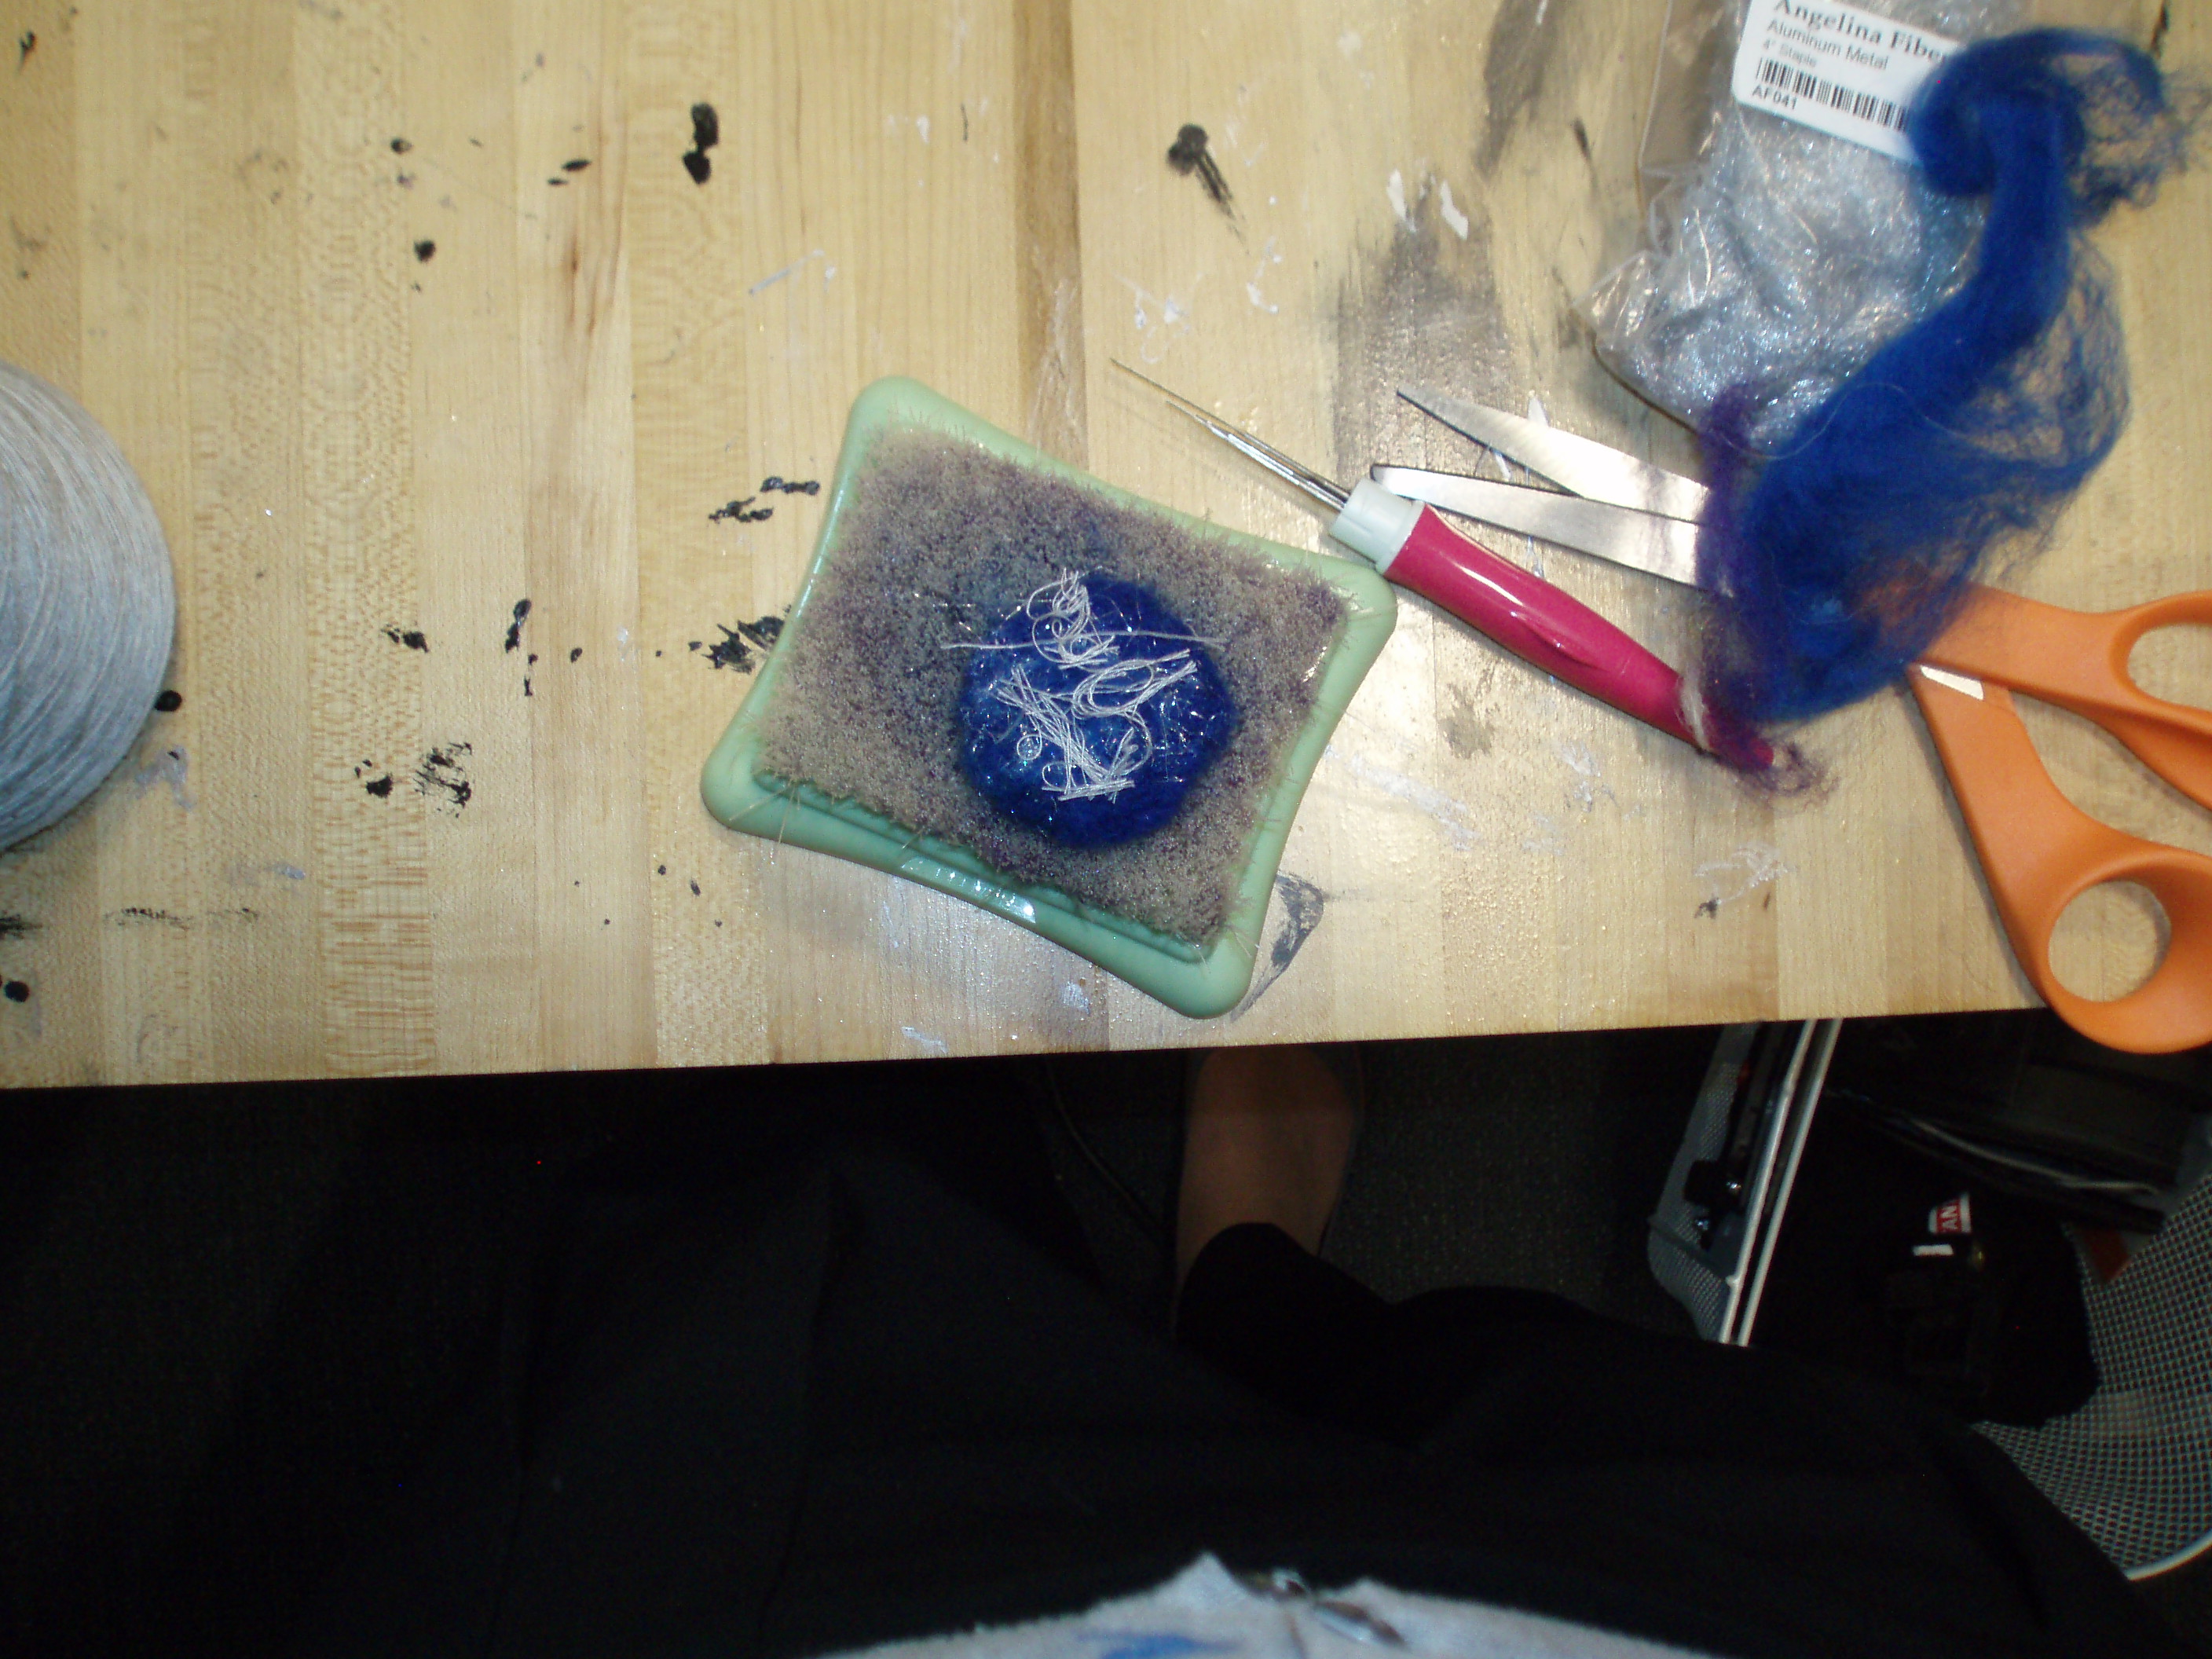
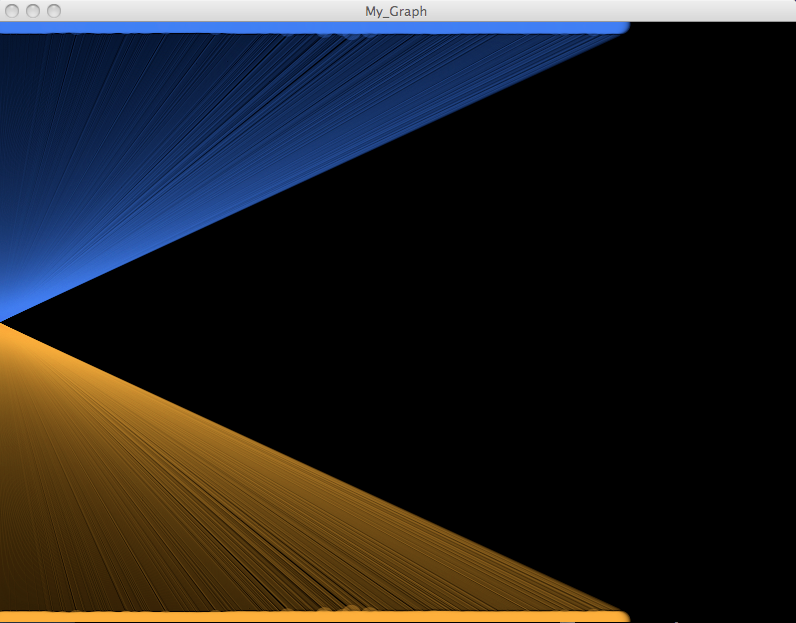
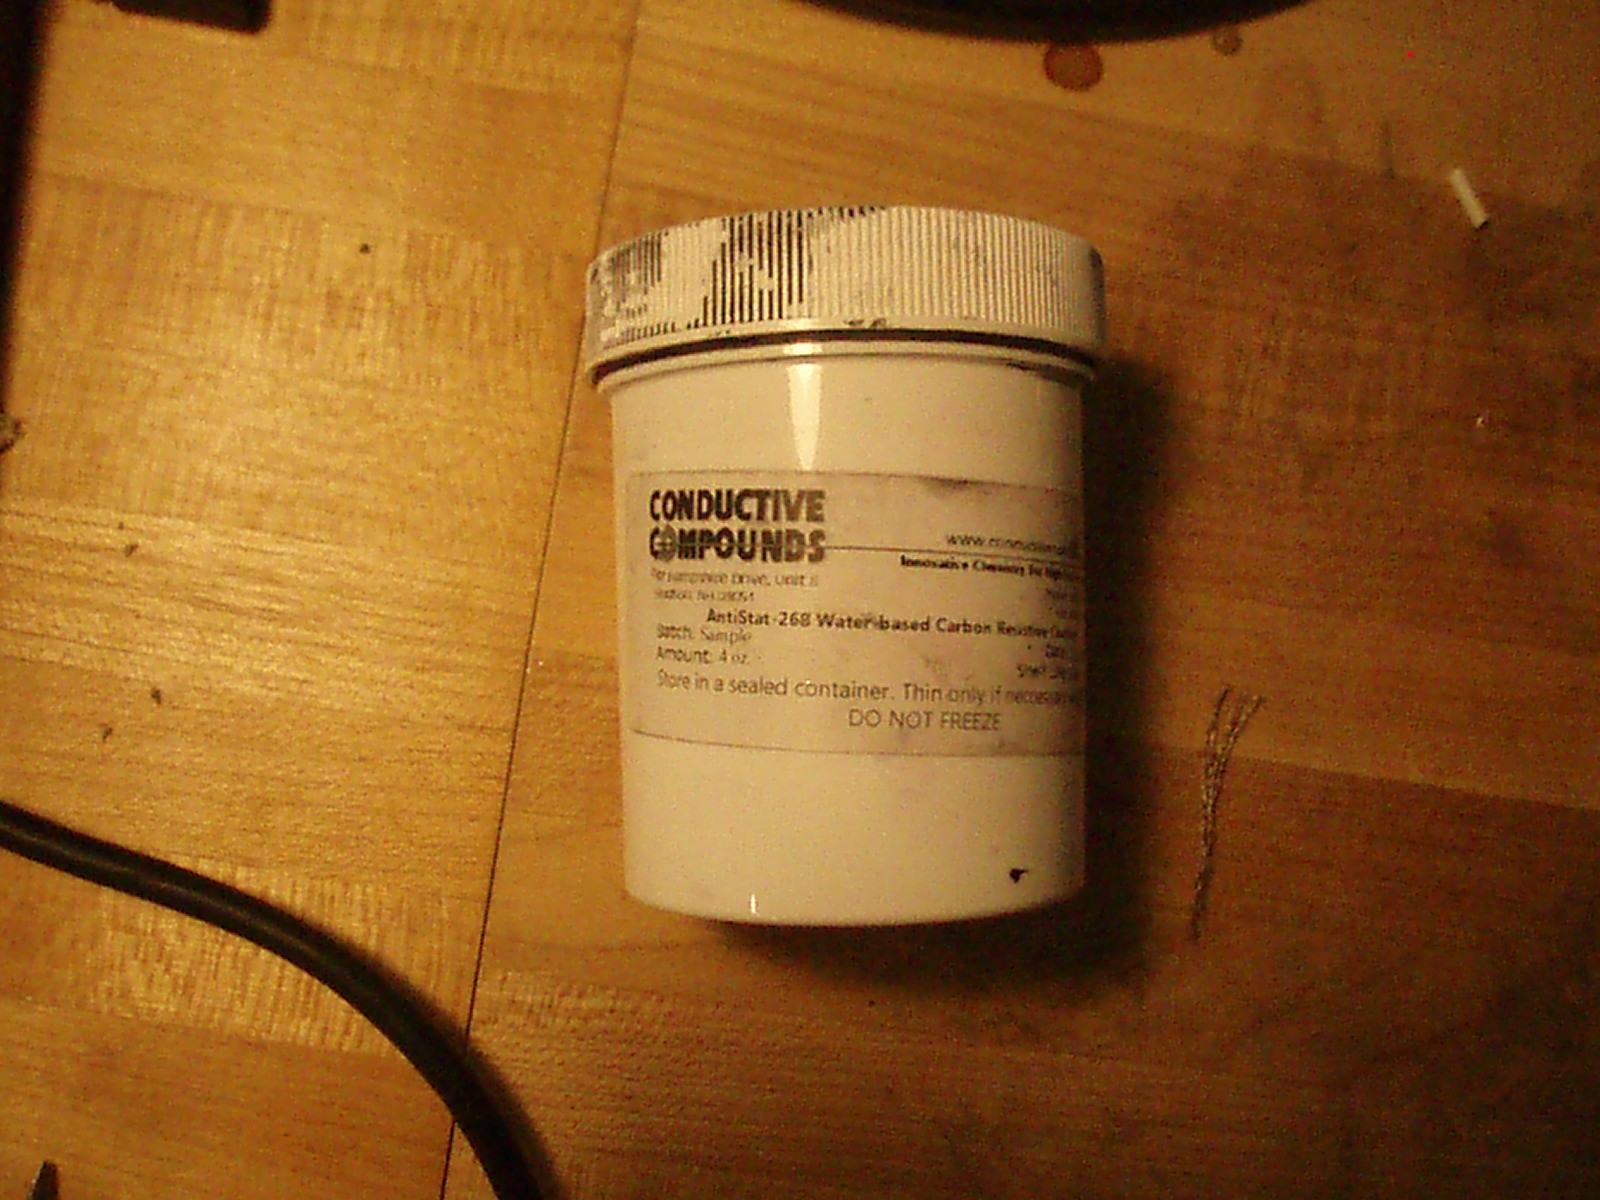
I wanted to make a presaure sensors that would give a smooth data to the computer. First I used two kinds of the resistive thread and knited with them on the small knitting mashine. The effect was very good, I was surprised how fast and easy it was to make a sensor. The resistance changed according to strech of the knitted piece. I started to work on a second sensor to compare the effects from difefrent materials. For the second pressure sensor I used felted wool mixed with aluminium yarn and resistive thread. The sensor gives “jumping” data and it is very hard to press, felt become very thick, I used two metal hooks to make a contact points for alighator clips. My last experiment was to use a conductive in and paint. I dyed a two pieces of sponge one using a coper paint mixed with violet dying paint, second with a conductive ink (carbon based). The coper paint was giving much better results at the beginning, but over night it lost some of it’s properties. I sewed in some small pieces of conductive thread to gain a better conductivity, but after my modification the sensor started to work like a on/offswitch. I’ve realized that the sponge had a better conductivity when it was still wet. I put some watter on my dry sensor and it gave some interesting resutlts – according to my graph it looked like aline on the middle of my screen which means that the data should be exactly in the middle of 1023 range.
Arduino:
void setup() {
// initialize the serial communication:
Serial.begin(9600);
digitalWrite(A0,HIGH);
// digitalWrite(A1,HIGH);
}
void loop() {
// send the value of analog input 0:
Serial.println(analogRead(A0));
// wait a bit for the analog-to-digital converter
to stabilize after the last reading:
delay(50);
//Serial.println(analogRead(A1));
delay(10);
}
Processing :
import processing.serial.*;Serial myPort; // The serial portfloat weight = .05;
int xPos = 20; // horizontal position of the graphint lastX, lastY;void setup () {
// set the window size: size(800, 600); //smooth the graphics smooth(); lastX = xPos; background(0); // List all the available serial ports println(Serial.list()); // I know that the first port in the serial list on my mac // is always my Arduino, so I open Serial.list()[0]. // Open whatever port is the one you’re using. myPort = new Serial(this, Serial.list()[0], 9600); // don’t generate a serialEvent() unless you get a newline character: myPort.bufferUntil(‘\n’); // set inital background: } void draw () { // everything happens in the serialEvent() }
void serialEvent (Serial myPort) { // get the ASCII string: String inString = myPort.readStringUntil(‘\n’);
if (inString != null) { // trim off any whitespace: inString = trim(inString); // convert to an int and map to the screen height: float inByte = float(inString); inByte = map(inByte, 0, 1023, 0, height);
noStroke();
fill(#FFA500,inByte-10); ellipseMode(CENTER); ellipse(xPos,inByte, 20, 20 );
fill(#3366FF,inByte-10); ellipseMode(CENTER); ellipse(xPos,height-inByte–, 20, 20 );
stroke(#FFA500,inByte-10); strokeWeight(.5); line(0, 300,xPos,inByte-10); weight = .15;
stroke(#3366FF,inByte-10); strokeWeight(.5); line(0, 300,xPos,height-inByte+10); weight = .15;
}
// at the edge of the screen, go back to the beginning: if (xPos >= width) { xPos = 0; background(0); } else { // increment the horizontal position: xPos++; } }
Demo videos:


