LED Lantern
by N.Tari
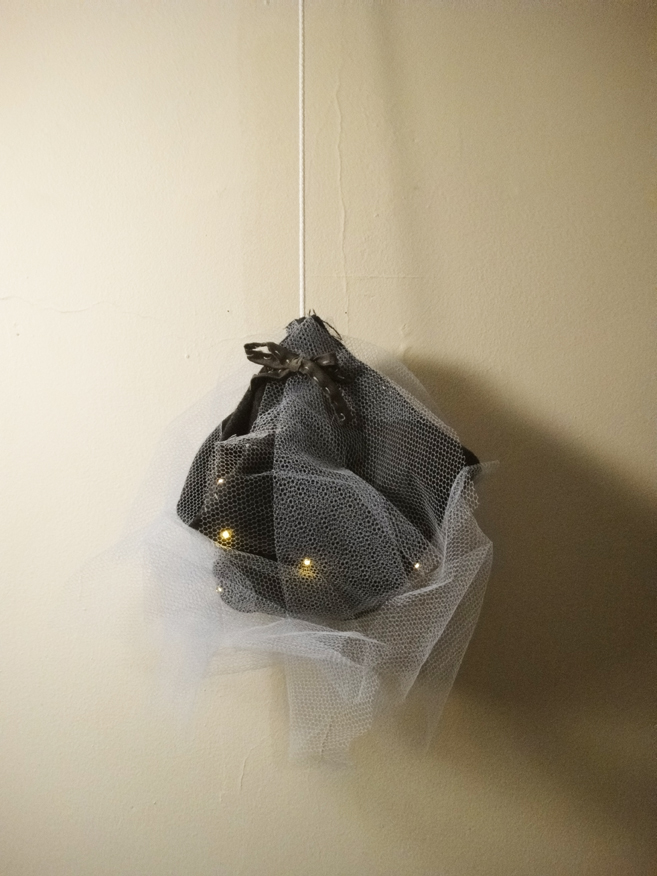
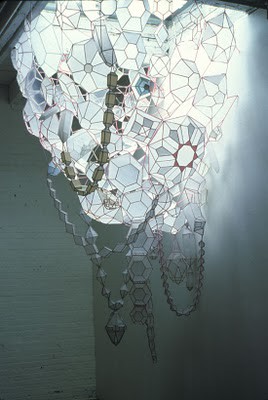
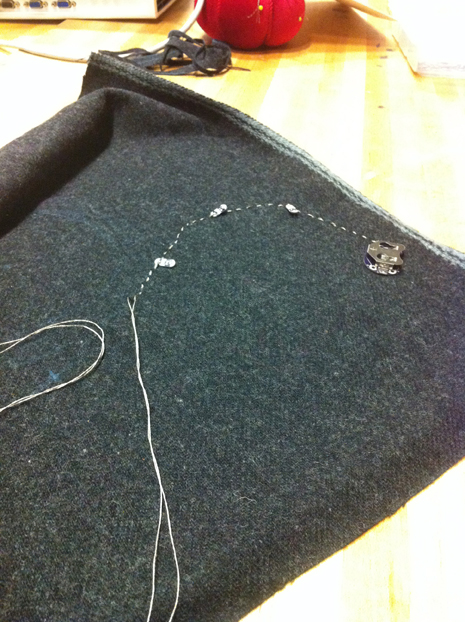
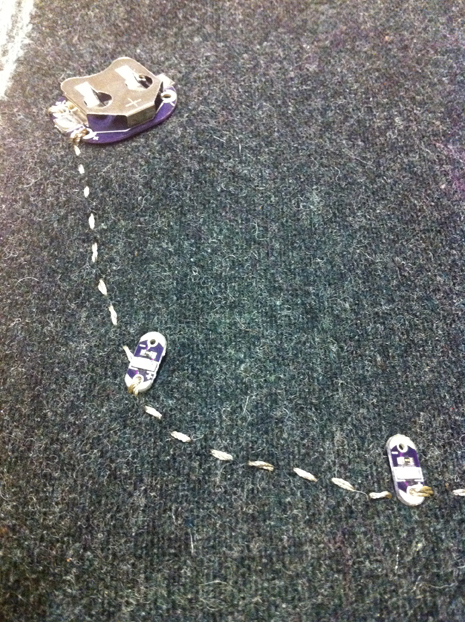
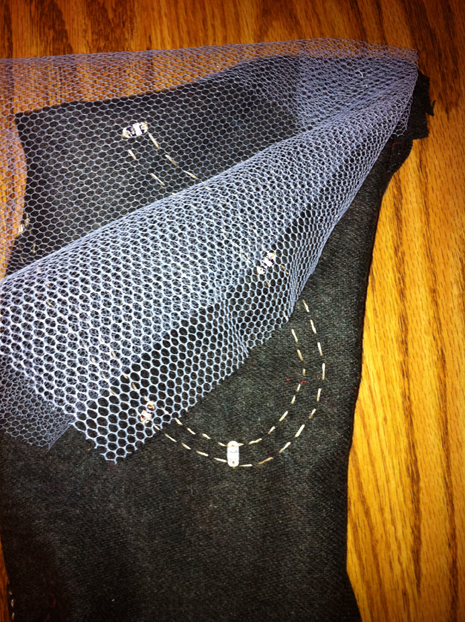
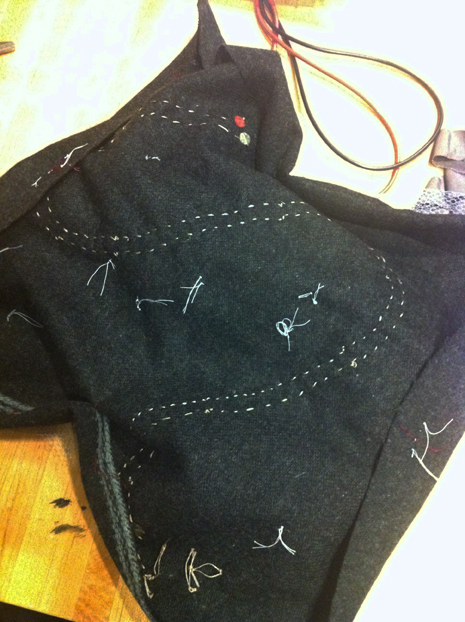
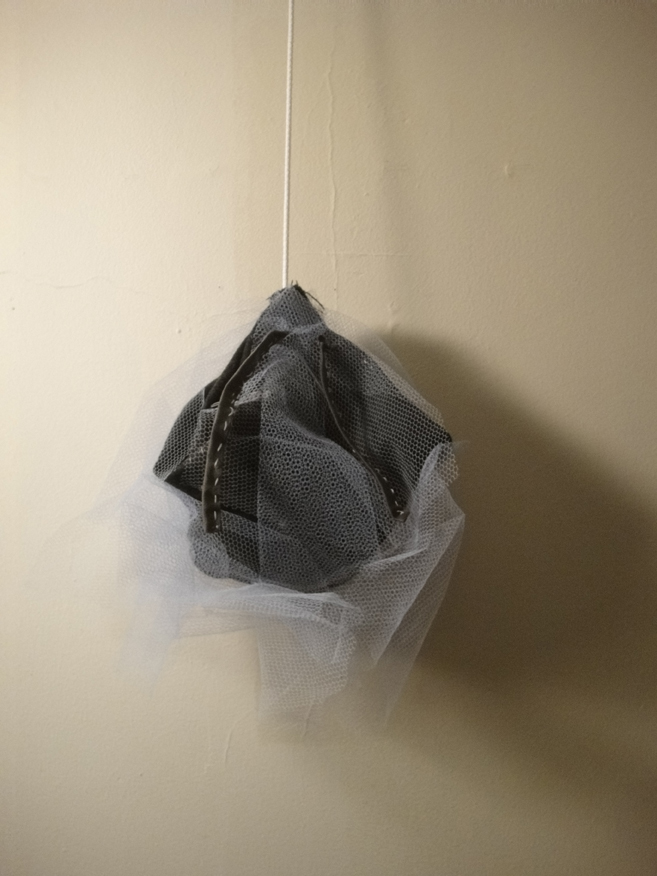
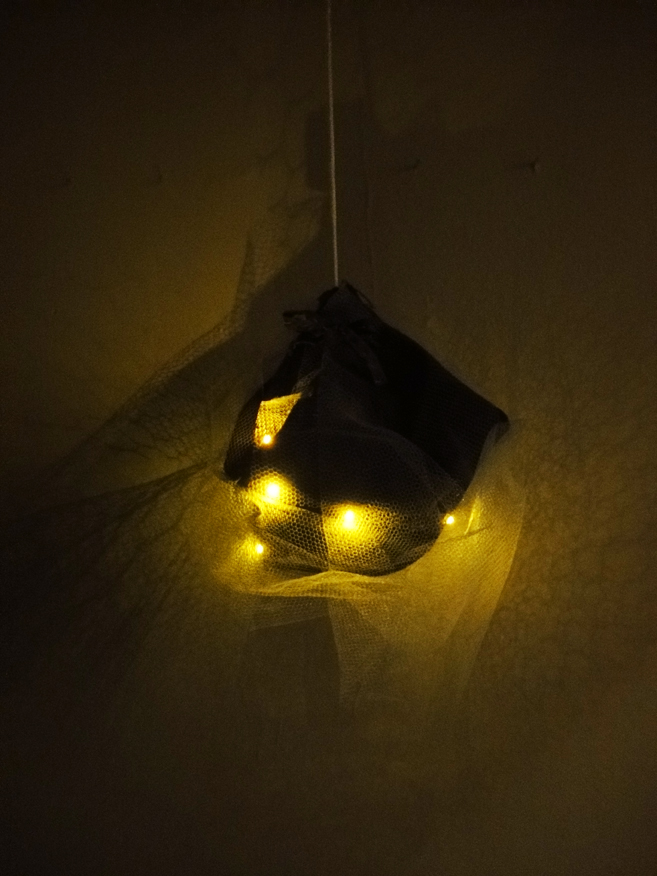
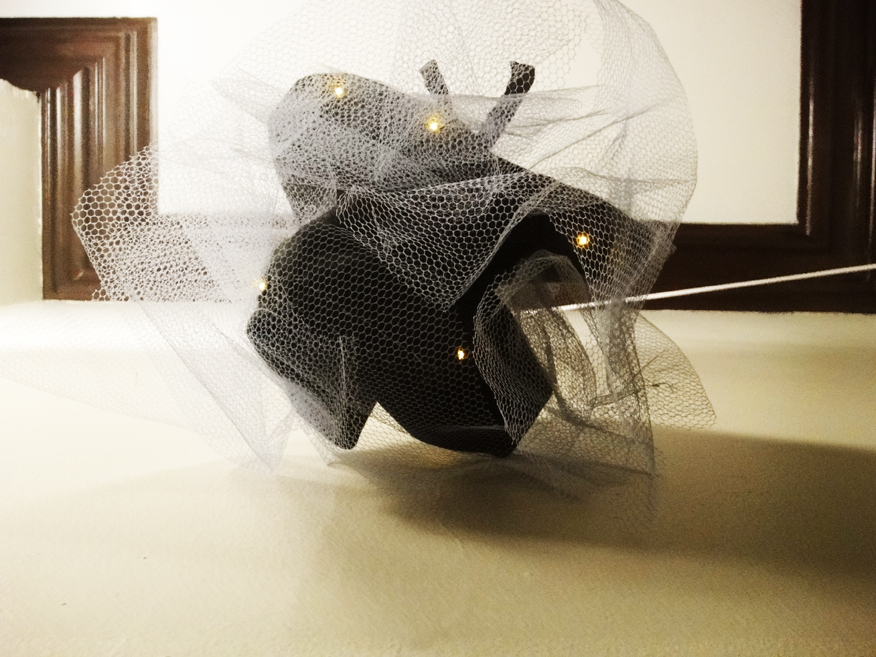
For this first project I wanted to create a lantern or pendent lamp. I gained inspiration from designs such as the ones listed below. I wanted to create something playful and elegant. I used two layers of fabric; A dark grey felt a blue tule layered on top. The LED’s are sewed into the grey felt in a parallel circuit. The switch is comprised of two strings( made of conductive fabric) that tie together to turn the light on. Below is documentation of the process, final result as well as my calculations.
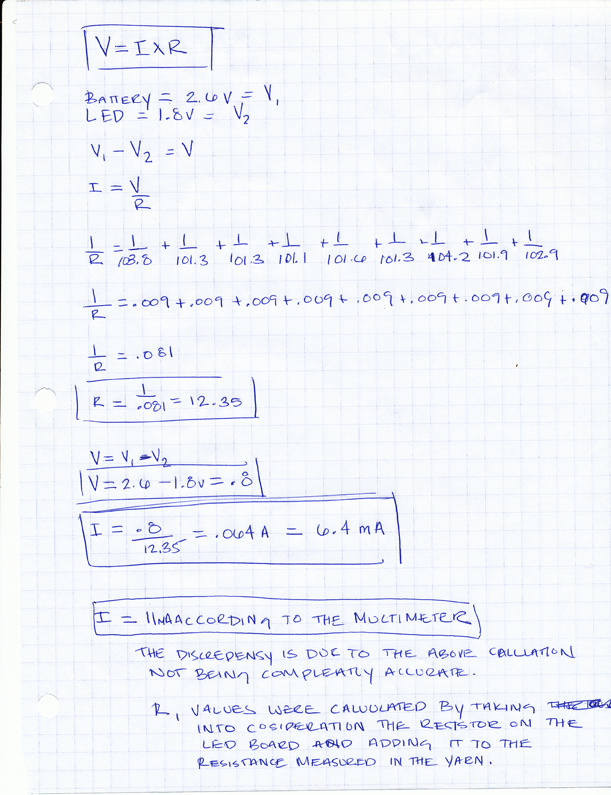
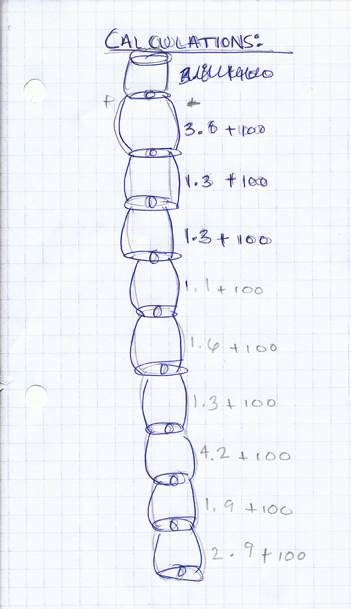
We discovered yesterday that the calculations we more complex due to the resistance mesured in the yarn in addition to the resistor mounted on the LED board (100 Ω ). I measured R for the yarn in between each of my LEDs (in parallel). I used the parallel equation (1/R = 1/R + 1R…) to calculate the R. This calculation is not completely accurate due to some assumptions about adding the 100 Ω of the resistor to each R1 value. The value I calculated for I was 6.4 mA. Here V was equivalent to the voltage drop or the voltage of the battery (2.6 v) – the voltage of the the LED (1.8v). The total current running though my curcut (measured with the multi meter) was 11 mA.

Glass Pendent Light: West Elm
Paper Lantern: Sycamore Street Press


Here is a link to view a video