Flower Patch – Simple LED Circuit
by ellann
I made a simple led circuit that lights of the petals of a flower. The “switch” is a safety pin on the back. The pin connects two pieces of conductive fabric and thus the LEDs light when the patch is pinned to something.
The process of making this project is outlined in the following pictures.
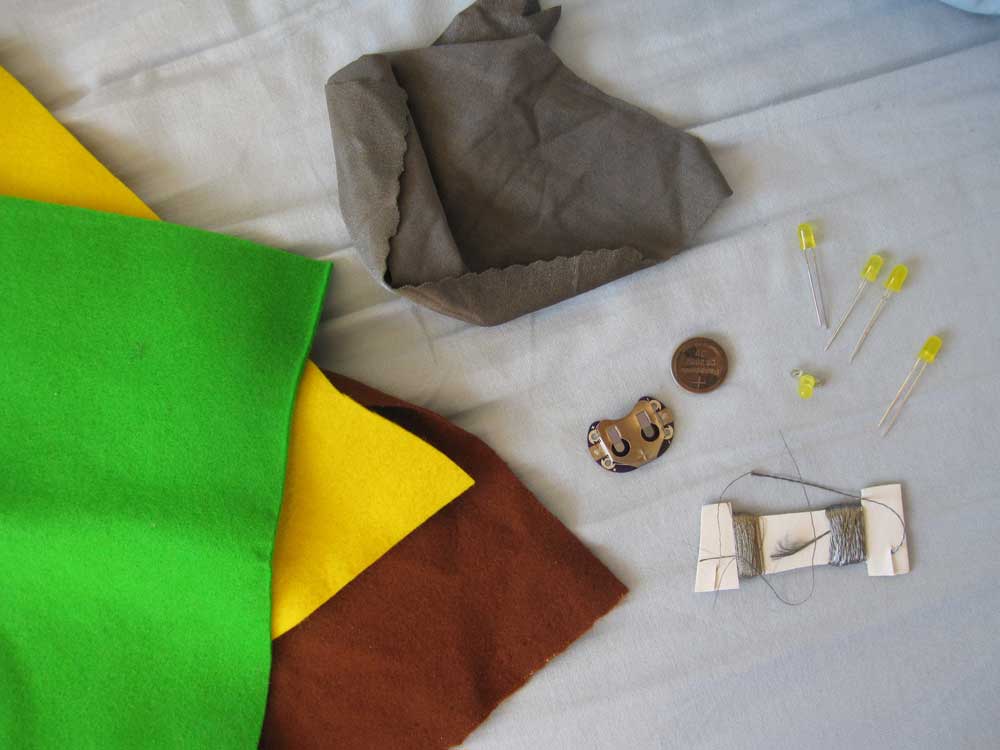
- These are all the parts that I used when starting the project. The only things not shown are the black felt and the glue on patches that hold down the knots after finishing.
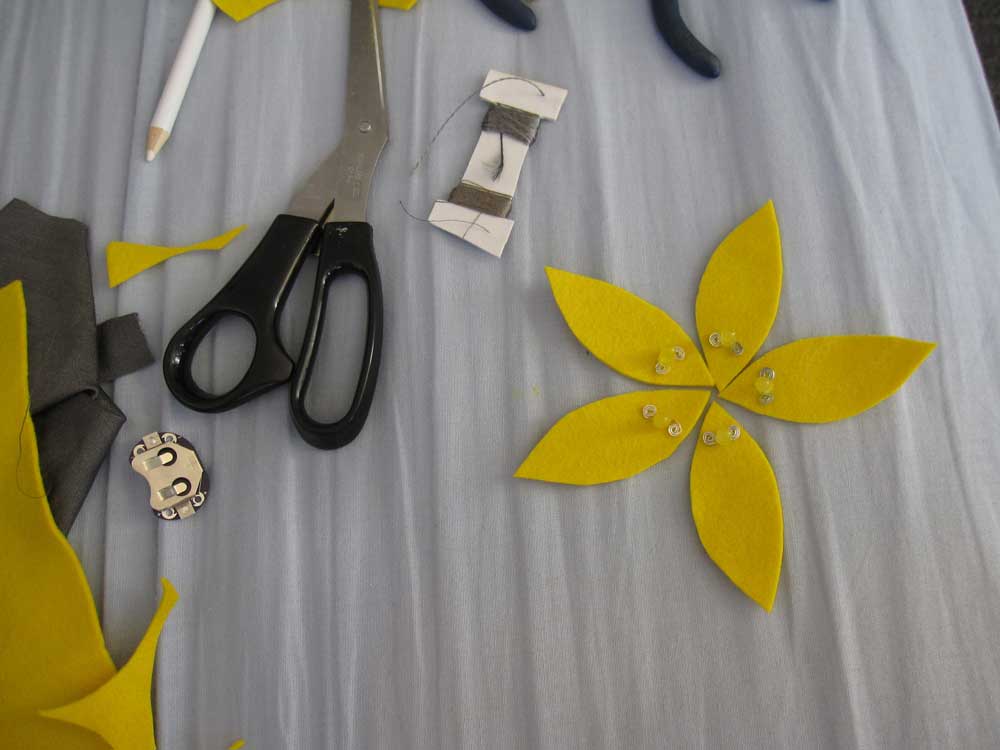
- I cut out the flower shape and lined up the LEDs to see if it looked appealing.

- I sewed the yellow petals onto black felt and hot glued the leds (with curled leads) to the petals.

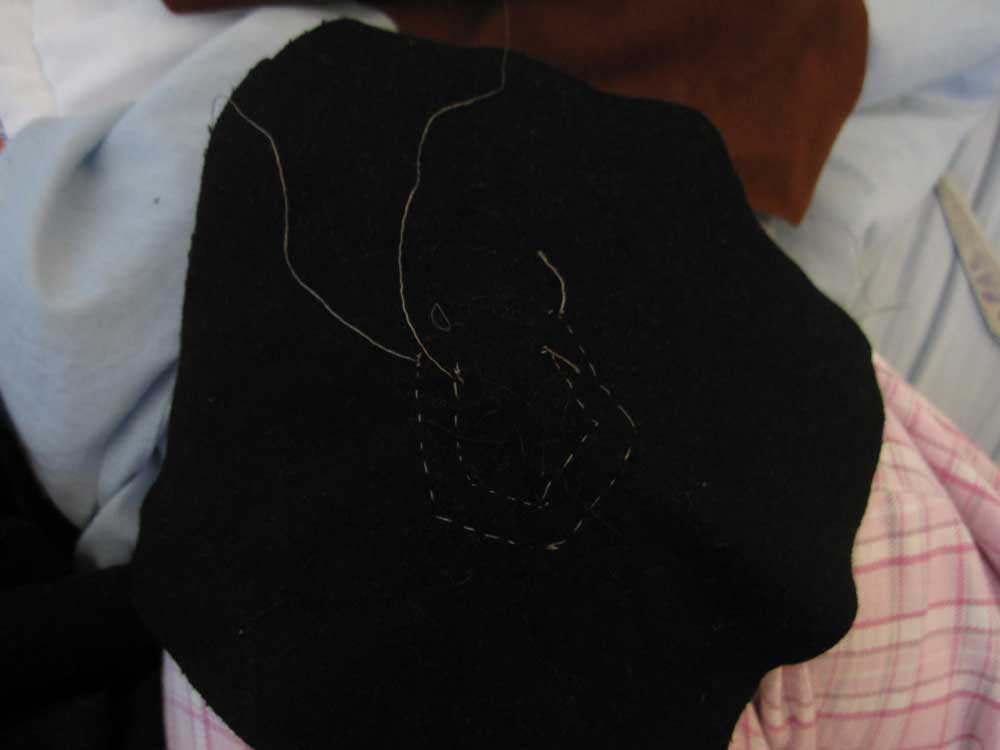
- Here I sewed all the “inside” negative leads together and you can see the pattern the conductive thread makes on the back of the felt. Note: All of the LEDs were arranged so that the negative leads faces the center of the flower while the positive leads faced out of the flower.
- Next, I sewed all the positive leads together with conductive thread.
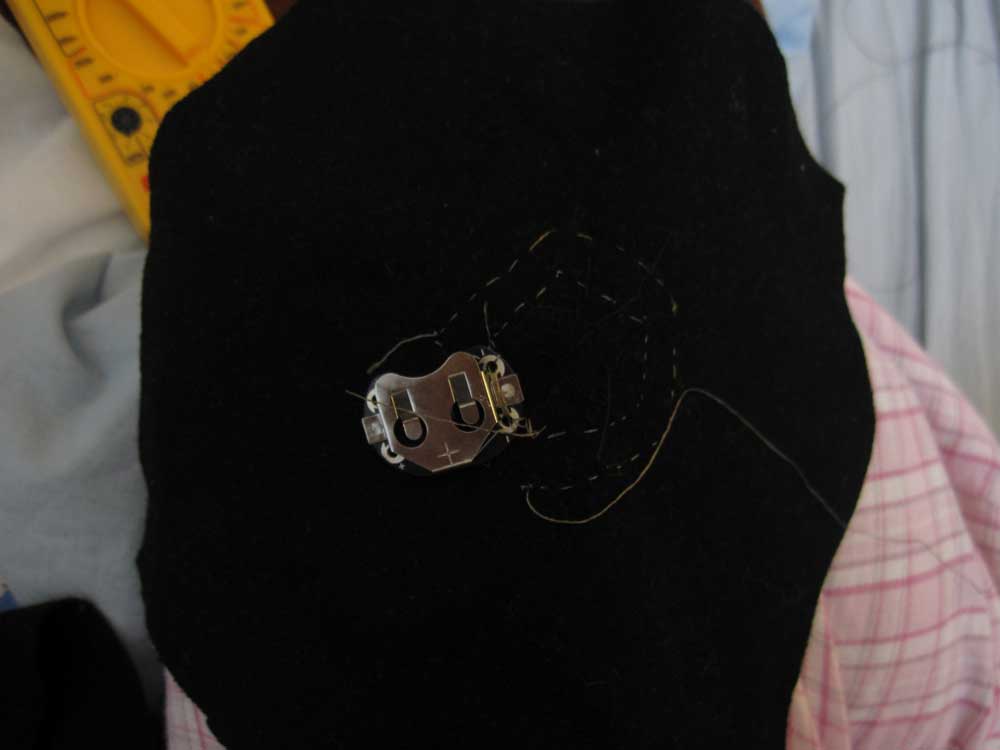
- Then, I sewed on the battery holder.
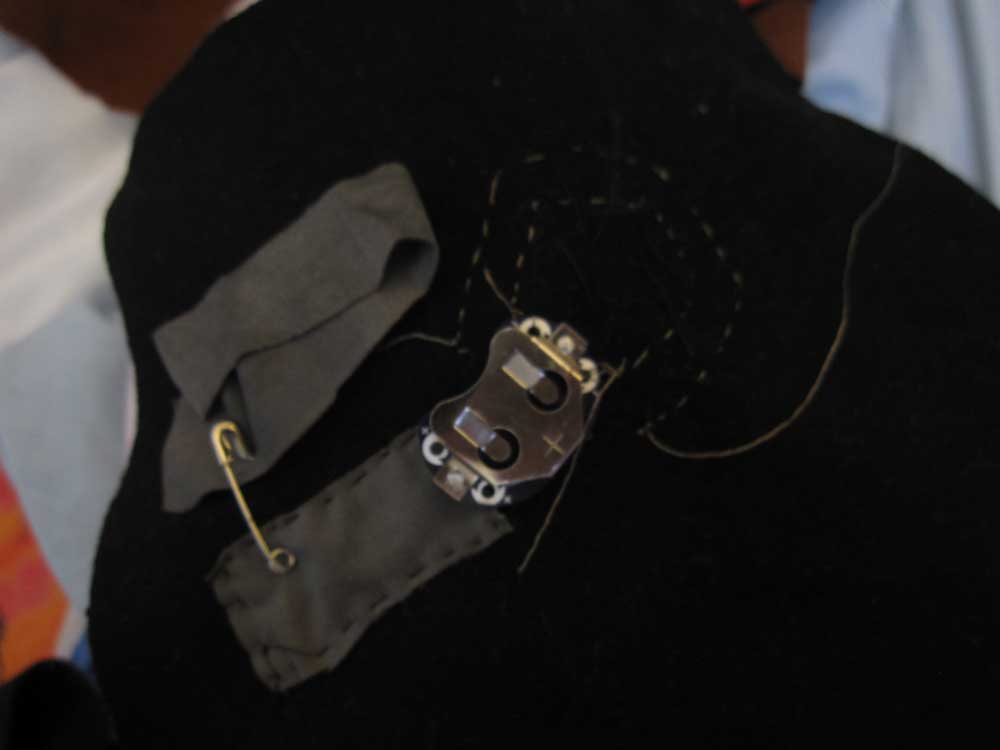
- Next, the switch. I decided to make my switch out of a safety pin and conductive fabric. One strip connects to the positive end of the LEDs and the other strip connects to the positive side of the battery holder. The strips are connected with the safety pin, completing the circuit.

- This is the done project – or so I thought. Unfortunately, there were a few problems. First, I connected the battery holder incorrectly. I accidentally shorted it out by have conductive thread go through both holes on the negative side and overlapping with the metal strip between the two holes. This metal strip is connected to the positive side of the battery holder. I had to correct this before being “finished”. I undid my stitching and made sure to only sew through the holes and not touch that metal strip. Also, once I corrected this. The first LED was very bright, but the last was very dim. To correct for this. I connected both ends of the negative LED circle to the negative end of the battery holder and both ends of the positive led circle to the conductive fabric not touching the battery. Problem solved. Now the LEDs are much more evenly bright.

- This is the actual finished circuit.

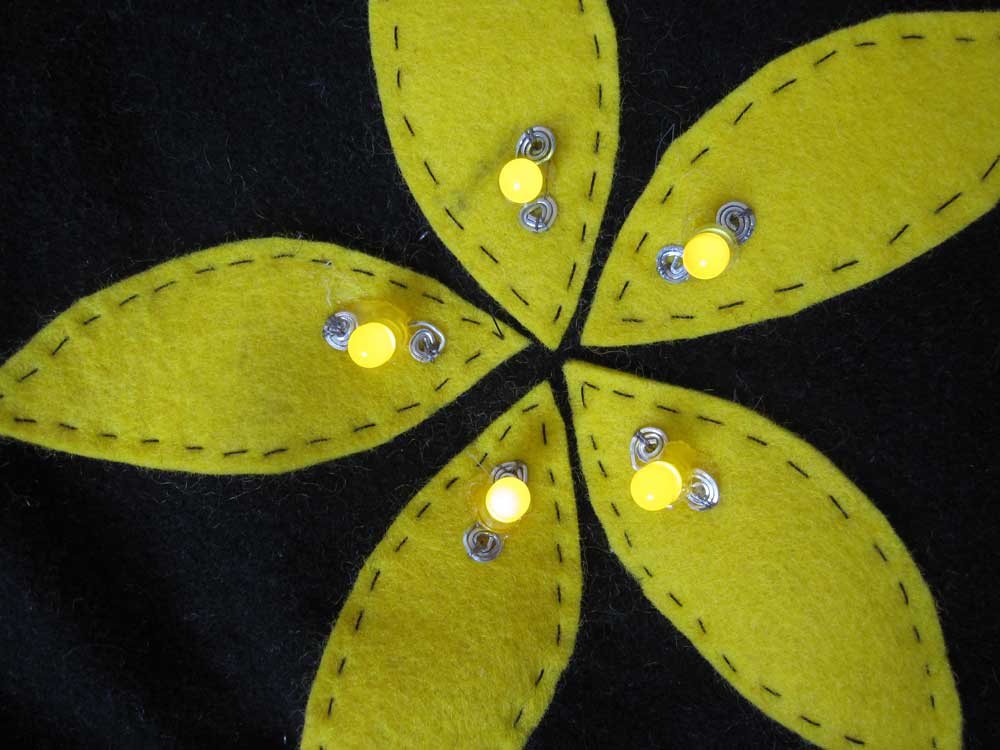
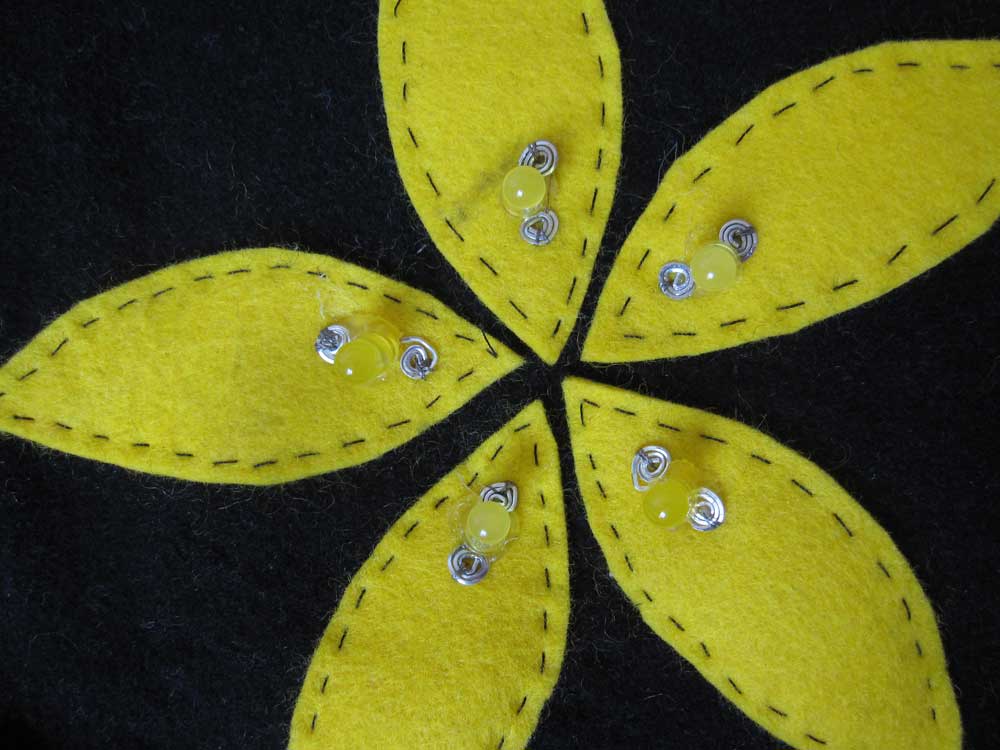
- This is a close-up of how the LEDs are attached on the front of the fabric.
- Finished product.
- Finished product. Turned on.
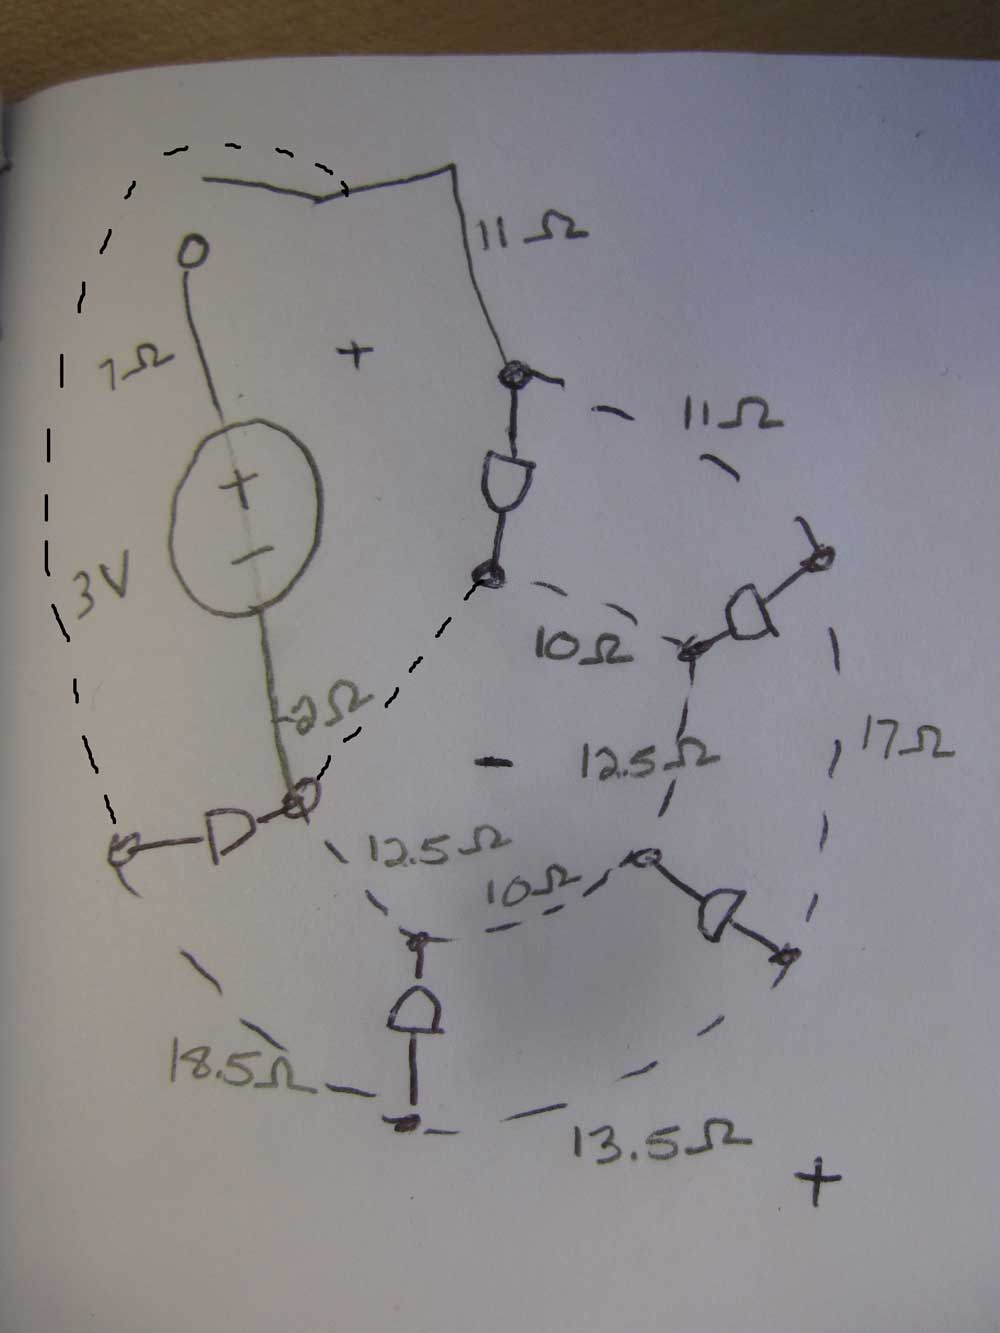
- This is a schematic of the circuit.
Here is a video of the project in action.