New Textiles 2011

Fabric PCB

Due: Tuesday, March 8, 2011
See student fabric PCBs here

For this assignment you will work in pairs to create an artifact that includes a fabric PCB. The artifact should include an ATtiny85 microcontroller, at least two outputs and at least one digital (switch) input. Projects from last year’s class can be found here.

Teams for this assignment are listed below. With your team you should create a post that documents your project and add it to the Fabric PCB category. Your page should include pictures–including at least one close up of your PCB and one image that shows the entire project–a paragraph about your experience, and the Arduino code for your project. Also create a short video of your project in action. Post the video online (vimeo, youtube, etc.) and embed the video in your documentation page.

Bring your project to class on March 8 for demonstrations.

Extra Lab Help + Hours
My student David Mellis will be available from 3-6pm on Friday March 4 to help with Arduino programming. We’ll have extra lab hours from 12-6 on Saturday March 5th.

Teams
Albert Ching and Maria Anna Stangel
Ellann Cohen and Dena Molnar
Heidi Chen and Nicole Tariveridan
Judy (Zheng) Jia and Ilan Moyer
Sheralyn Woon and Crystal Ray

Plarn with a (Woolen) Twist

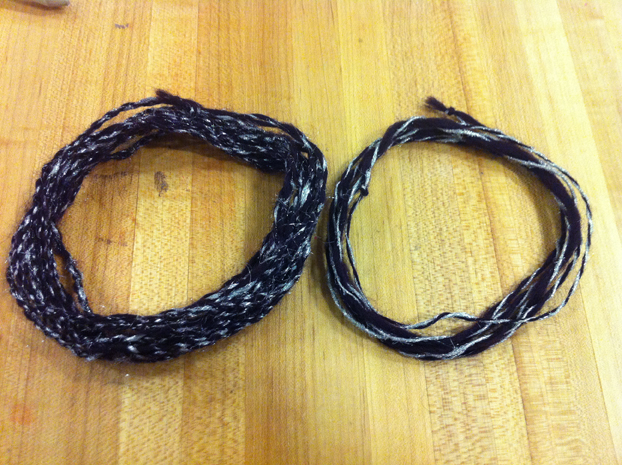
Looking to find a second life for some of my trash, I was inspired by the many sustainable craft blogs that are out there, and wanted to try making my own yarn out of plastic bags, or plarn, as it is affectionately called.  However, there were two key features of the plarn that made it quite unpleasant to me:

  1. Plarn when woven or knitted tends to produce a fabric which looks cheap (at least to me) and has an “artificial” hand feel.  It is rough and uninviting to touch.
  2. Plarn when spun took on a quality like coarse rope.

Hence, I came up with the idea to make a hybrid plarn with materials that would make it feel softer and look more aesthetically pleasing.  I wanted the final yarn to be similar to the more “traditional” yarns of cotton or wool, while simultaneously upcycling some of what would otherwise end up in the landfill.

Read the rest of this entry »

Judy’s shining yarn

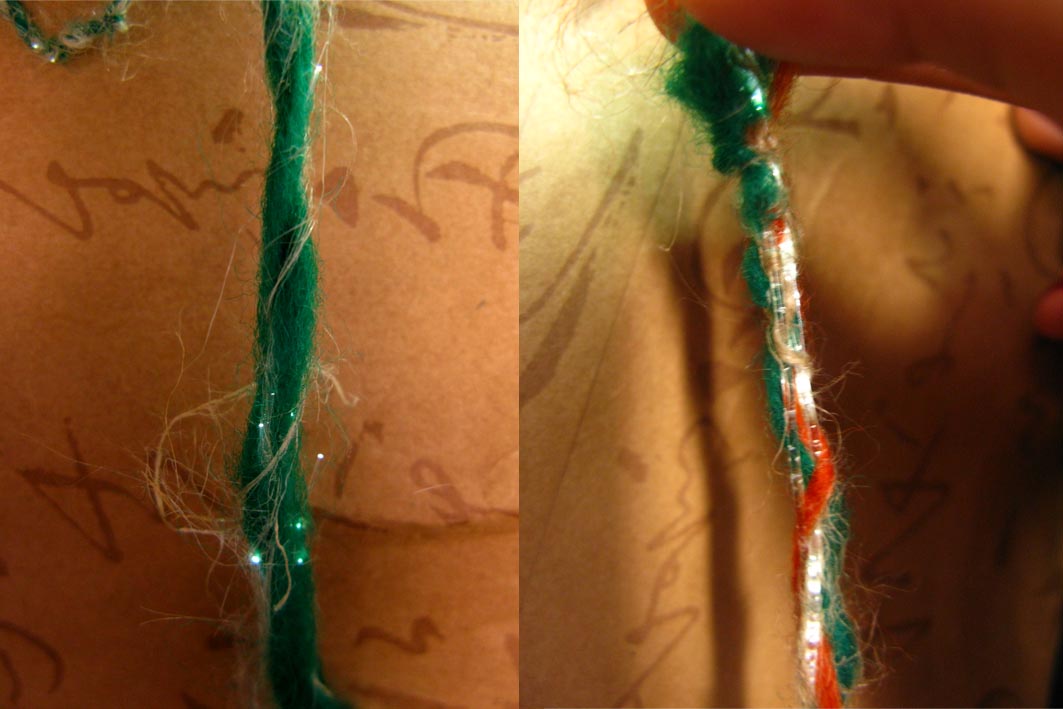
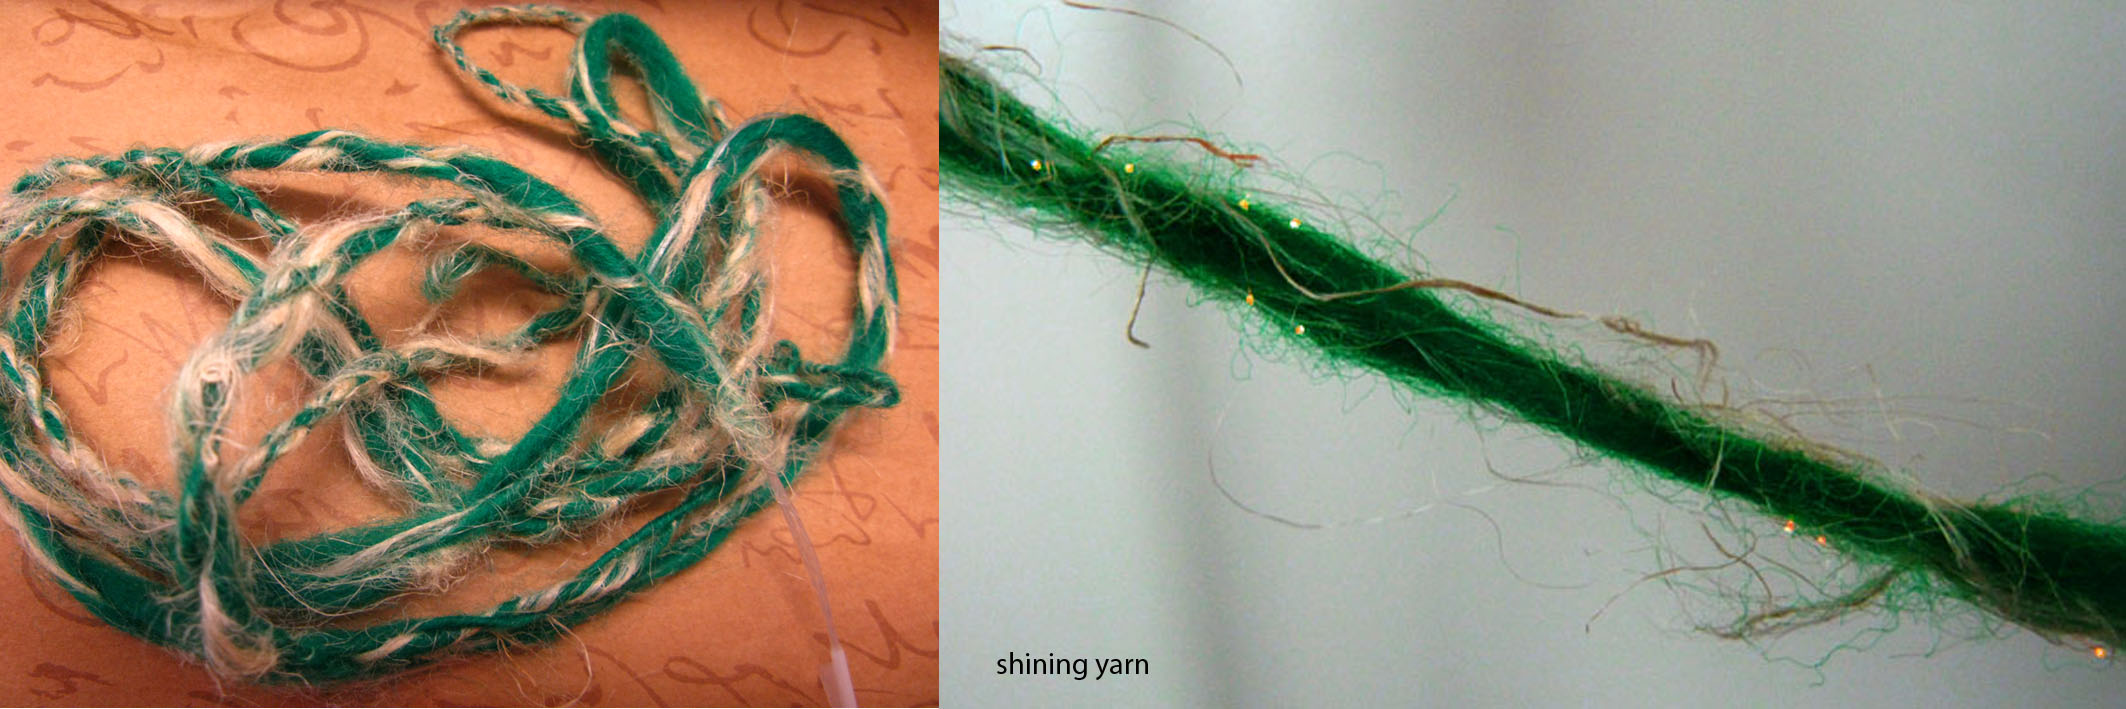
I’m interested in traditional weaving combined with the modern technology. I initially wanted to make a luminous yarn. However after long time try I found that using optical fibers could only produce shining points. So up to now I create a shining yarn instead. It can be used in art works or decorations for the holidays.

My yarn is constructed on wool, hemp and optical fibers. The optical fiber is 0.25mm in diameter. I twisted 15 optical fibers in different length with wool and hemp. The optical fibers are almost invisible if you do not check very closly at the yarn. Then when you light up an LED at the end of the optical fibers, shining points will be dotted along the yarn.

Observation & Measurements of the shining yarn:
length: 2 yards
twist direction: S
2 ply
fiber length: wool: 3-5inches, hemp: 4-6 inches, optical fiber: filament
diameter: 3-6 mm
conductivity: no

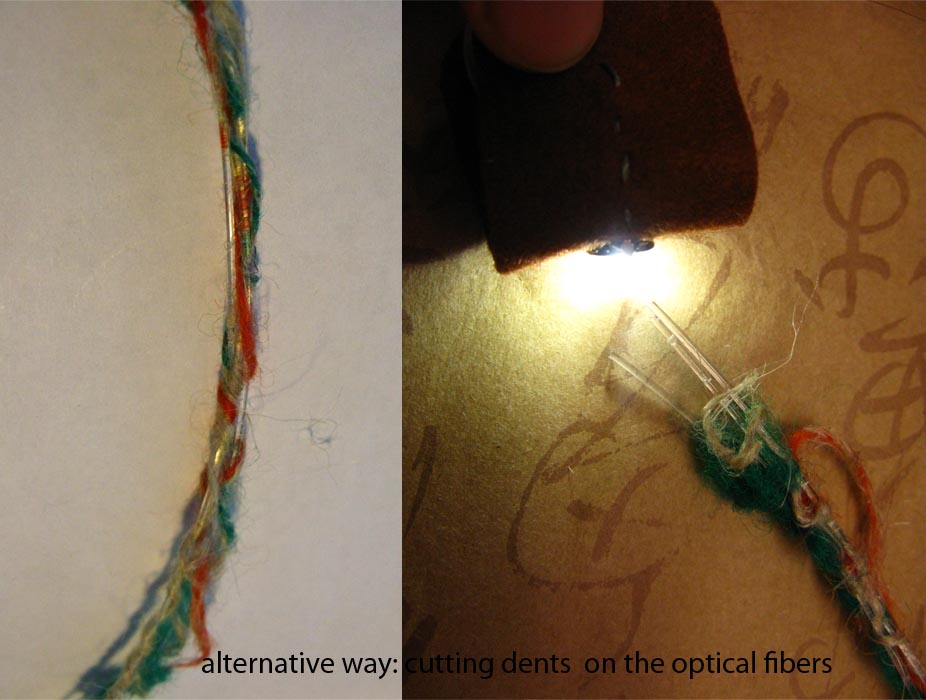
I tried an alternative way of making the shining yarn. I used the 3 pieces of 1mm optical fibers and cut dents along them. Then I twisted wool and hemp along each of them. I braided the three plies together to make a thicker yarn. I used the LED at both ends but the light could only travel less than 20 mm. This character limits the length of the yarn, though it is beautiful!

Measurement of the alternative yarn:
length: 20 inches
twisted direction: S
3 ply braid
diameter:5mm
conductivity: no

Plug-in Yarn

Plug-in Yarn

During the spinning class with Kanjun, I experimented with spinning different fibers such as cotton, hemp, bamboo and aluminum. Over the weekend, while doing research for my thesis, I became inspired by Archigram’s plug-in work ( i.e. Plug-in Capsule Home, Montreal Tower, Plug-in City, University Node, Gasket Homes and Plug-in Clip) and I created a plug-in yarn.

Read the rest of this entry »

Plied conductive yarn

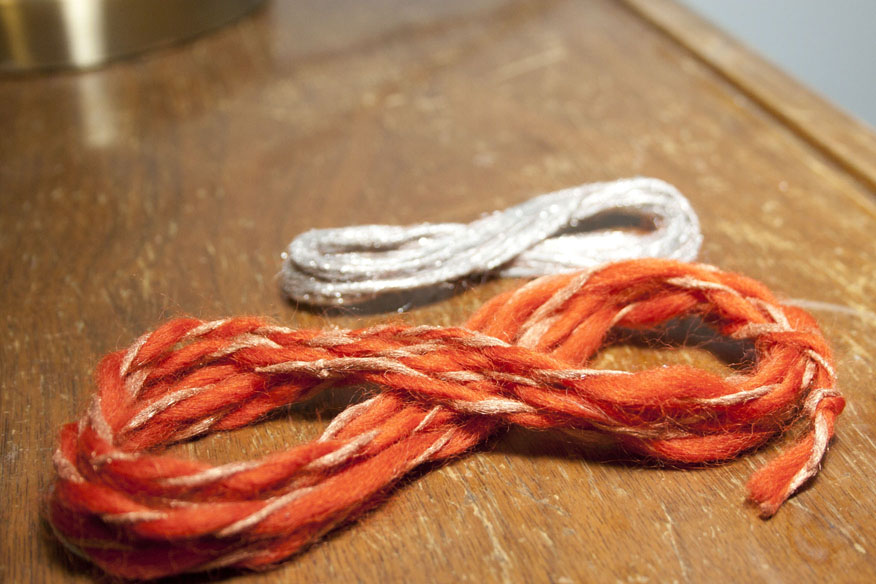
Foreground: Plied copper and wool yarn; Background: 100% Conductive yarn

For this project, I produced 2 yarns, one with 100% conductivity, and the other, less so due to the use of blended fibers.  The final yarn (forground) is a 2 ply copper and wool blend. The plies were produced by spinning roving into yarn on a traditional drop spindle. The goal was to produce yarn that maintained a natural aesthetic, while allowing for a degree of conductivity. The conductive properties enable the yarn to be used in circuit dependent applications.

Yarn Specifications:

Ply- 2 ply; Diameter- 2000-4000 micrometeres; length- 2 yards; twist direction- S; turns per inch- 2; fiber length (copper)- 3000 micrometers; fiber length (wool)- 6000 micrometers.

Braided Ribbon Cable

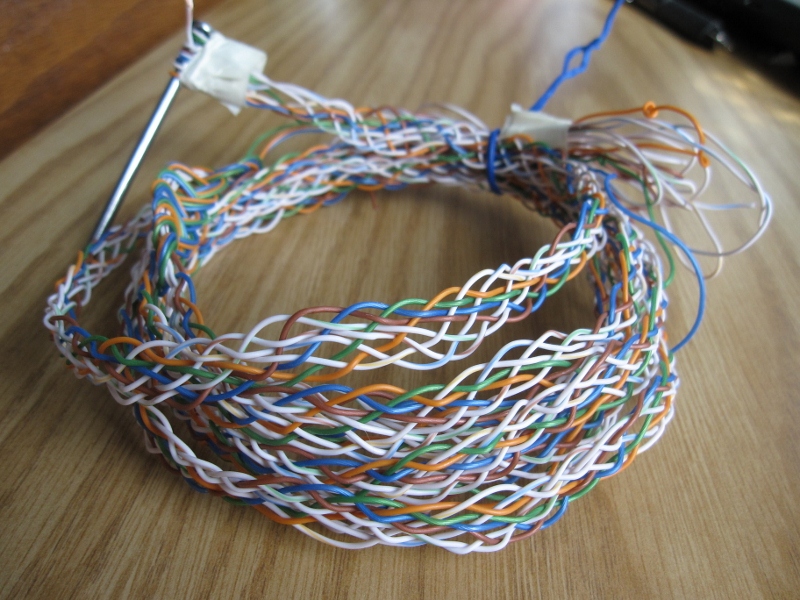
A very convenient way to connect two separate electrical pieces is with a ribbon cable. The typical ribbon cable that I’ve run into is gray and very boring. It consists of many wires laid out side by side and then bonded together to make a flat strip. I decided to try and make my own by braided several wires together. The steps I followed to make the cable are outlined in the photos below.
Read the rest of this entry »

Albert’s Gilded Organic Yarns

I never understood the age-old fascination with alchemy until I gilded my first organic yarn.  The smell was noxious, the gold coloring was everywhere and by the end of the afternoon, I had transformed 3 beautiful organic fibers into something gleaming to the eyes but slimy to the touch and an assault on the nose.

Gilding Bamboo

Read the rest of this entry »

AllumiYarn: Conductive Aluminum Yarn

I have always been interested in the history of weaving. It is such an old, amazing technique used by women all over the word to make fibers into fabric. Last monday I was inspired by our workshop and am really enjoying the process of spinning. It feels magical and also meditative.
Read the rest of this entry »

E = mc2 (Optical Conductive yarn)

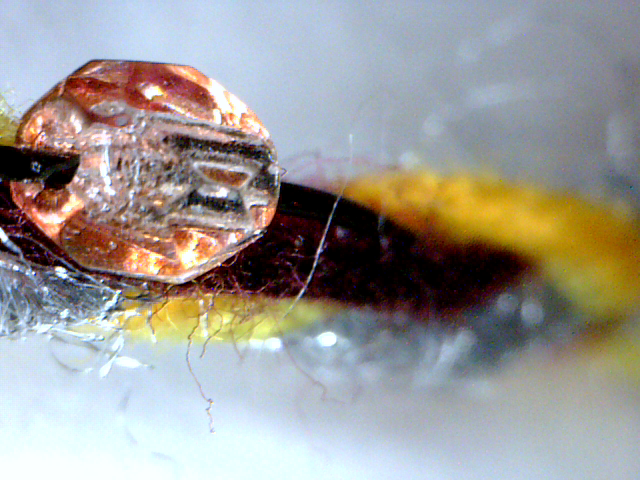
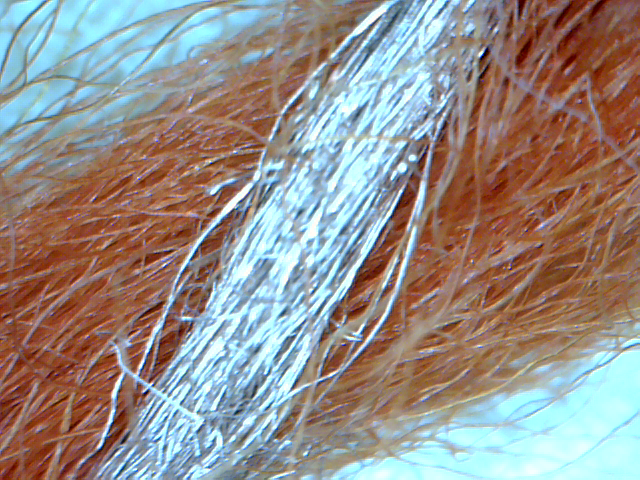
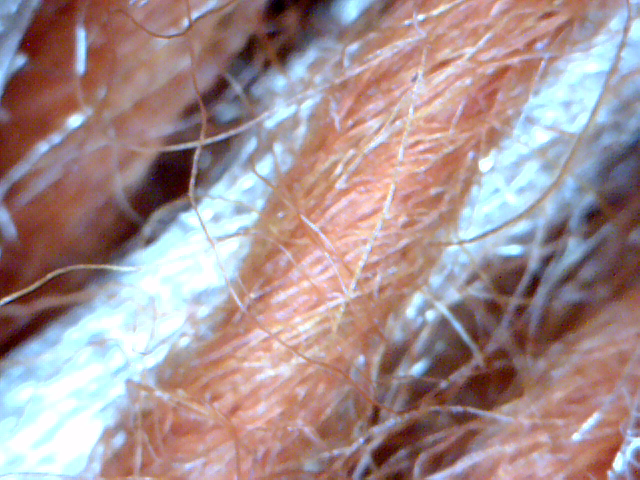
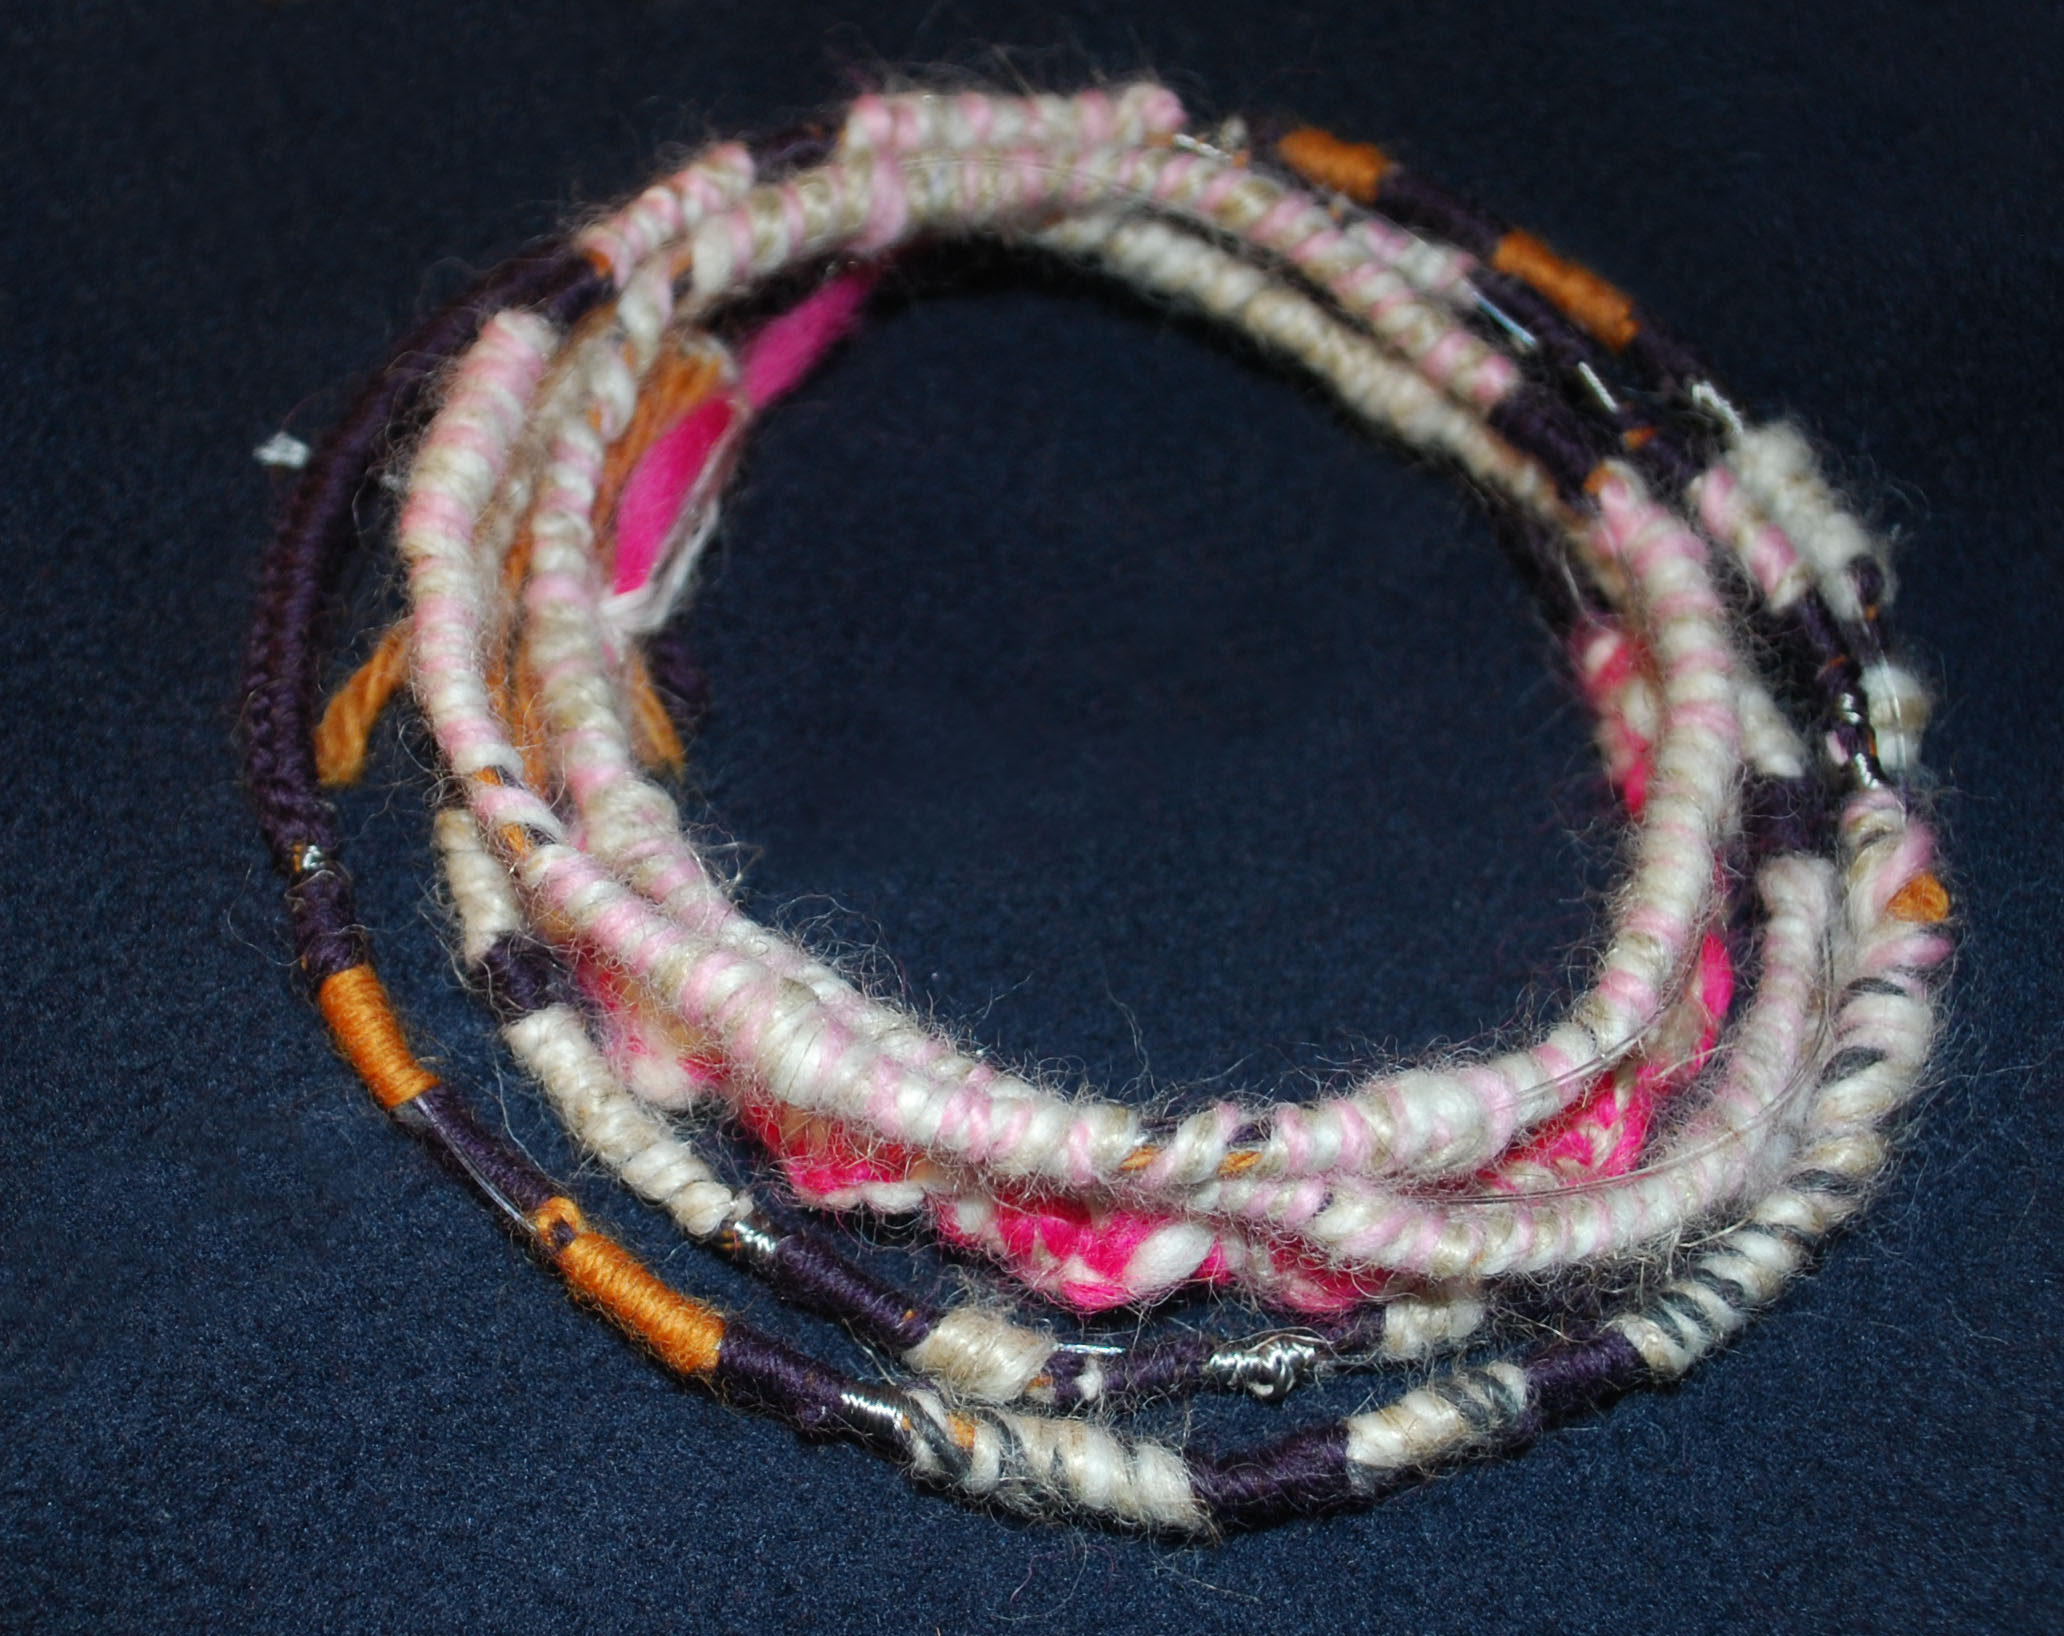
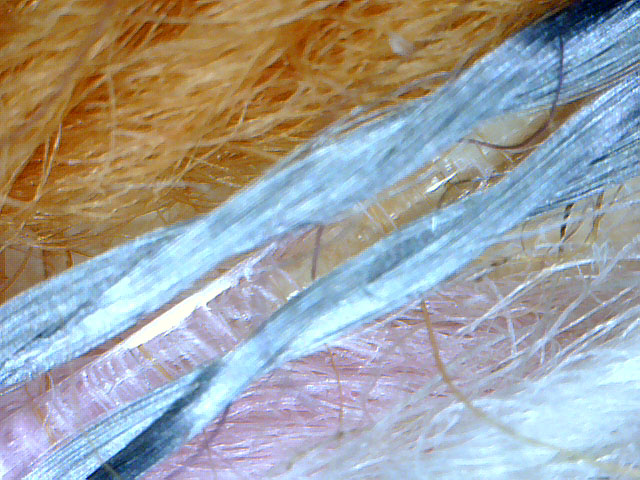
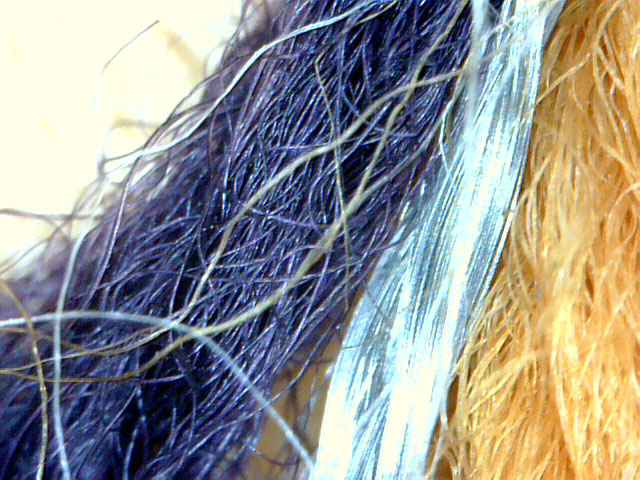
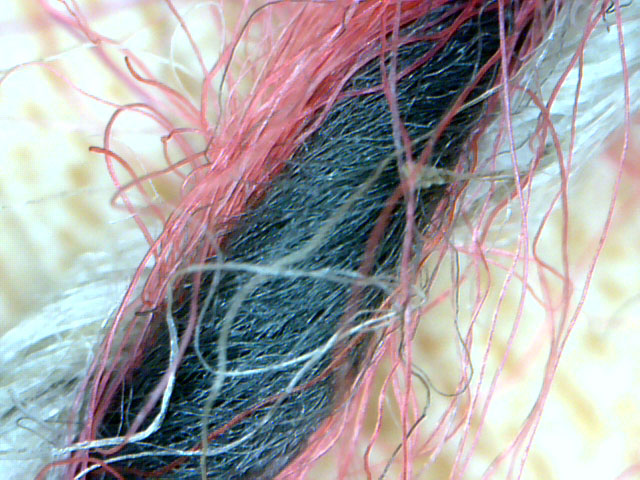
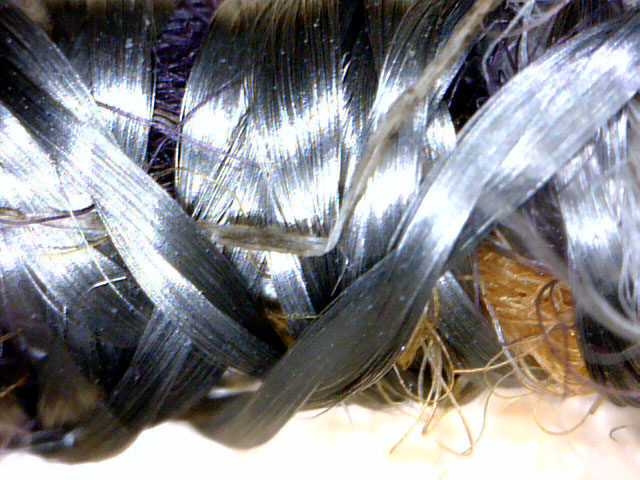
The idea behind this was to have 2 channels of energy going through yarn: light and electricity. The Conductive Optical yarn was created using macrame knotting techniques. The insulation is a mixture of  wool, hemp and burnt bamboo handspun into a 2 ply strand. The photos taken under the microscope show these different materials before and after the final strand was tied together with stainless steel.

At different points of the yarn, there are conductive points at the surface to leave the ends free for the introduction of 2 light sources. The sides of the fiber optic cable have been scored for light to be emitted.

Measurements:

Length: 2 Yards

Design: Mantle-core

Technique: Macramé

Fiber used: Wool, Hemp, Optical Fiber, Stainless Steel, Burnt Bamboo

Diameter: 5 – 8 mm

Yarn Assignment

yarn yarn
yarn yarn

Read the rest of this entry »

Laser Cutter Tutorial Sign Up

Sign up for a laser-cutter and fabric PCB tutorial here by adding your name to the google spreadsheet under your preferred date & time. Read the rest of this entry »

Spinning Tutorial with KanJun Qiu

spinning

KanJun Qiu will teach a spinning tutorial on Monday February 21st from 2-5pm in the High-Low Tech lab. Come if you are interested in learning how to hand spin yarn using a spindle. If you can’t make it to this session, there are lots of good tutorials online. Here’s a nice instructable from my old Colorado colleague Ali Crocket and here’s a good video tutorial.