Author Archives: evanb

The Magic Mirror

Introduction:
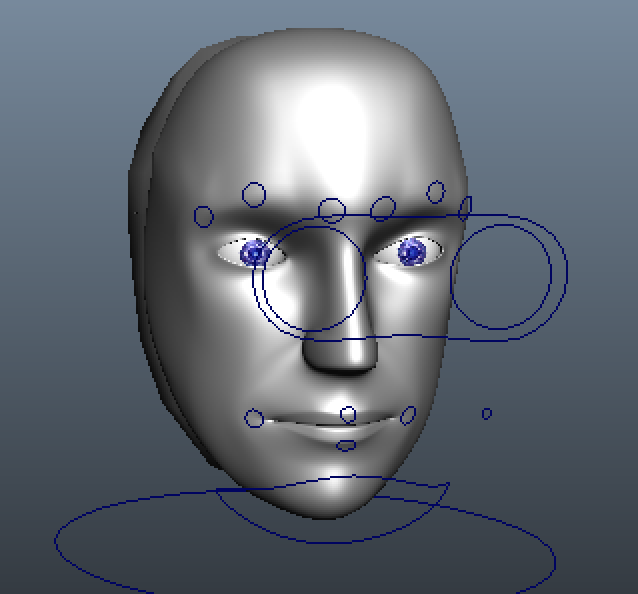
The Magic Mirror is a spin off of my previous work with facial animation from last week. However I made a massive jump from purely digital art, modeling and animation to a full on software application for live facial recognition. This project is inspired by the sassy character in Dreamwork’s Shrek, but any image with a clear picture of a face in it could be used with the facial recognition algorithm I’m using.

Resources:
The open source github of what I have done can be found at: https://github.com/emvanb/MagicMirror
This work builds upon Kyle McDonald’s ofxFaceTracker and aturo’s FaceSubstituion libraries.

My Experiences:
This project was a pretty extreme stretch for me. Especially since when I proposed this idea, I didn’t yet know that facial image recognition and capture would be such a niche field with software that costs up to $10,000. Me being a naive but passionate CS undergrad at MIT, I should have recognized that I was a little in over my head.

when I started this project, I figured it would be difficult, but not infeasible. After many hours of researching on the web, and asking companies for free trials of their software, I realized that this mirror might be closer to infeasible than difficult.
I had done work with capturing body movements before with the XBOX Kinect for another Media Lab project called BodyPaint:
https://www.youtube.com/watch?v=Em9zXr30LlE
It was my mistake to assume capturing the motion of an arm or foot would be similar, since facial recognition is in the art of detail. Instead of using the XBOX Kinect, it seemed like just focusing on detailed images from a camera would be my best shot.

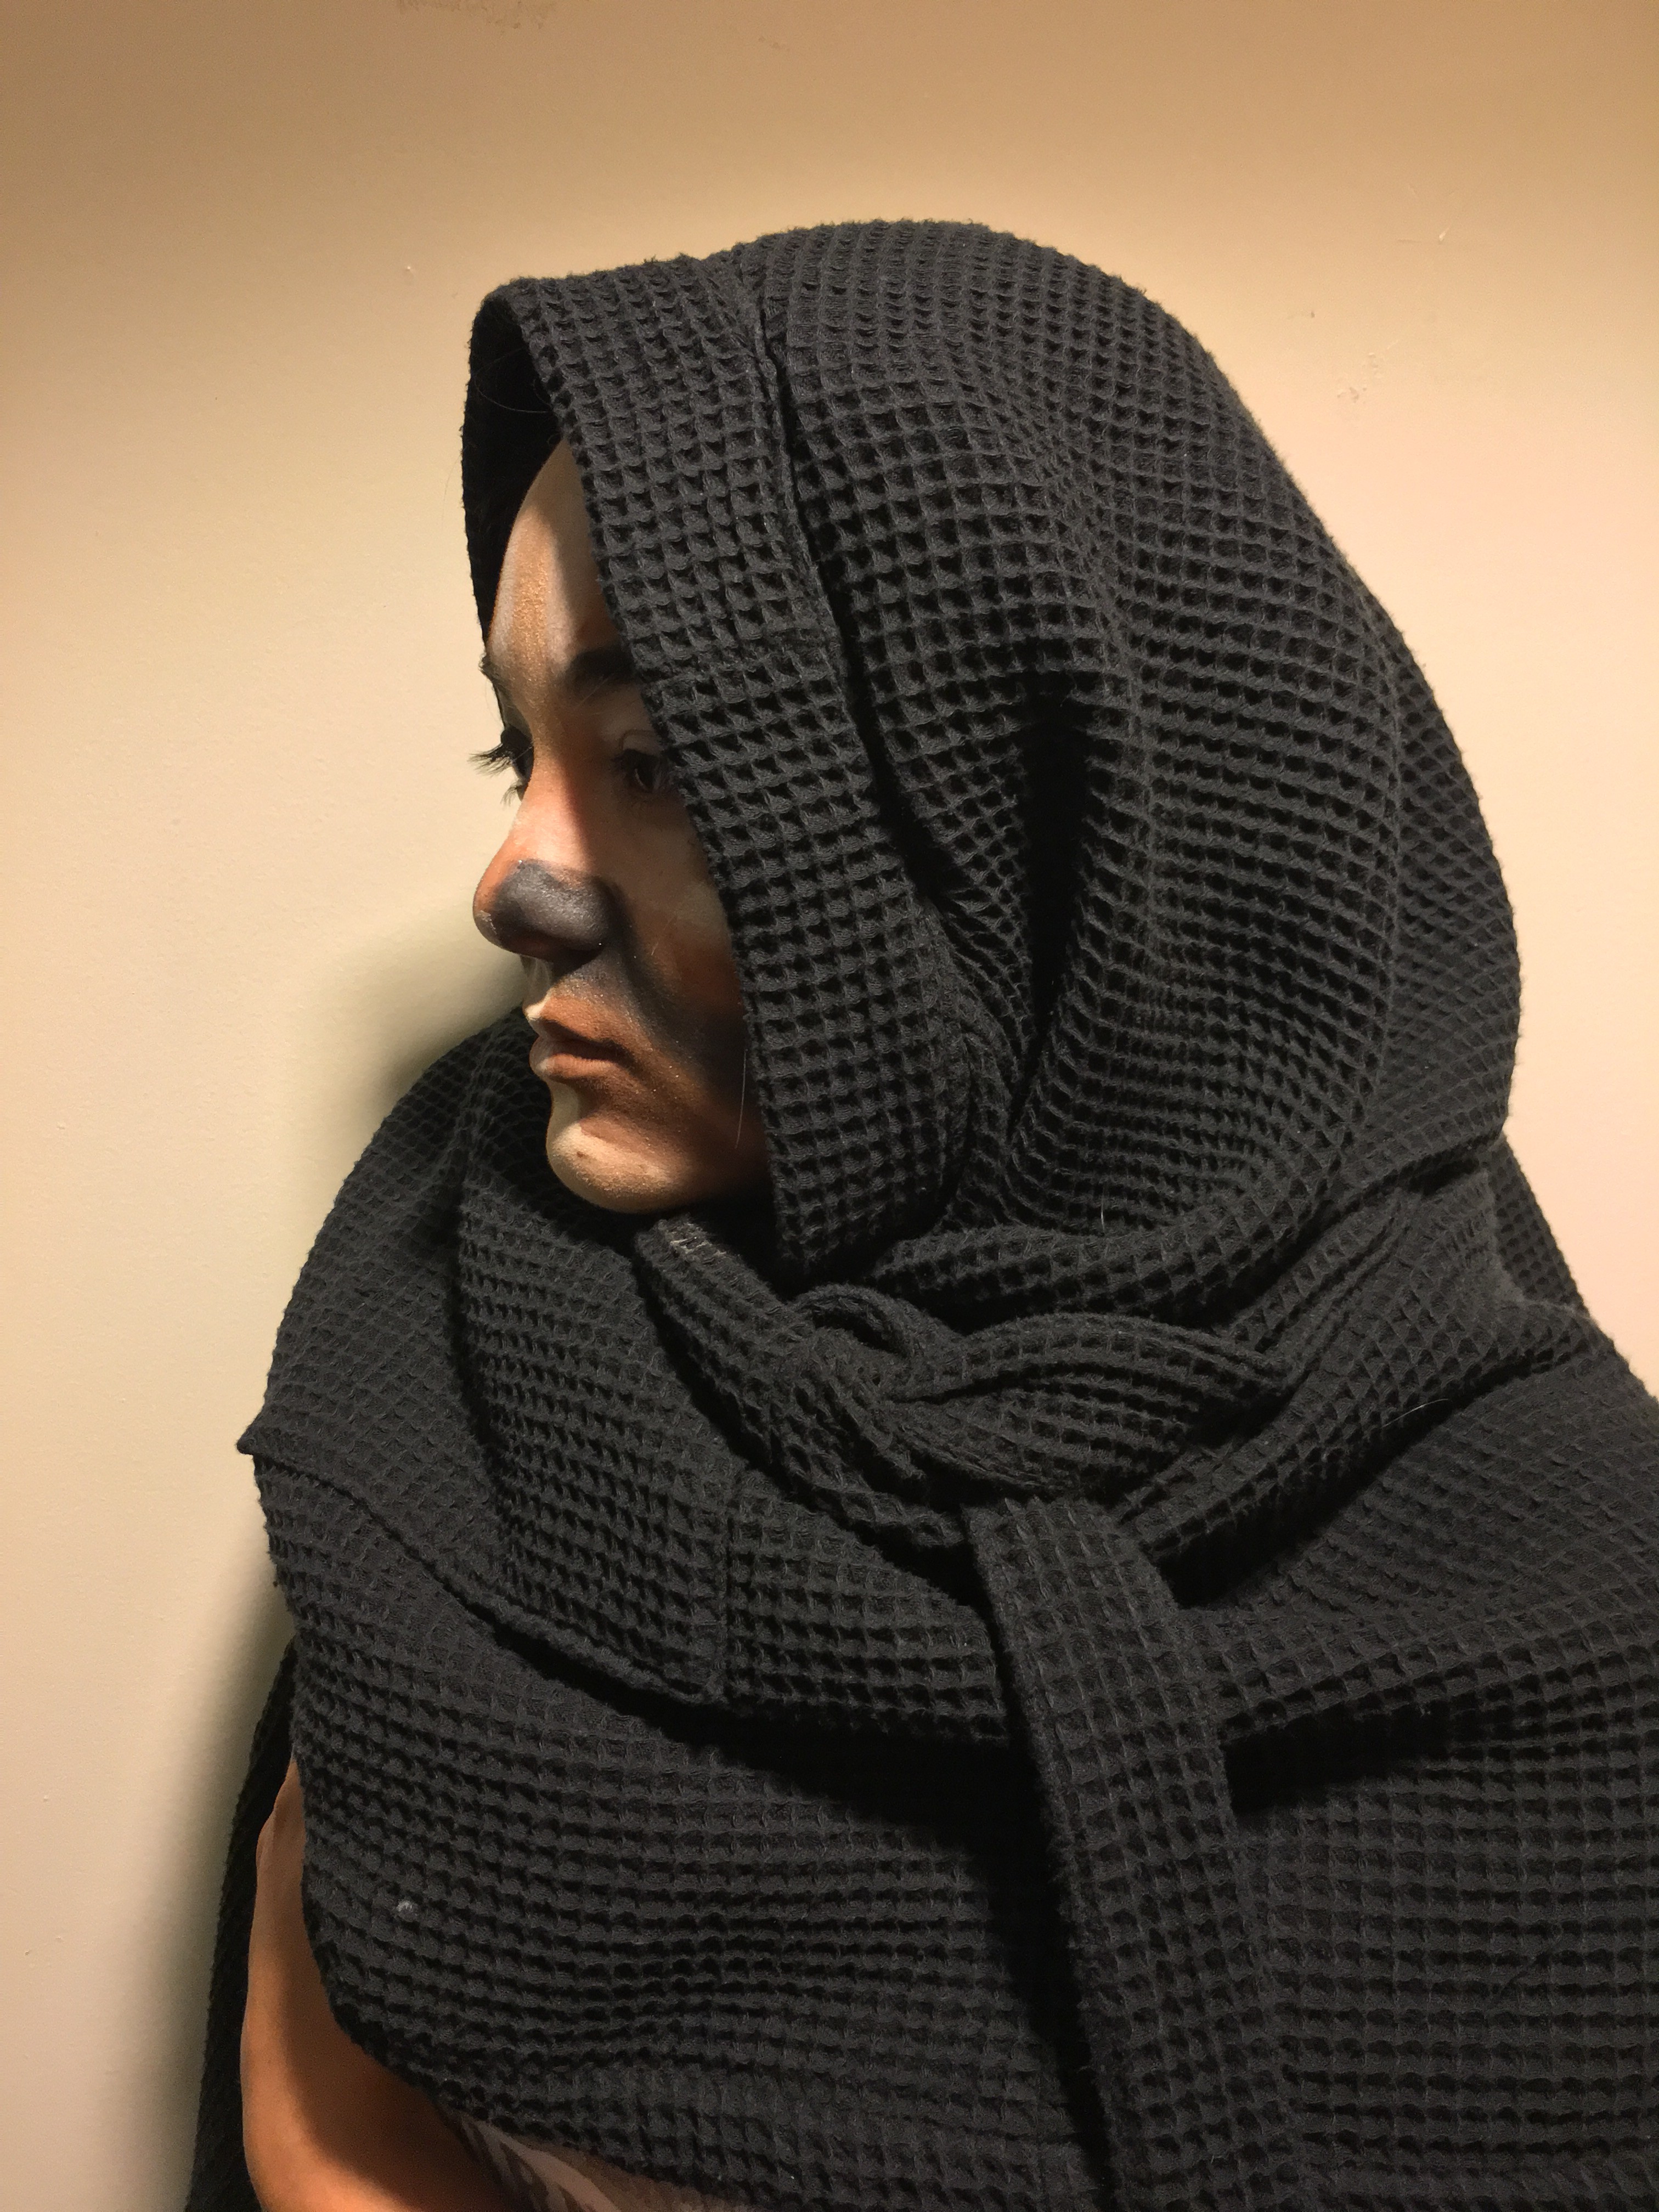
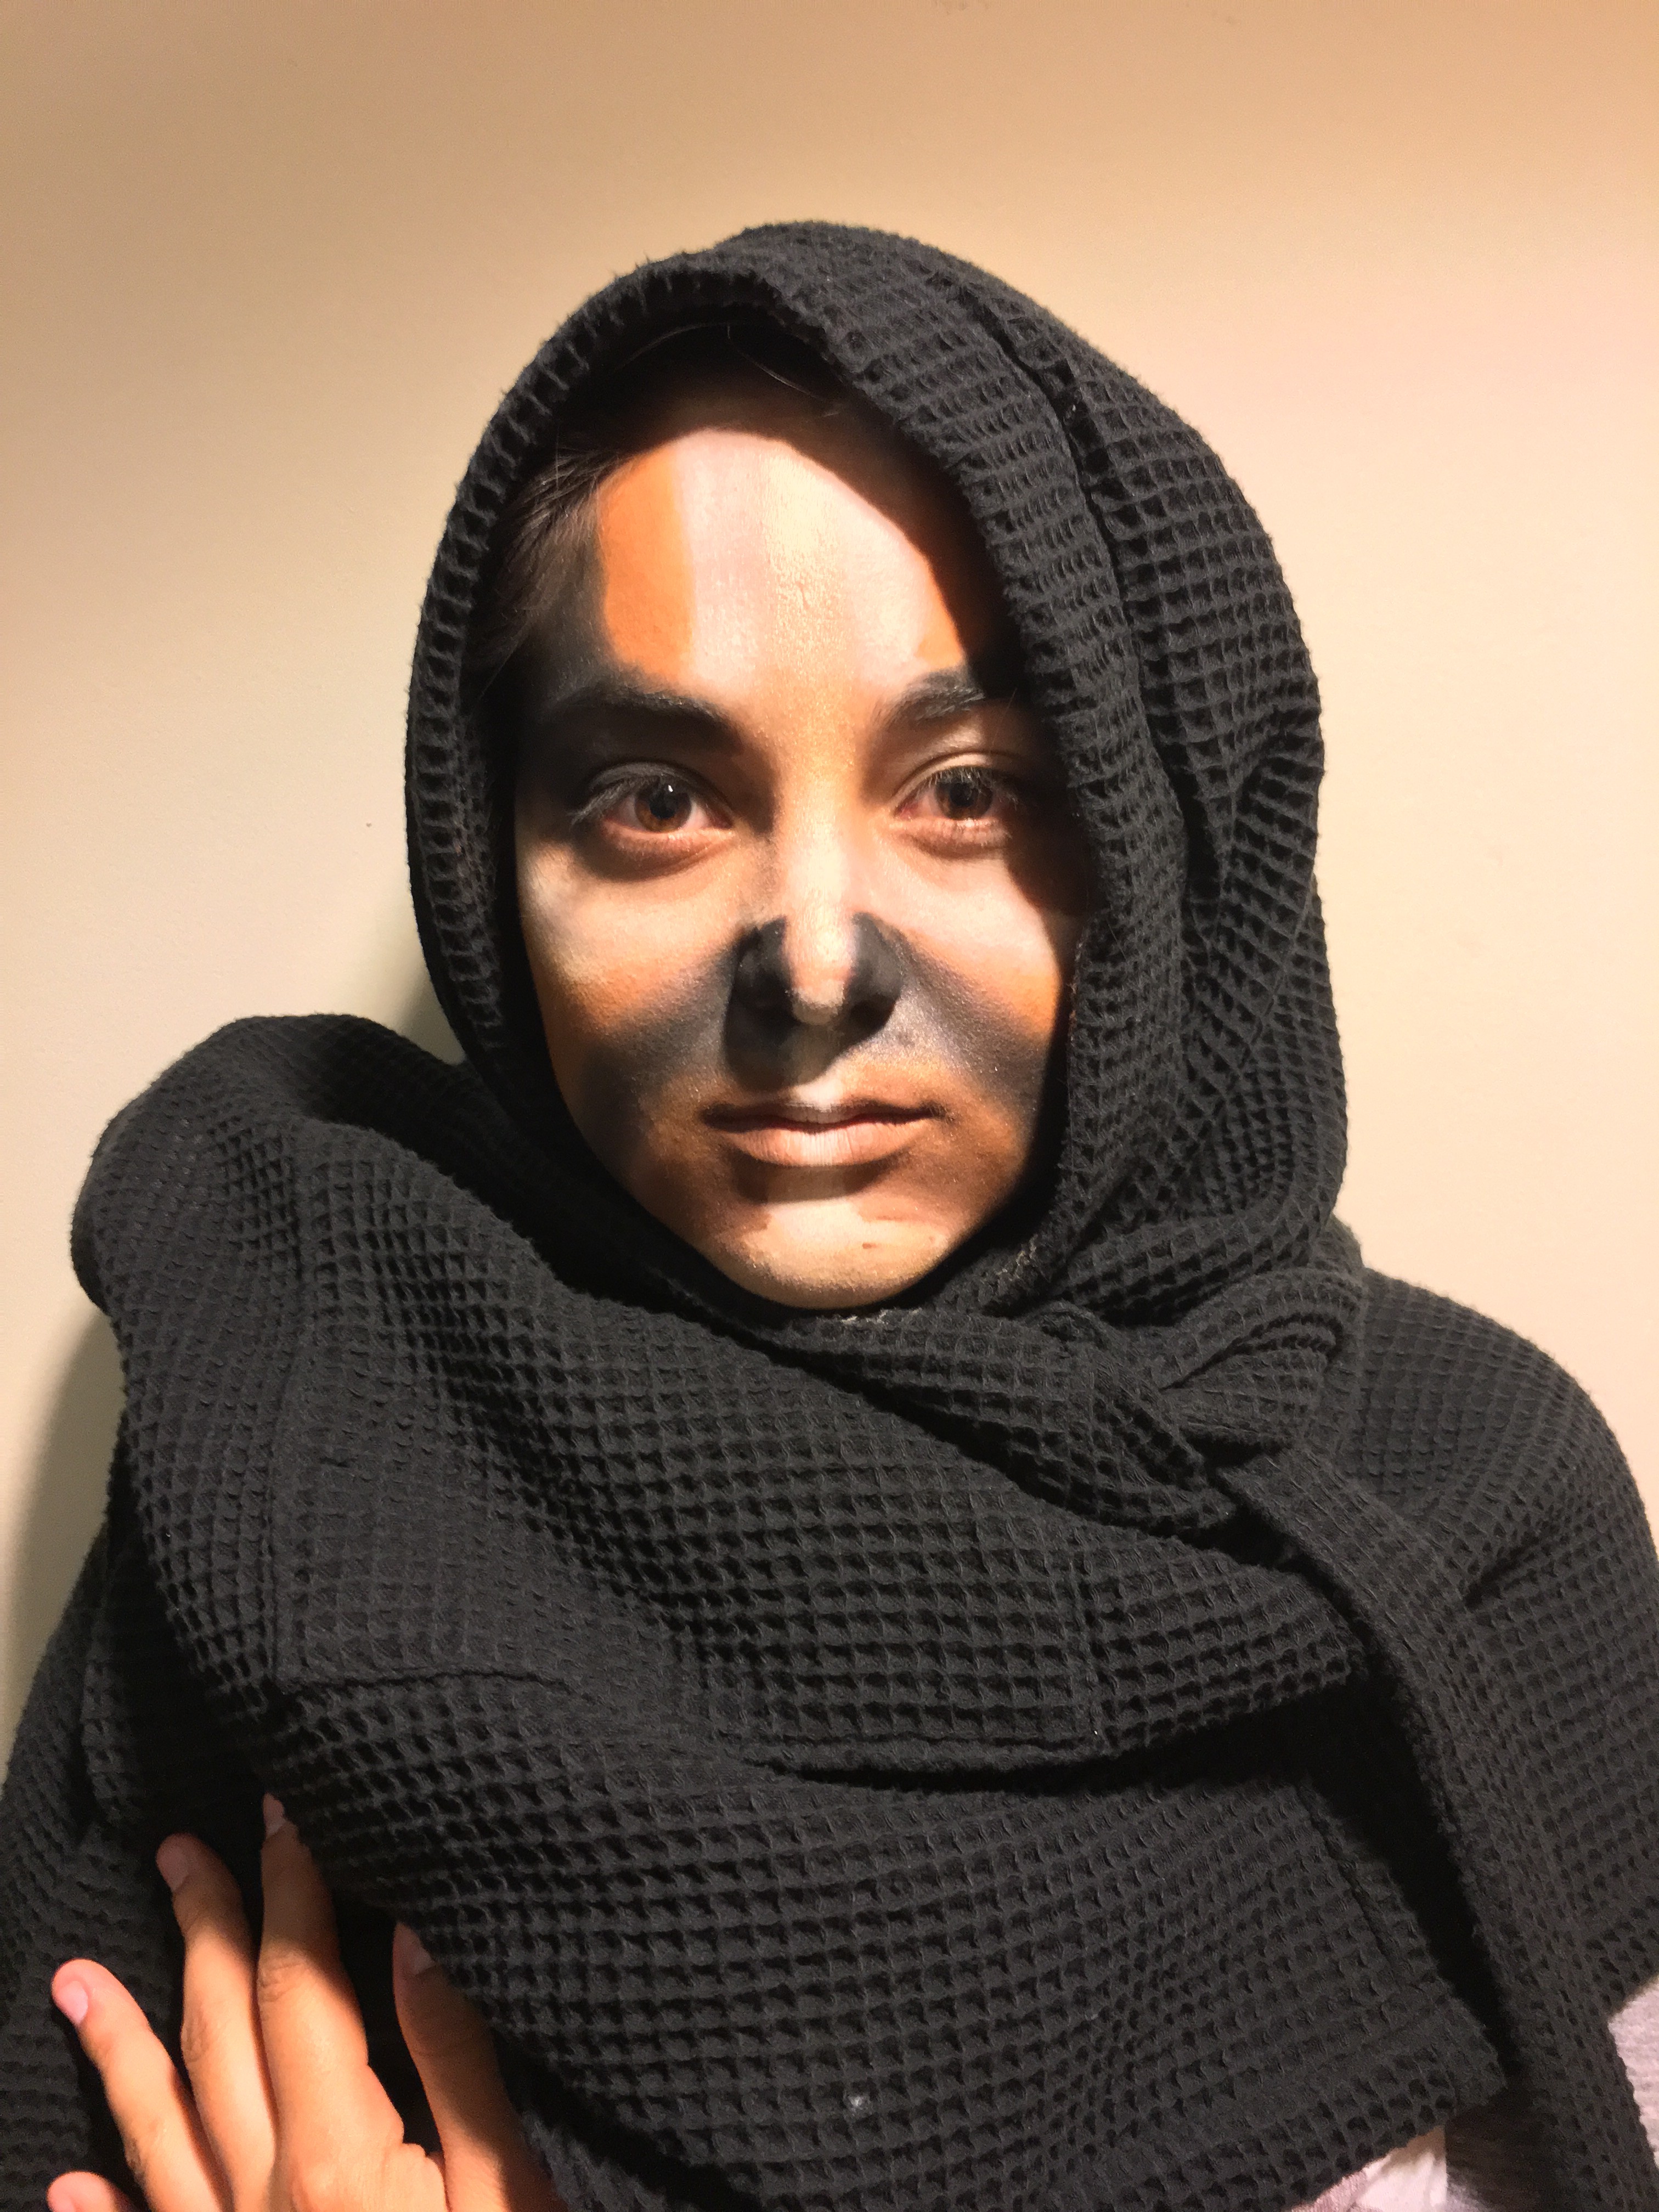
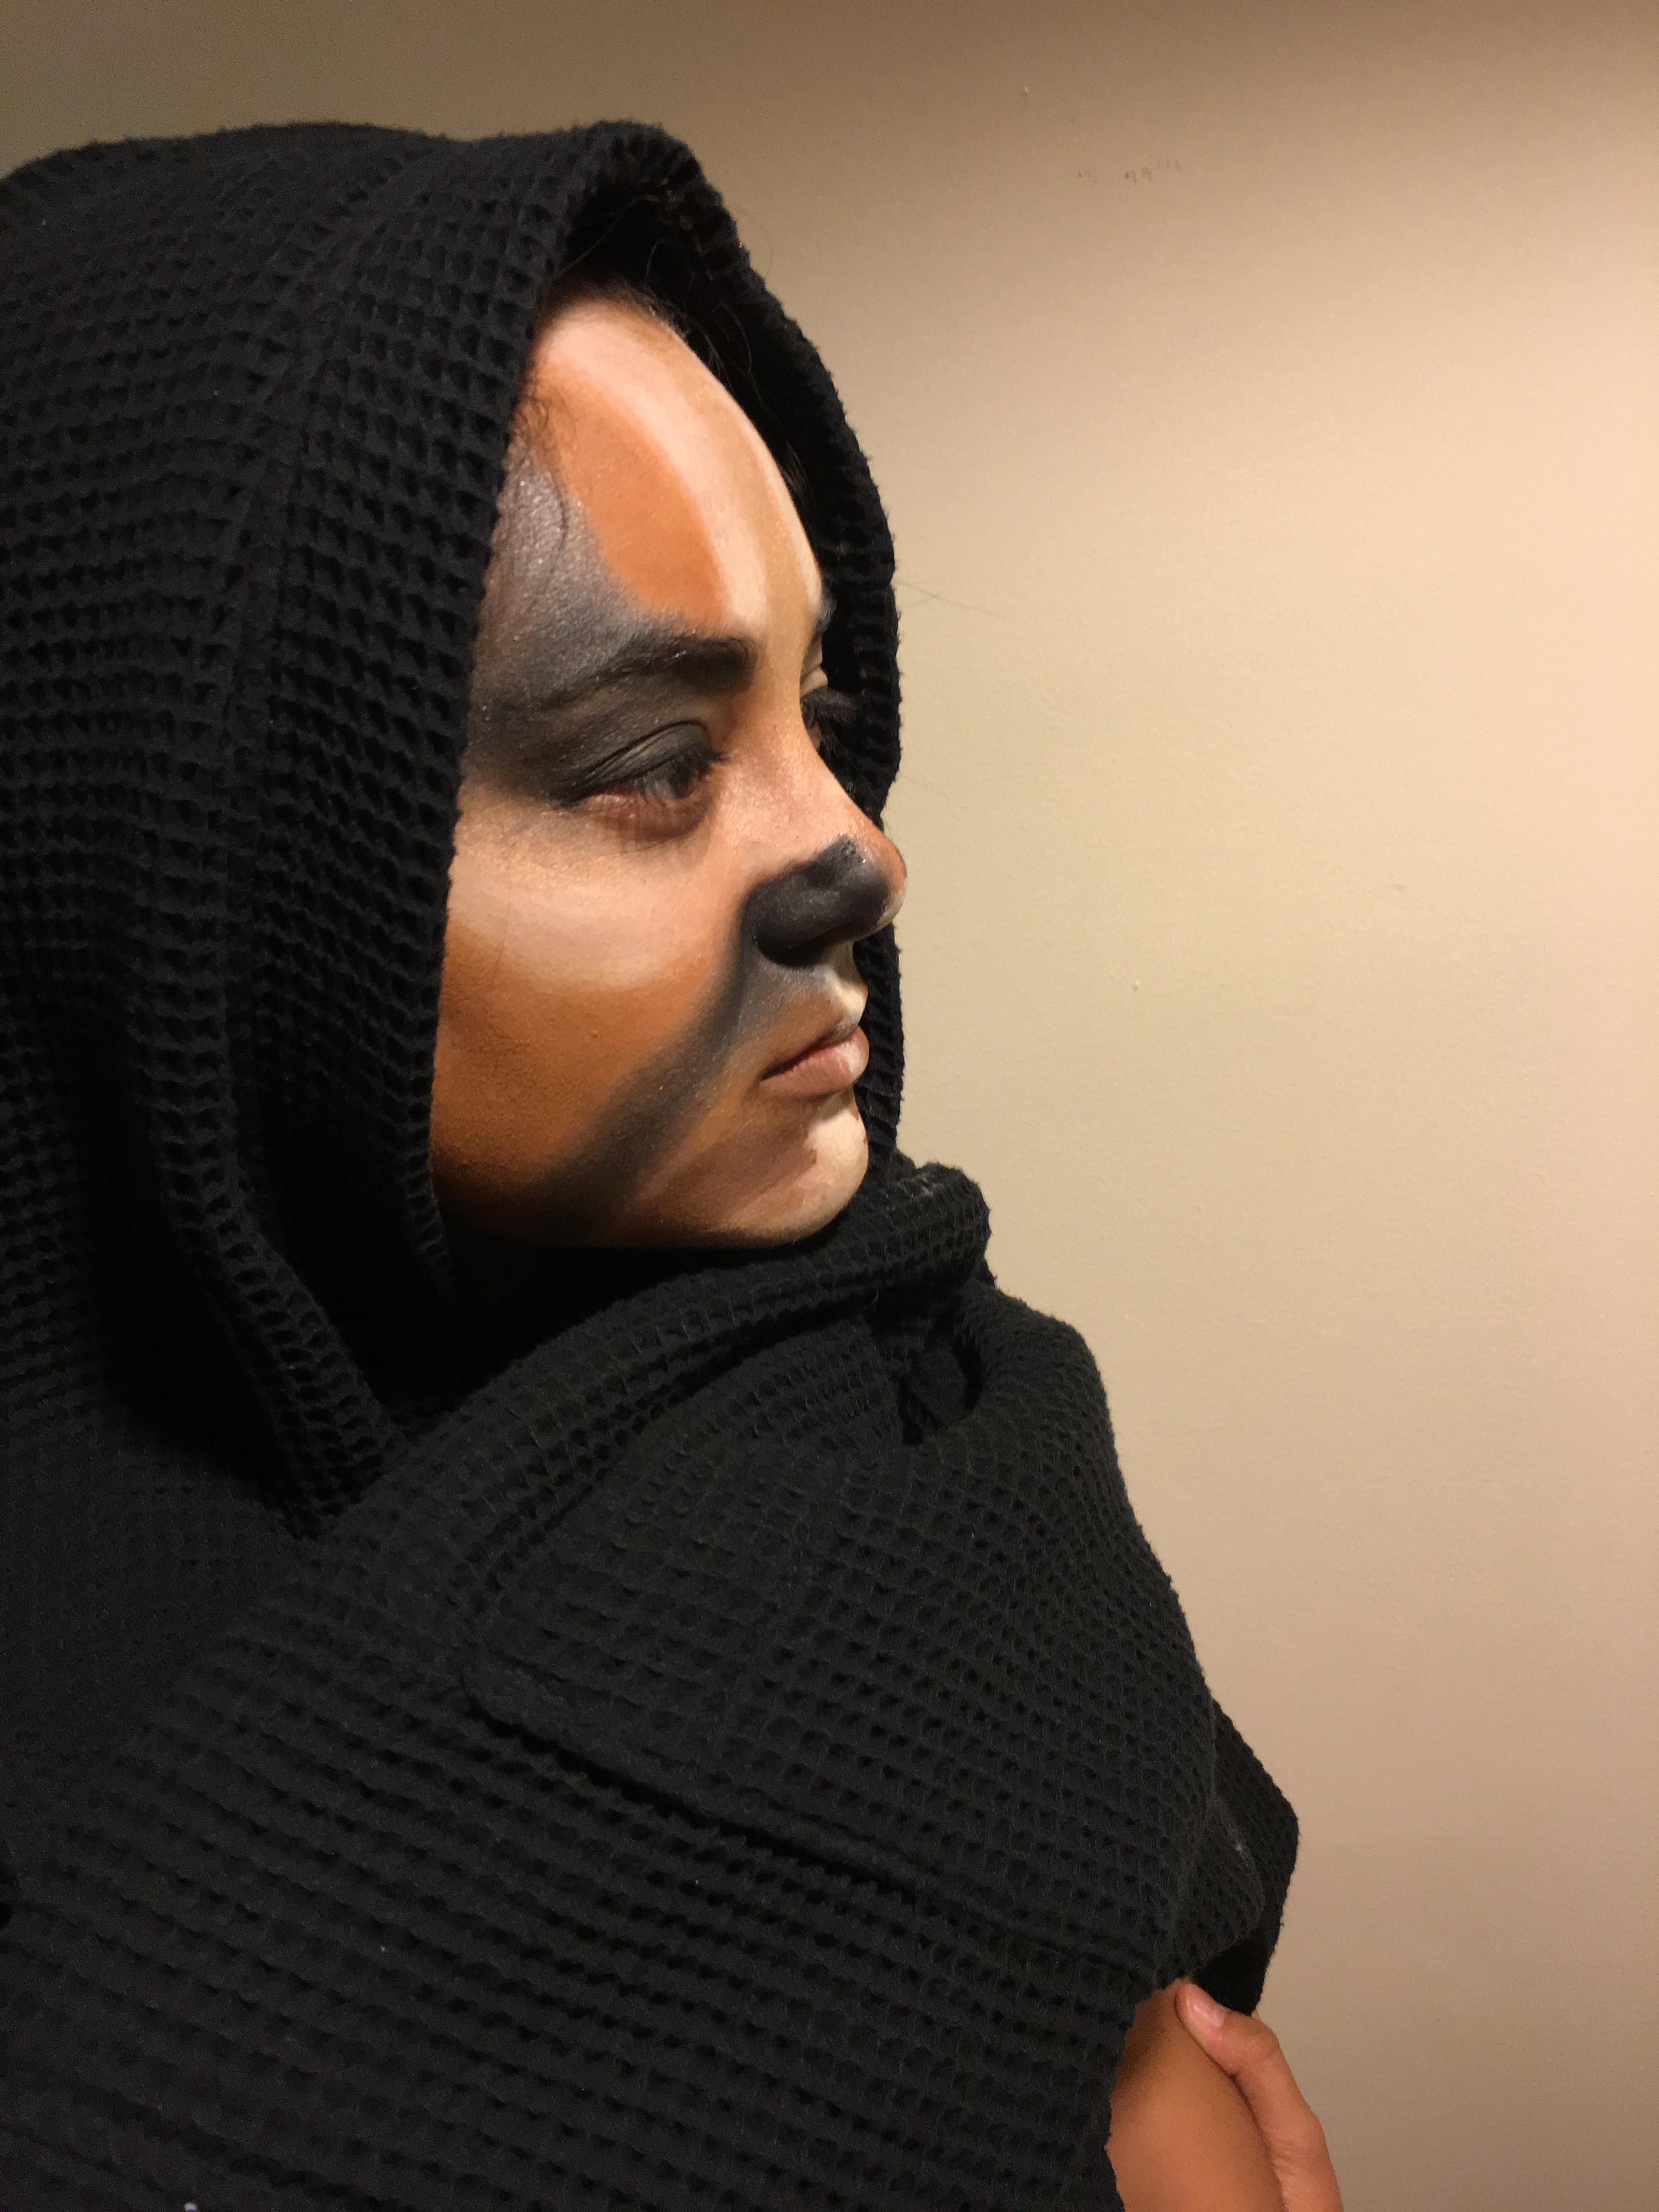
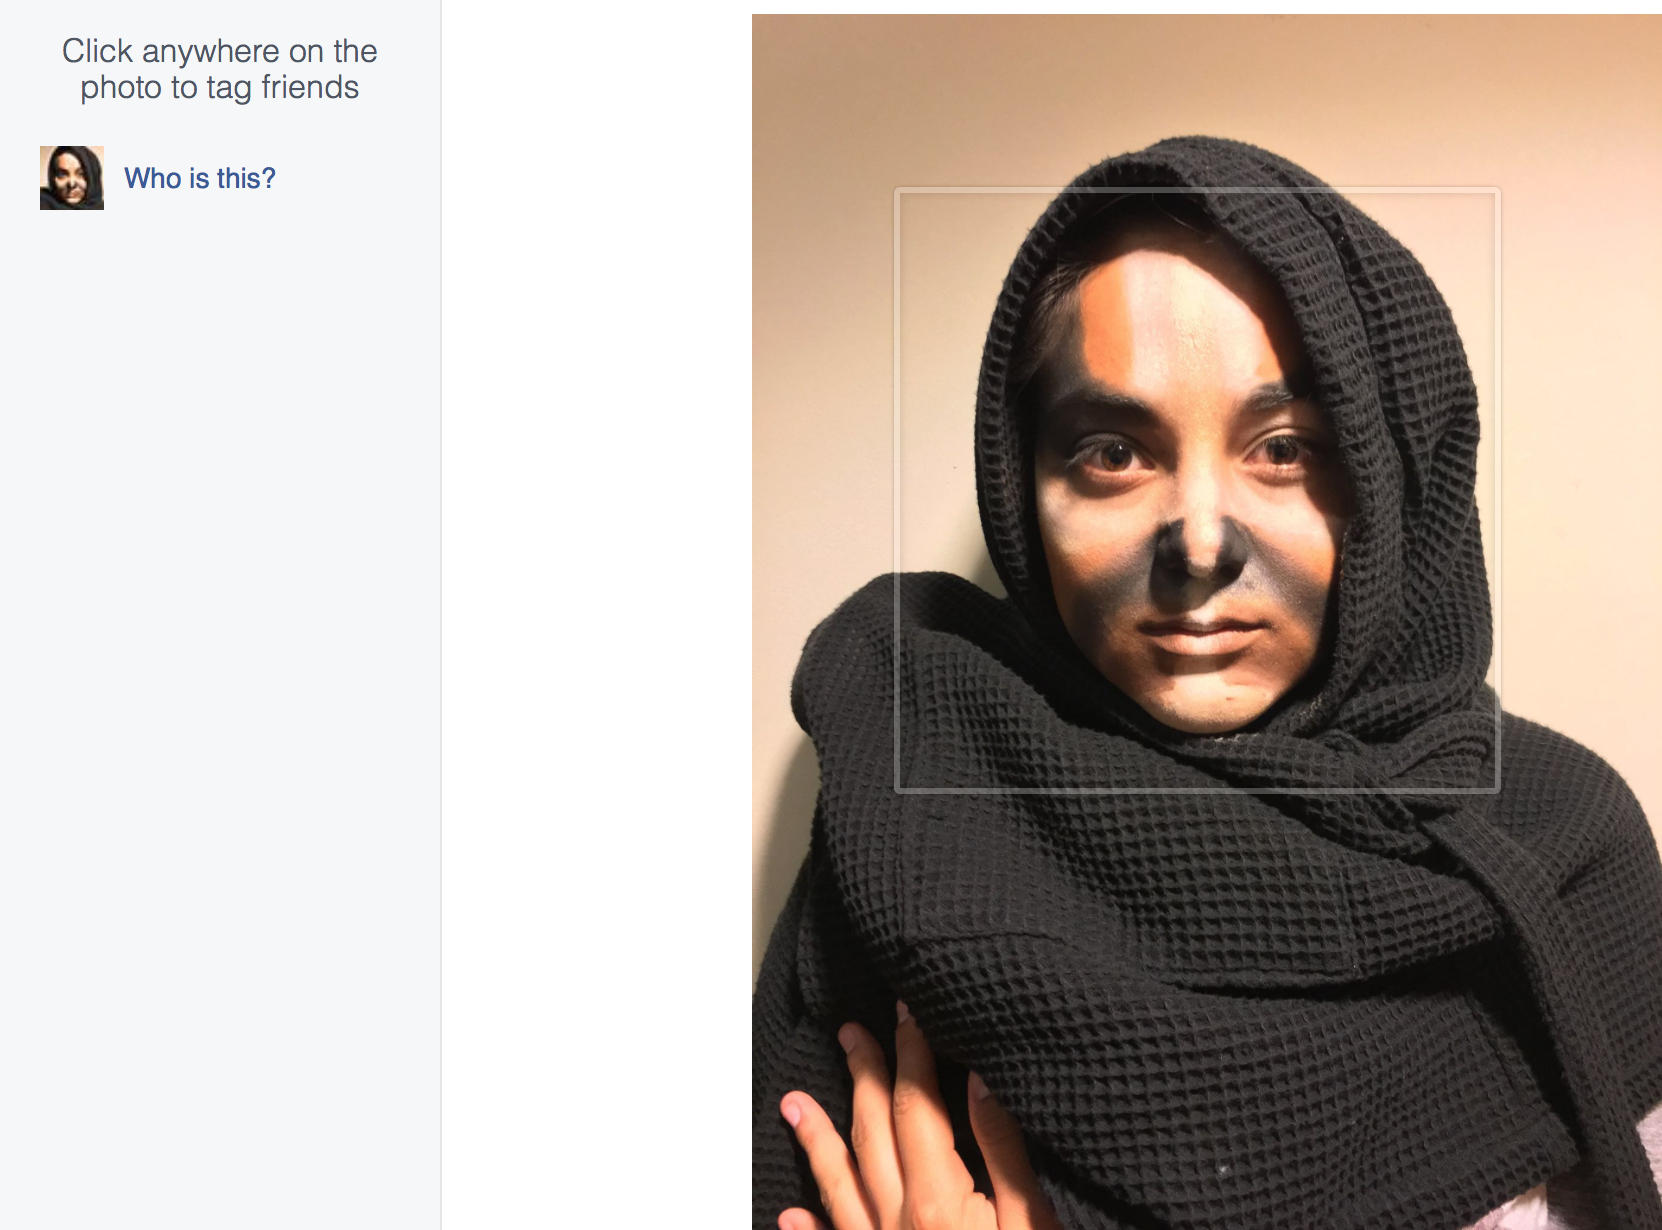
I eventually gave up on looking for pre-made applications online, as none of it was free and all of it required some elaborate set up. It was during this point that I stumbled across an openFrameworks add-on that I could use for facial tracking, along with a project that was being used to map on peoples faces over a camera. It wasn’t quite what I had in mind, but it was close enough. I dug around in the code to turn off all possibility of the camera showing a face, and changed the shader such that the mask didn’t attempt to blend it’s color with my skin. I also increased the strength of the masked color and turned the background black. I then fixed the modeling of my mask and took a picture of it so that I could import it into the software. After numerous tests I deemed it the best it could be at for presentation, and started training my voice actor to use the app. For some reason, the software was better at picking up my smaller rounder face than his longer one, but after some careful calibration we found what light source was needed, distance to screen necessary, and head movements would be best in order to not loose tracking.

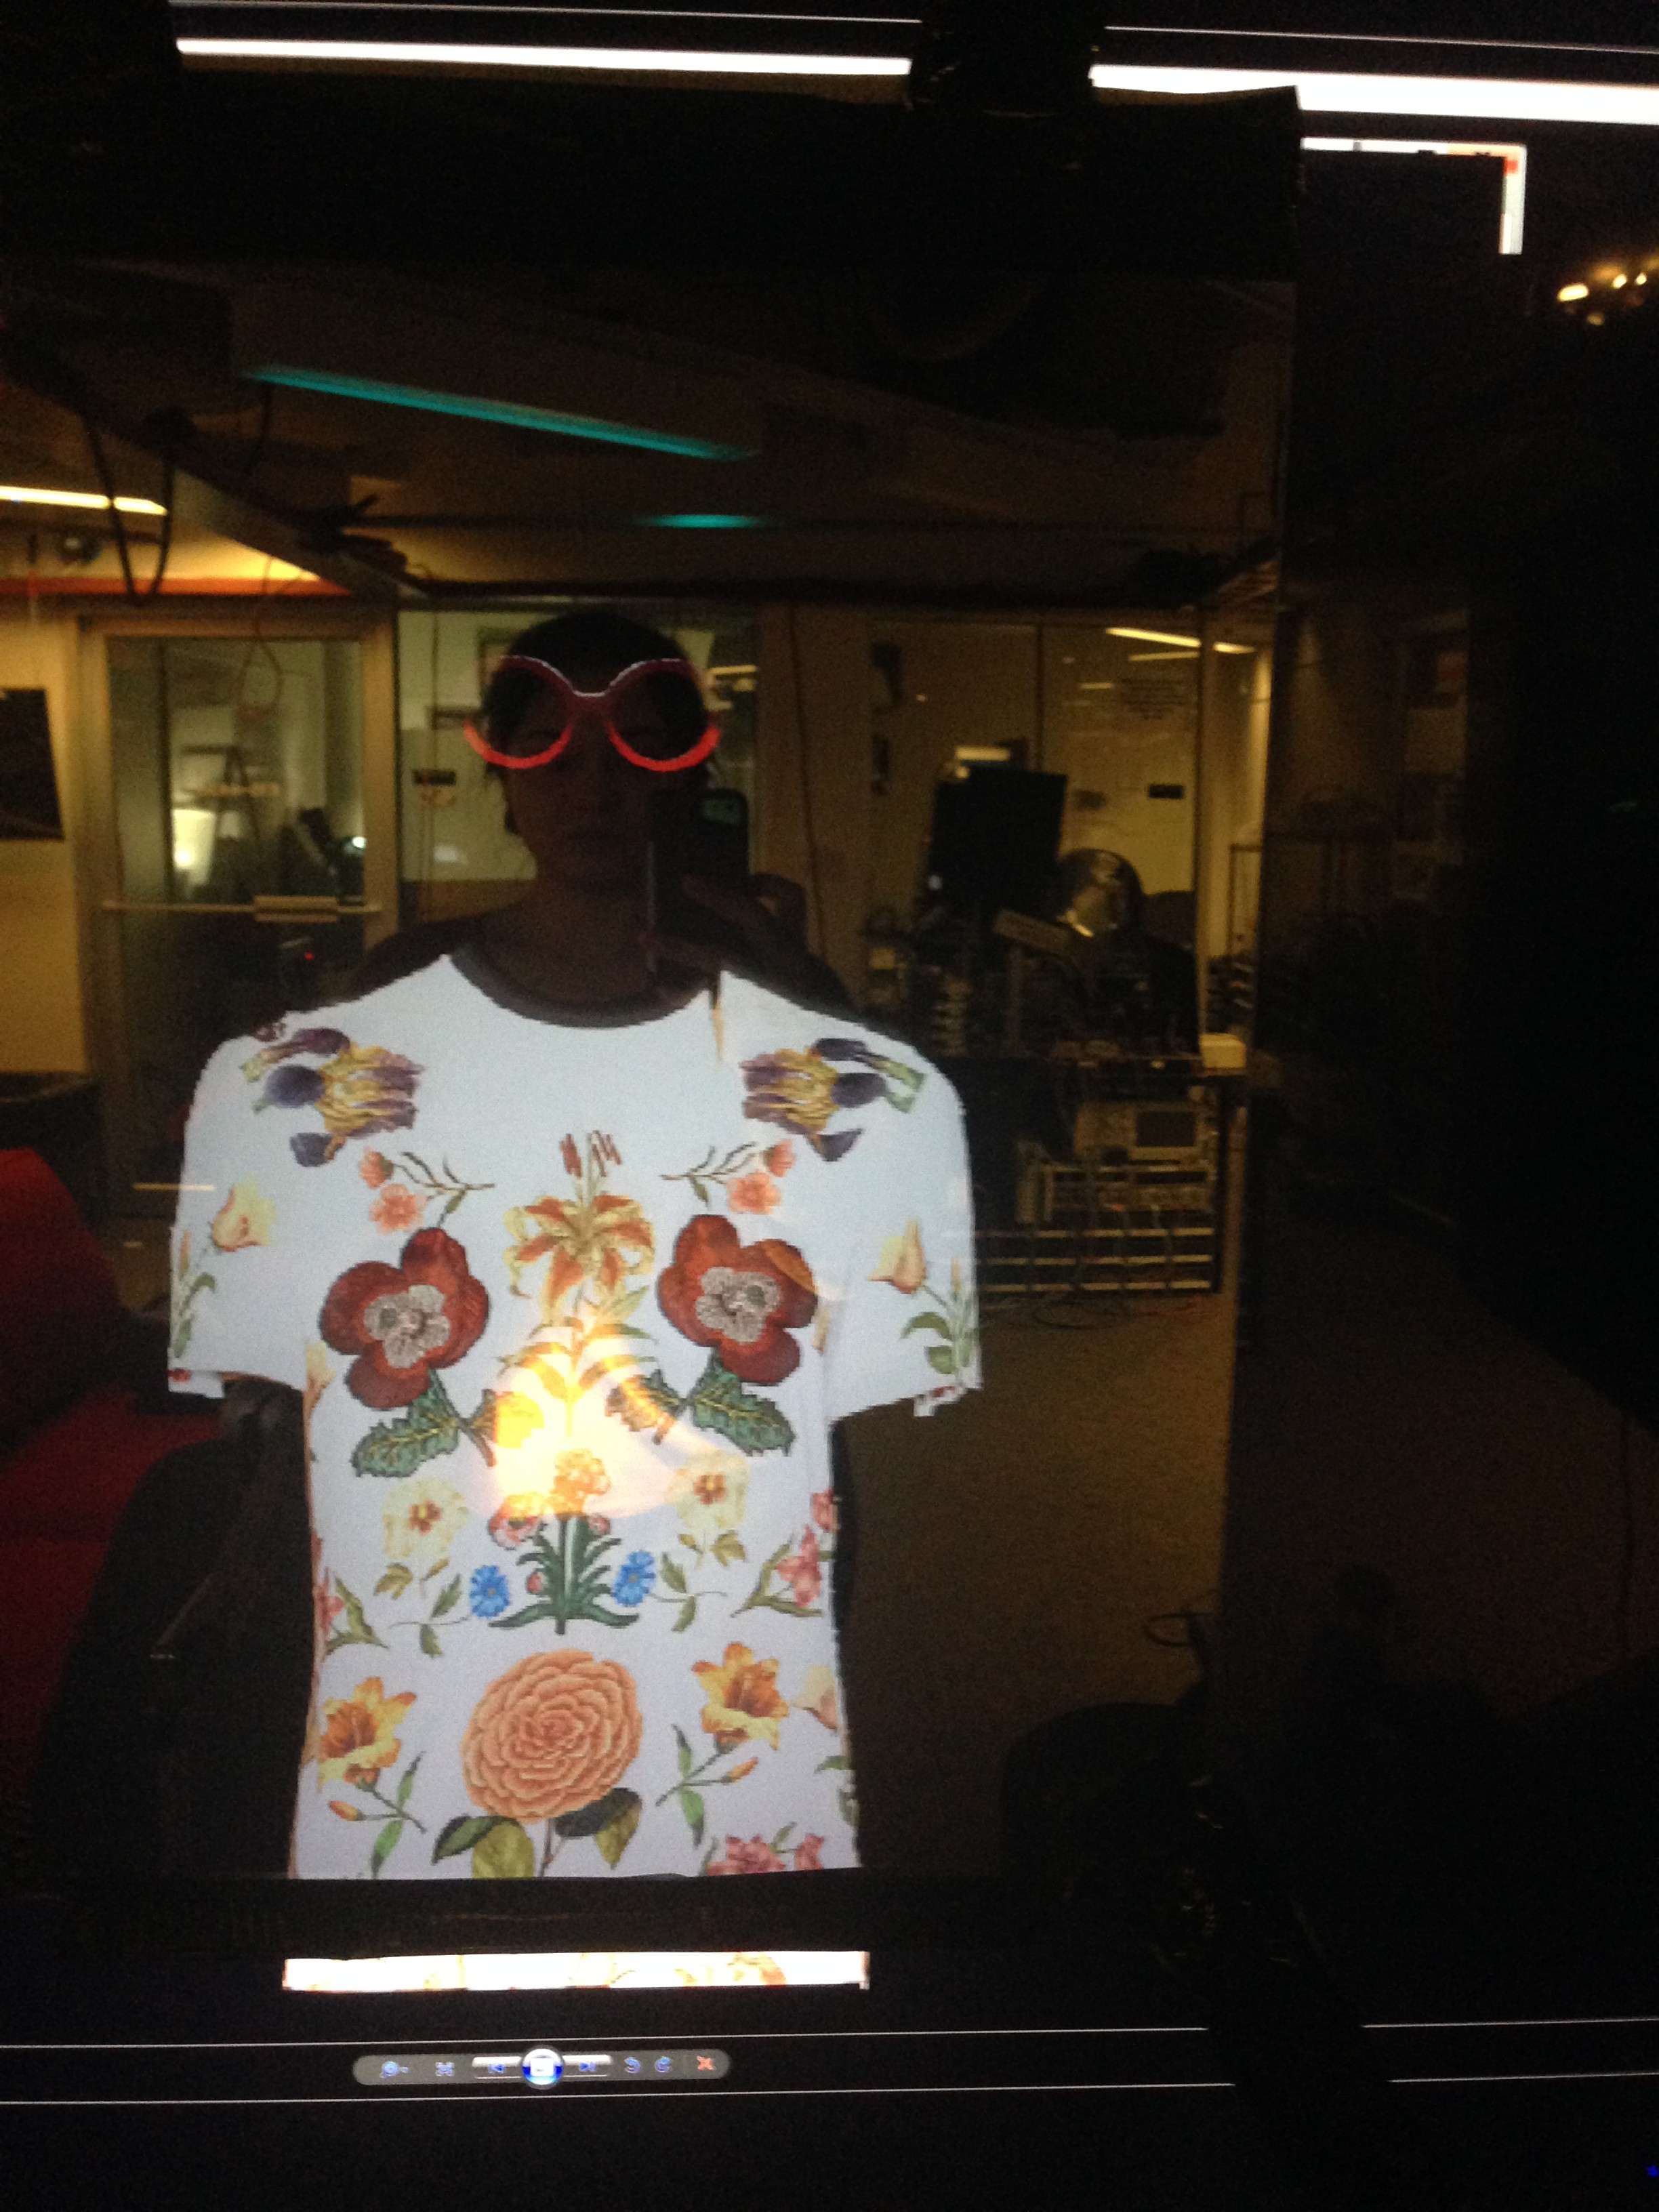
For the monitor display I went to Blick to buy fancy gold paper and cardboard to frame a large 48″ HD screen with a half silvered mirror on top (Most of the frame was packing and duct tape from the back, but hey it worked). I then took some black cloth and draped it over the front bottom part of the mirror, so the audience couldn’t see the set up behind. The set up behind the mirror consisted of two lamps with extremely carefully dampened light in various positioning, a laptop connected to the HD TV with an HDMI cable, and my friend Yousef Alowayed who would serve as the voice behind the mirror. An extremely special thank you to Yousef. He’s an undergrad just like me, and took time out of his extremely busy finals week to help me with my Grad class project and listen to my attempts at directing him on how to move his face and where to sit.

Conclusion:
Overall this project was (in my opinion) a pretty big success. I was able to manipulate a program that was very difficult for me to understand to somewhat follow what some insanely expensive software does in industry. It was a very valuable learning experience, and quite the hilarious portfolio piece. I would like to thank my professors and mentors Dan Novy and V. Michael Bove for helping and encouraging me throughout this project, especially since they probably already knew this was going to be a long shot. Also special thanks to Anthony Kawecki and Anthony Occidentale for helping me throughout this class and for listening to me nonstop rant about how my mesh was detaching from my rigging, Maya was failing, and facial tracking was glitching for the past several weeks.

Note: The second movie referenced in the above video is Finding Dory to be released by PIXAR, not Disney.

Enchanted Object: Magic Mirror

For this weeks assignment, I decided to combine my previous knowledge from my pepper’s ghost project with a new idea. I decided to create the magic mirror from Shrek.

first I searched for quite a while for a rigged face online. Strangely, it took many hours to do this, and before I found one I actually had resorted to modeling a face from scratch in Maya. Eventually however, I did fine one on Turbosquid.com. It was a robot head though, so I had to do quite a bit of modeling on an already rigged head. (Which is very dangerous to do).

Screen Shot 2016-04-29 at 6.53.52 PM

With a reference picture from a film segment I found on youtube, I started modeling the face of the mask by deleting unnecessary parts of the robot head and moving each vertex of the mesh one by one as carefully as possible. After messing up once and decoupling the model from the rigging, I started over and was able to finish a nicely modeled Mask.

Screen Shot 2016-04-25 at 12.39.52 AM

After this I recorded video of me acting out yes and no answers to questions. I decided to start with three different voice options for possible questions, yes, no, and maybe.

The next step after recording was converting the video into tiff image sequences, which I used Premiere to export as. And then imported the video as an image file sequence of tiffs into Maya to use as a background in order to animate the mask on top.

After everything was animated, the next step was rendering. I rendered all the answers with mental ray in Maya and exported them as video through FCheck. I then recombined the sound back into the videos using Premiere by taking out the old film footage of myself and replacing it with the new mask movies. All the videos  were ready for playing. Now for the effect

To create the magic mirror, I overplayed a half silvered mirror on top of my laptop screen. Since only light from one side of a mirror will be passing through at a time, this give the effect of it being a mirror but also showing the face from behind the glass. I created a powerpoint presentation that I could control with a hidden bluetooth keyboard while watching my users. I would tell them to say “mirror mirror” in order to make the mirror appear. I had all the videos set to play automatically so everything went generally smoothly as long as the user asked a yes or no question. After the user had asked their question I would just continue the presentation with an answer.

Below is the final rendered clips of the answers. More footage will soon be uploaded of a user actually using the program. But for now I’ve kept the half silvered mirror with Dan for safe keeping.


My final project will build off of this so hopefully it will be even more exciting! I want a live user to be able to speak through the mask to answer questions. More on this to come later 🙂

Racial Camouflage

For this weeks project, I did one small experiment and one larger one.

The Maxi-Pad Wallet

IMG_6971IMG_6970

I found this idea online a long time ago and I wanted to test it out. To create this wallet, I found an unused a large maxi-pad and removed the pad, but kept the wrapper. I then added some paper inside to hold the money, and added some tape to put under the flap to hold it together. This made a wallet that held money tight but camouflaged it to look exactly like a pad. I wanted to see if anyone would actually believe it though. After handing it to some of my (especially male) friends, I found it extremely effective. My guy friends didn’t even want to touch it while my girl friends didn’t seem to care, it looked like a regular pad. The only flaw to this design could be that I might accidentally throw it away!


Racial Profiling Camouflage

IMG_4817 IMG_4813 IMG_4818

This was my main experiment since I personally find racial profiling to be a very big current problem. Since I am Japanese, Indian, Belgian and Spanish, not many people know what my ethnicity is on site. Not only this, but also depending on the season I wear a completely different set of colored make up. So I already had all the supplies I needed to wear as many types of skin color I could just by using my year-round stock of make up! The goal of my camouflage was to mask my ethnicity, so that no one who did not know me would know what race I was. I researched what facial features were most defining in determining what race a person may be and found that the eyebrows, nose, eye shape, mouth and facial structure all contribute to the appearance of a race. With this in mind, I experimented… I placed black along my eyebrows so it was very difficult to see what shape they are. I also placed black around my nose so from farther away, it would be hard to see the shape and size. I also pattered the stripes in a swoop fashion, to obscure my facial structure. There wasn’t much I could do for the mouth and the eyes. So I did my best with blacking out one eye, and making the other as light as possible, along with placing stripes down my mouth. I also places a robe around my head and neck, so it was impossible to see another skin tone and what hair I had. I suppose this could also be accomplished with a hat and a scarf or a hoodie. After showing this design to my friends they all freaked out, they couldn’t even tell it was me! After presenting this design in class, my professors suggest I upload it through my Facebook account to see if it could tell that it was me. Turns out it couldn’t! Facebook’s facial recognition algorithms couldn’t even tell that this was me! So in conclusion, I think this pattern was a success. Cons include, lots of makeup, strange looks. However pros include looking like a star wars character for a day!

Screen Shot 2016-04-02 at 11.39.36 PM

Fashionable Pepper’s Ghost

For my Pepper’s Ghost project I decided to piggyback off of an idea that Professor Novy sent out to the the class. The project was called the aspire mirror; when the user peered in to the mirror, it reflects what the user is inspired by. Here’s a link to the website.

http://www.aspiremirror.com

With a half-silvered mirror and a massive 8k tv, I had all the technology I needed to start creating my project. After studying a great deal about pepper’s ghost and seeing the aspire mirror, I realized I could use this method to create a new form of online shopping technology!

This project works best in a room with natural lighting. Unfortunately the 8k tv I had available was in dark room so I had to provide some lighting with artificial lights, but when creating this effect in my room with sunlight over my computer screen it worked much better. I first placed the half-silvered mirror over the 8k tv as closely to the screen as possible. On the 8k tv behind the mirror I created a black background. Since the background behind the mirror on the tv was darker than the light in front of it,the mirror reflected my image back at me.  I then found items for sale online like a shirt or sunglasses and cut their images out, placing them on back backgrounds. After some very very careful positioning. I flipped through a slideshow of images to present what the future of online shopping would be like! First I showed the main websites regular online shopping page. I displayed the items for sale through the mirror (This showed through the half silvered mirror like  a regular screen). Then I chose an item to model by showing the item placed on a black background; wherever the black background on the tv was, I saw a reflection but wherever I had placed the item, that showed through!

Some complications of this project were trying to get the half-silvered mirror to stay on the 8ktv (I ended up duck taping it up), placing the objects to fit exactly on the right spot on my body in the reflection, and getting the lighting to work in the 8ktv room. In the future I think a good addition to this project would be to add an Xbox kinect or some other device to track exactly where body parts are to overlay images on top of them.

Below is an image of the final output on the 8k tv. Better images hopefully to come soon!

IMG_6901

Visual Effects and Animation

For this week’s project I did a composite of live film and an animated character. This character is a chicken that I had previously created in Autodesk Maya. To create the chicken I started with a full-scale character design picture, which I uploaded into Maya to use as reference while I modeled it with polygons. After modeling the character by taking basic shapes like spheres and stitching them together, I rigged the character (implemented a skeleton with joints) and shaded it.

To composite the video I first filmed myself running around, imagining the chicken chasing me. To stabilize this video I learned that Youtube actually has a stabilizing button which performs the stabilization for free just by uploading and editing through youtube. After stabilizing, I downloaded the video and exported this .mov file into a sequence of Tiff images (using Premiere) to import into Maya. After this I created a new camera object that pointed at an image plane that played the sequential tiff images so I could overlay my character on top. Finally I animated my chicken, lit the scene and rendered; adding sound back into this new composited video.

Some bumps I ran into included animating the chicken to appear as if it came out of the computer. Originally I wanted to animate the chicken out of the computer, but this proved more difficult than I imagined, so I used a particle effect explosion. I originally wanted this puff of smoke to be white, however I found in order for it to shine white I needed a light to shine on it, which would in turn shine on the chicken, making it way too bright. So I decided to make the smoke black to avoid blowing out the chicken.

Some adjustments I would like to make for the future include maybe some textures for my chicken and maybe some better lighting for more accurate shadows. I would also like to turn the smoke white, and try and animate the chicken as if it were coming out of the computer screen.

Auditory Tricks

In my search for different types of sensory tricks, I came across this video describing the tritone paradox. I thought it was really interesting and I thought I should share it with all of you! Maybe a cool magic trick could be made with this info

Rope Through Hand: Magic for the Blind

Since we were focusing on magic tricks for senses other than sight, I decided to perform one that would work for the blind.

Effect: This trick makes it appear as if two ropes are traveling through a hand both through touch and sight.

Method: You need two ropes or longer pieces of string. Originally this trick is meant to be done “through the neck” but since I used shoelaces, through a hand was more appropriate. First have the user examine the strings, noting that they are in fact normal strings. Then subtly fold each of the strings in half and tell the user to place their wrist on top of the end loops of each shoelace. It will feel like they are just placing their wrist over two ropes laid out. Then take an end of each shoelace from either side of the wrist, and tie one loose knot (as demonstrated in the video). Use patter to ask questions about what the user is feeling and to ensure that there is indeed a loose knot on one end. Then very quickly pull both ends of the shoelace. The loops underneath the hand will give and feel like the shoelaces are slipping through the hand. In the end the user can feel the rope on top of their hand.

Below is a picture of what it looks like. and below that are some links to a video of the trick being done on a blind participant 😀 enjoy!

FullSizeRender

Kinect Hand Gesture Magic Trick

For my cyber-magic project I created a Kinect based magic trick that included hand tracking. This project was done in Scratch and in order to connect the Xbox Kinect I used an add on called Kinect2Scratch4Mac.

Effect: Make it seem like I’m creating digital blue sparkles shoot out behind my hands on a screen I’m standing in front of. Magically I make it appear that I have grabbed the sparkles off of the screen when I ball my hands into fists and the sparkles stop. I then throw the sparkles into the real physical world.

Method: I used a kinect to track my left and right hands. When my hands were above a certain point on the y-axis (around my shoulder height) I activated sparkles that followed the hands on the screen background. The secret to stopping the sparkles was through use of a counter. I was timing my whole performance in my head. As soon as my counter was up based upon how long my left hand was below my shoulder level, I knew that the next time I lifted my hands, the sparkles would be gone. This is when I closed my hands into fists. The second trick was to hold glitter between my fingers the entire performance without letting the audience know. Once my hands were in fists and I opened them again, the audience sees the glitter but thinks it is coming out of thin air.

The code is posted here on scratch.com so you can all see how it works 🙂

https://scratch.mit.edu/projects/99906456/

Magic at the Super Bowl!

I know I already posted but I got excited when I saw this. Axe find your magic advertisement during the Super Bowl! This add features quirks of different people to express individuality. The phrase “find your magic” uses the word magic to suggest something special that stands out against others.