Towards the Training of Nitinol, the execution thereof, and subsequent integration into paperish artifacts of various kinds.
by sjacoby
Sam Jacoby
Nitinol, an alloy of nickel and titanium, has some wild phase-change properties. Beneath a certain threshold temperature, the atoms align in such a fashion, as to make the metal soft and ductile. Once heated, though, the alloy moves out of this martensite phase, and into a rigid austentite phase. “Training” nitinol sets this austentite phase, allowing the metal to return to a specific configuration whenever the metal is heated.
Training nitinol is relatively simple. You need:
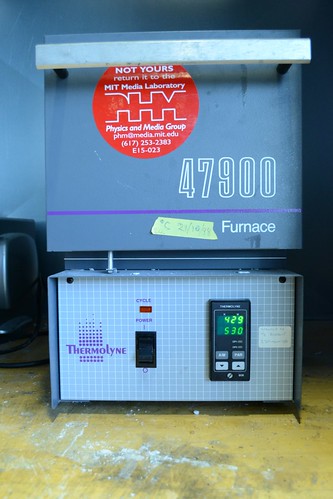
- An accurate furnace, capable of holding and mainting 500C.
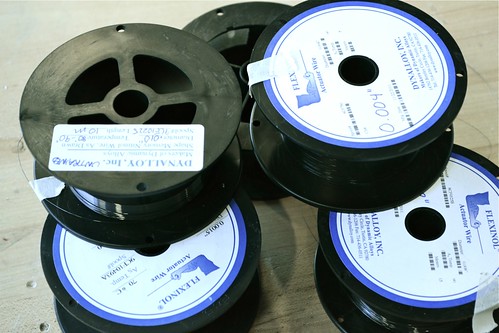
- Nitinol. Available from a number of sources. Our’s is from Dynalloy Corp.
- Water, for quenching the heated wire and fixing the austentite phase.
- Heat-safe jigs, for holding the bent nitinol in shape, while it is being heated.
The process itself, is not much more difficult:
- Bend untrained nitinol to desired shape and fix to jig.
- Place in furnace at 500C for 10 minutes (this might require some tweaking).
- Quench in water, to cool nitinol quickly.
At that point, the nitinol is ready for use. Care should be used in taking the newly-trained wire off of the jig, as it is easy to put permanent crimps in the wire, regardless of the training.
So! Onward.
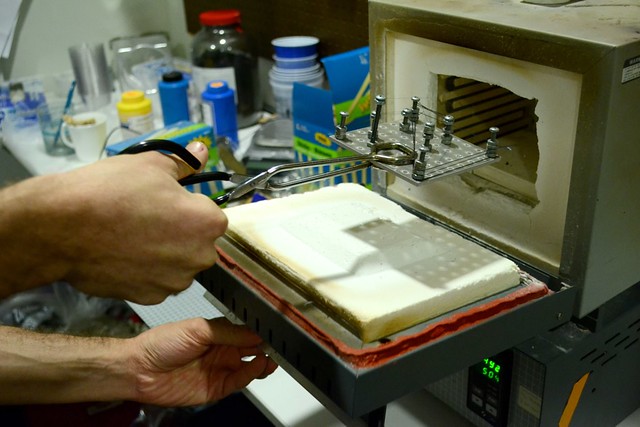
Here’s the furnace that I used. It really well, though it took nearly two hours to get up to temperature (and about that much to cool down, too).
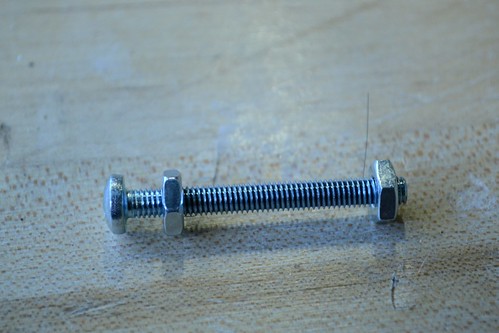
A variety of trained and untrained nitinol. I mostly worked with .01″ untrained wire, though I did experiments with finer stuff as well. For actuating paper, though, you need something a little beefier
The jig is particularly important. While the nitinol is being heated to 500C, it likes to jerk around–so to ensure that the ‘fixed’ shape is what you expect, it must be firmly fastened. I looked to Marcelo Coehlo’s Media Lab thesis, Materials of Interaction, 2008, where he uses a reconfigurable system of nuts and bolts.

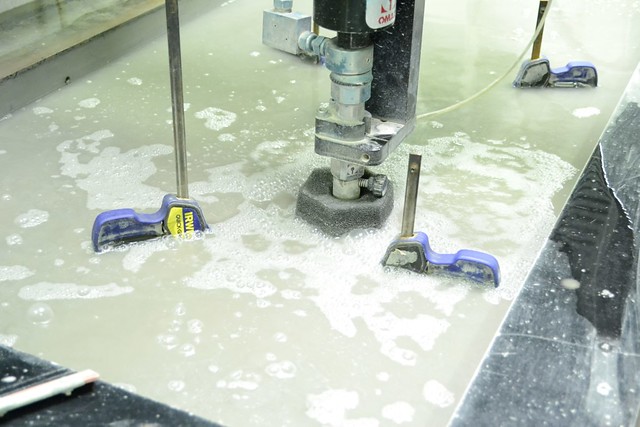
I cut the jig on the waterjet downstairs from some scrap aluminum, but that’s just a bonus. You could knock some holes in a piece of metal with a power drill.
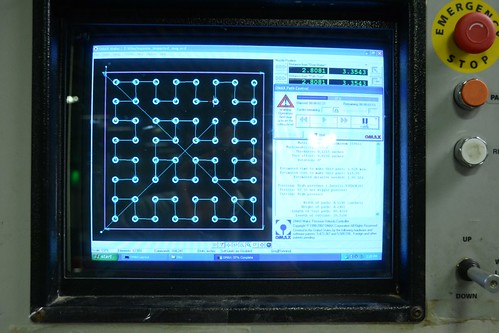
Fierce action on the waterjet. It takes just a couple of minutes to cut something small and simple out of 1/8″ scrap aluminum stock.
I tapped holes in the resulting jig, to provide a firm seat for the bolts. The nuts themselves were tightened tightly down around the nitinol strands. Note, here, that though the strands are separated, they don’t have to be. You’re just interested in heating the nitinol evenly–their relative conduction doesn’t matter, so the wires can touch. This is true if you’re planning on heating the allow passively as well, of course. If you’re going to be running current through the stuff, though, that’s a different story. You’ll need to avoid short circuits where the wires may touch.
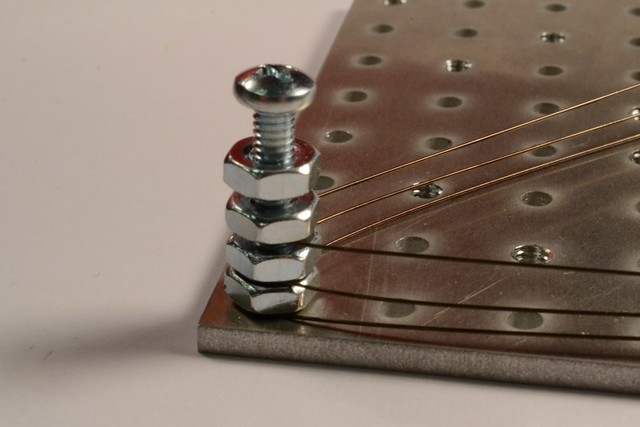
Spring are a really useful shape, as they contract a great deal (I’ve got some videos later). By fixing the wire at each of the nut with a bolt, and then carefully wrapping the nitinol into the threads of the screw, you can get a lovely, regular spring out.
Placing the wired-up jig in the furnace. I started out wearing gloves and paranoid about the heat, but these little kitchen tongs did the job reasonably well. 500C is hot, though, 932F, so serious precautions should be the order of the day. I am bad at that sometimes.
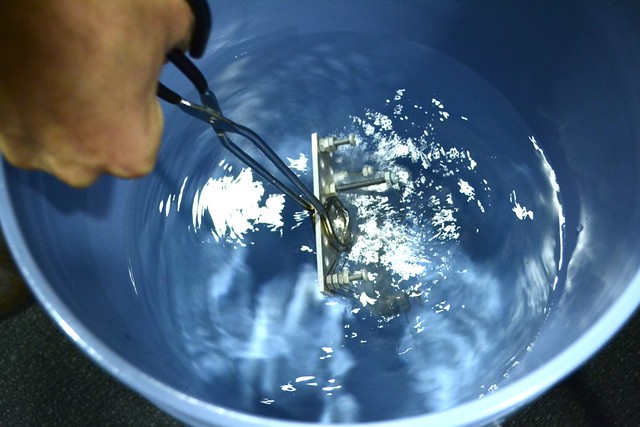
Once the jig is removed, it is quenched in a bucket of water. It cools down quick, but sends out a pleasantly impressive sputter.
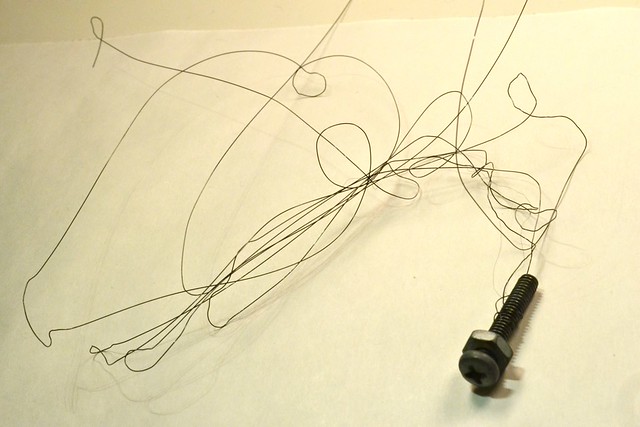
This is what you get out of it. A mad-cap tangle. This bit is actually pretty smooth, but you can see some of the kinks that are characteristic in the martensite phase.
You can see this fellow twitching around, here, though not really in a useful fashion. The loops and such that are formed as the nitinol is heated into the stiff austenite phase, are the points on which it was looped around the nuts on the jig.
While the heat gun works well, it doesn’t apply even heat–and at any rate, it’s impractical to blast every project with hot air just to get the wire to actuate. Here, I’m experimenting with a DC power-supply and about an amp of current on a longer length of wire. You have to push the voltage up there to actuate a piece of wire this long.
This is a nitinol spring relaxed and contracted under about an amp of current. Using power resistors that can handle more current than the 1/4 watt little guys, allows you to use really short lengths of nitinol without frying a length of wire this short (about an inch). You can see the dramatic motion here, somewhere about 50% of the overall length under a light load.

The next step: seeing how these play around when attached to paper. My original plan was to make a sheet of paper, and embed the nitinol wires within them–but experiments with bent pieces of wire were not particularly successful under load. Having a wire fold, say, into a triangle, is not as strong as a spring, as all of the actuation force is focused on three small corners, as opposed to a full length of wire. Circles, ellipses, and other shapes may perform better, but would require another jig system.
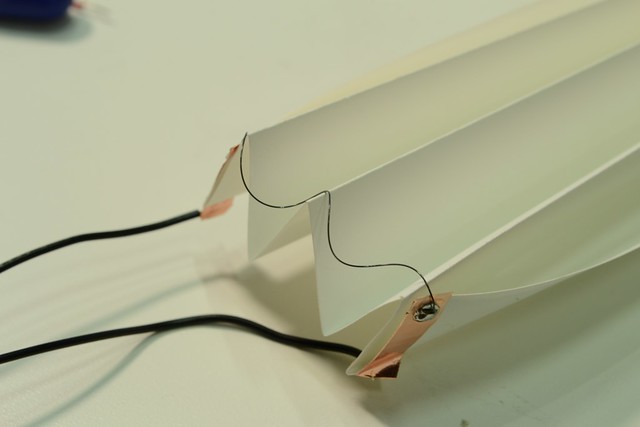
This miura fold has a spring attached to the back, which gives it reasonably dramatic motion–at least by the limited standards of flexinol. The kind of lever-engineering needed to get good motion out of flexinol is not used here.
This is what the rear looks like.
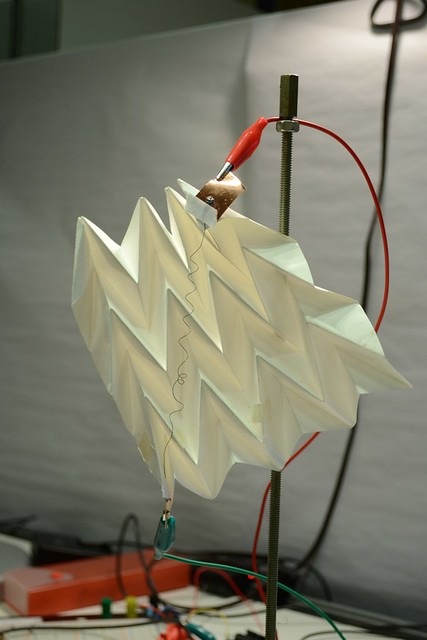
Finally, putting together an analog capacitive sensor (using a relaxation oscillator and code that counts a series of wave samples), to get a touch-sensitive actuating sheet. I’d like to implement this in a more elegant and intuitive way, but it’s a start! In the background, you can hear Joe P. rocking out on http://synth.media.mit.edu/.
Here’s a link to the final class presentation (PDF), given on December 13, 2011.