KNight Riders’ Glove…
by Vernelle Noel
Concept – The KNight Riders’ Glove
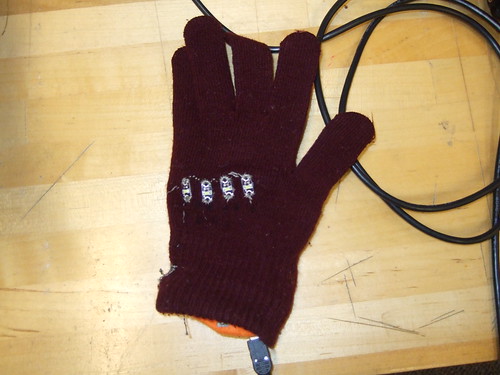
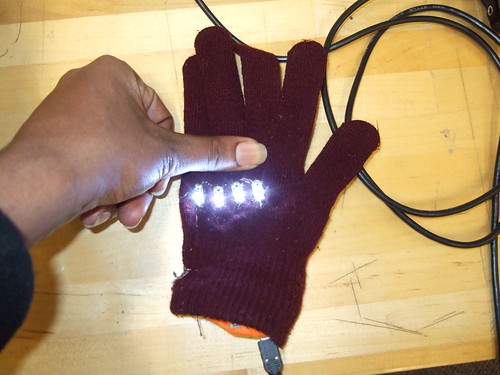
My mode of transportation in Cambridge is the bicycle and I wanted to make something that I could use while riding. I designed a glove that riders can use as an indicator when turning (or more) when riding at night. The LEDs on my glove will **FLASH** when the sensor in the palm of my hand is squeezed. Ideally, you will have two gloves, one for each hand.
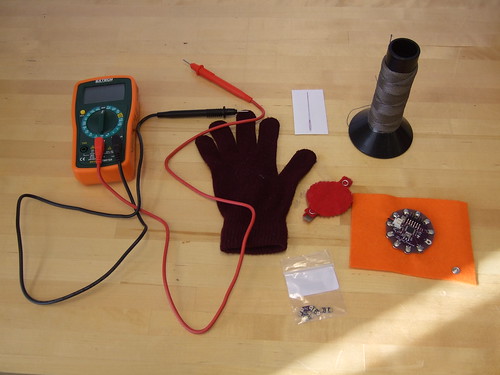
Materials:
- Felt
- Velostat – a carbon impregnated black polyethylene film that is electrically conductive
- Conductive thread
- Snaps
- Conductive fabric
- Multimeter
- Alligator clips
How to make the sensor
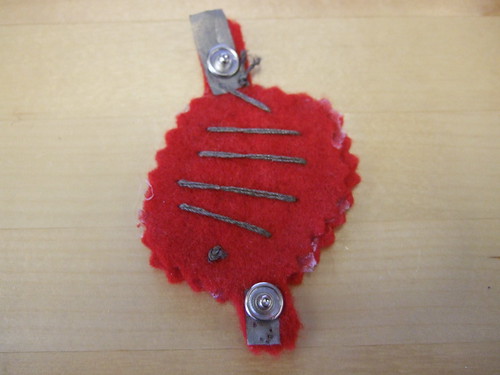
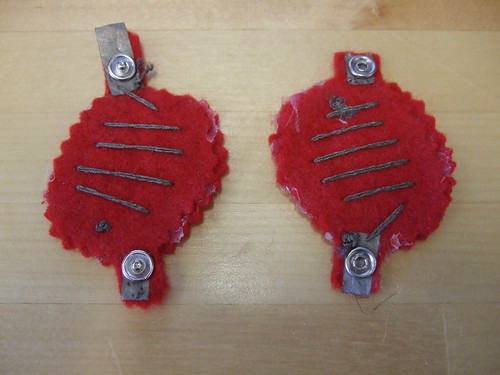
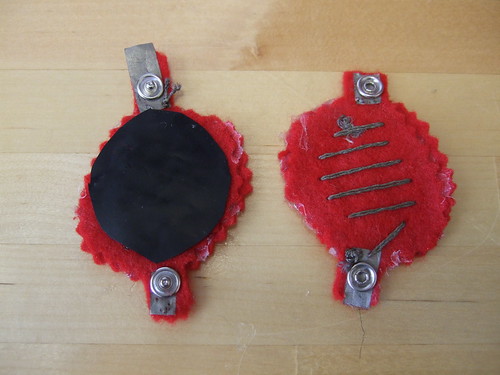
Cut a piece of felt so that they fit nicely in the palm of your hand. Cut them with little “ears” so that snaps can be attached to them. Iron piece of conductive fabric on the “ear” end of the felt. Attach snap onto the “ear” so that it goes through the conductive fabric. Sew conductive thread from one side of the felt to the other. Ensure that the conductive thread holds securely to the conductive fabric on the “ear.” Repeat this process on the other piece of felt.
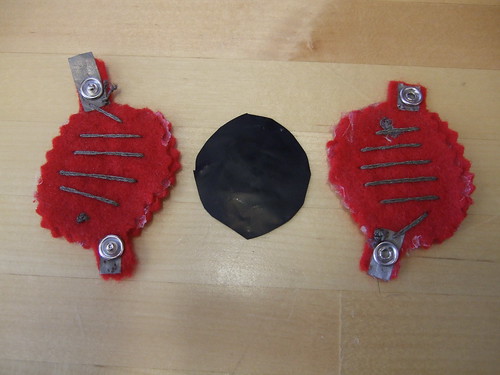
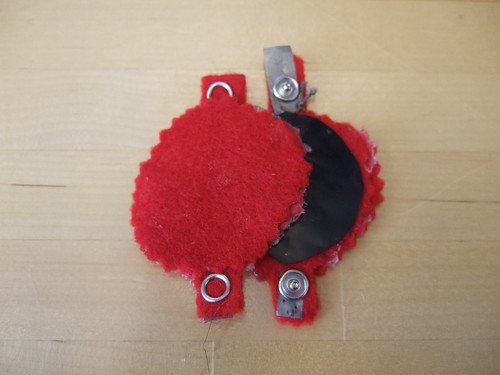
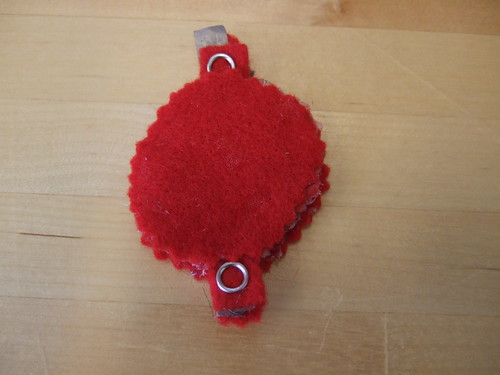
Take a piece of velostat and place between the two felt constructions we just made. The snaps secure the two pieces of felt together. We now have a sandwich with the bread as the felt, and the filling, the velostat.
Testing resistance of the sensor
Place tips of the multimeter on the “ears” of the felt construction. Be sure to turn your multimeter dial to Ohm for reading resistance. With the tips on the “ears,” press the sensor and note the change/ reduction of the resistance on your multimeter.
YouTube video – testing resistance change of sensor >>>
YouTube video – serial monitor readings of resistance sensor >>>
After analyzing my readings on the serial monitor to get a range of values, I found that a comfortable amount of palm pressure gave me a reading of approx 28-29. So in my code, I used the variable of the sensor value to be below 30, under which my LEDs will begin to flash
if (sensorValue < 30)
Constructing the KNight Rider glove
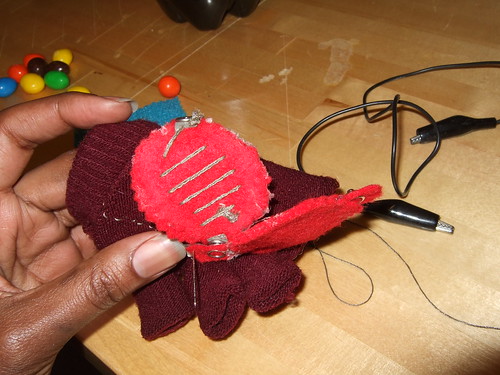
I retrofitted an existing glove to make my Knight Riders’ glove. I examined the glove and decided where I wanted to place my LEDs so that when I make a fist (to squeeze my sensor), the LEDs light up. I will be placing my sensor in the palm of my hand.
Testing electronics and programming of circuit and Lilipad Arduino
YouTube Video – testing of On/ Off code written >>>
YouTube video – testing Flash code written >>>
Resources
YouTube Video of KNight Riders’ Glove >>>
Click here for Arduino Code (Flash) for KNight Riders’ Glove >>>
Other
This work byVernelle Noel is licensed under a Creative Commons Attribution-NonCommercial-NoDerivs 3.0 Unported License.
