Fishing boat
by Yoav
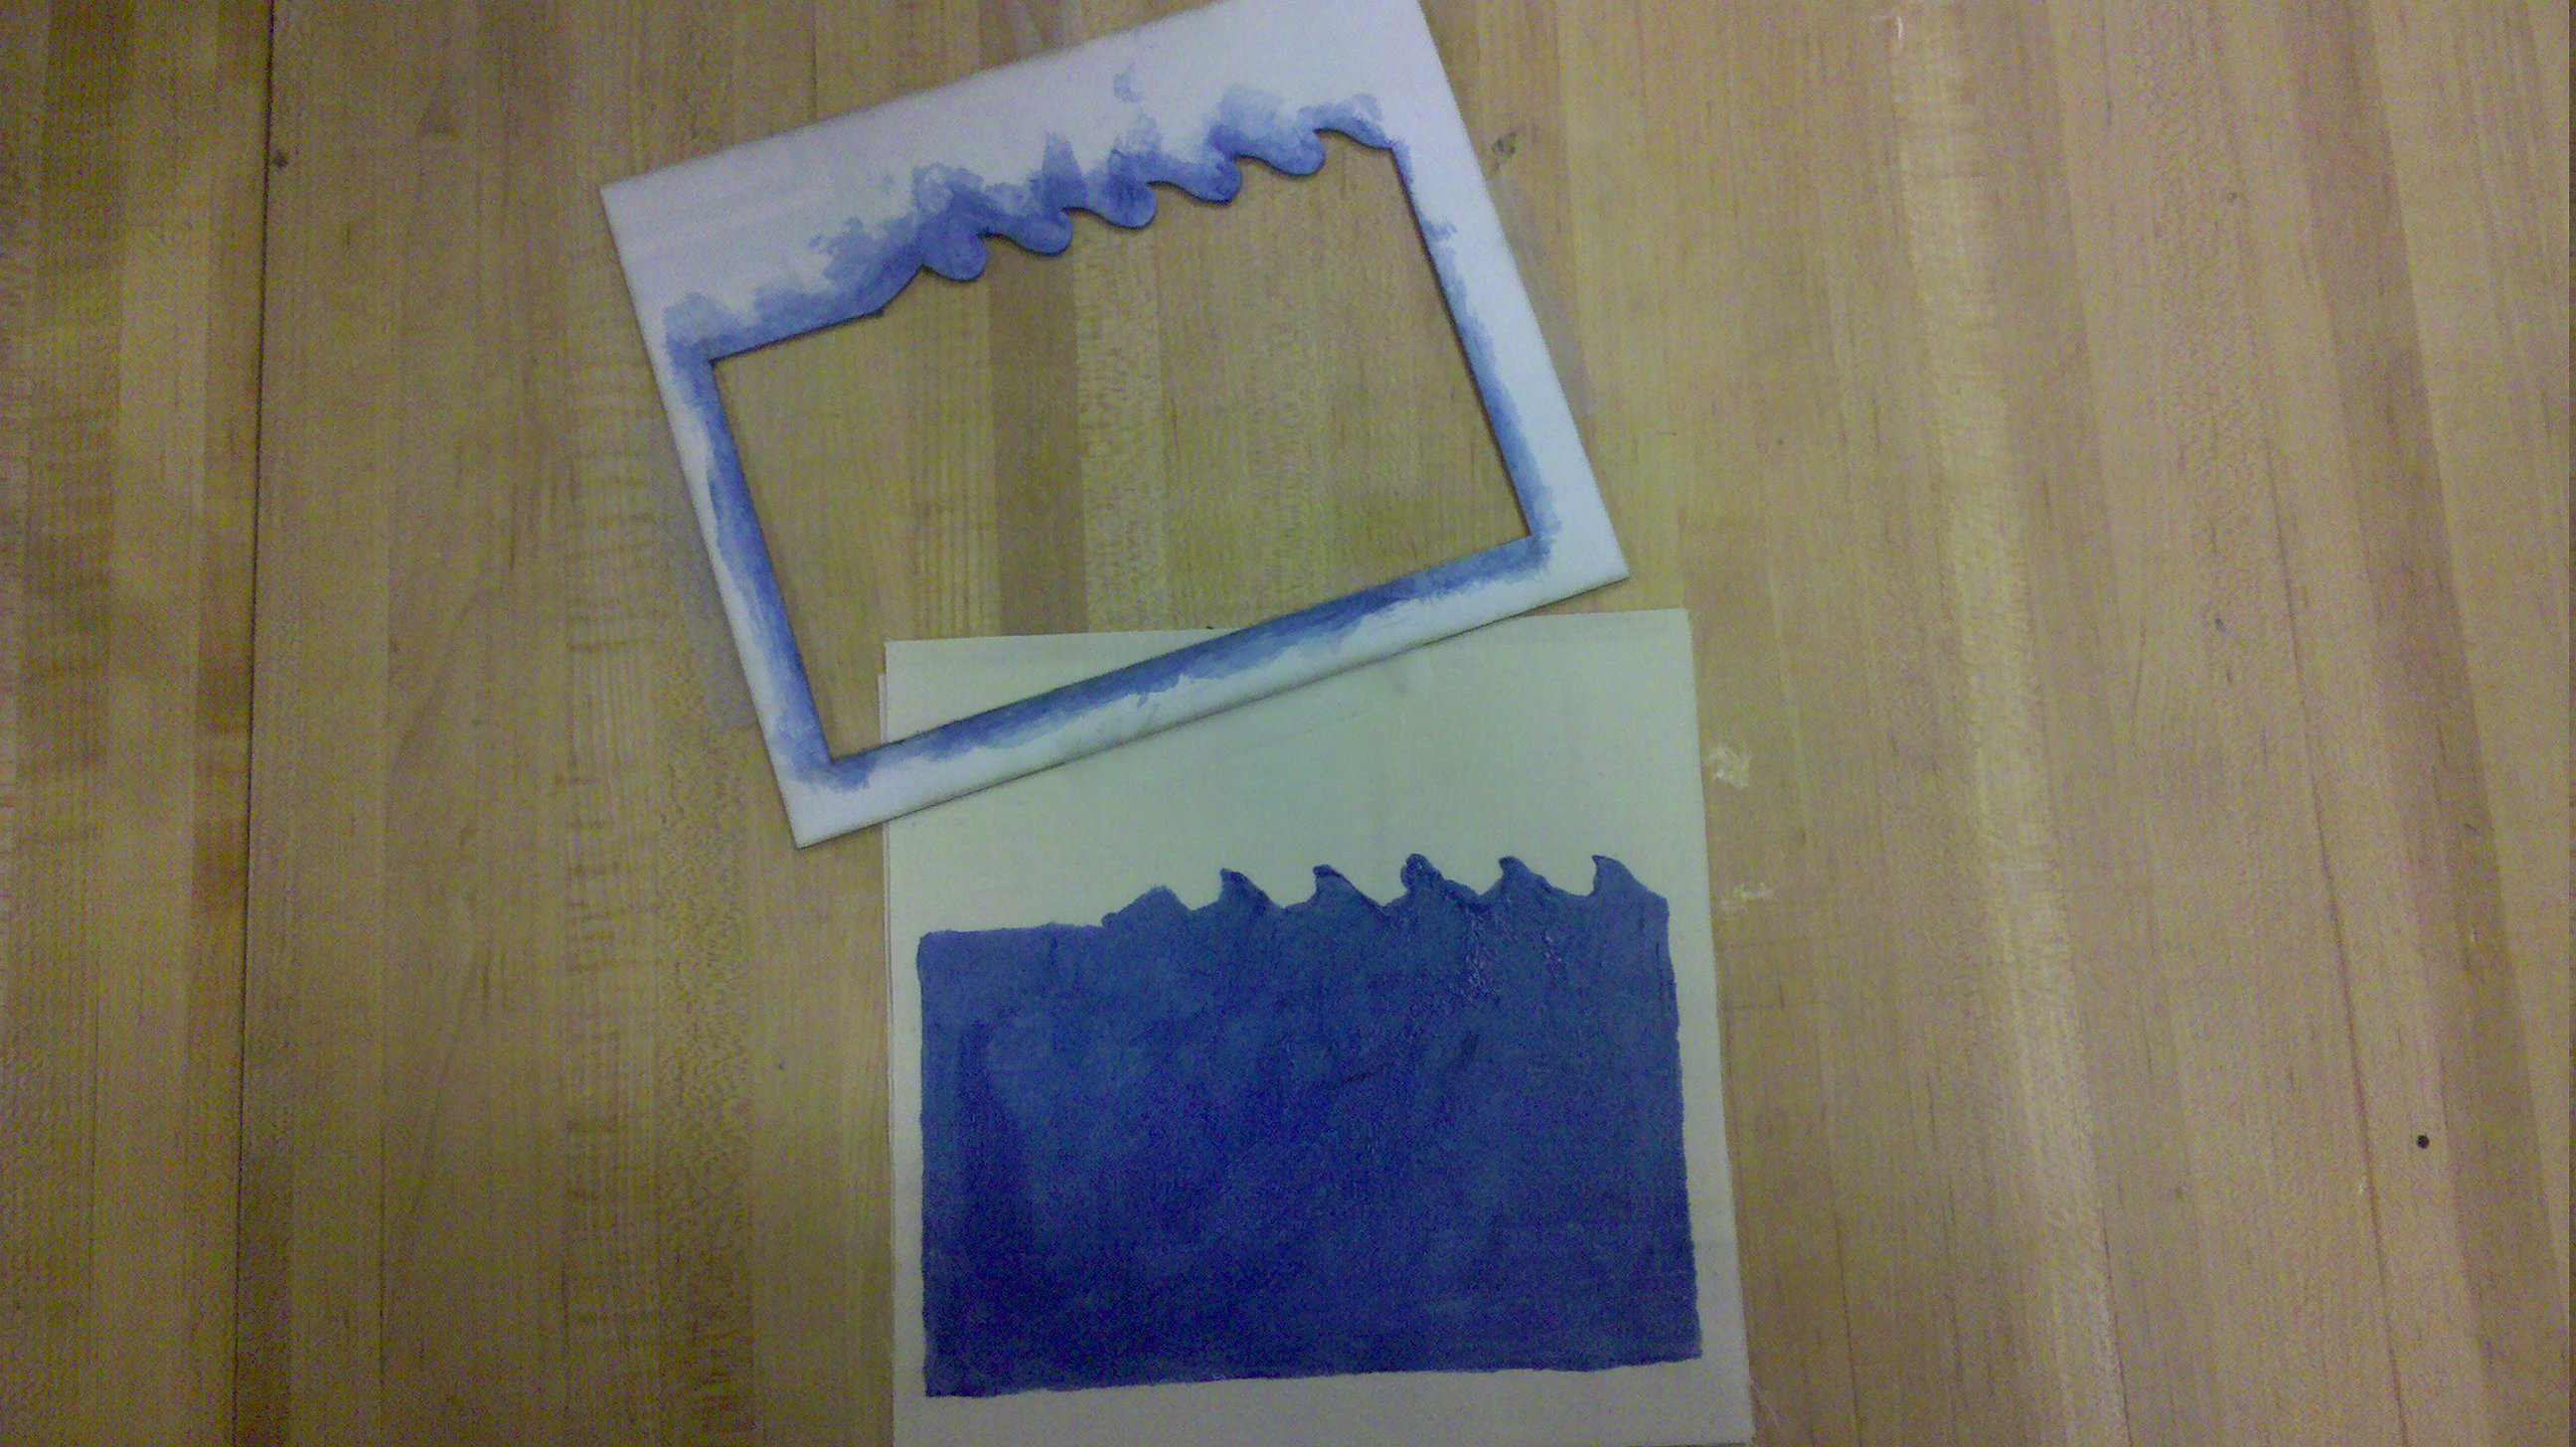
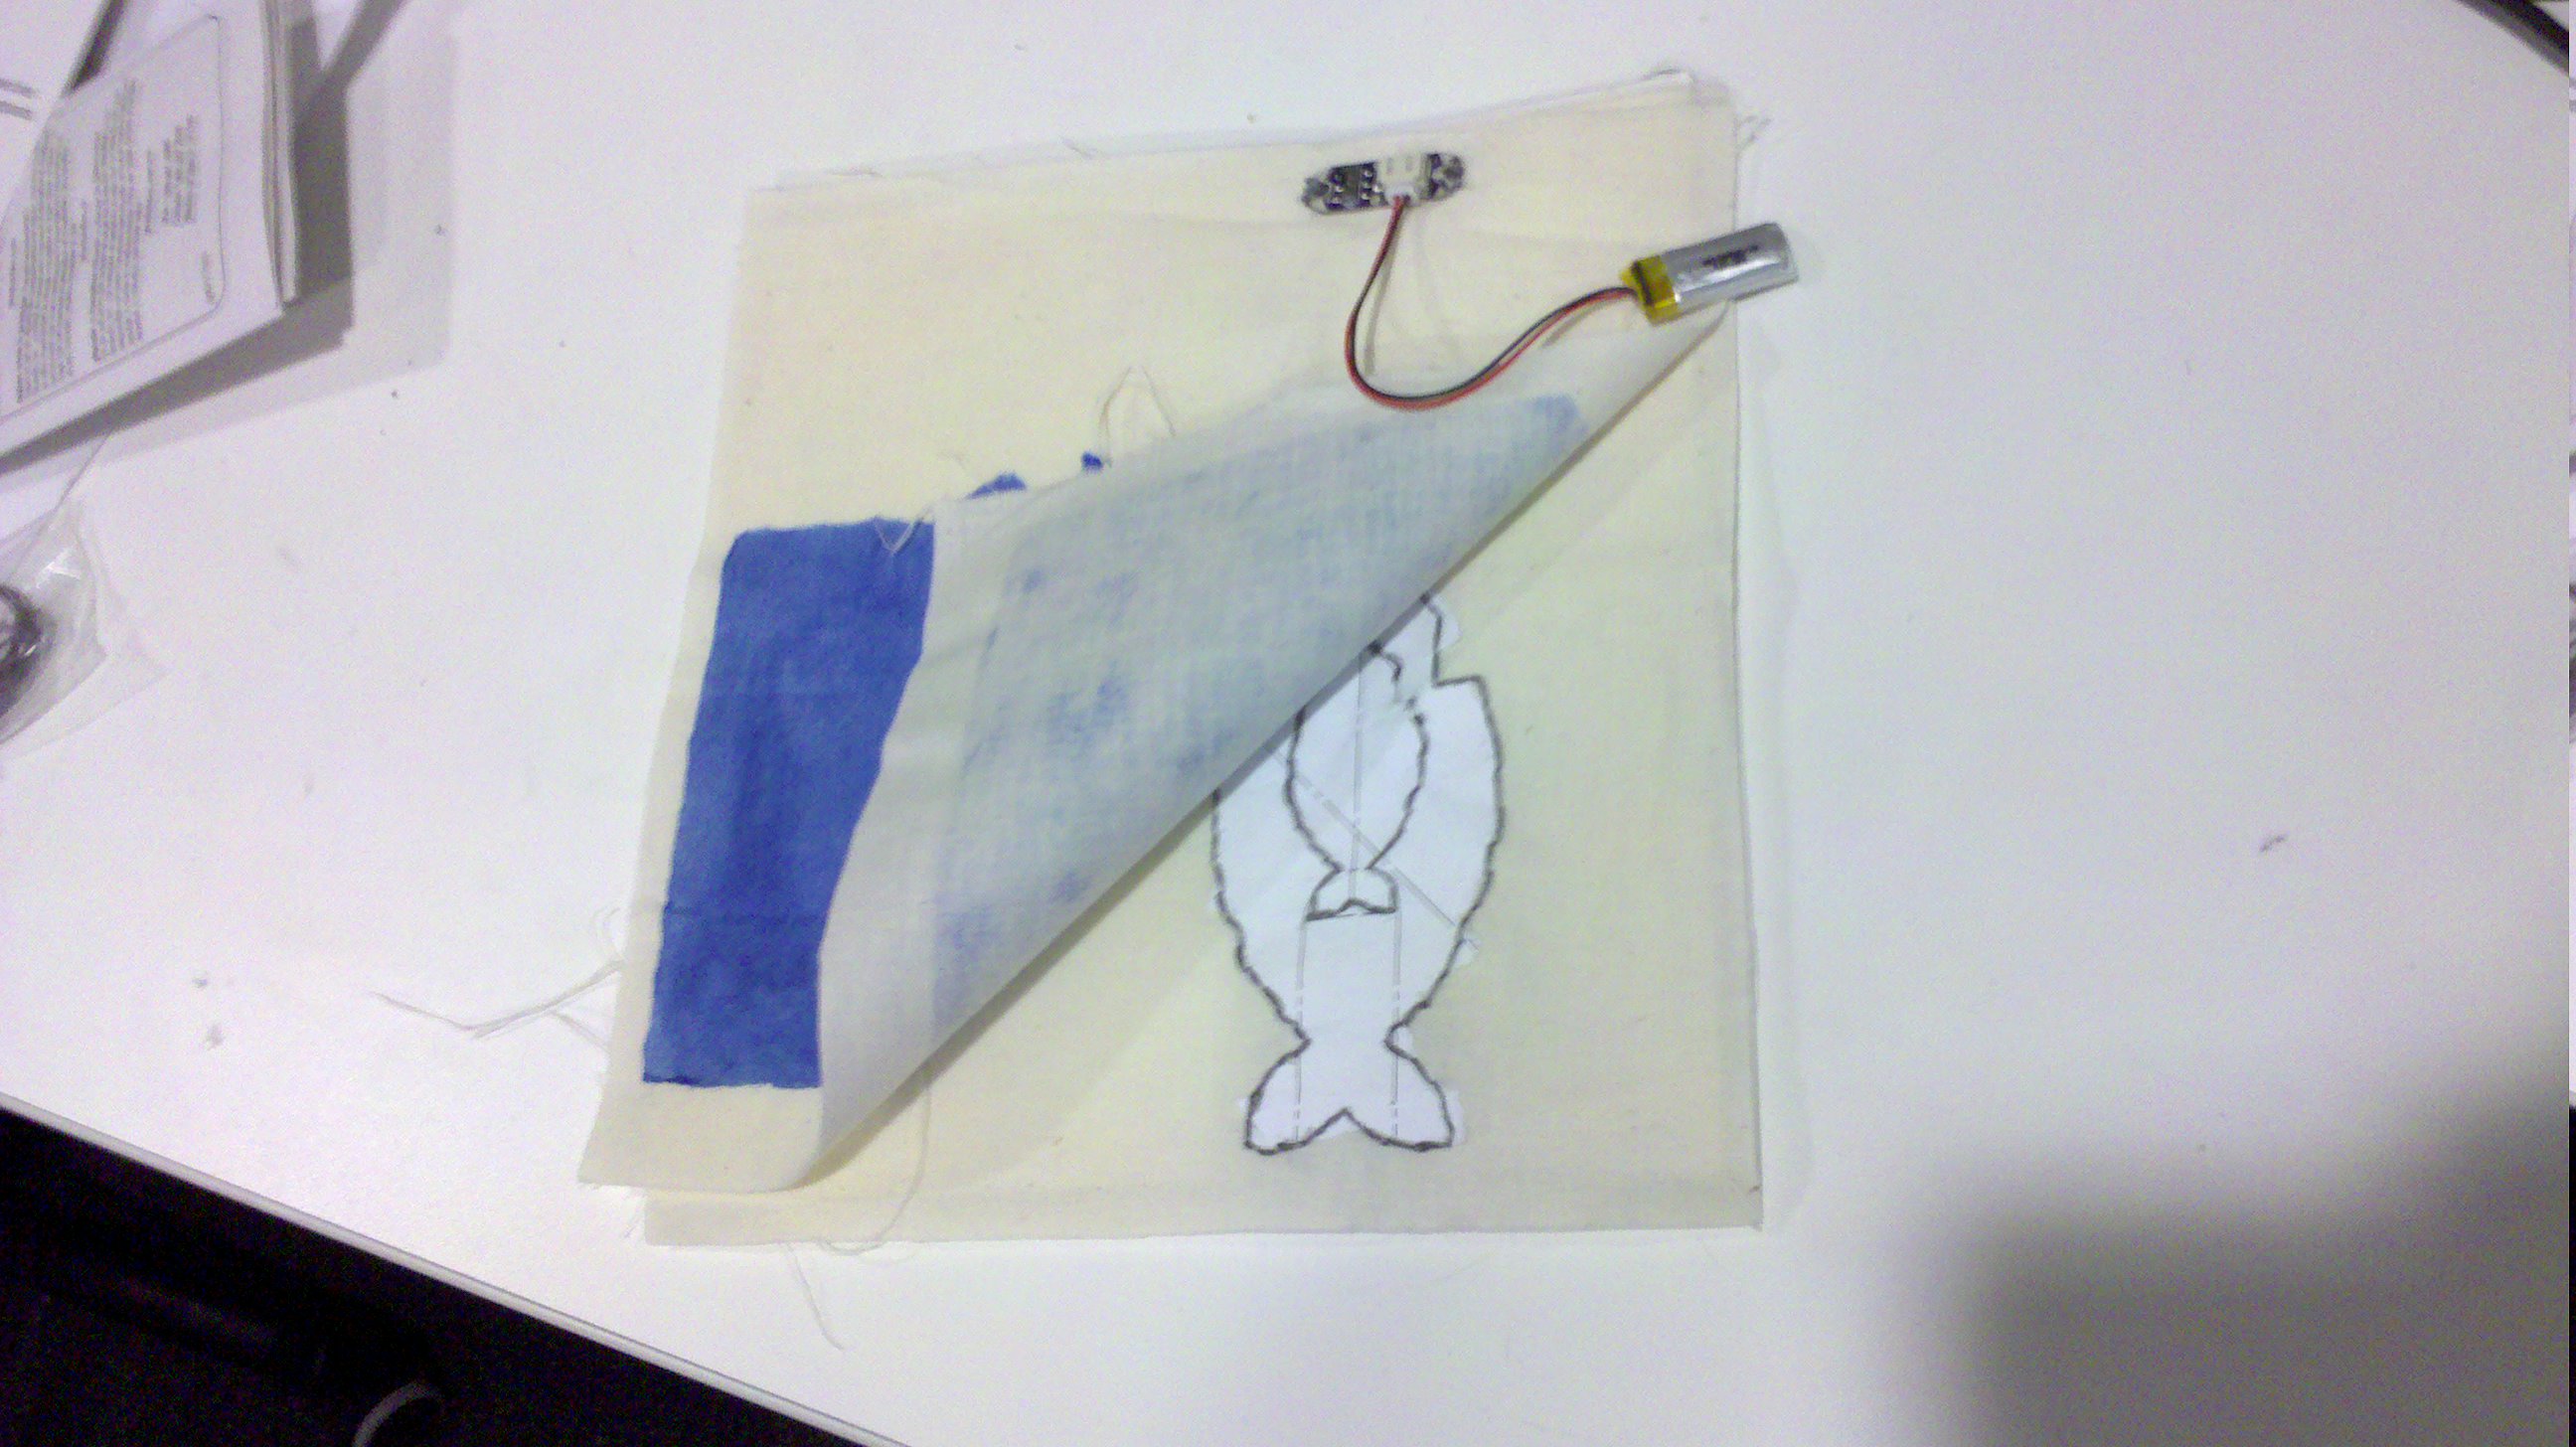
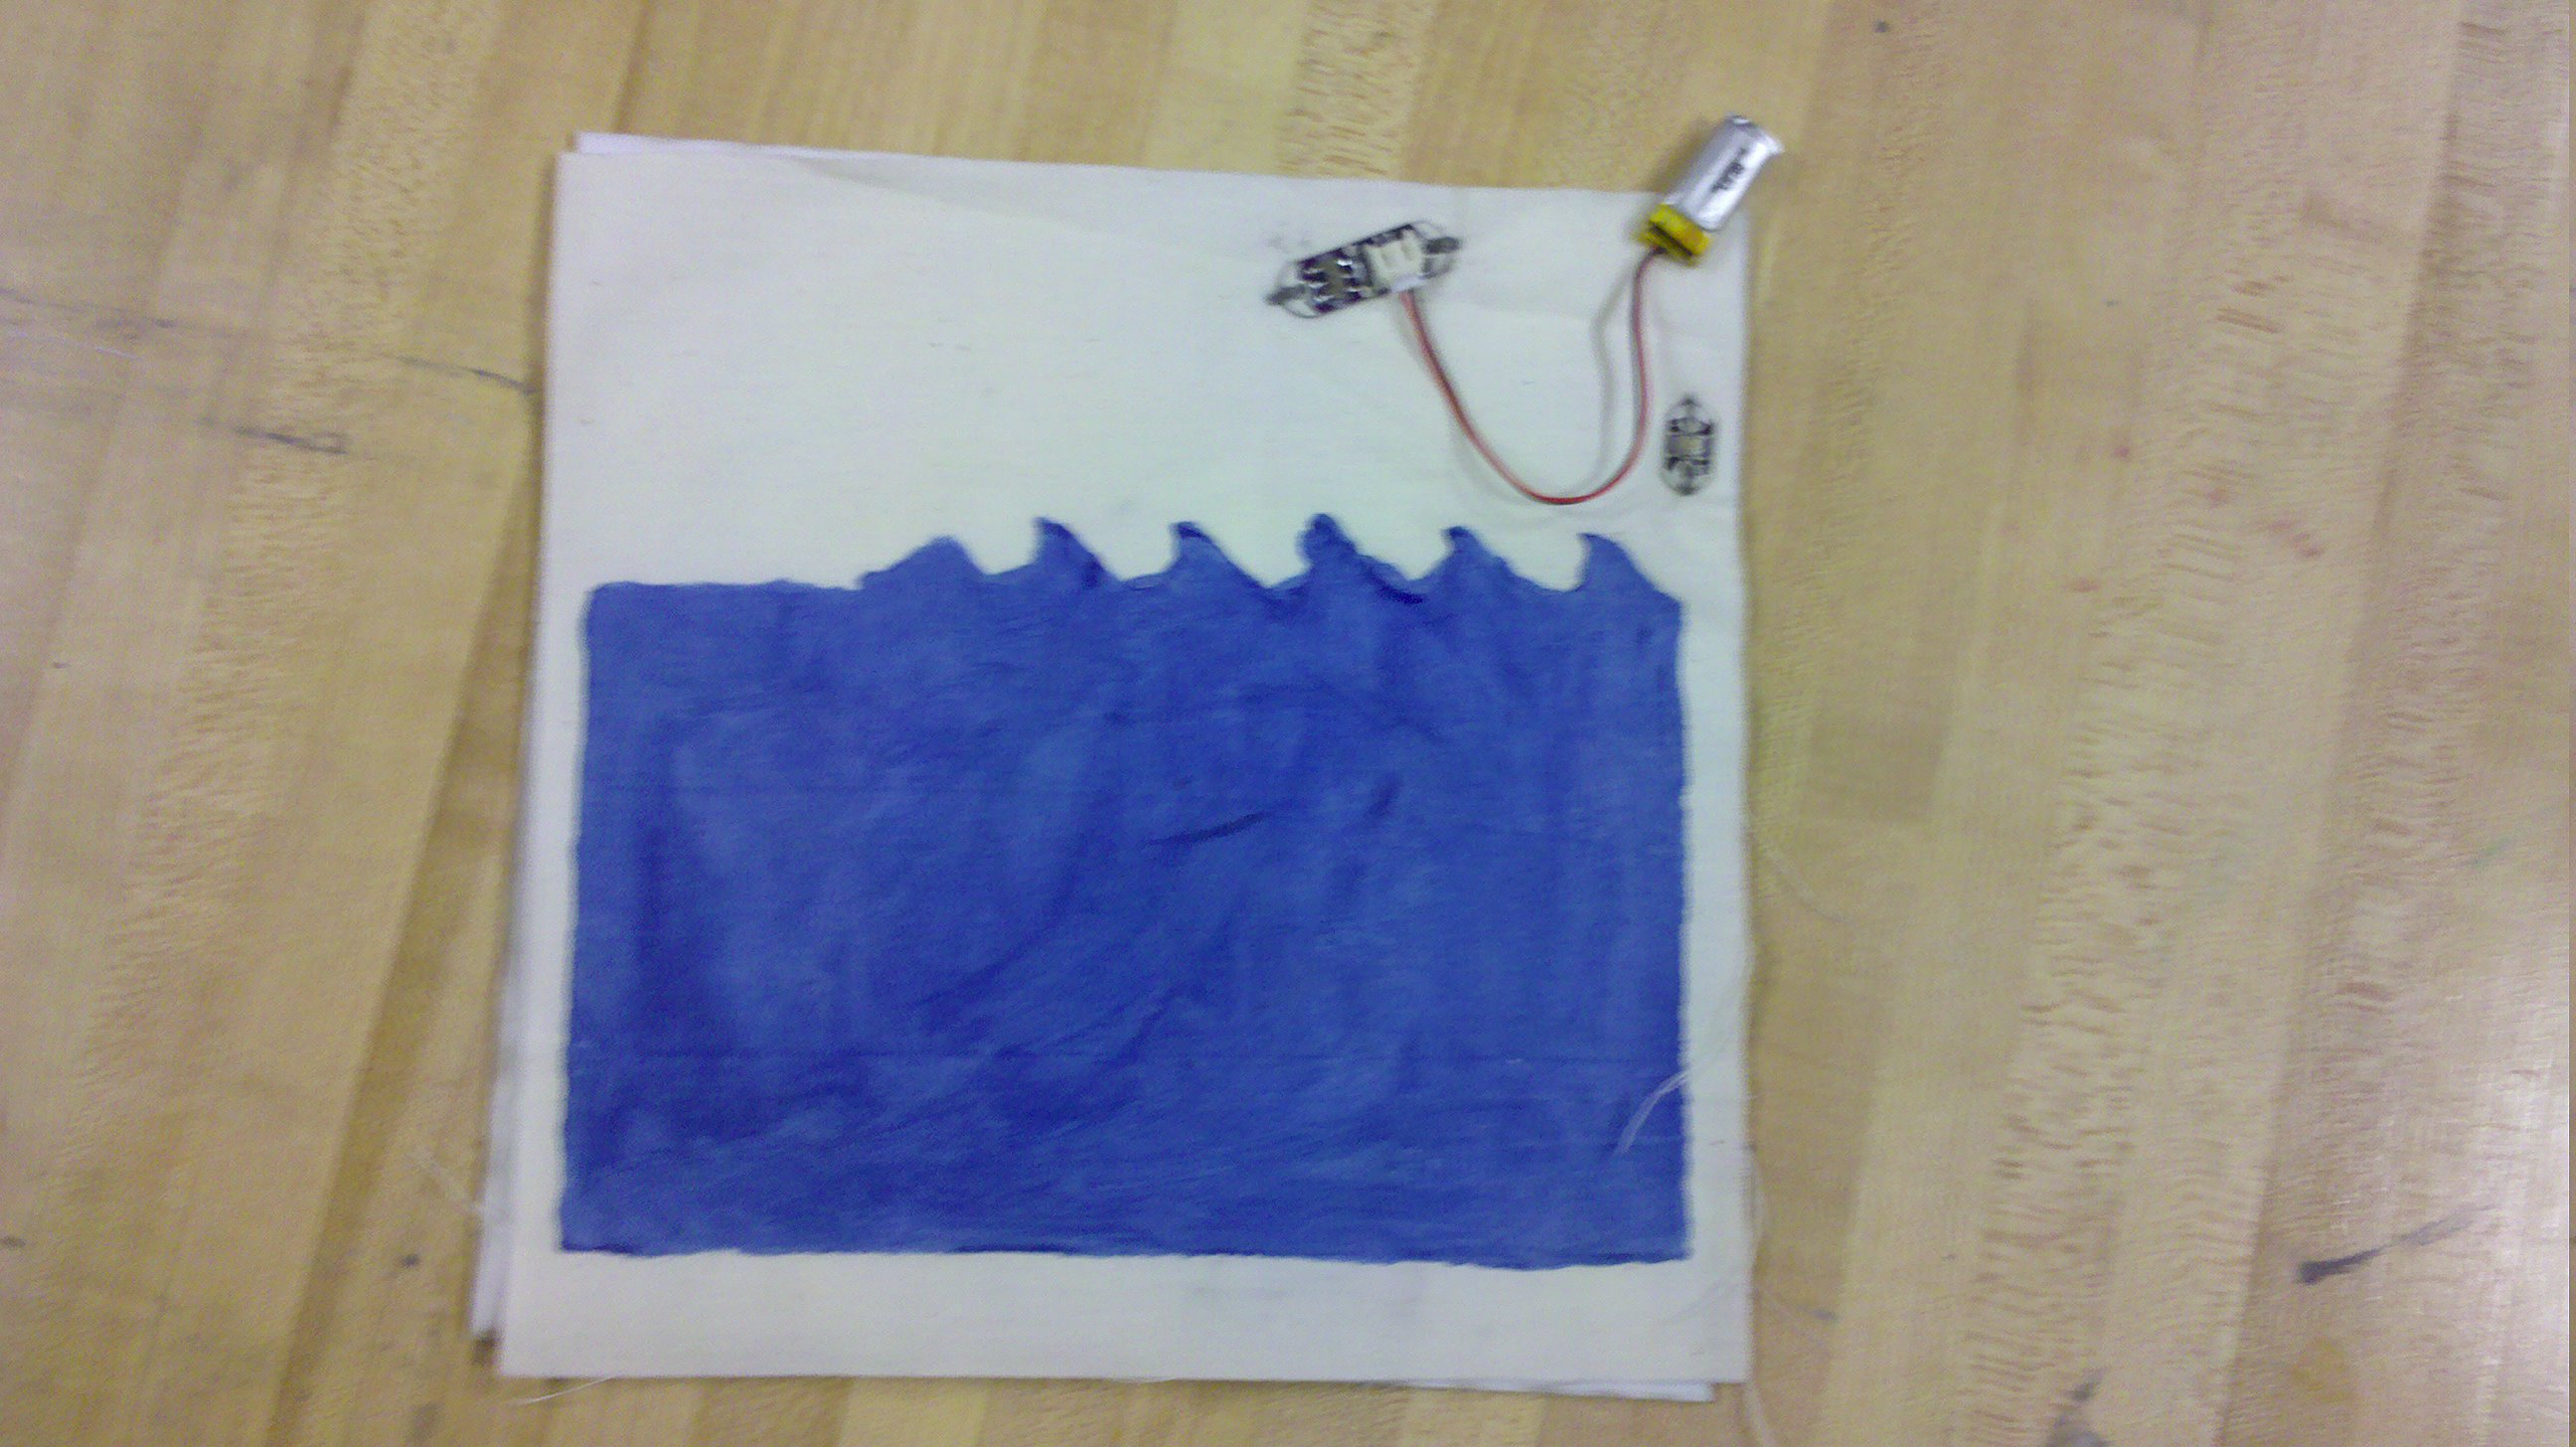
The first thing I had in mind when I saw the blue color of the color changing material was water. I decided then to make a picture of a boat and fishing rod, and use the battery, wire and battery PCB as part of the drawing. The Idea was to stitch the conductive thread in the shape of a fish and to hide it underneath the painted cloth. When I’ll put current in the thread the fish will appear.
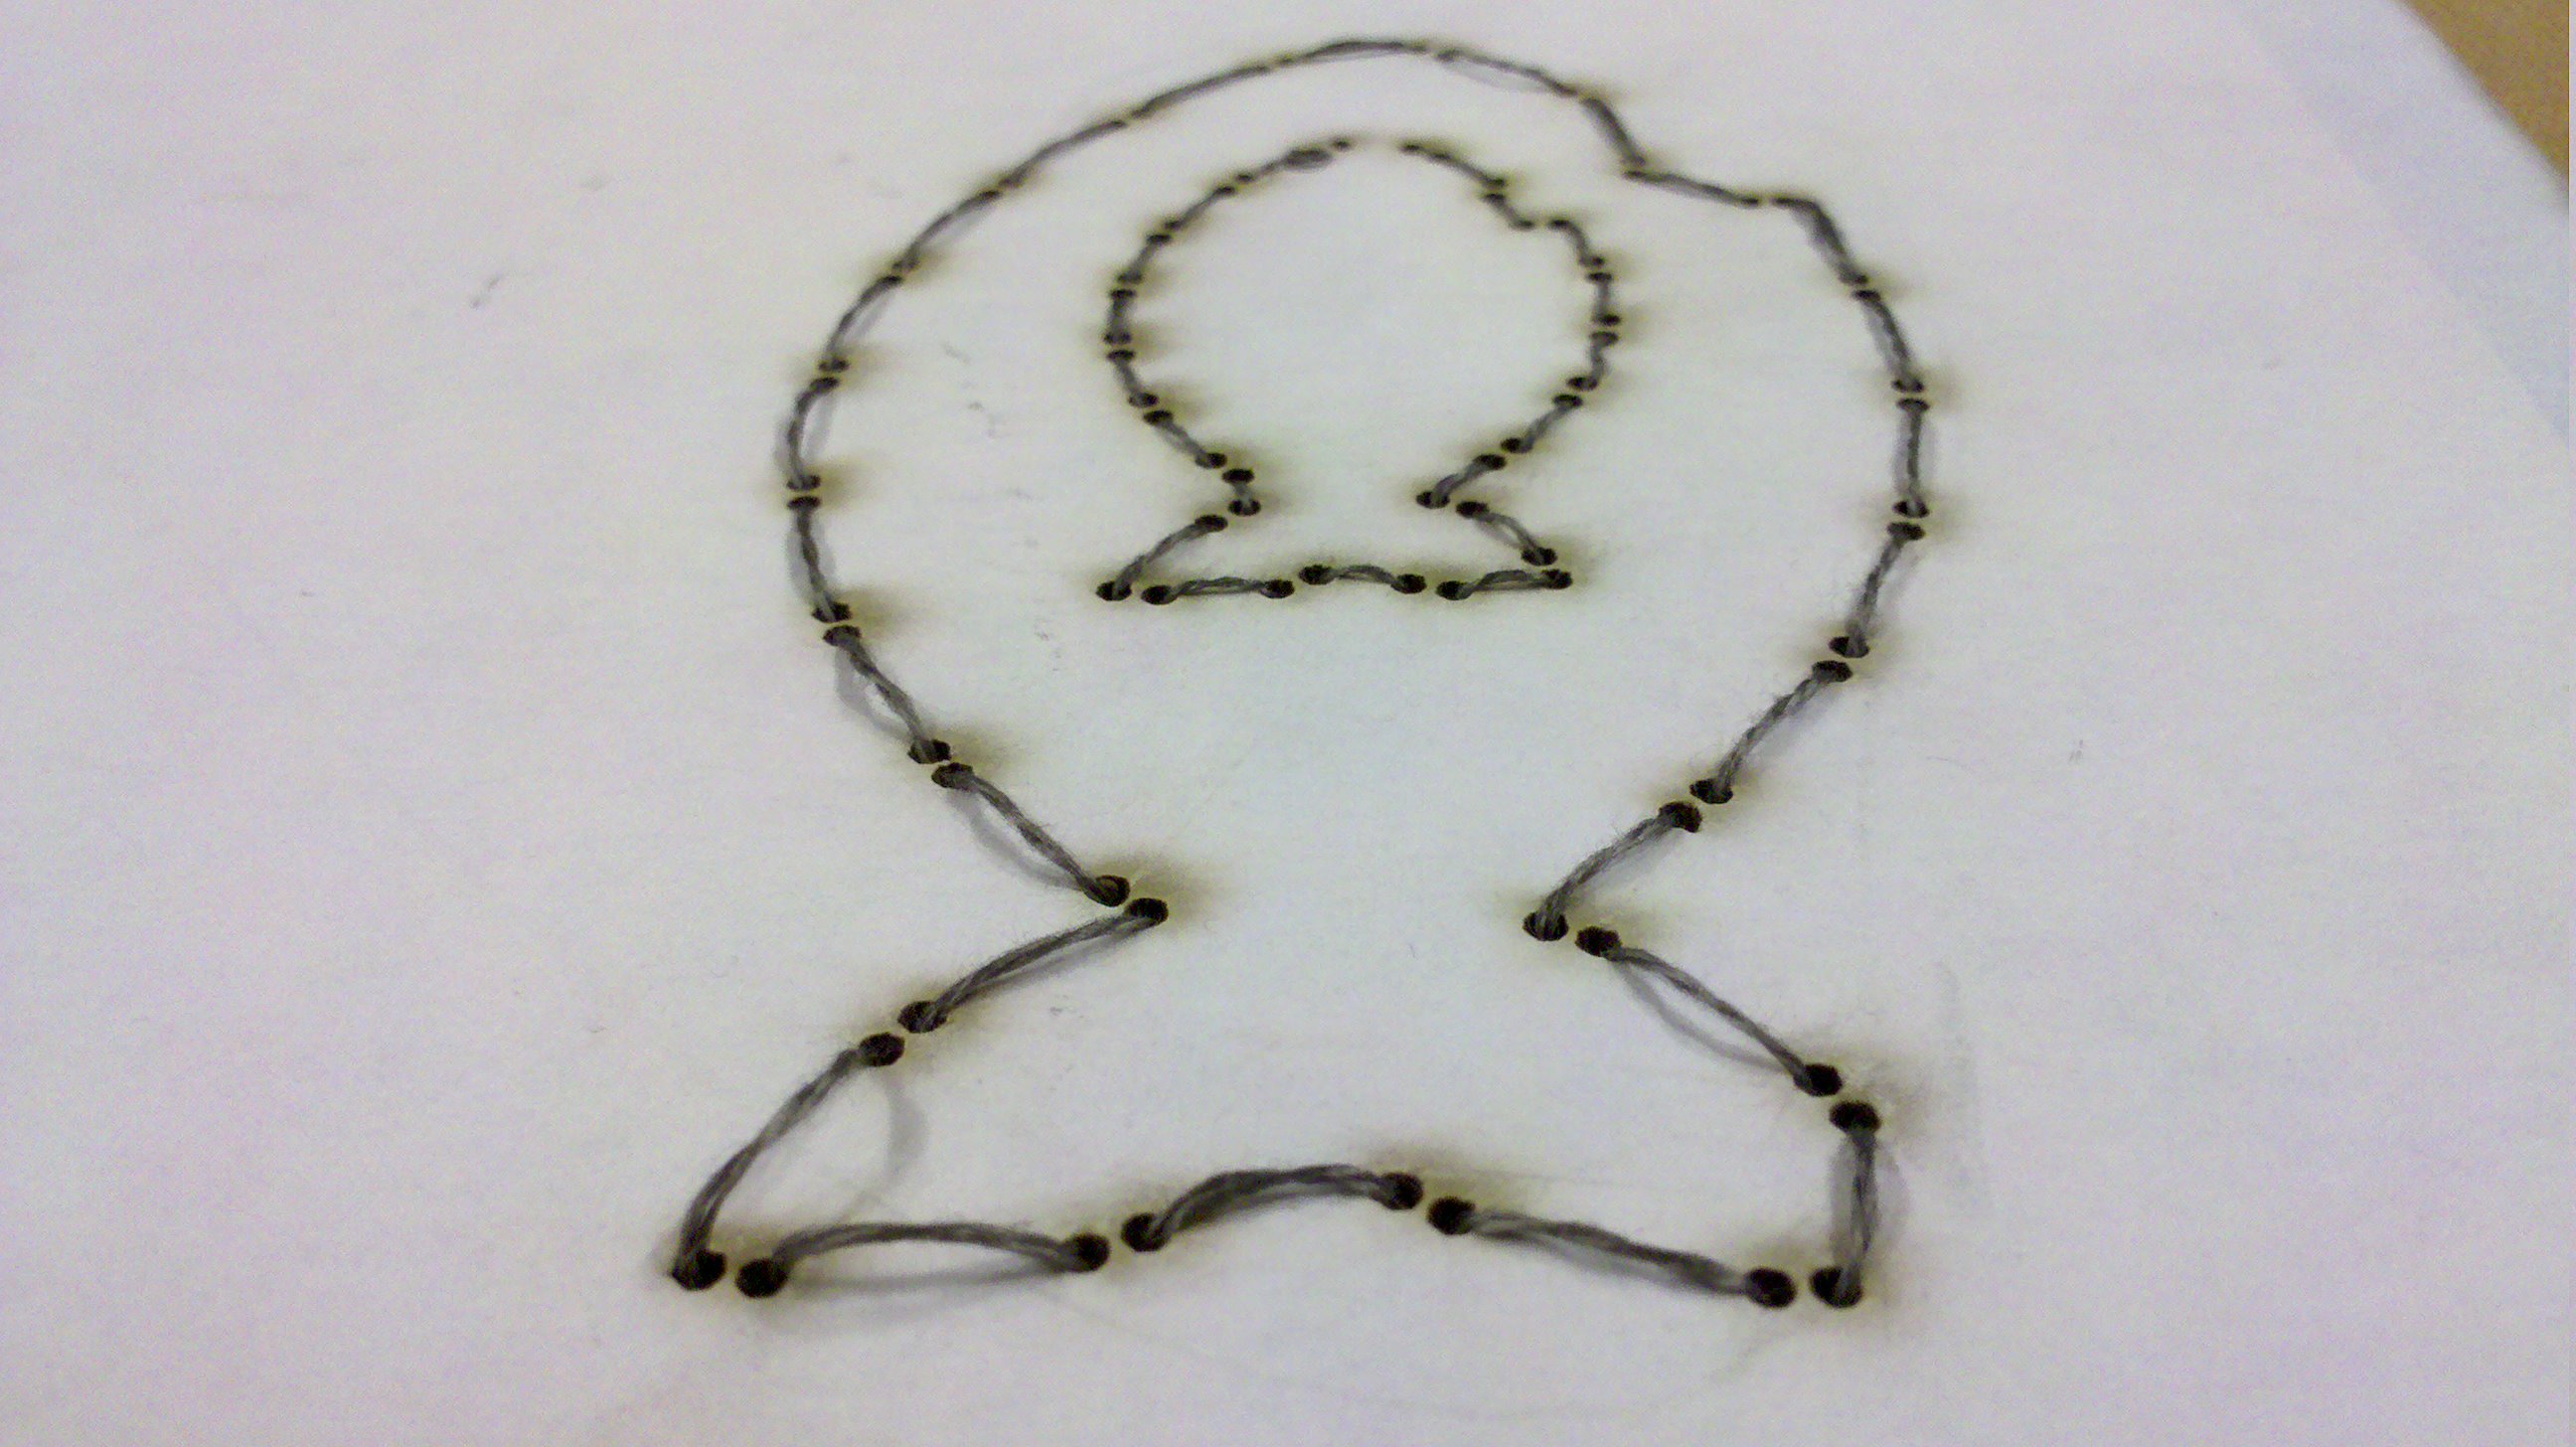
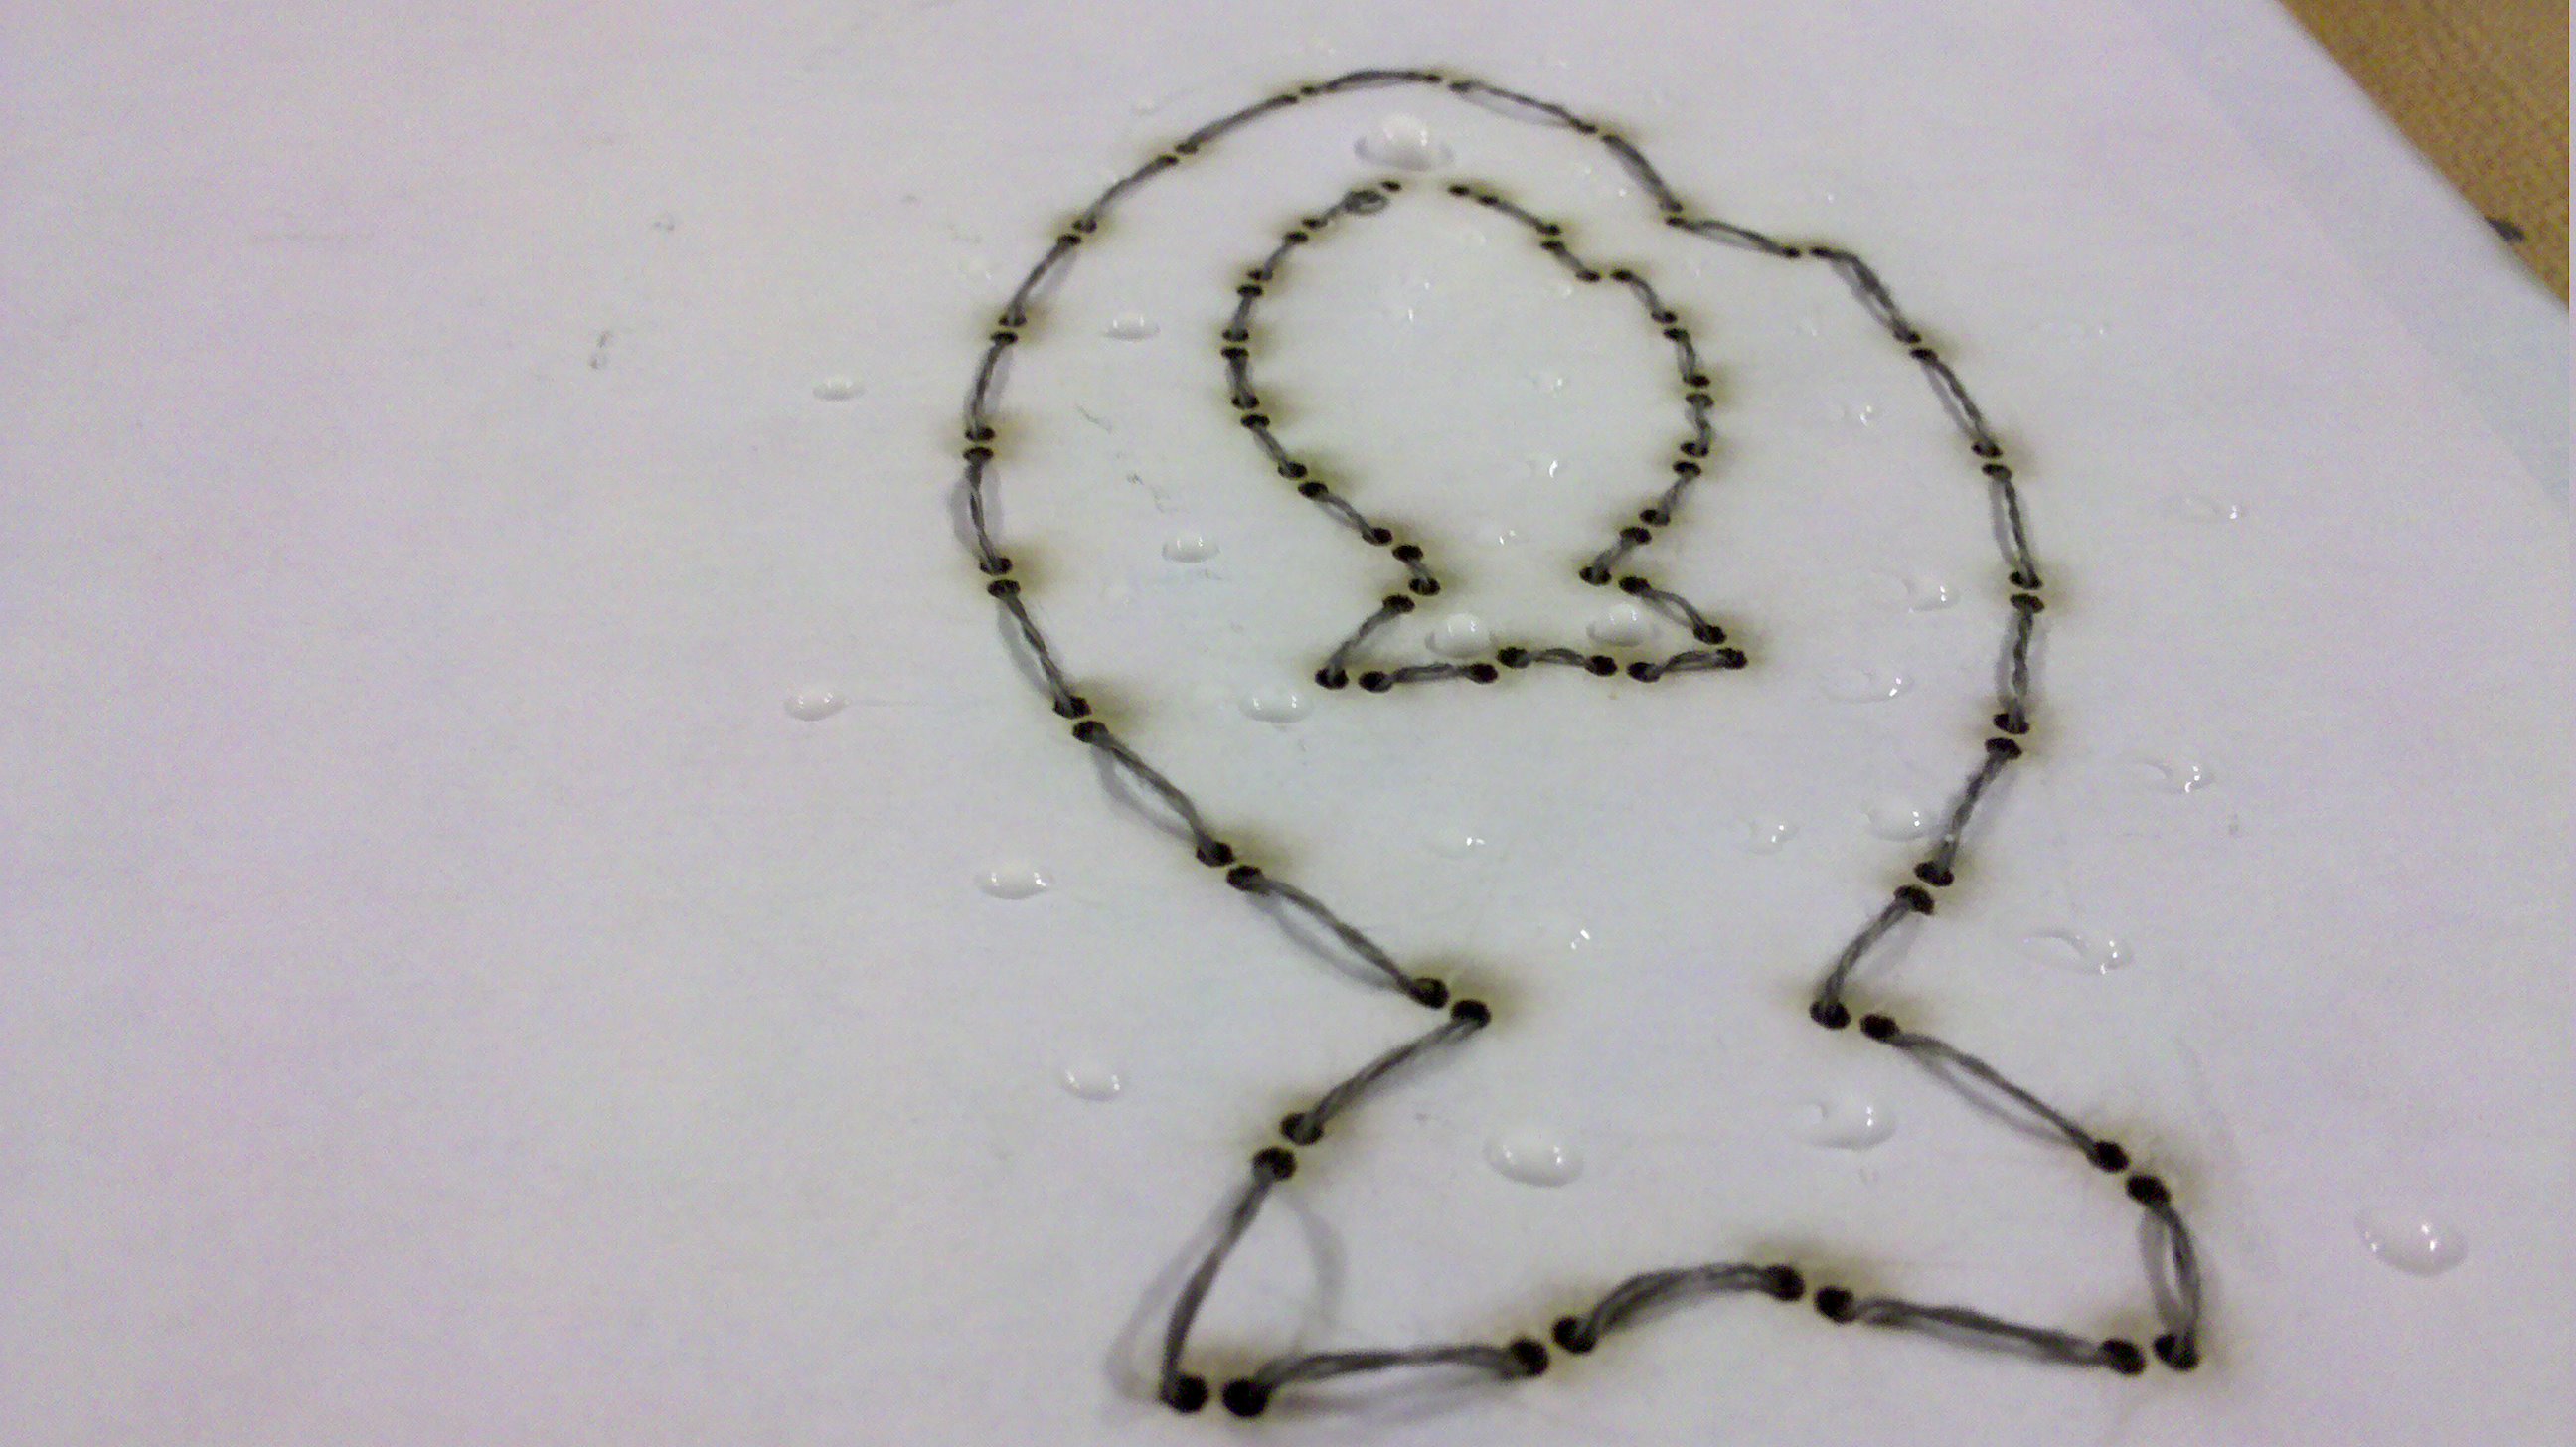
I printed the picture on paper and then I stitched the shape of the fish with the paper attached to the cloth. I didn’t make any measurements because I did it at home and I didn’t have the multimeter yet. I used a double thread for this stitch.
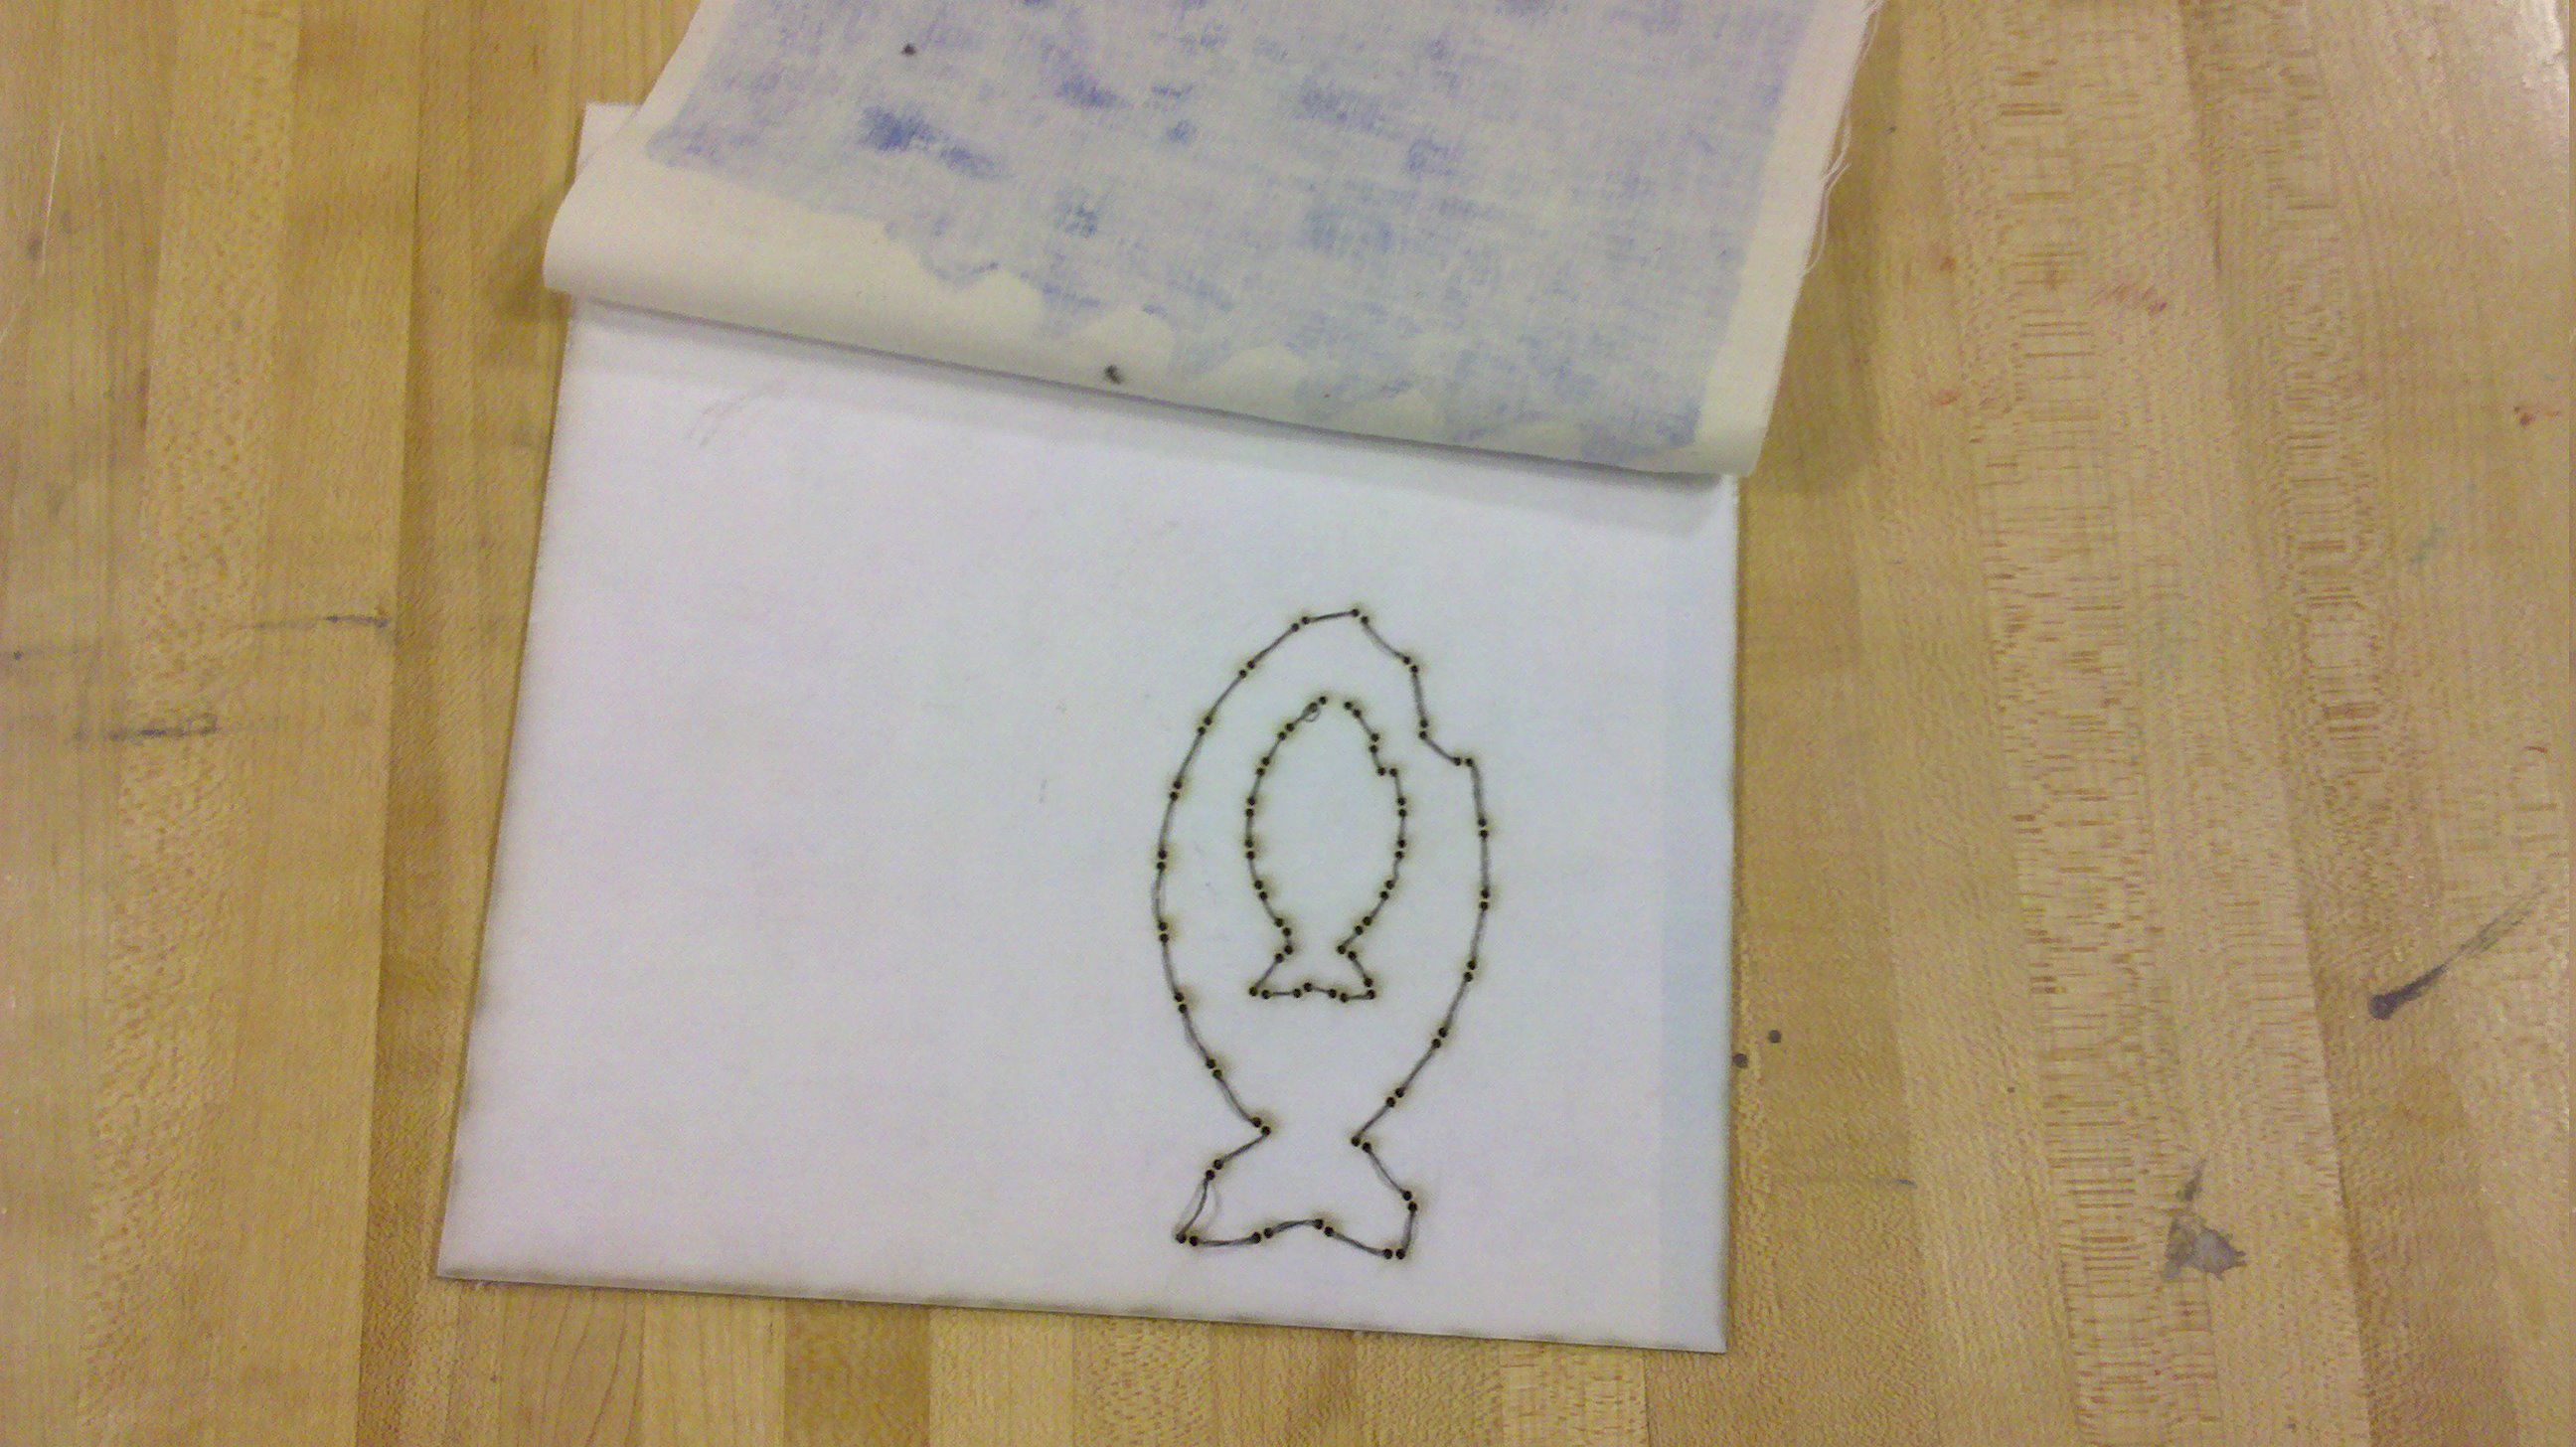
This version didn’t work, so I made another one that will allow me to make more experiments and error corrections. I used the laser cutter to cut cardboard with the holes for the stitches, so I could add stitches or remove it easily. This time it worked.
I connected the small fish to the plus and minus of the battery, so
when the battery switch is on, there is a current in the small fish thread. The big fish thread is connected to the minus thread of the small fish and to the pushbutton board, that is connected to the plus of the battery on it’s other end.
When I push the pushbutton, the current goes to the small fish and to the big fish. The small fish I brighter. My guess is that more current is going to the small fish because there is less resistance.
| Resistance | Voltage | Current (calculated) | |
| Small fish | 16.6 ohm | 3.15V | 0.189 |
| Big fish | 28 ohm | 3.15V | 0.125 |
<
