Starfish – lasercut lace
by yihyun.lim
___________________________________________________________________________________________________________
For this assignment, I used Grasshopper (plug-in for Rhino3D) circle packing script to generate different patterns for laser-cut lace.
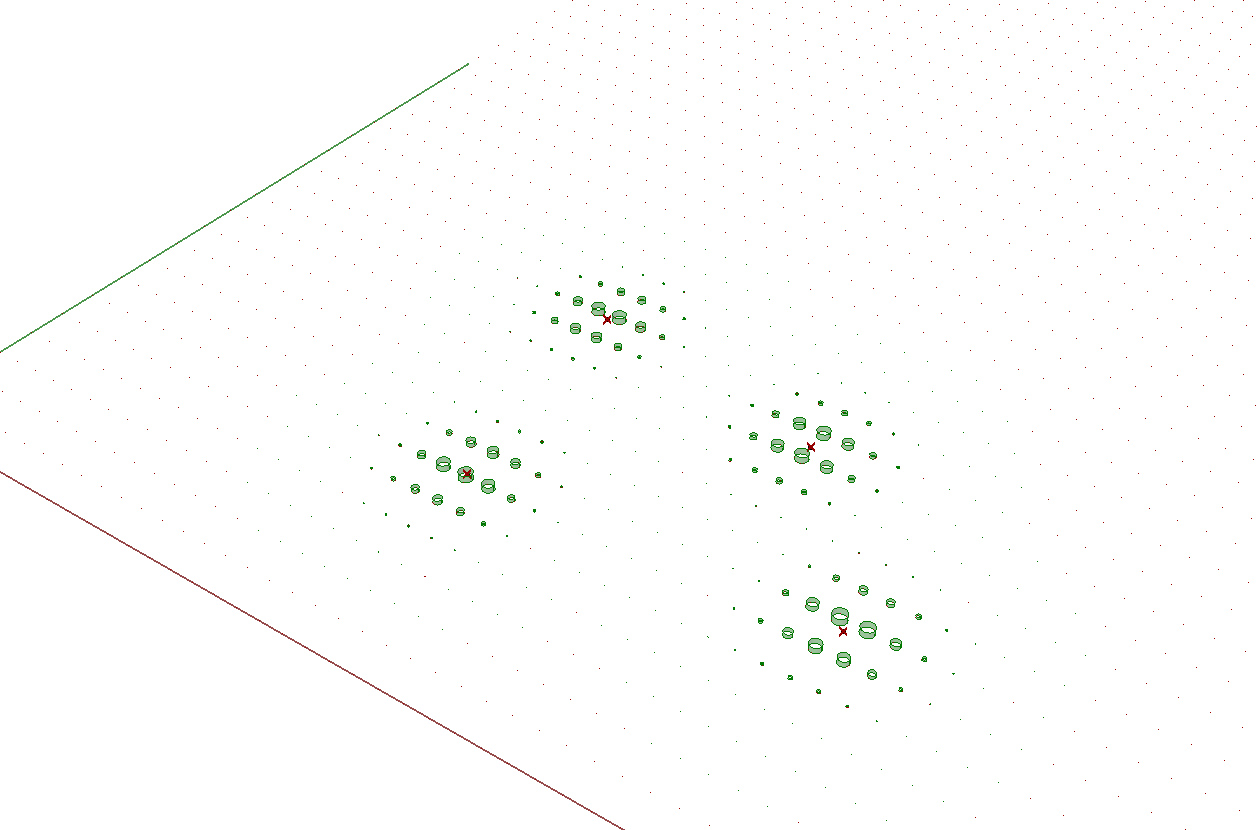
Instead of packing circles completely on a given surface, I decided to use multiple attractor points to define starting points of circle packing. Below image shows a screenshot of Grasshopper interface and also a 3D view of the pattern generated in Rhino.


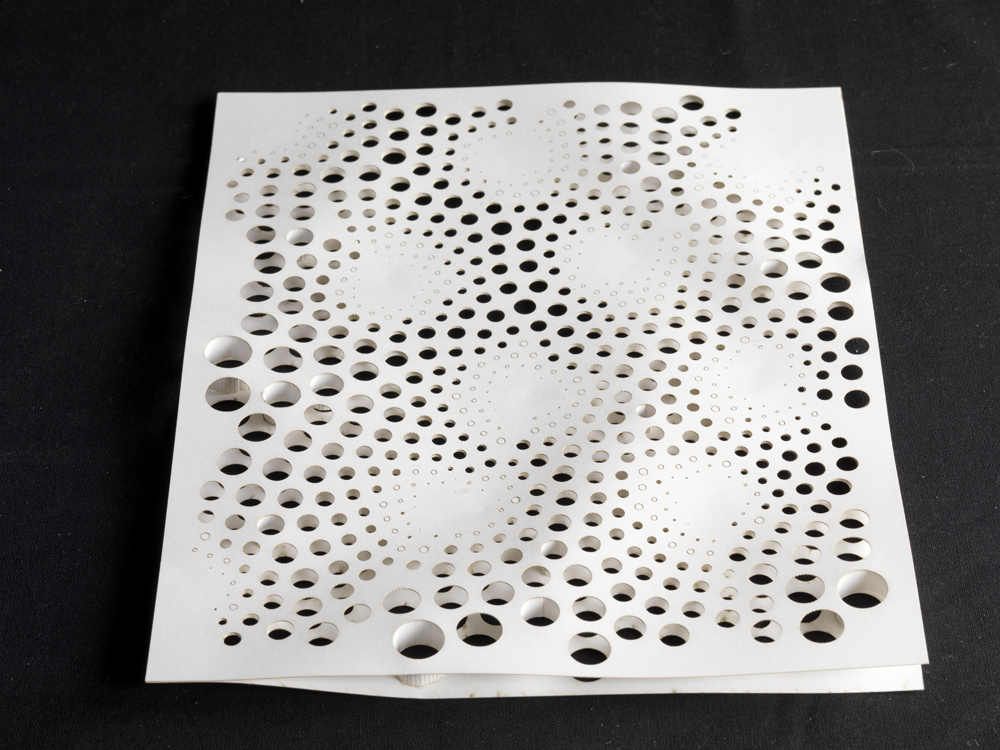
The picture above shows two layers of laser cut surface with spacers at larger circle areas to create undulating surface.
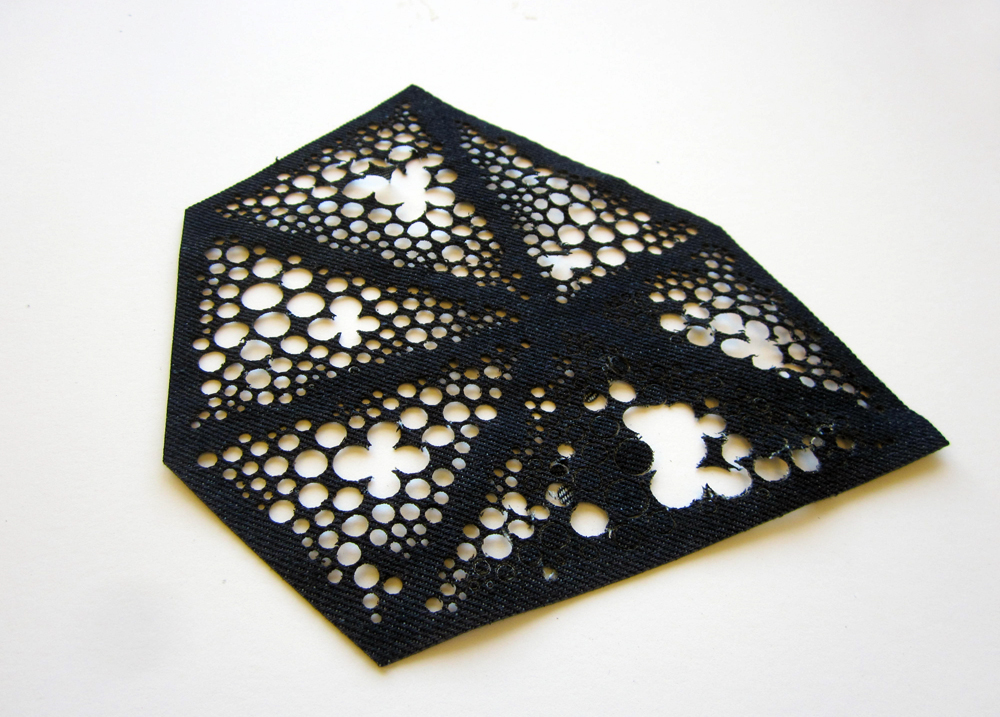
Then the next iteration was to use the attractor points as boundary lines. These boundary lines can be used to stitch different sections together if one were to use this pattern to make wearable piece. You can see the location of attractor points in the laser cut piece (bottom left image). I couldn’t use a single line as an attractor, so I had to use multiple points on a line. After the pattern was generated, I manually deleted some of the smaller circles next to attractor points to get a clean line of “seams”.


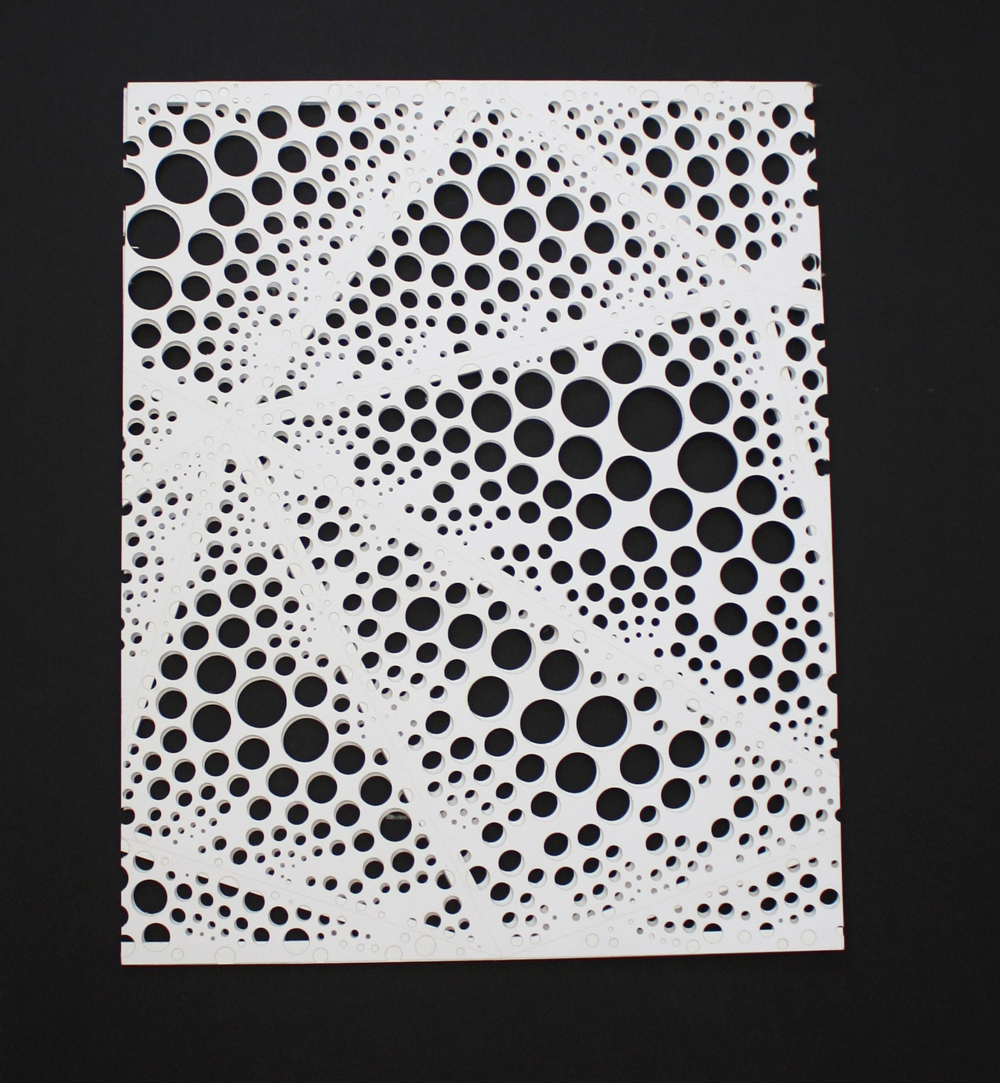
The bottom picture is the final laser-cut piece that shows clearly defined attractor-point lines, where circles get more compact and smaller near the seam lines and larger towards the center of the bounded zone. It resembles a starfish!
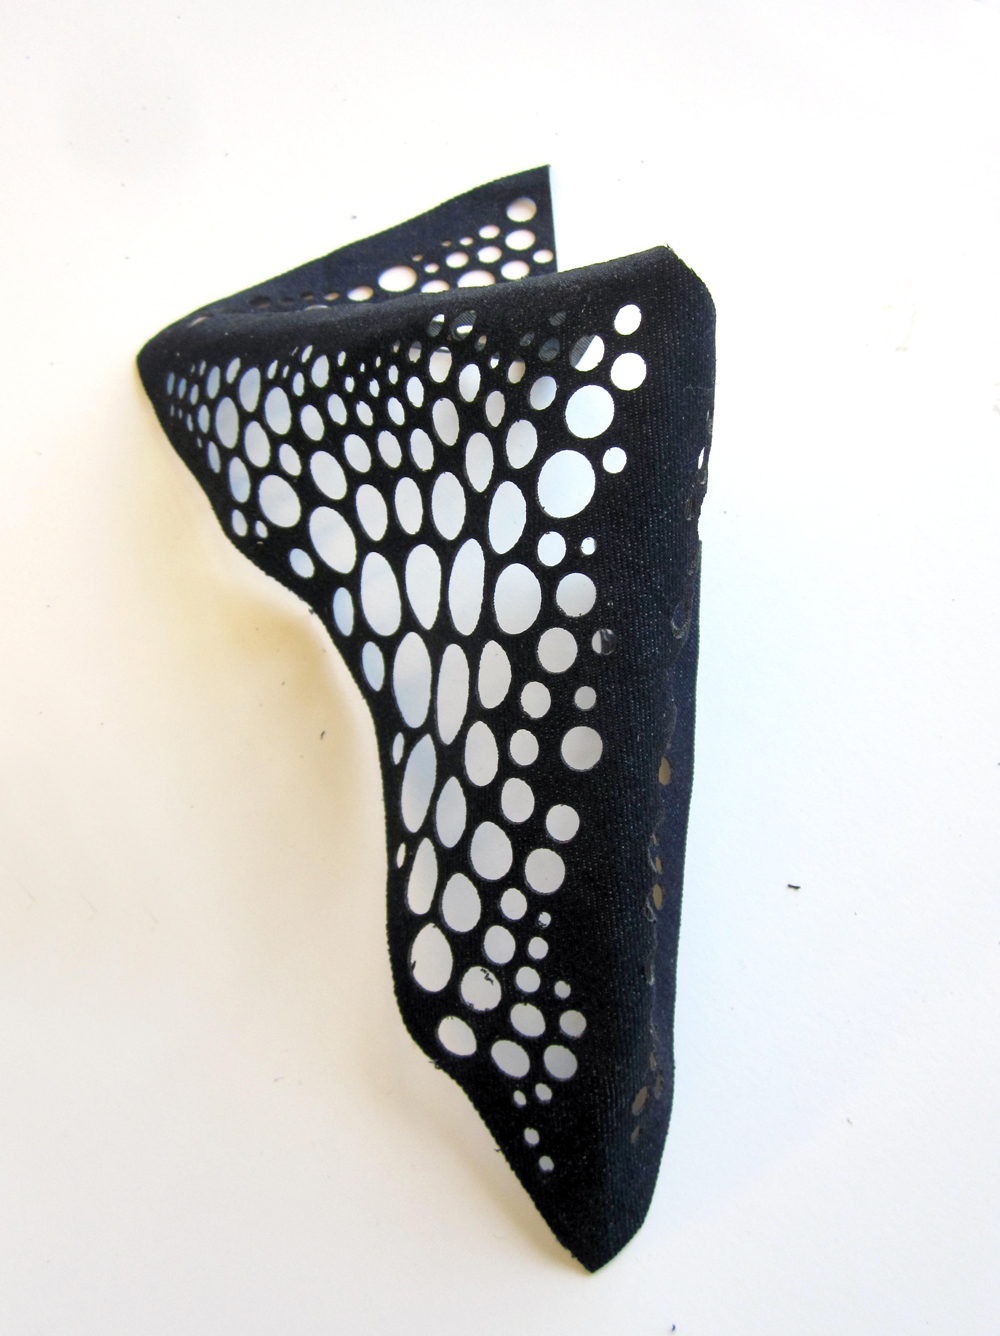
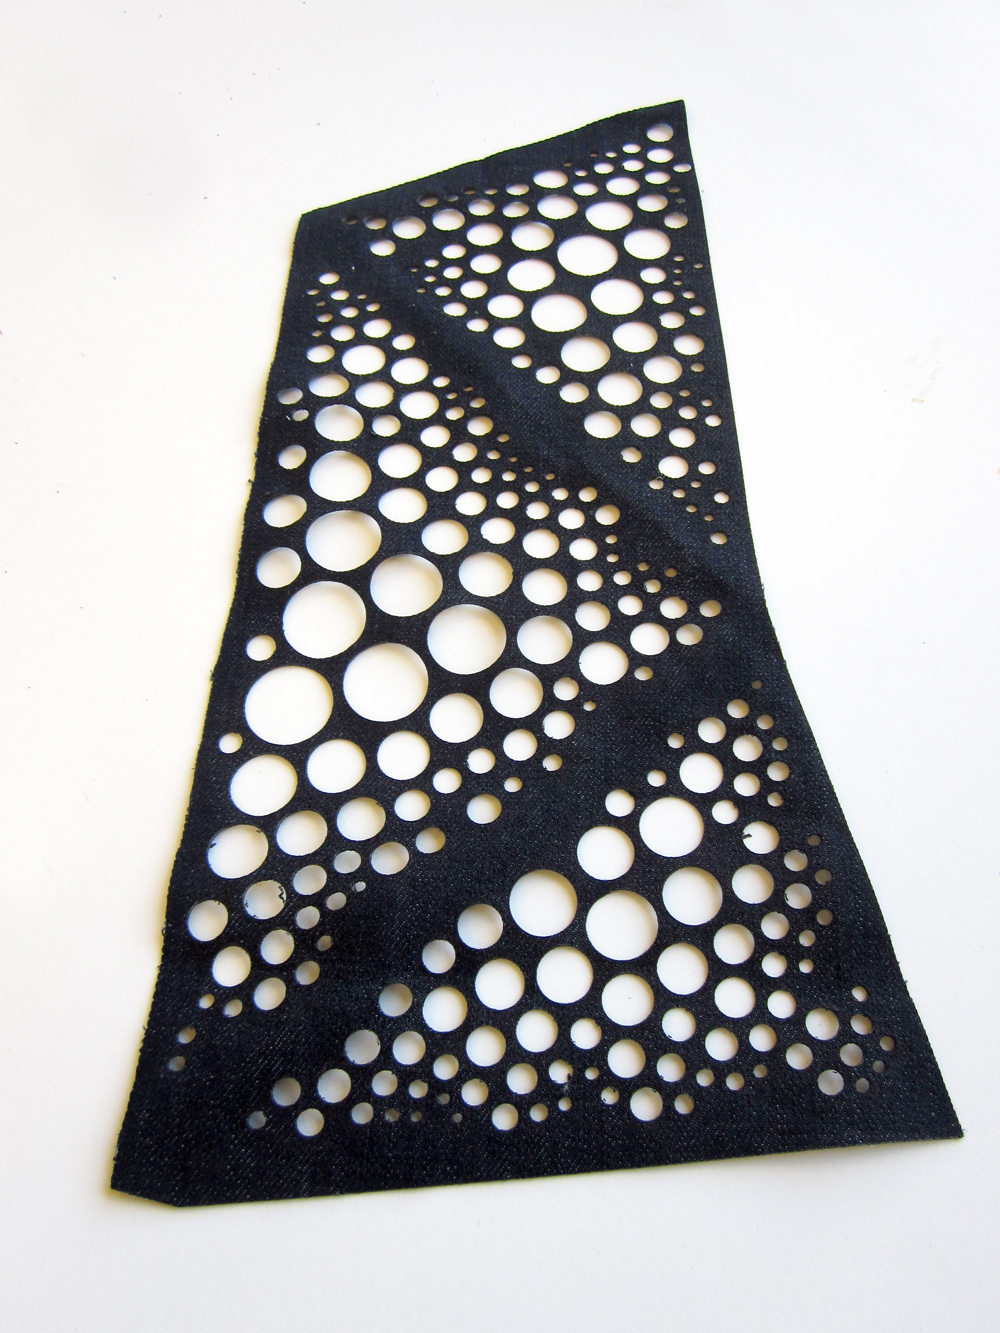 Finally, I used denim fabric to laser cut the script-generated pattern. At first I scaled down the pattern to a 8″ diameter size to test the tolerance. Some of the larger cut areas didn’t hold, and started to fall apart. In the next cut, I scaled up the pattern three times. Now there is about 1/8″ fabric between each circular cuts.
If I were to use this in a wearable project, I would first create a quilt-like pattern and apply circle packing script on each section. Then the “seam” or the “rib” areas can be used to fold, stitch, cut the fabric into a wearable piece.