
StoryBoard
Emily Salvador, Judith Sirera, Yan Liu, Xiaojiao Chen
Concept
We’ve created an interactive, collaborative desk for children to help bring their school assignments to life. More specifically, we’re implementing an example module. In this module, students can collaborate with one another to animate a scene prepared by the teacher.
Students use the desk just as they would otherwise. The camera is designed to be un-obstructive to the front of the classroom, so the student can clearly see the teacher and the whiteboard/projector at the front of the room. Instead of typing on a laptop, students could write on their desks with styluses or use a regular notebook since there would be no need for a laptop to take up space on their desk.
Students interact with the table by manipulating and designing physical objects. At this point, the output is visual and sound based, but we could imagine ‘smart’ primitives like Toio or the Transform topography being applied to this setup. More specifically to our application implementation, by using cutout pieces of construction paper, kids can design and assign their own sounds to shapes, can move the pieces around, and don’t risk damaging expensive equipment (construction paper is way less expensive than a computer monitor).
Inspiration
While ideating on our final concept, we researched the following topics, Color and Sound, Telepresence, Animation, and Education. Below is a list of projects that we were inspired by.
Color and Sound:
https://www.kickstarter.com/projects/364756202/specdrums-music-at-your-fingertips/description
https://www.instagram.com/p/Bax0aGknUPy/?taken-by=hardwareux
https://www.instagram.com/p/BWIMccYALLq/?taken-by=hardwareux
https://musiclab.chromeexperiments.com/Kandinsky
Telepresence:
http://www8.hp.com/us/en/campaigns/sprout-pro/overview.html
https://vimeo.com/44544588
http://tangible.media.mit.edu/project/teamworkstation/
Animation:
https://turtleacademy.com/
https://scratch.mit.edu/
https://en.wikipedia.org/wiki/Adobe_After_Effects
Education:
https://www.playosmo.com/en/
Motivation
Our project is designed to be imaginative, generative and fun. Whether it’s art class or science class, concepts should be presented in more engaging, interactive, tangible ways. Children should be allowed to experiment using a safe, dynamic medium. Additionally, they should be able to share their creations and collaborate with other students real-time. Many schools are shifting to purchase computers and laptops for the classroom, but those can be distracting because they physically block students’ line of sight from the teacher. Since the desks would be locally networked, the teacher can push content out to the class for them to learn that day and more directly engage with each student. There would be more opportunity for collaboration compared to a traditional laptop as laptops are designed to be personal sized. Children can work on their own desks or partner with each other or the teacher to collaborate on a single work surface.
Description of Affordances, Design Decisions, Constraints
Affordances
Sensors: Camera – can capture x,y coordinates of a wide spectrum of RGB color values, can pick up the projector output on the paper (need to account for feedback)
Actuators: Speakers – output device that allows you to hear sound, Projector – allows user to experience i/o coincidence
Other: Colored Construction Paper/Watercolor/Craft Materials – since we’re using analog input devices that the users are familiar with, they’ll be more likely to quickly adopt our platform. Also, by choosing a low-cost material, we’re encouraging the user to create without worrying about perfection.
Overall Device: By using the physical paradigm of playing through arts and crafts, the user doesn’t need to ‘pre-learn’ how to interact with our device. Instead they can learn about the relationship between color and sound as they naturally explore and create on the platform. Since we’re using both visual and audio cues, if the user is hearing or visually impaired, they can still interact with the platform.
Constraints
Sensors: Camera – brightness, resolution, framerate, can pick up the projector output on the paper (need to account for feedback)
Actuators: Speakers – are they loud enough/no binaural/3D audio, Projector – brightness, resolution, framerate, needs to be precisely placed relative to the platform
Other: Colored Construction Paper/Watercolor/Craft Materials – since we’re using analog input devices that the users are familiar with, they’ll be more likely to quickly adopt our platform.
Overall Device: Time and technical expertise deficit was definitely a constraint
Software Implementation
In terms of software, our project was implemented in Max MSP. Emily wanted to learn more about visual programming and Max and took this project as an opportunity to do just that. Max MSP was the perfect platform for the programming requirements of this project. The software is primarily used for video and sound processing and manipulation, which is exactly what Emily was looking to work with. The software is broken into three main components, image processing, image to sound conversion, and image output.
Image Processing
The software grabs frames from the webcam at a downsampled frame rate (approximately 6 frames/sec) and resolution (24×8 pixels). Then, the saturation and brightness of the image is modified to easily extract and identify colors and to minimize noise from the background. Next, the current frame and previous frame are compared to identify motion. If the pixel value change is great enough, the software registers that position as motion and turns that pixel white. Lastly, the software compares the color image with the motion alpha image and selects the minimum RGB value. That way, if there was no motion detected at a pixel, it will be black, and if there was motion, that white pixel value would be converted to the color in the color detection frame.
The above clip shows the motion alpha channel combined with the ultra-saturated camera input.
Pixel to Sound Conversion
For the sound processing, Emily started by writing thresholding logic. For example, if the R pixel value was greater than 200, the G pixel value was less than 100 and the B pixel value was less than 100, then my sound processor would register that pixel as RED. There were also thresholding values for the colors GREEN, BLUE, and PINK. We avoided using colors that too closely matched skin tone (like yellow, orange, and brown) since we didn’t want to pick up hand motion in our sound processor. When the sound converter registers a hit, it increases the volume on that color value. If no hits are registered for that color in the frame, the volume slider fades out.
For the PINK color value, the sound sequencer introduces a looped track. This is to showcase that the user can assign sound loops to trigger when they move a sound loop assigned color. For the RED, GREEN, and BLUE color values, there is an additional mapping of sound over the y-axis. If the user moves one of those colors to the top of the page, the pitch of that instrument is higher, and if they move the color to the bottom of the page, the pitch decreases.
Image Output
Lastly, the composited image is output to the reciprocal device, so the users can share and create animations together. An interesting side effect of this setup, is that in high light situation, the projector output is dim enough to be filtered out in the camera feed (avoiding a feedback loop).
However, in a low light situation (triggered by switching from high light to low light), the camera detect tries to detect color in the darkness, and starts to dream. Those colors are output to the projector and cause new colors to be seen by the camera, generating sound. In this low light situation, the interaction paradigm changes. Now the user can block and add light to the storyboard surface to contribute to the generative composition. For example, if the user blocks all the light on one table, the other table will eventually stop playing music. If the user shines light (from a flashlight or their phone), the feedback loop begins again, radiating out from where the light was applied.
Hardware Implementation

For the hardware implementation, we bought large cardboard boxes (24″x24″x45″) to create a projection surface that matched the size of the canvas. If this were an actual product, we would use a smaller form-factor but we were working with the projectors we already owned (as opposed to buying short throw projectors or monitors to embed under our working surface). We cut PVC pipe to hold up the camera above the canvas and secured the projectors at the base of the table. We painted the boxes white to make it look like we cared about the aesthetic a bit. We cut holes into the clear surface acrylic to create storage pots for the arts and crafts supplies. Lastly, we created demo props using construction paper, pipe cleaners, and popsicle sticks.
Final Experience, Lessons Learned
Overall, this was an awesome opportunity to learn more about telepresence, interaction design, image processing and Max MSP.
Process Pictures

Judith, Xiaojiao and Emily assembling the cardboard boxes
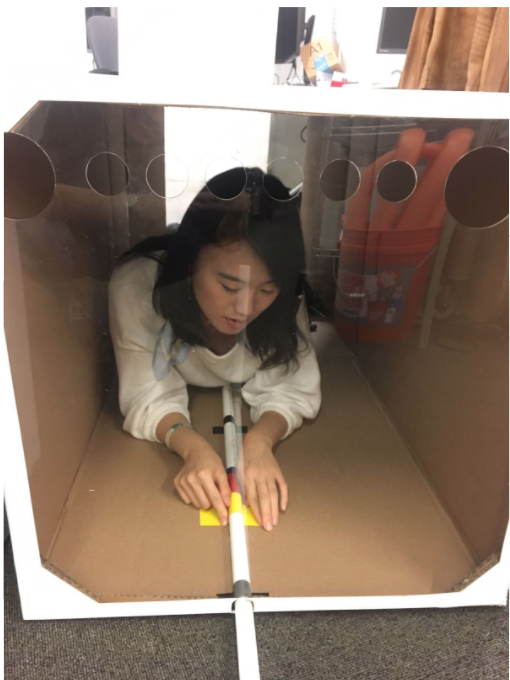
Yan securing the camera rig to the inside of the box
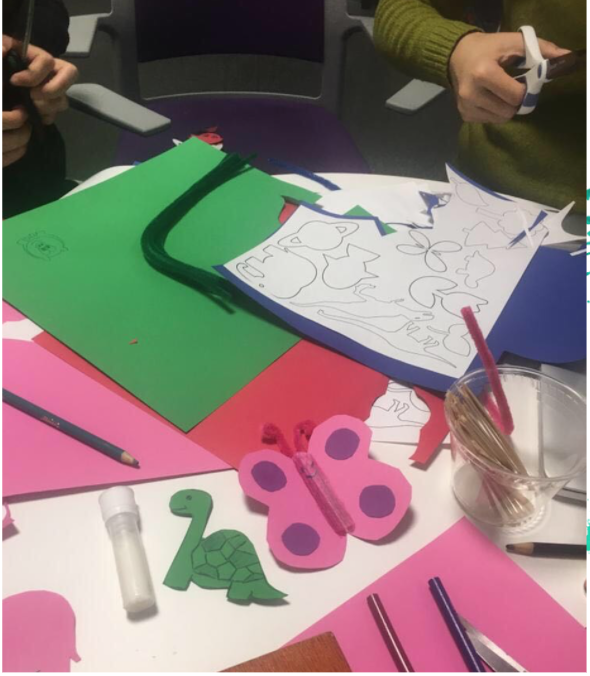
Preparing the Arts and Crafts Props
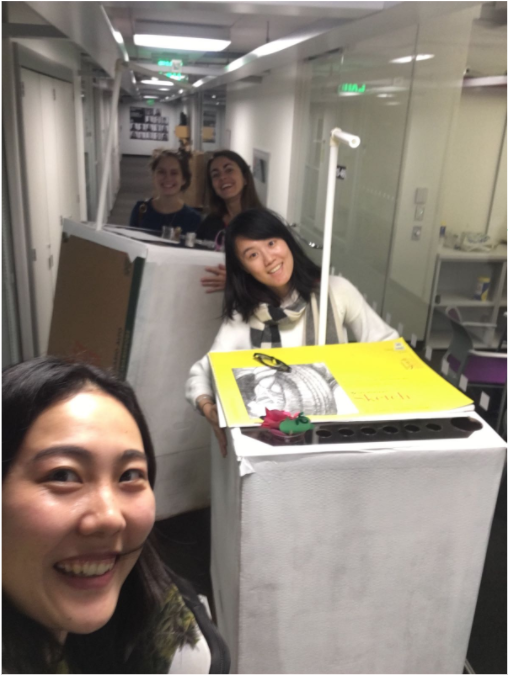
Team Photo as we carry our StoryBoard devices downstairs