Light Fixture – Project Update
by gracie15
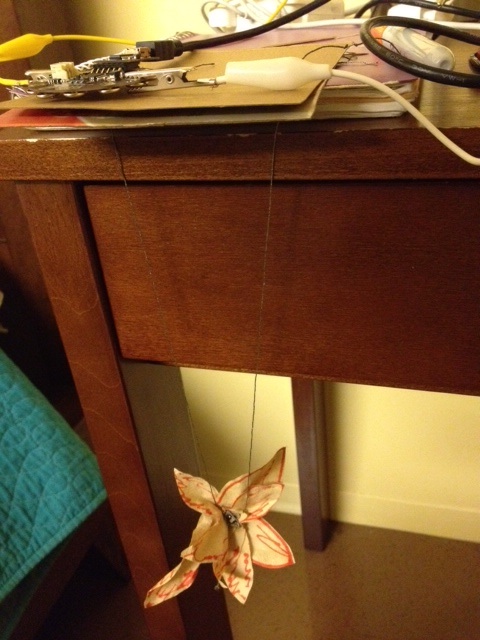
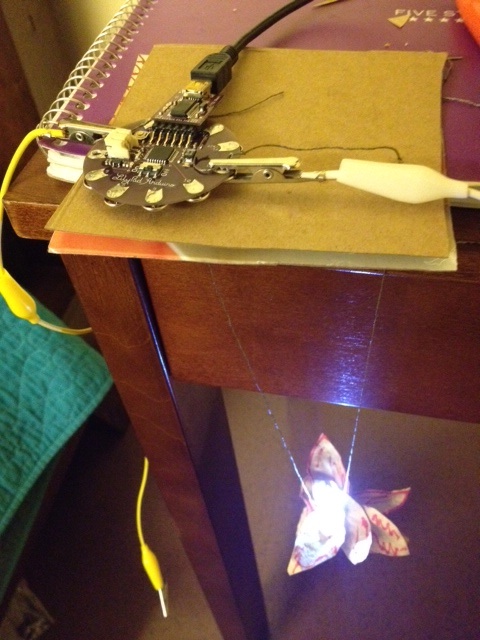
For my project so far I went through a few different phases of deciding what the shape of my hanging light fixture/chandelier would look like. I experimented with hanging small flowers made from coffee filters to a small piece of cardboard using some conductive thread and LEDs as a test. I wanted to see what the feasibility of designing this with flowers dangling in a free form structure would be. I considered using wire to make this more stable but it ends up that this was not going to turn out how I envisioned and would not look very polished. I also am thinking the LEDs would be difficult to attach to such a loose structure.
I also have purchased some metallic silver cardstock to use for the flower structures.
Here are samples of what I tested out using the Arduino, conductive thread and a test flower:
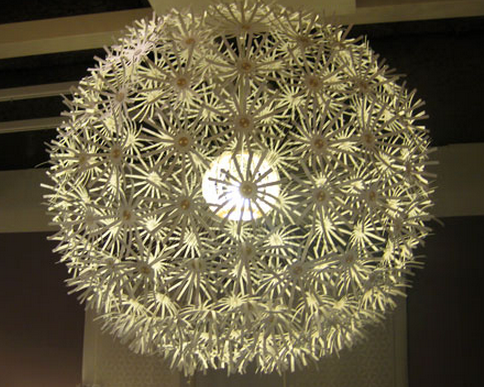
Instead of this I have opted to create a spherical base structure now with the help of Jennifer’s codeable objects program and use copper tape to attach the LEDs. I will be attaching a flower structure similar to this but will not be using a hanging lightbulb:
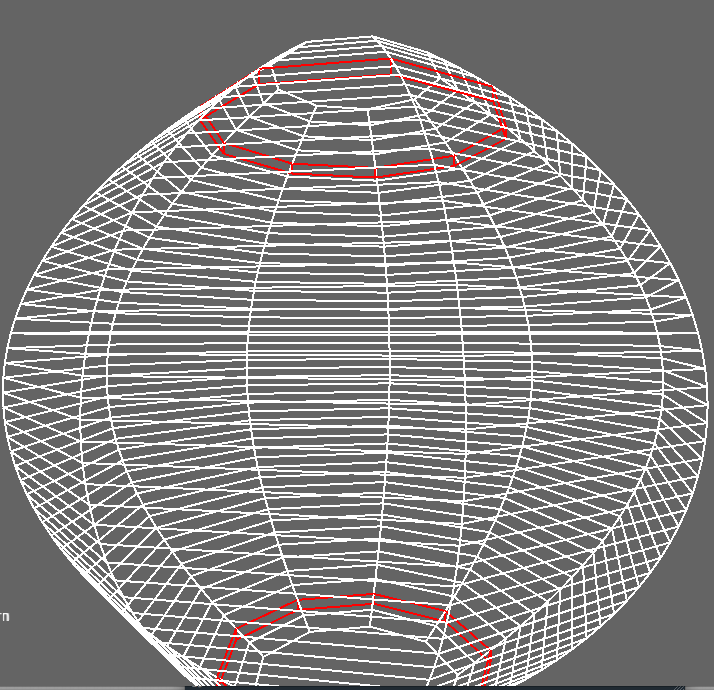
This is the base structure I created using the Codeable Objects:
I have started to test out laser cutting the parts for the spherical structure. I wanted to start small before I laser cut the real pieces. I also worked with Jennifer to find out what the maximum size I could achieve with the codeable objects parts would be and she supplied me with some updated code that allows for larger components.
Here is an image of what I tested out using the laser cutter:
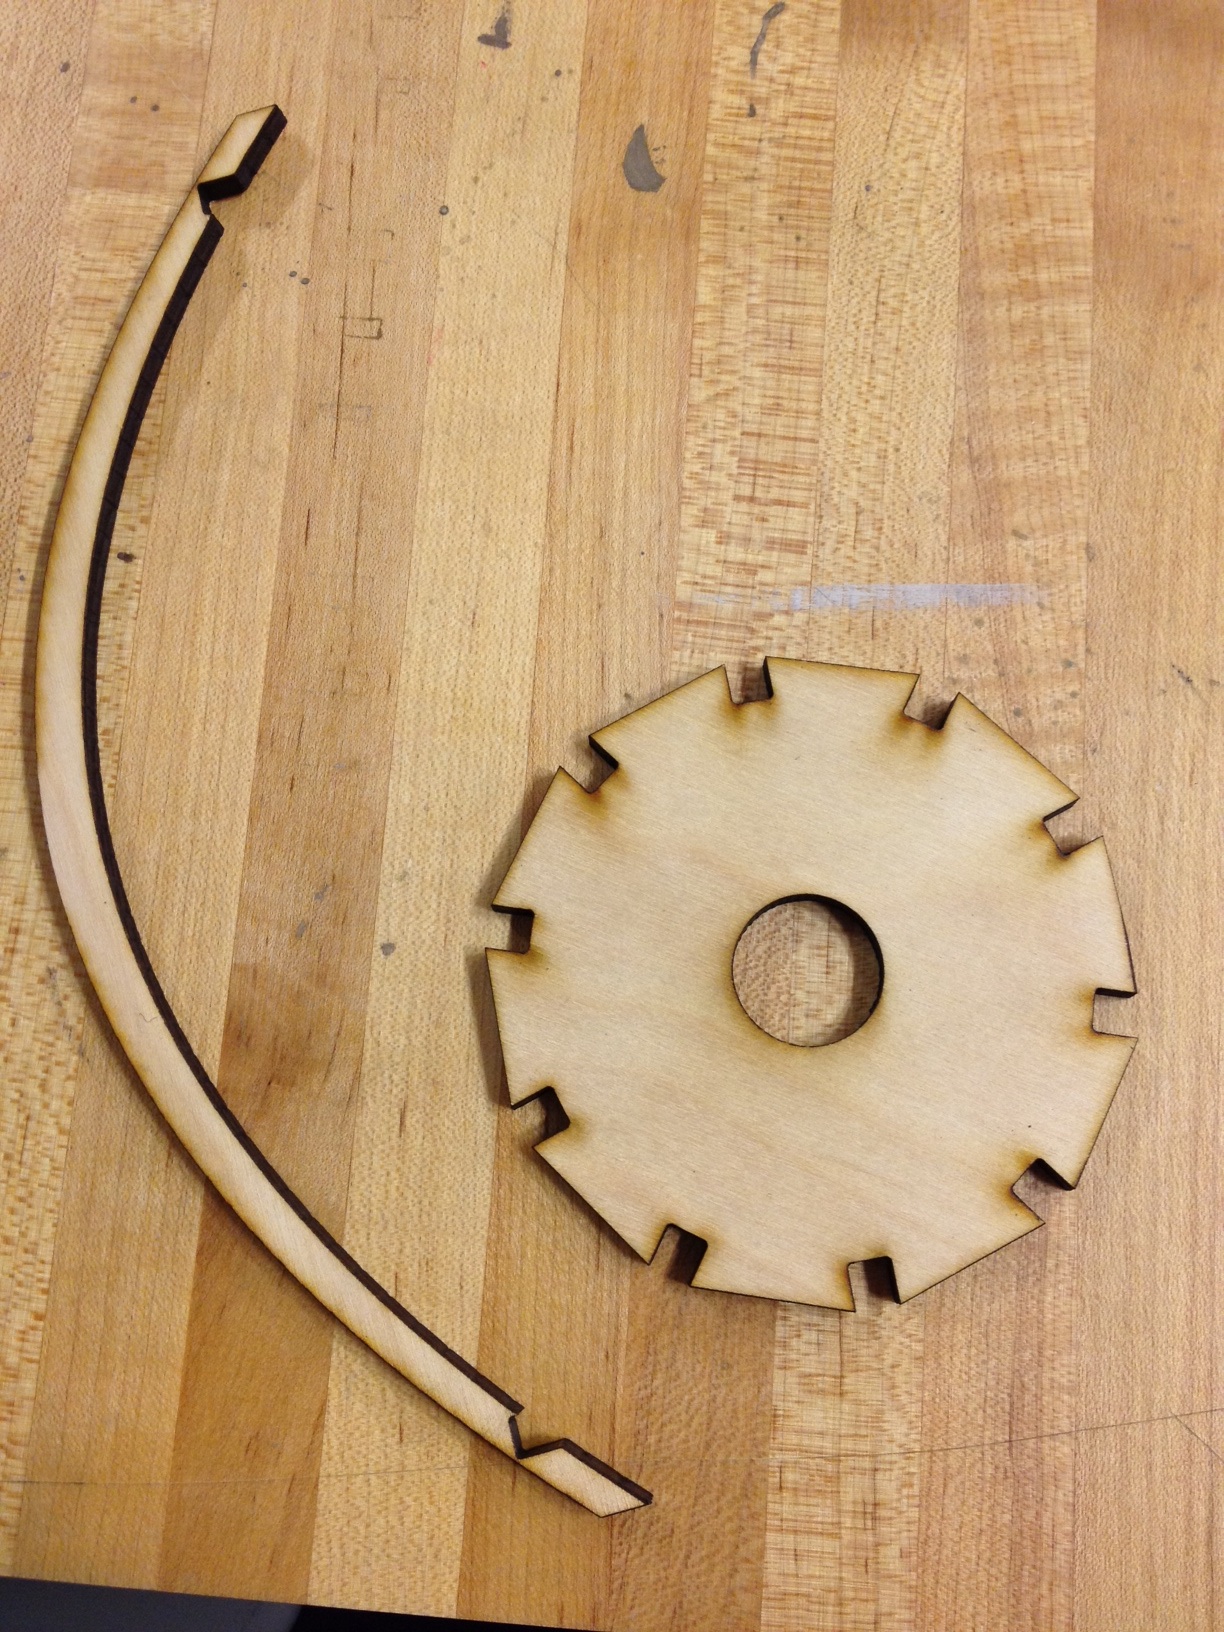
I also learned how to use the blade saw in the lab so that I can work with a larger piece of wood.
My plan for then next few weeks:
- Cut the base structure using the laser cutter
- Laser cut the flowers
- Attach all the flowers and LEDs to the base.
- Program the LEDs using Arduino