A Subtly Waving Dress.
by bijal
For my final project, I decided to combine two concepts learned in class. The first was utilizing the laser cutting machine to cut a textile in a vornoi design. The second was integrating shape memory alloys (nitinol) into my garment to make it have a “live” component to it.
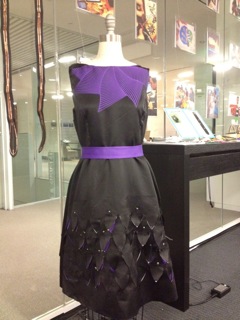
To that end, I decided to make a dress that incorporate both of these elements. In particular, I wanted to create scallops in the dress, that moved up and down, creating a waving effect. Because my scallops were too small, in the end, unless you are close, the movement is not super visible. Never the less, I was successful in achieving this result and am excited to share the video and process below.
Final Dress (Front & Back)

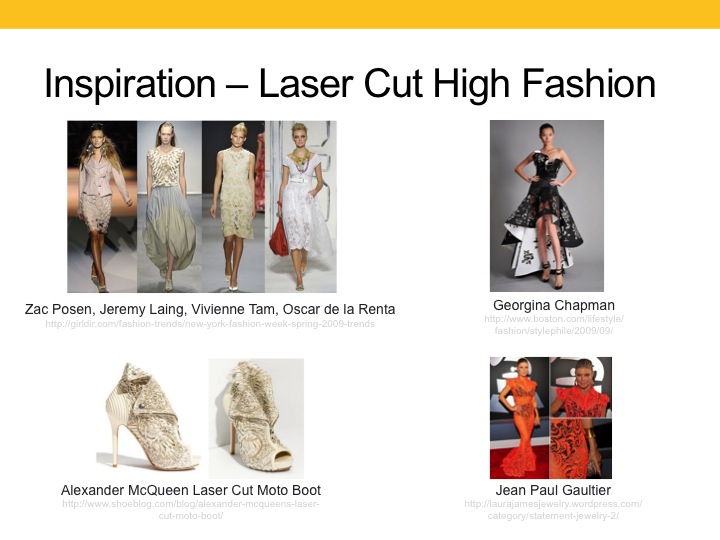
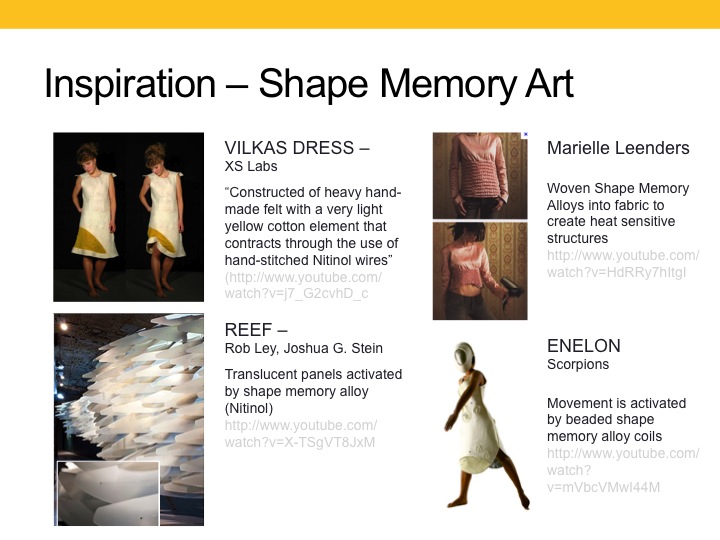
My inspiration from my dress came from several places including art installations as well as high-fashion. I have provided slides below of some of my points of inspiration.
Getting Started:
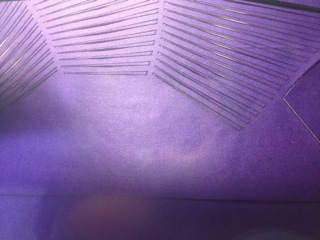
I decided to first laser cut the pieces I needed for the dress. I started with the vornoi design you see at the top of the dress. The code for that is a simple vornoi spiral code, which you can find below. In addition, I created scallops in adobe illustrator and used the laser cutter to cut those into the black material of the dress. I first cut out the pattern pieces and then laser in the designs.
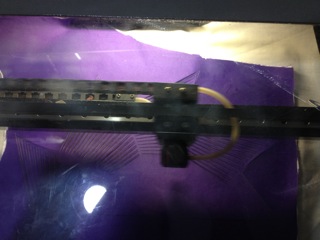
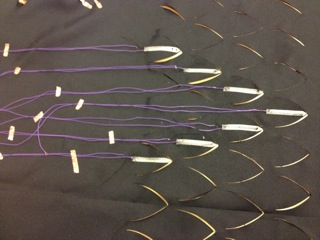
I then started to sew in the nitinol and wired the scallops of the skirt part of my dress. I decided to use .010in diameter nitinol which required 1050mA of current. With a 3.7V battery this meant that I need about 3.52Ohms of resistance. I decided to only do 2 scallops in series to ensure that I had the appropriate resistance. I programed the Arduino so that 4 different sets of scallops would move. I decided to have the current run 4 10 seconds in each set, before moving on to the next set. The simple Arduino Code is also provided below.
Before stitching the dress together completely, I tested the nitinol to make sure it was working. A link to the video is below: https://vimeo.com/42513826
Once I was sure that the nitinol and circuit worked properly, I connected the top and bottom of the dress. The end result is below:
Video of Dress in Action: https://vimeo.com/42514541
Processing Code:
void setup() {
Arduino Code:
int Nitinol1 = 17;int Nitinol2 = 16;int Nitinol3 = 6;int Nitinol4 = 5;
void setup() { // initialize the digital pin as an output. // Pin 13 has an LED connected on most Arduino boards:
pinMode(Nitinol1, OUTPUT); pinMode(Nitinol2, OUTPUT); pinMode(Nitinol3, OUTPUT); pinMode(Nitinol4, OUTPUT);}
void loop() {digitalWrite(Nitinol1, HIGH); // set the first leg ondelay(10000); // wait for 10 seconddigitalWrite(Nitinol1, LOW); // set the first leg off digitalWrite(Nitinol2, HIGH); // set the second leg ondelay(10000); // wait for 10 seconddigitalWrite(Nitinol2, LOW); // set the second leg off digitalWrite(Nitinol3, HIGH); // set the third leg ondelay(10000); // wait for 10 seconddigitalWrite(Nitinol3, LOW); // set the third leg off
digitalWrite(Nitinol4, HIGH); // set the forth leg ondelay(10000); // wait for 10 seconddigitalWrite(Nitinol4, LOW); // set the forth leg off }