Crimson and White Sock
by gracie15
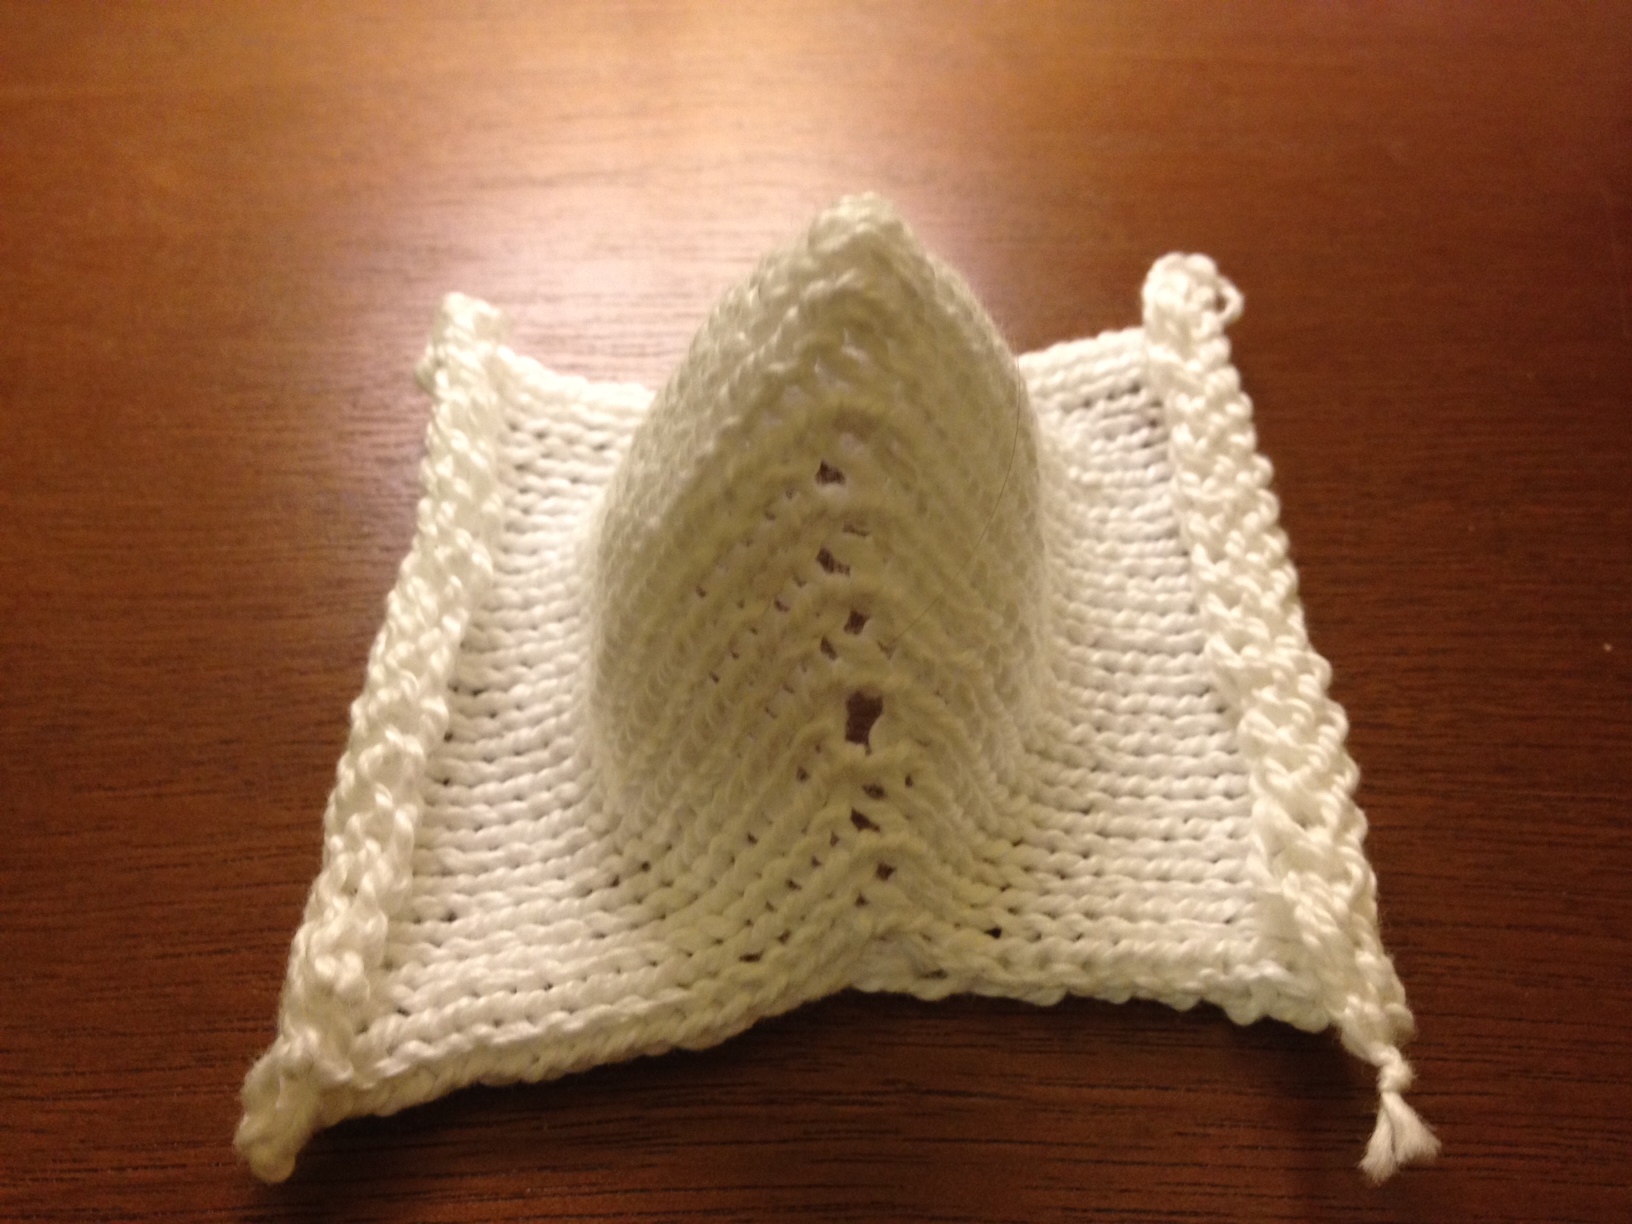
For my knitting assignment, I followed the instructions for part 1 and was successfully able to create the required piece which ends up having more knitting in the middle of the piece and the structure of a mountain peak. I had not used a knitting machine before so getting this piece right took many iterations as I got used to how the machine worked. After perfecting the casting on (which took quite a while for me), my first few pieces I created ended up having holes in the knitting during the stage when I was supposed to take the needles out of the hold position. After multiple tries I learned that in order to prevent this I had to make sure I put a lot of weight on the knitting as I took the needles out of the hold position so that I did not drop any stitches. This involved not only having a weight on the knitting but I had to pull on the knitting myself too.
I can imagine having multiple of these peaks and valleys in a larger piece would make for a very interesting texture.
Here is my completed piece for part 1:
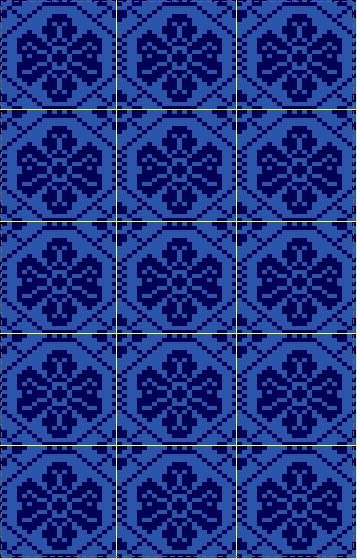
For part 2, I decided to knit an image pattern using the DesignAKnit software. I used a pattern that was already in the DesignAKnit library of patterns and contained images of flowers that looked like this:
Here is what the entire pattern looks like:
I chose this pattern because I knew that I would be using the fairisle setting on the knitting machine which knits only on one side and carries the yarn over on the other side, so I wanted something that would gradually increase and decrease the switching of colors in the pattern to decrease my chances of dropping a stitch in the process.
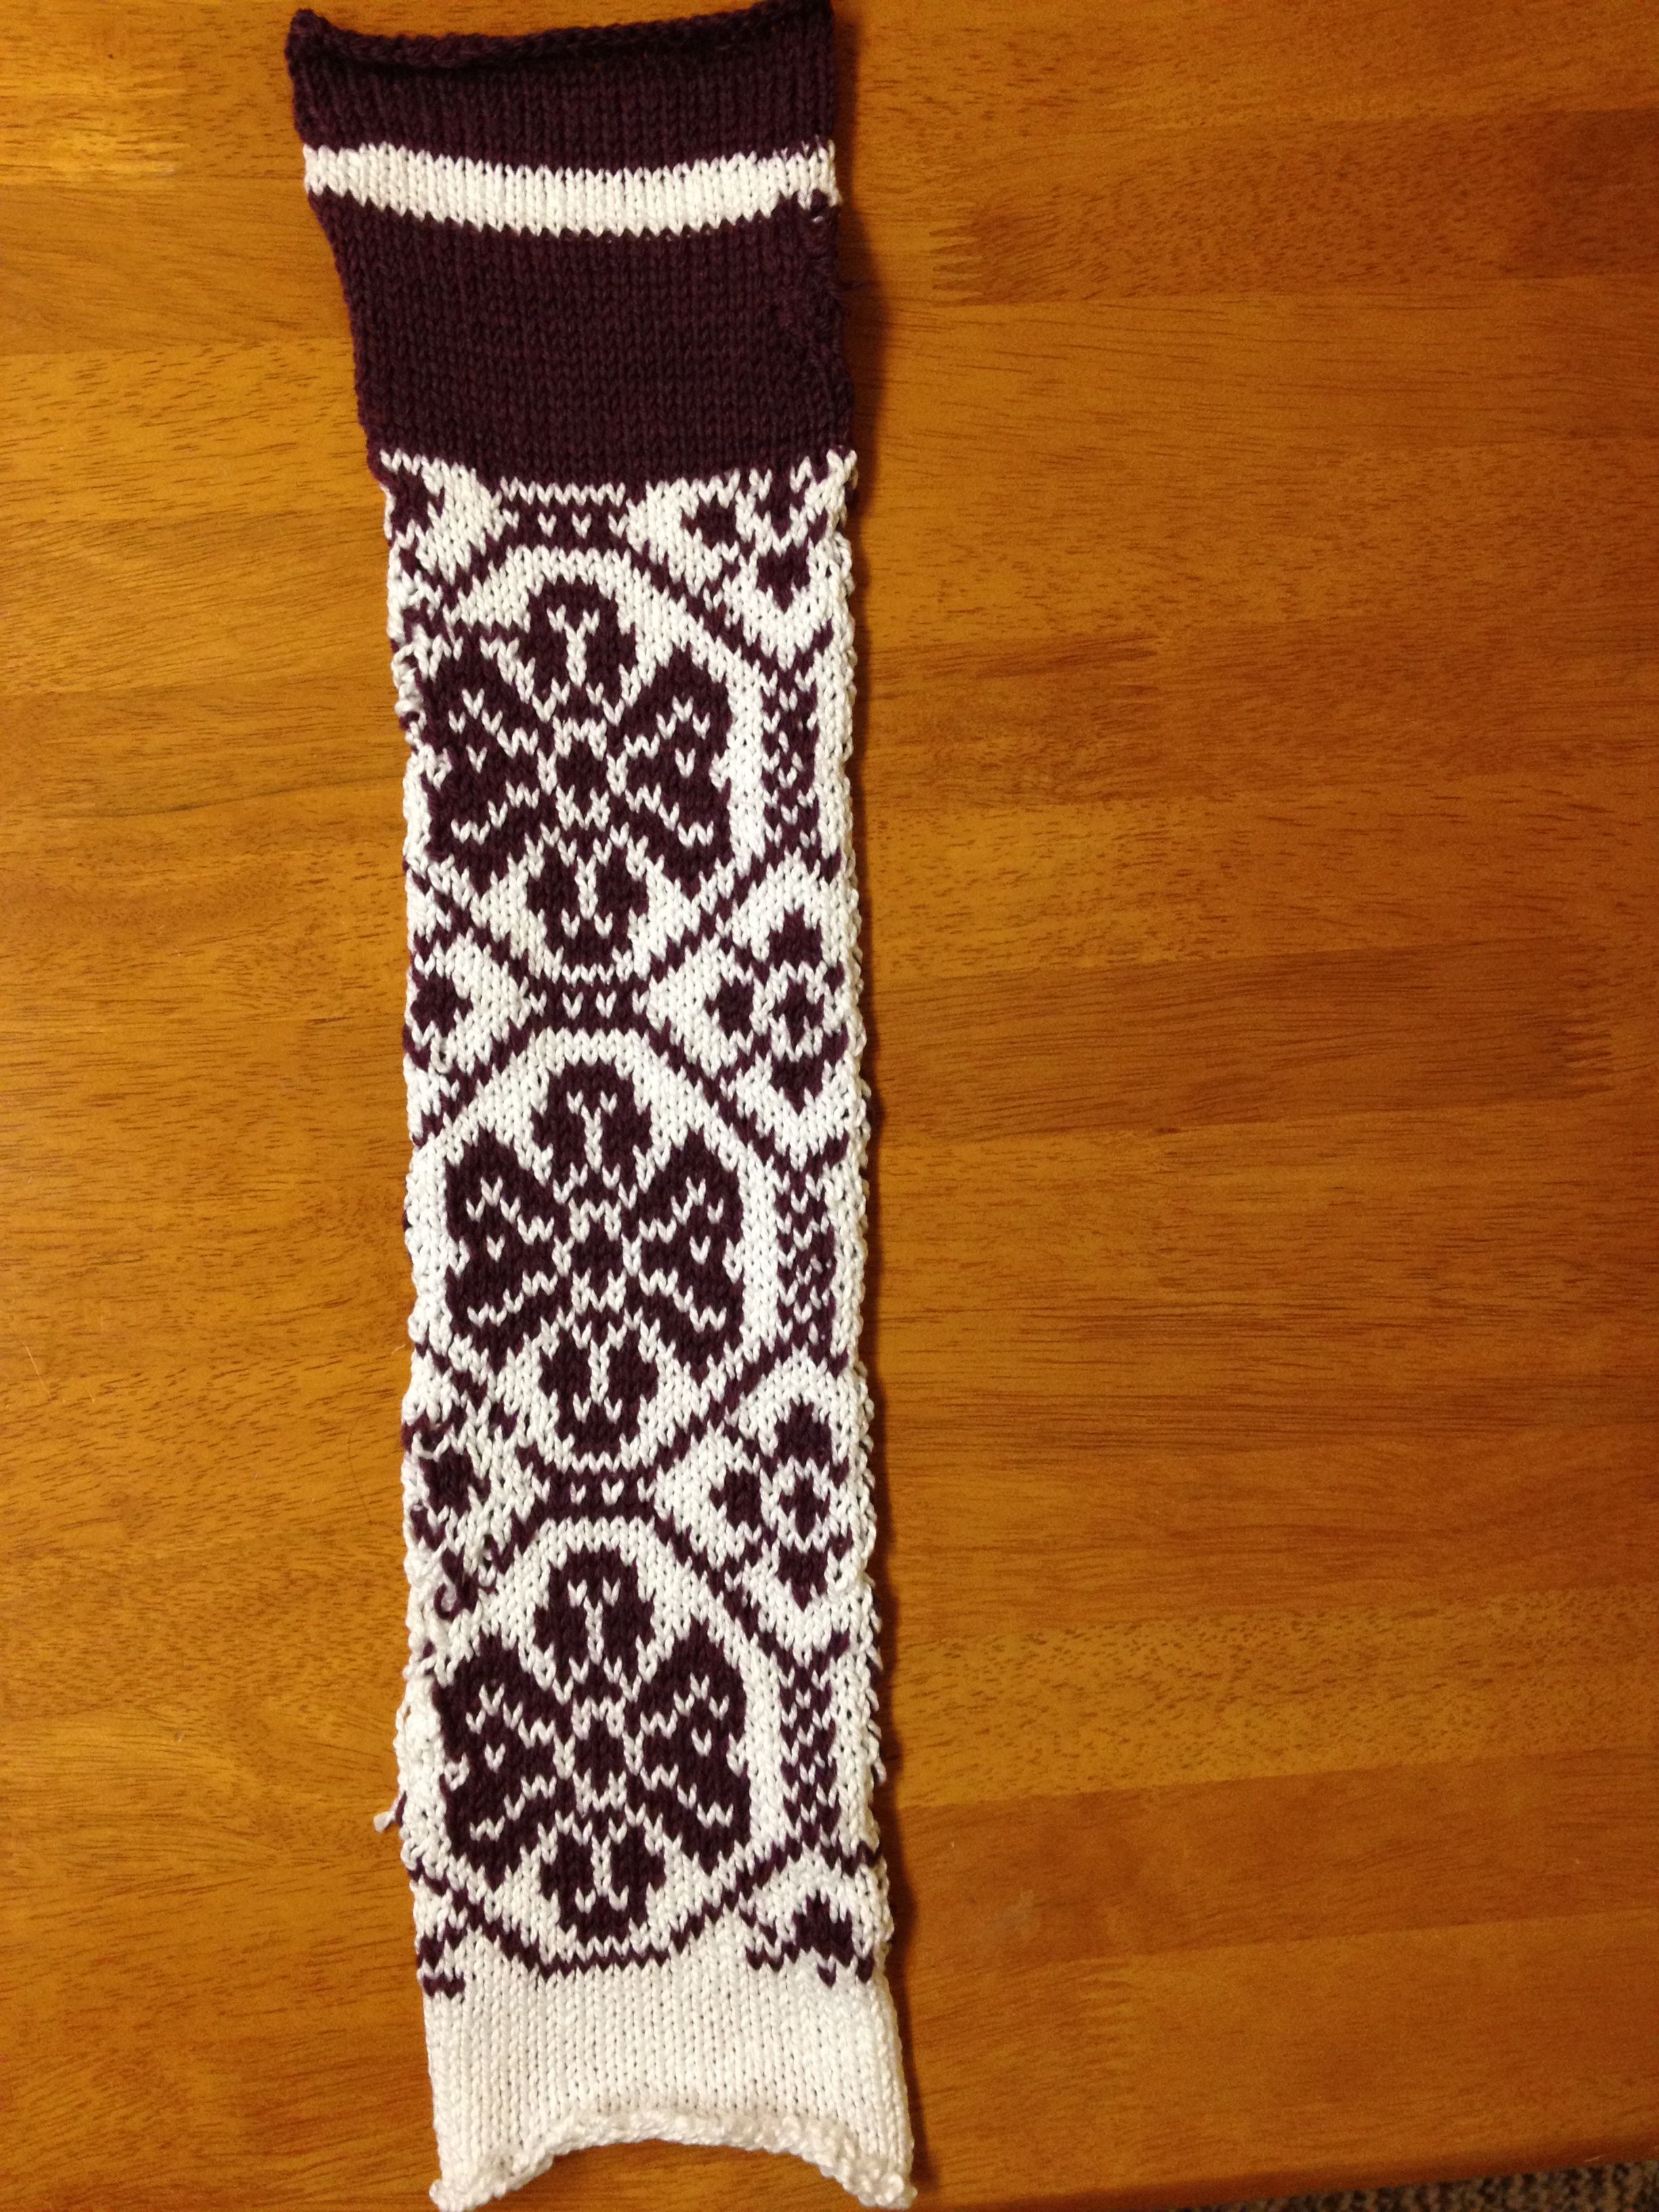
I loaded up this pattern on the software and chose to have the swatch 30 needles wide and 100 in length. After casting on the first color of yarn (white), I added the crimson colored yarn in front of it on the carriage. I started up the DesignAKnit program and starting knitting, making sure I was on the “F” setting on the machine and in the “triangle” position for the levers on the side. I watched as the software kept track of which colors it was using for each row and how it switched off. Amazing! After I knit the first few rows, I added weights to the ends of the knitting and then made sure to move the weights up throughout the process to prevent the machine from dropping a stitch. There were a few times that some stitches were dropped, so I tried my best to fix them before moving on to the next row but inevitably the finished piece still contained a few dropped stitches that I did not see until the end. I could have possibly prevented this if I watched each row more carefully and adjusted the needles or perhaps adjusting the tension on the machine may have helped so that the stitches were not as tight, which makes it hard for the machine to catch on to them each time. In any case, I ended the pattern by knitting a wide stripe of the crimson colored yarn and a thin stripe of the white yarn which made my piece look like a pattern for a sock. I made the mistake of keeping the machine on the F setting during this part, so the opposite color yarn was carried over in the back. I fixed this by cutting the extra yarn at the end and tying a few knots.
Appropriately, my swatch happens to be the Harvard University school colors. ![]()
Here is the finished product:
This pattern is interesting because the gradual shift of colors in each row makes it very suitable for the knitting machine since it is not jumping around and switching colors too frequently. The continuity in the colors makes it so that the pattern looks very sleek and organized. I played with switching colors manually at the end of my pattern and noted that it took slightly more effort to get this done right than having to deal with one color when knitting without the software. Looking back though, I think a nice effect would have been achieved if I flipped the colors of my yarn halfway through the pattern which the software was controlling so that I could see the opposite effect on the pattern or maybe could have used completely new colors.


